
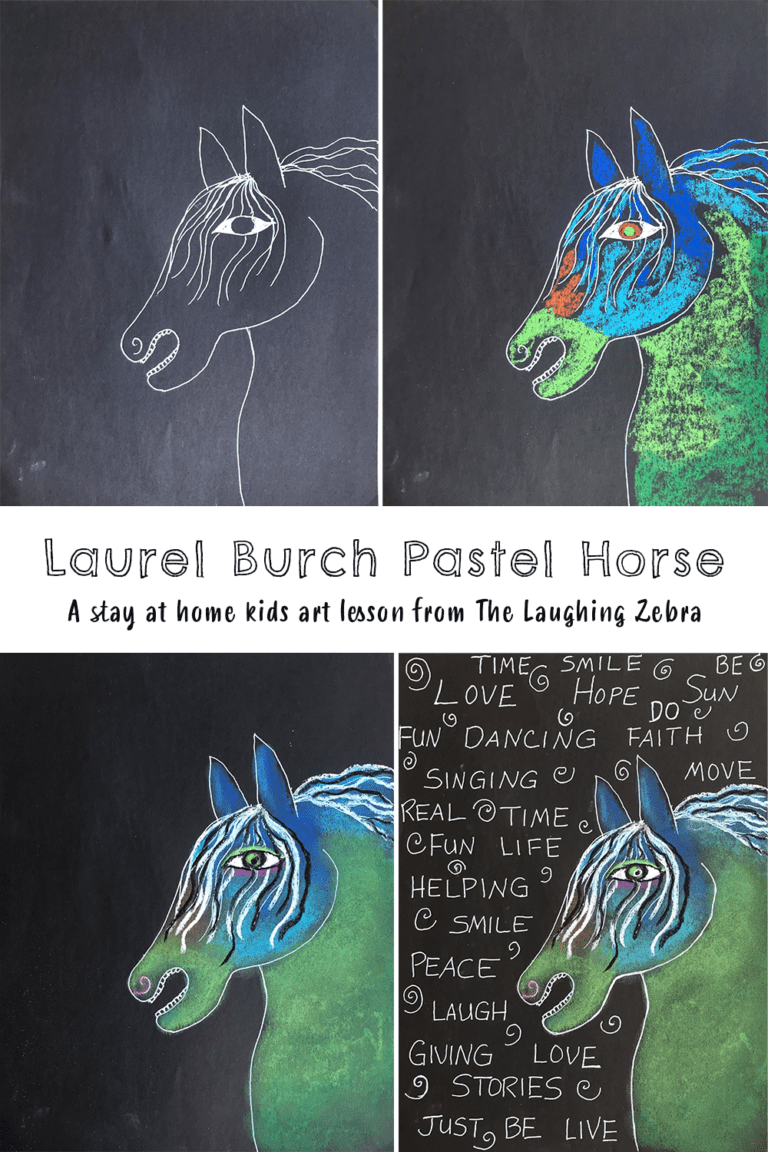
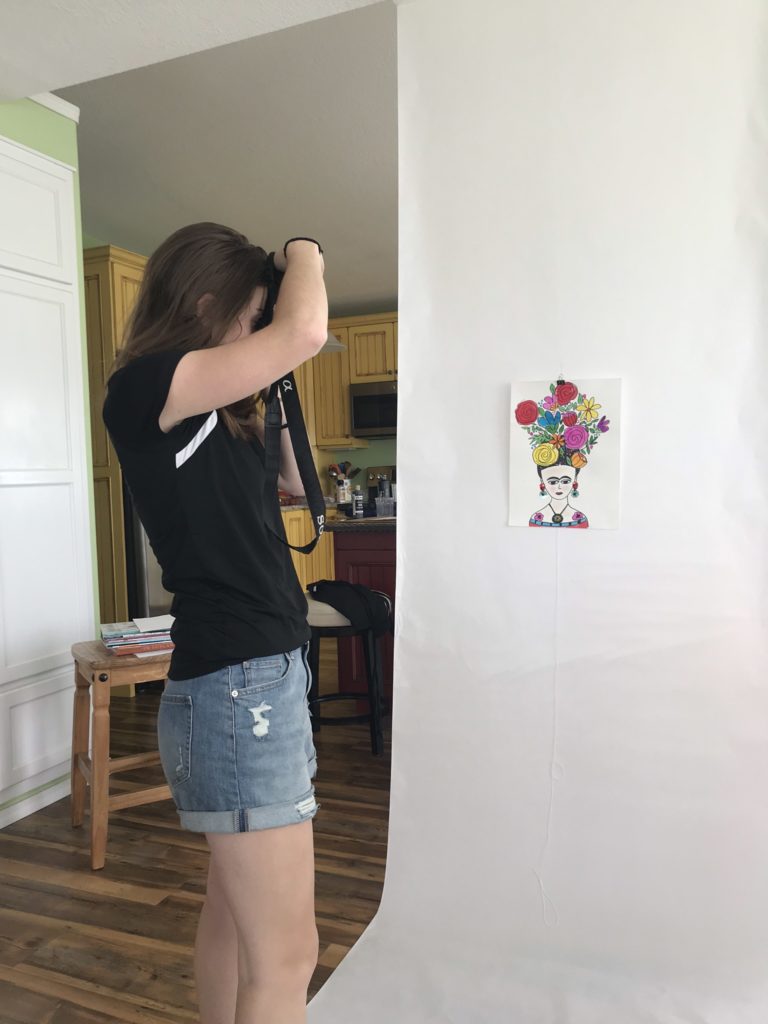
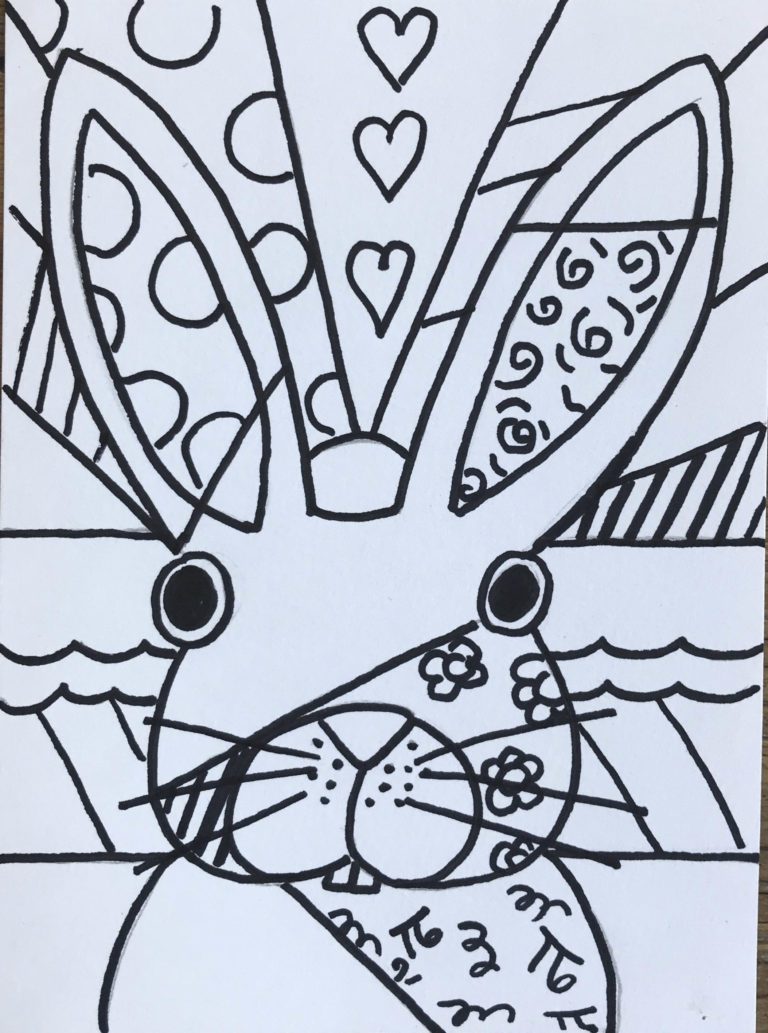
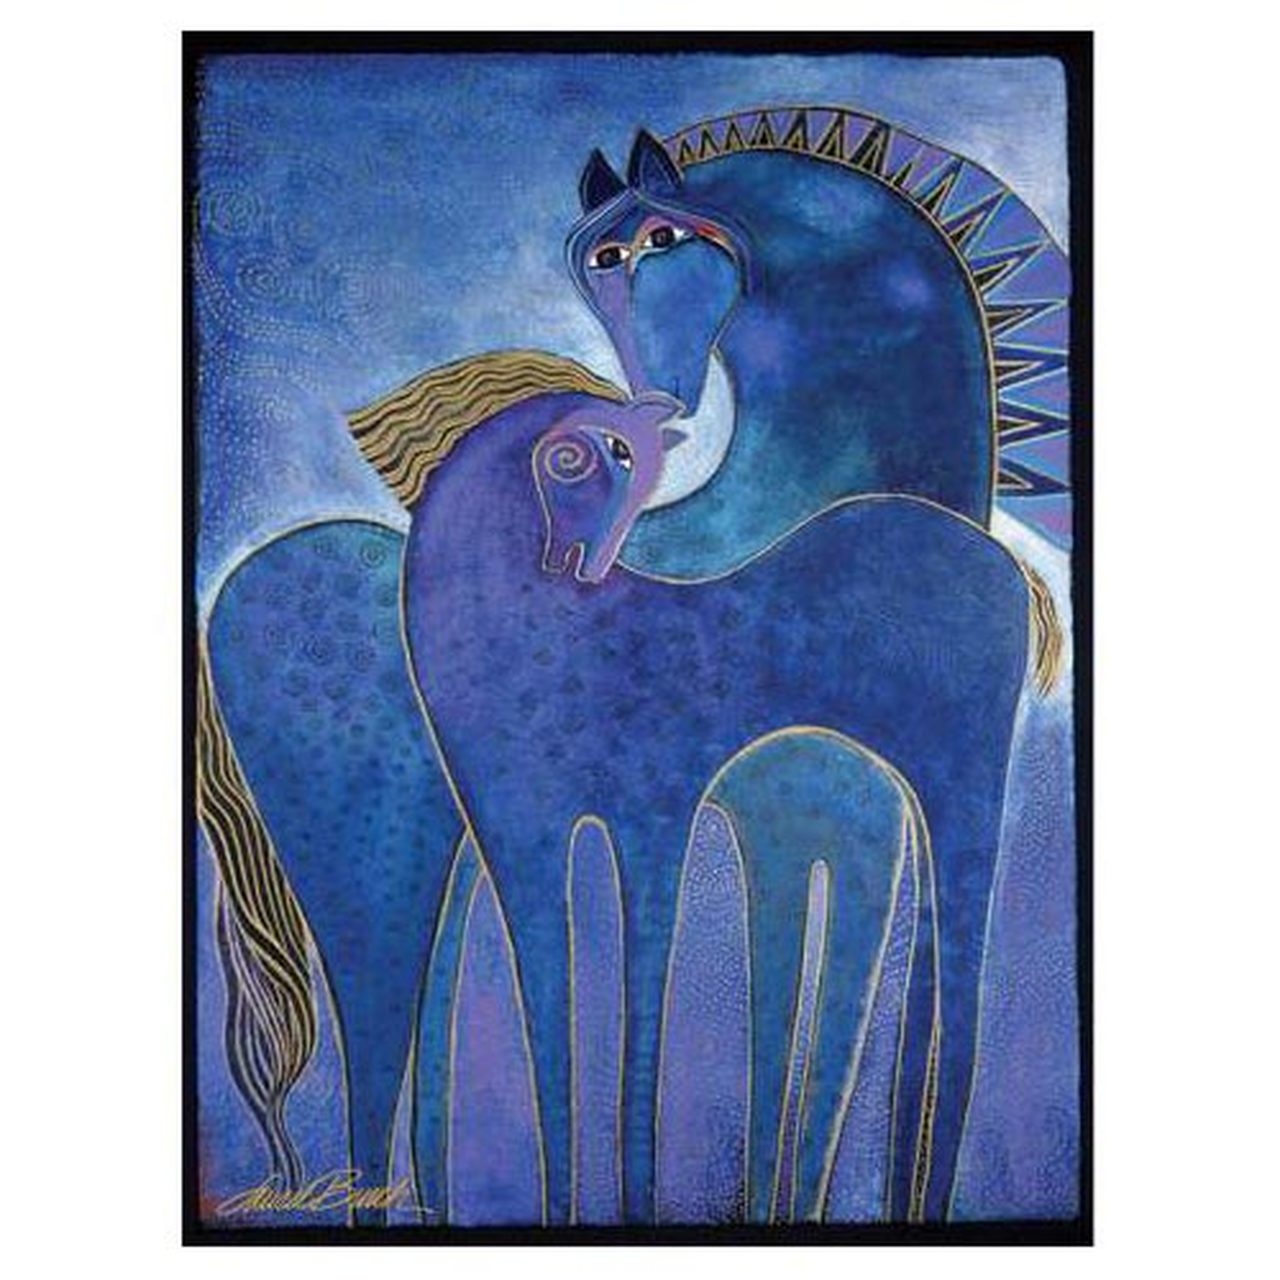
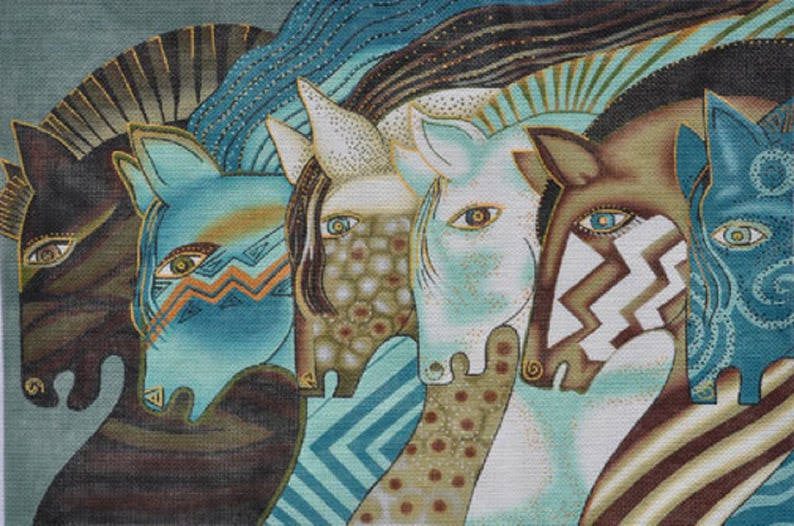
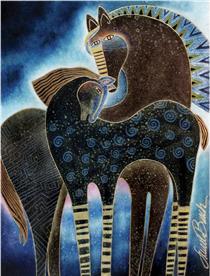
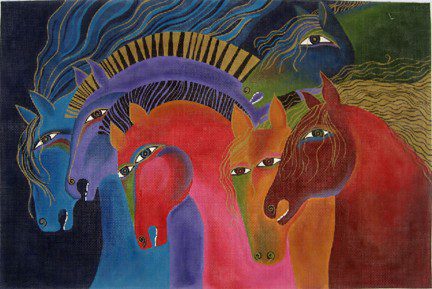
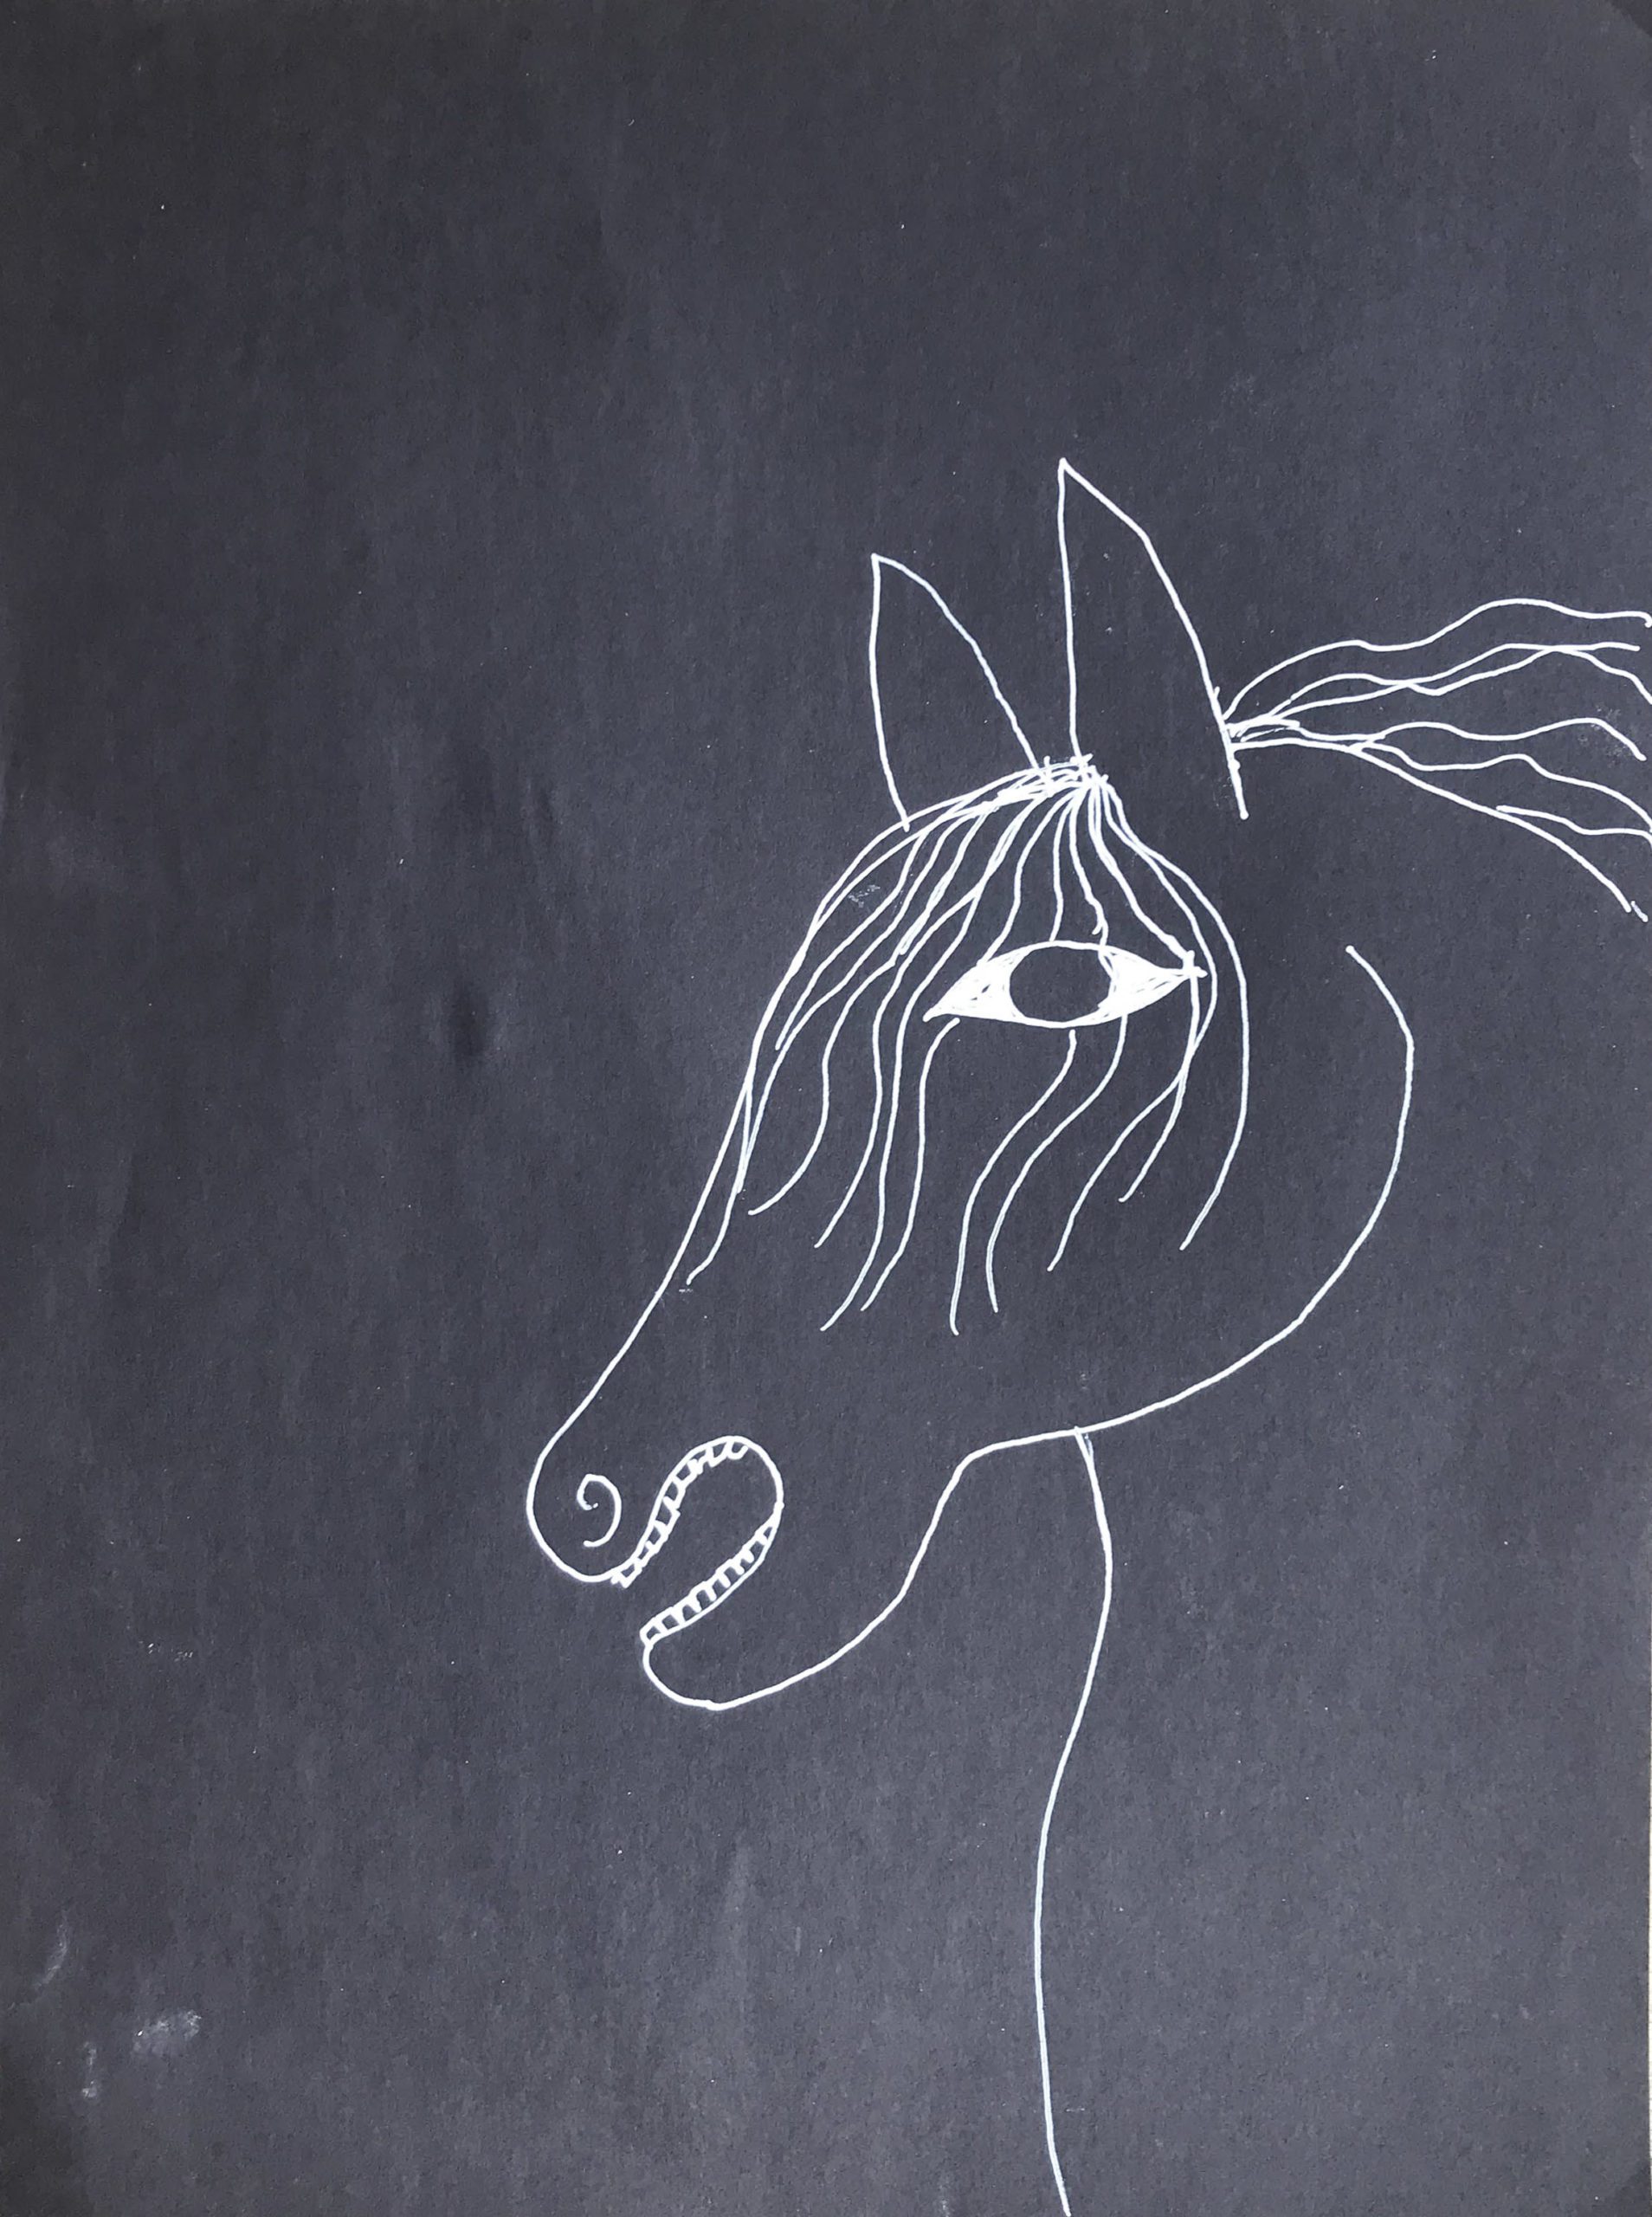
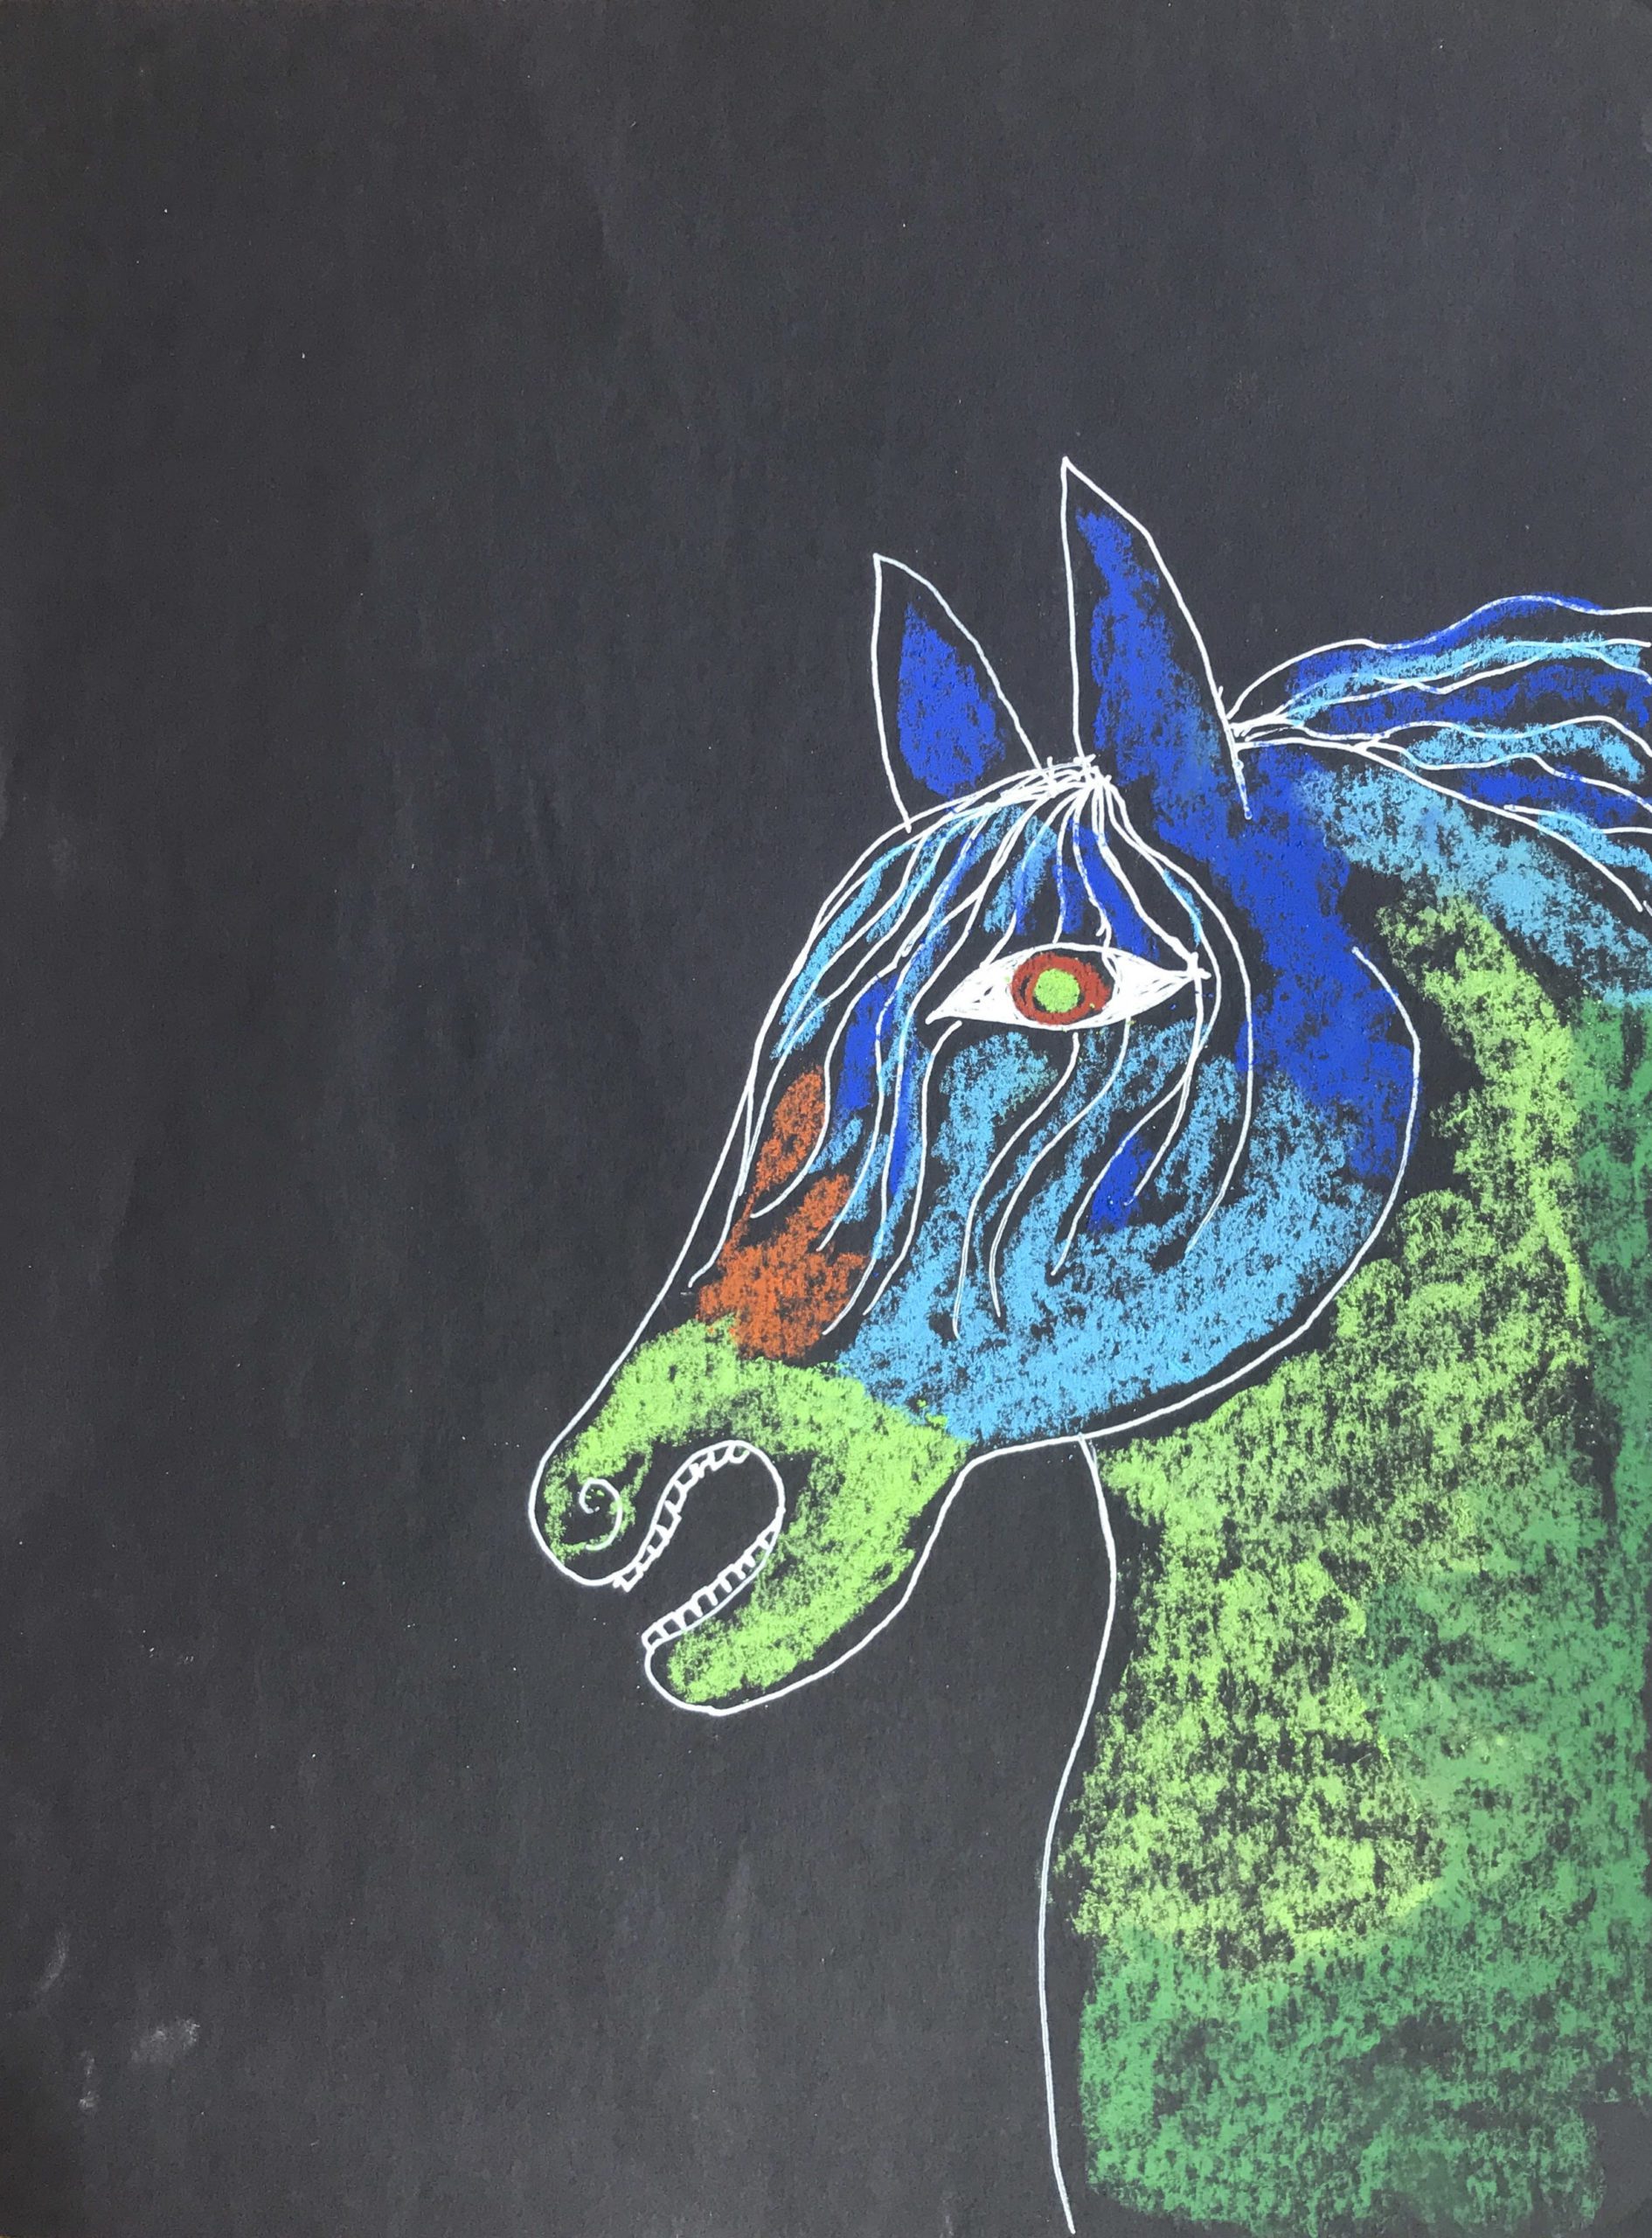
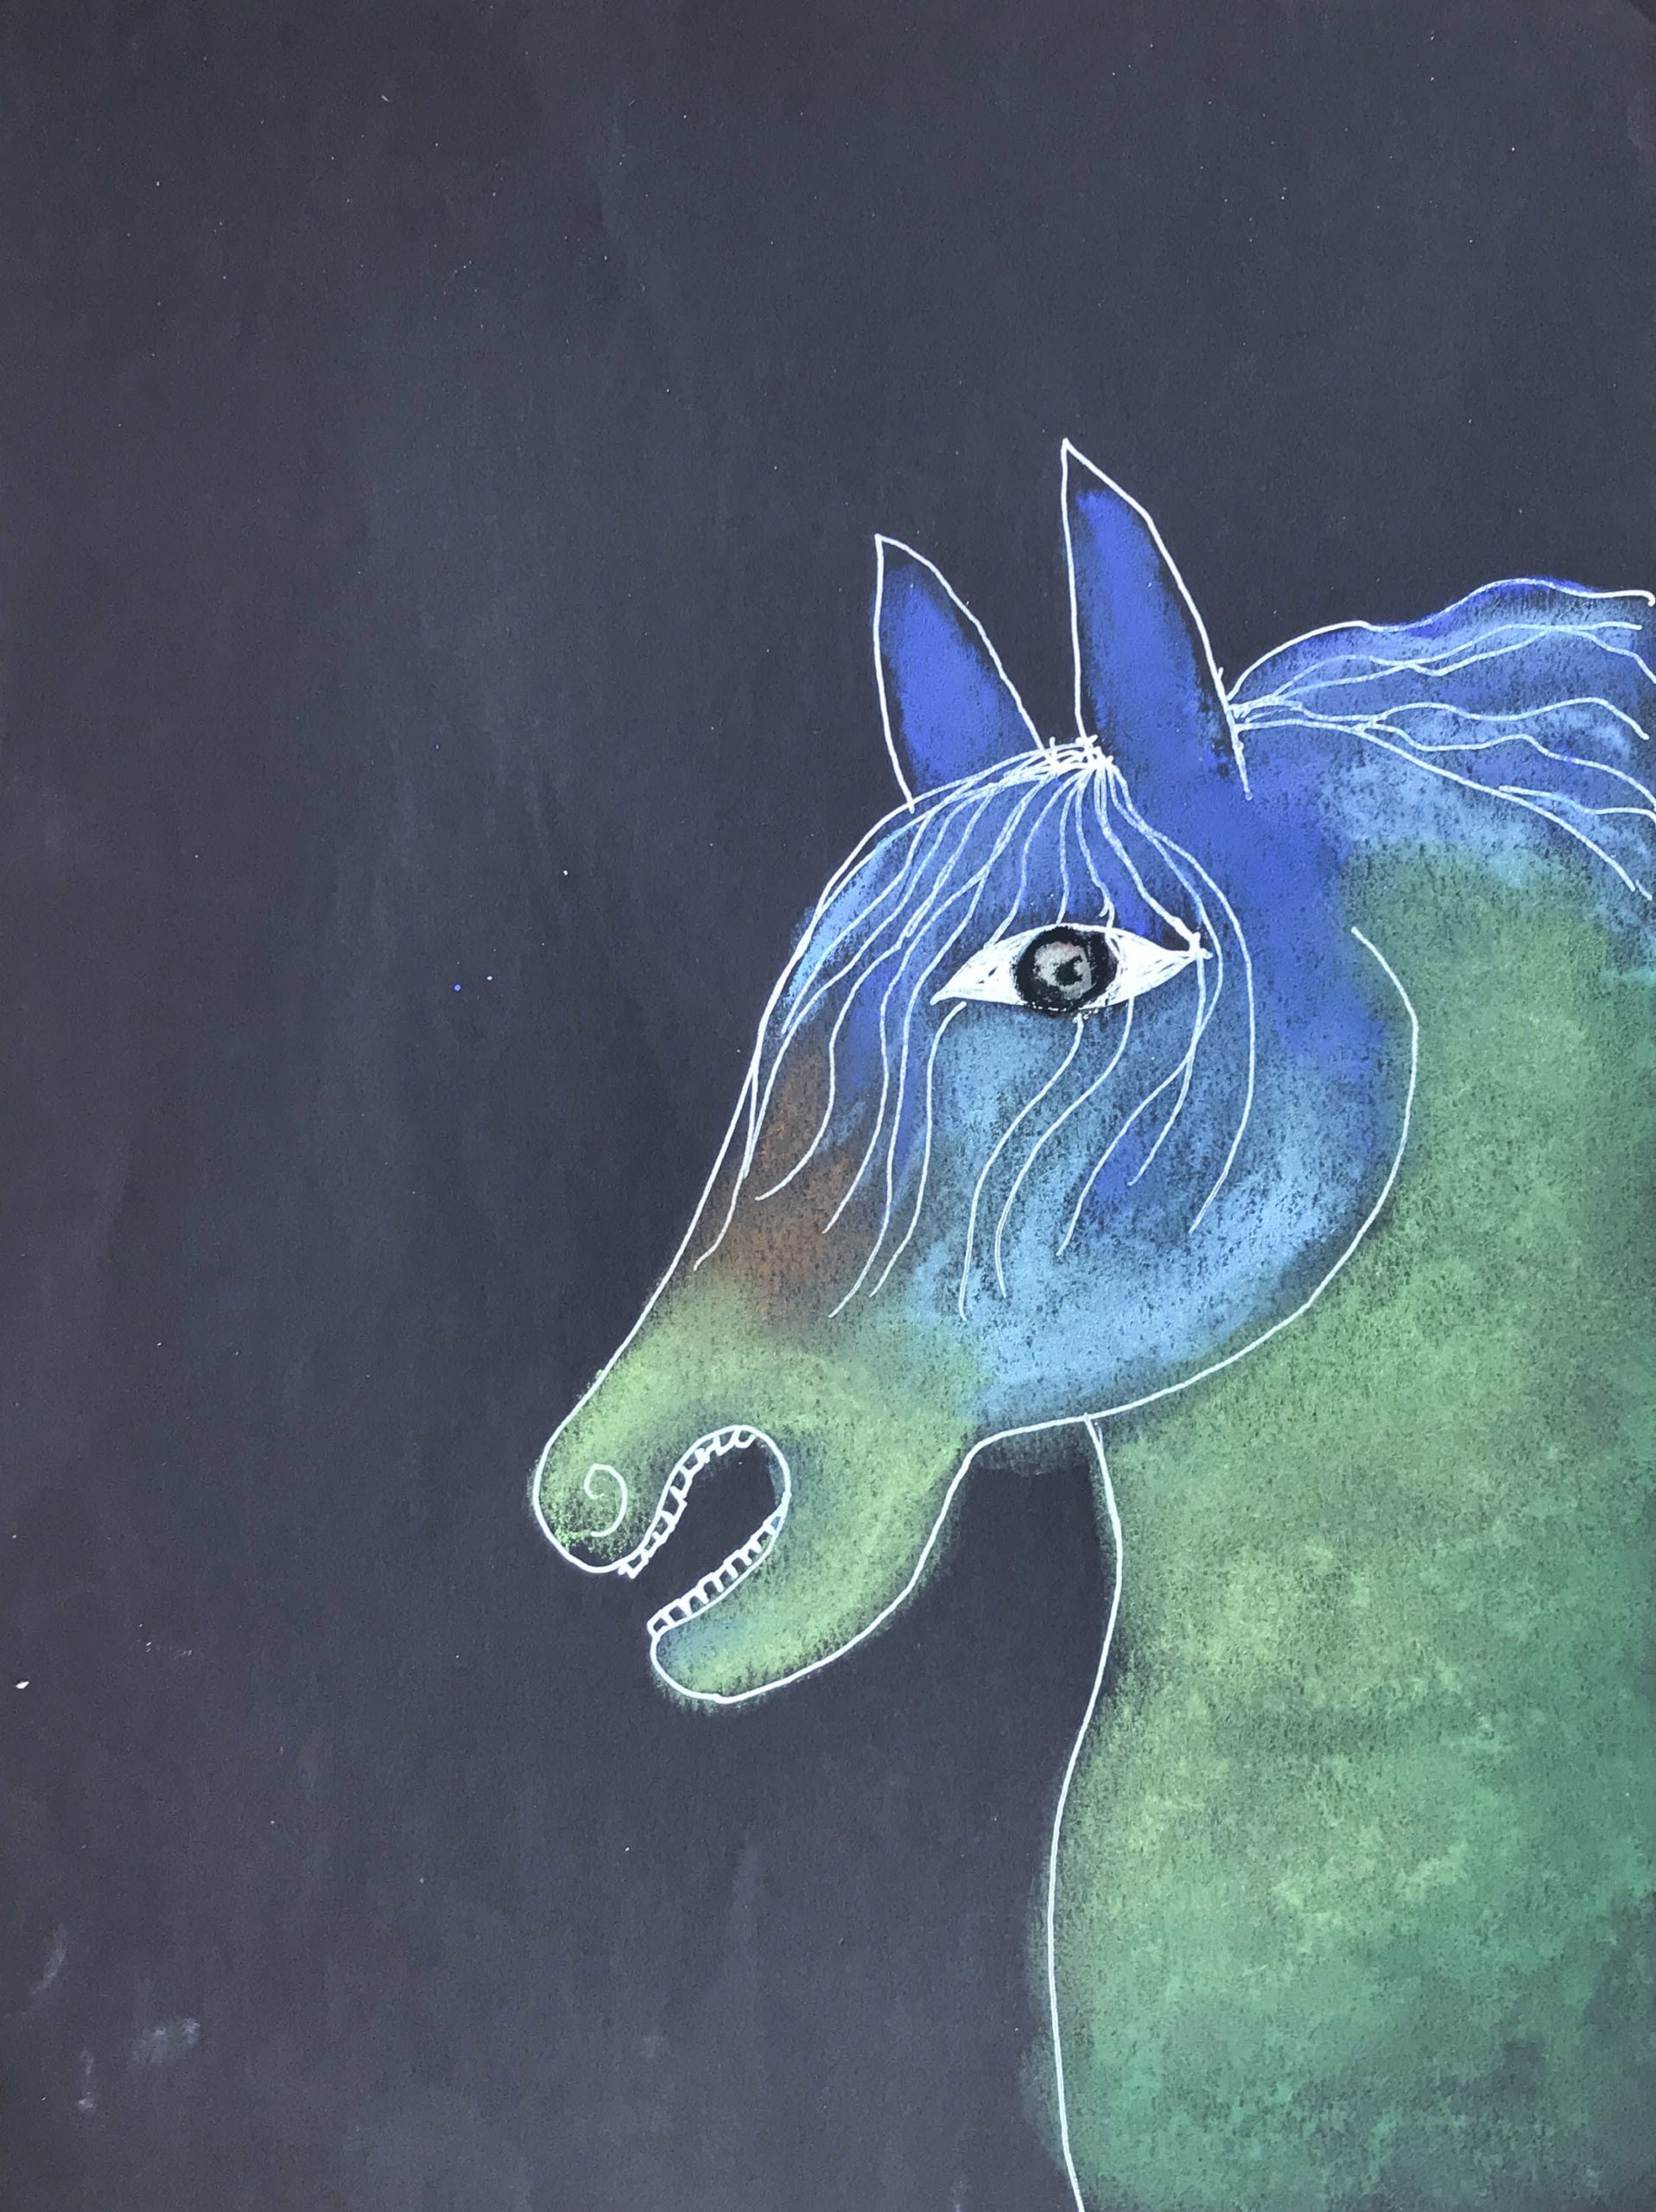
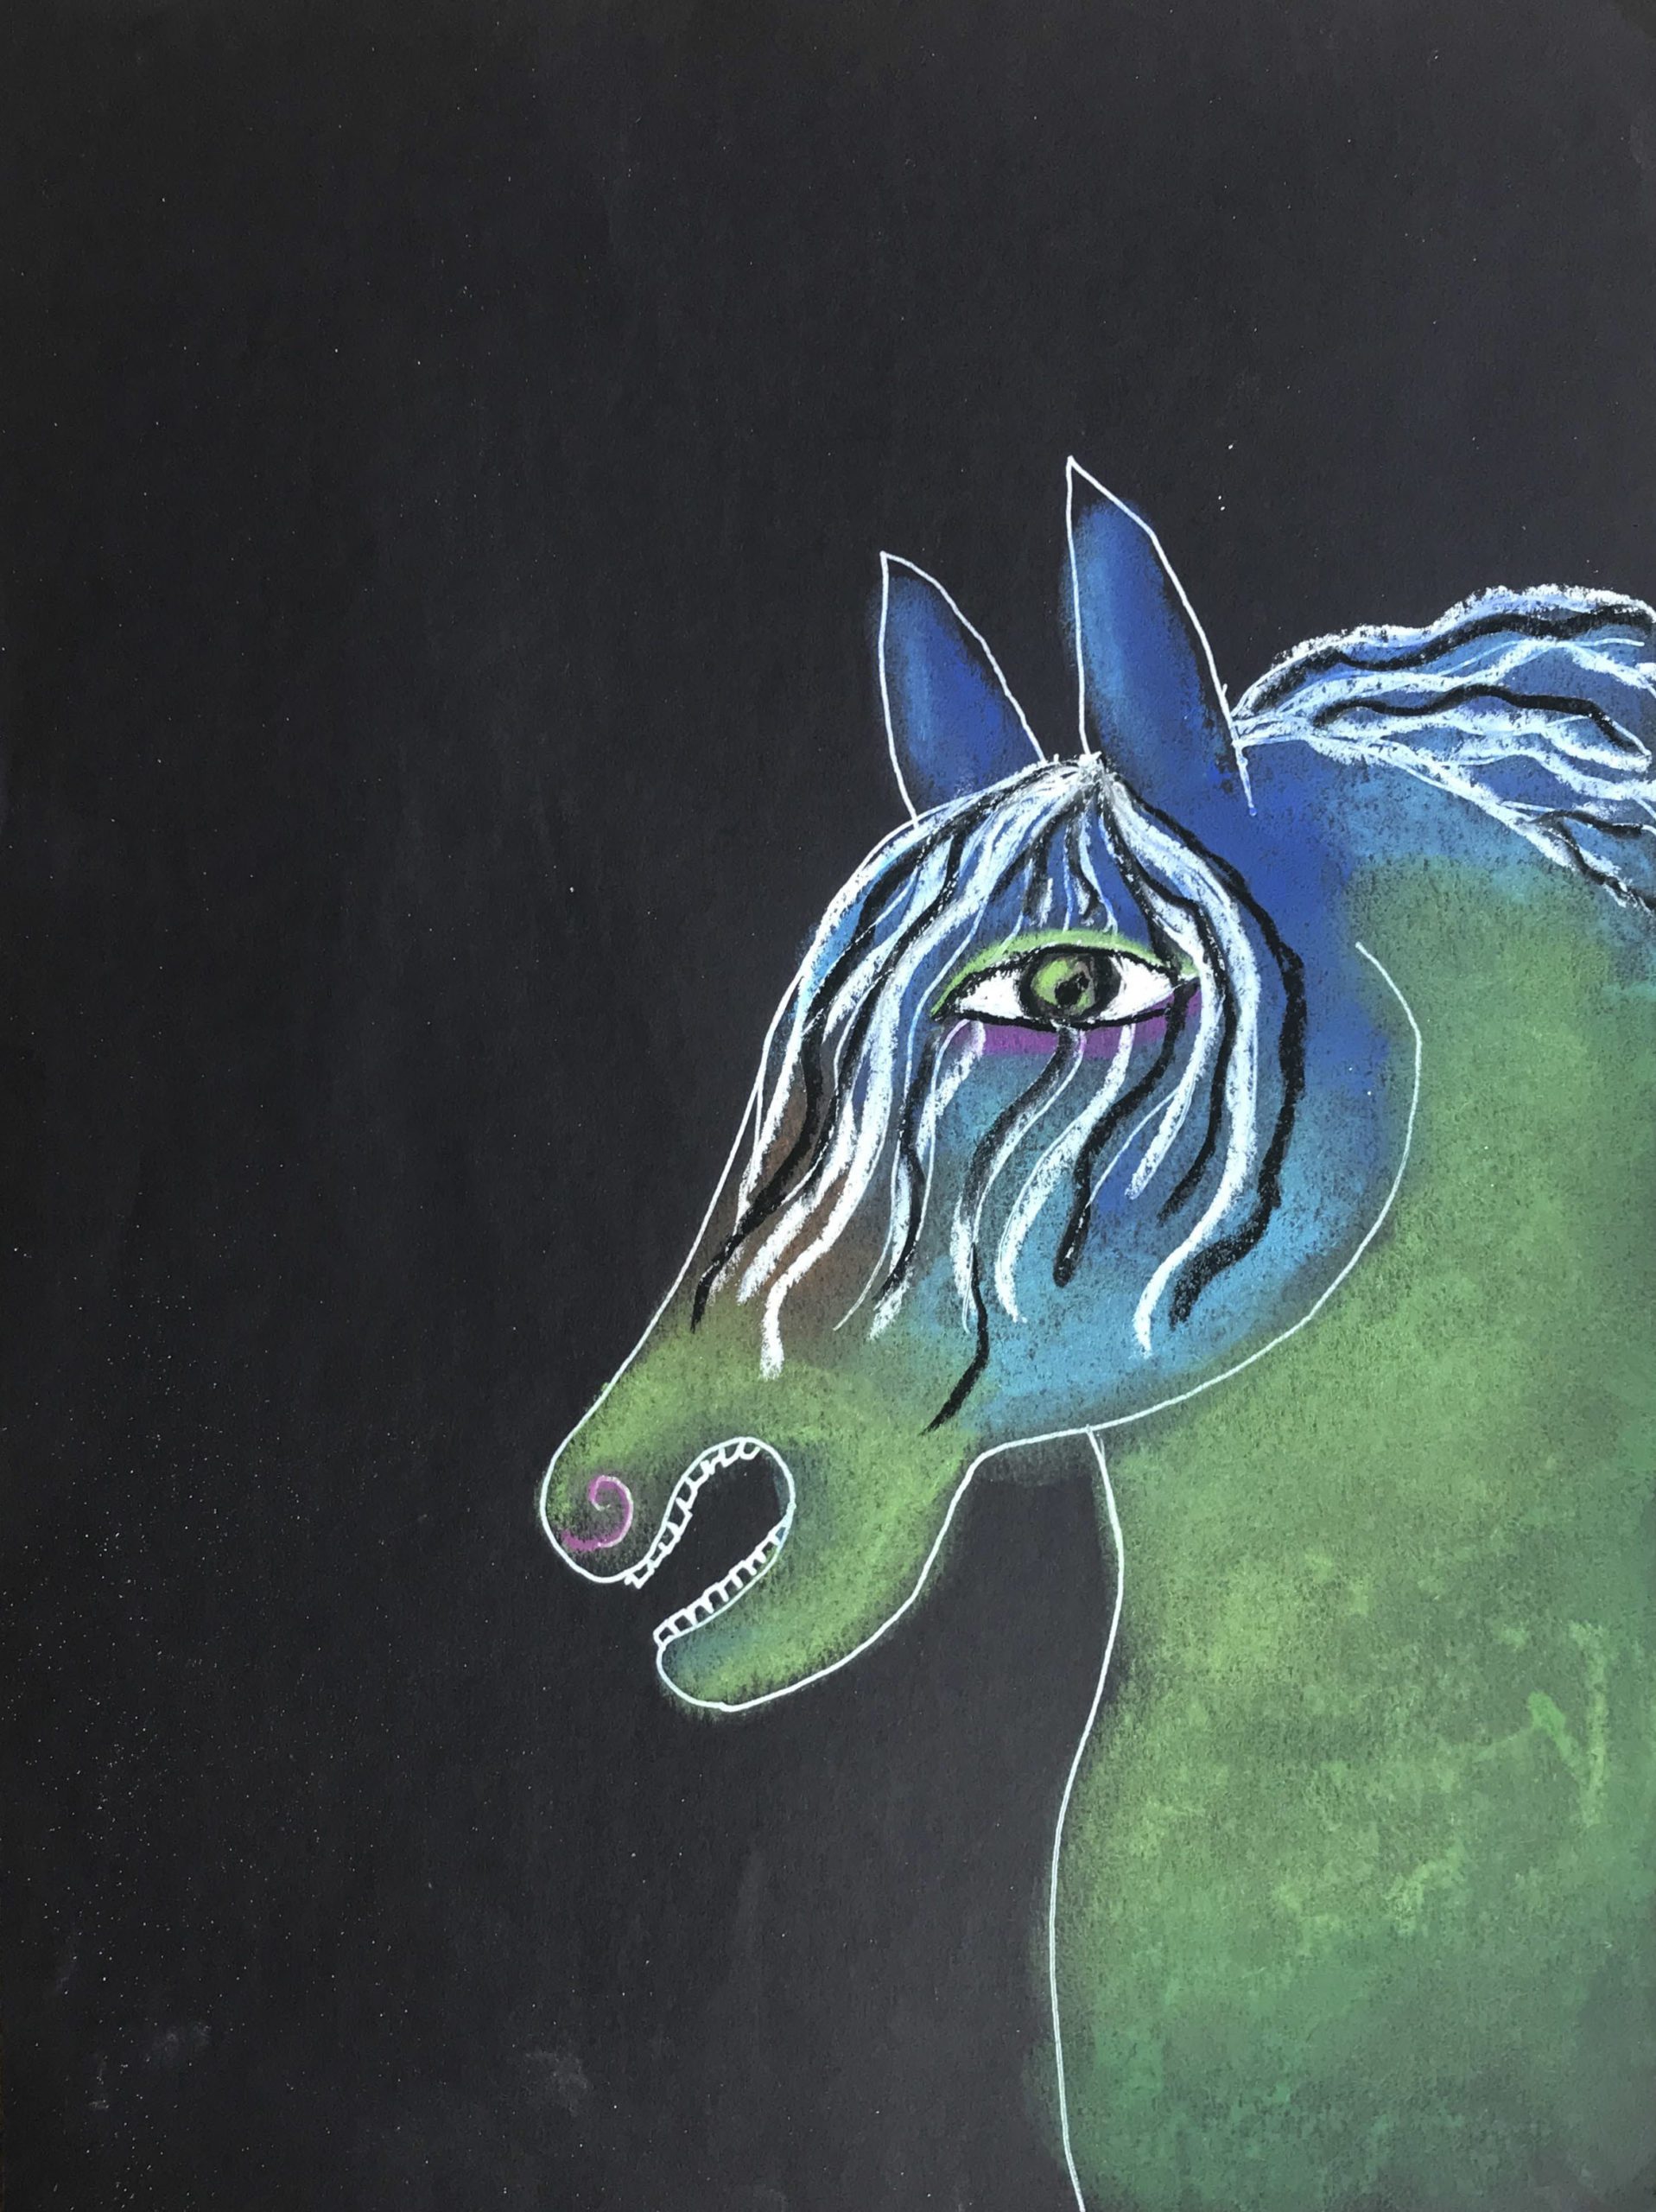
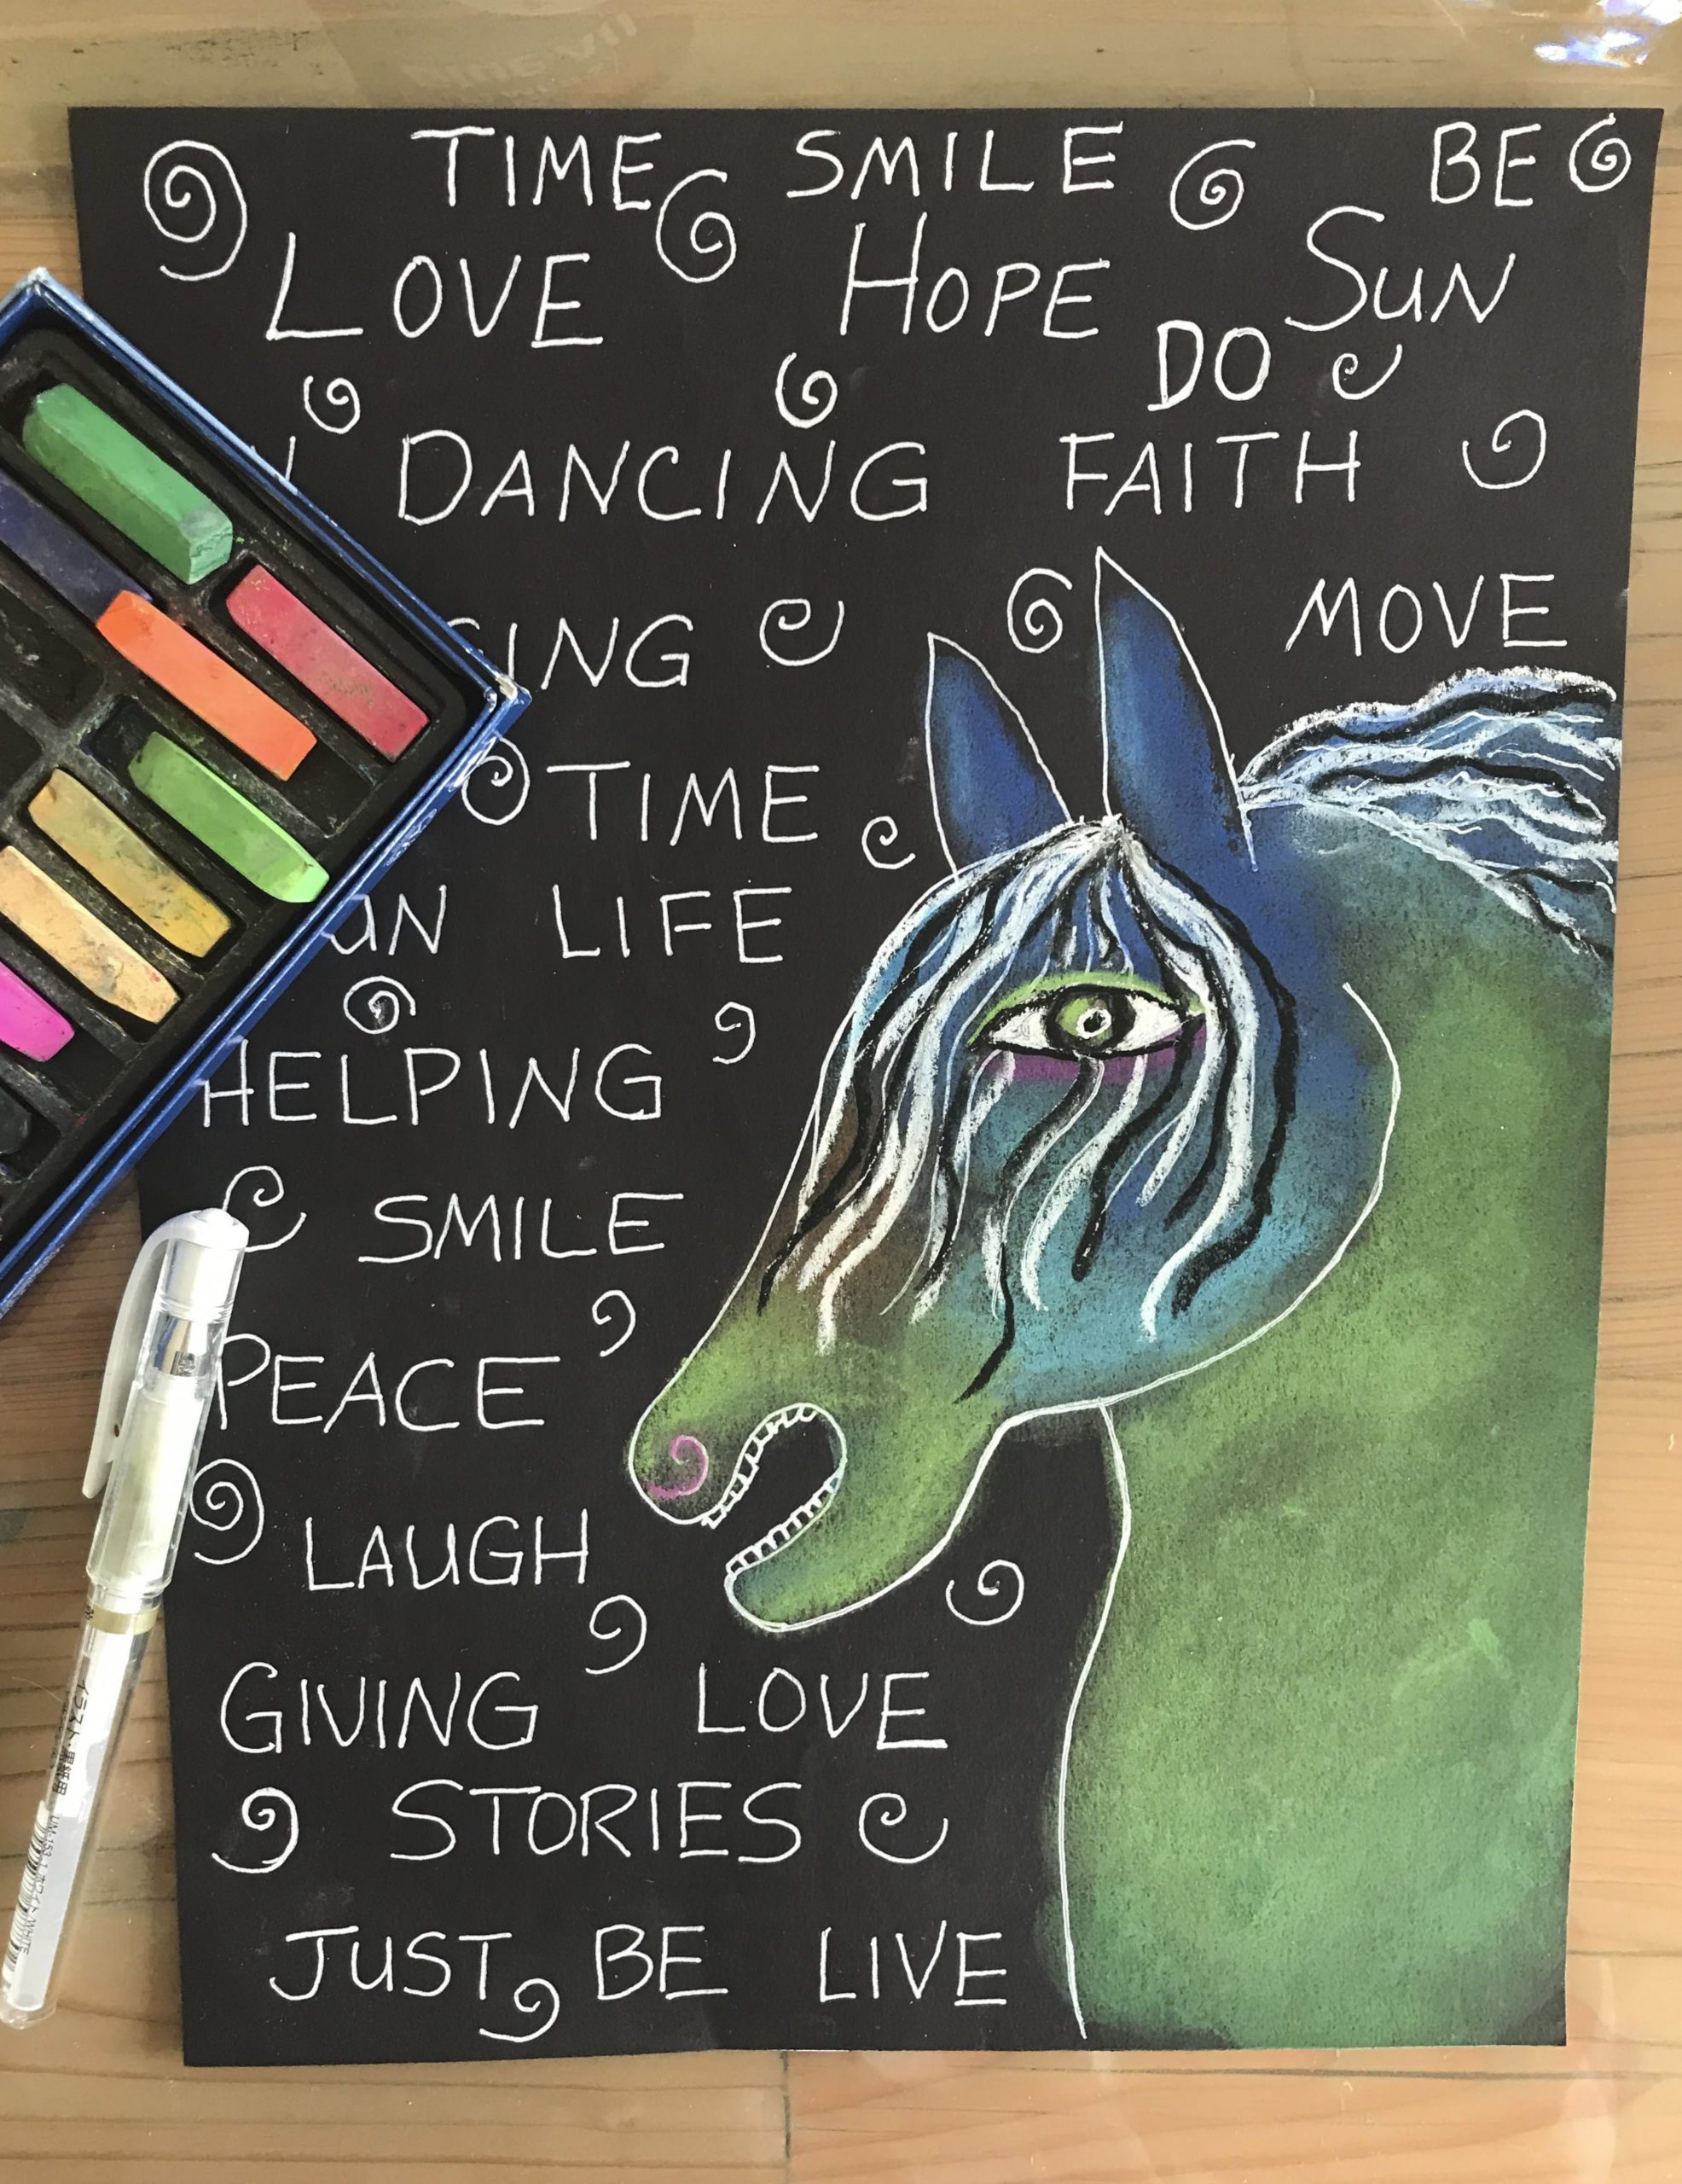
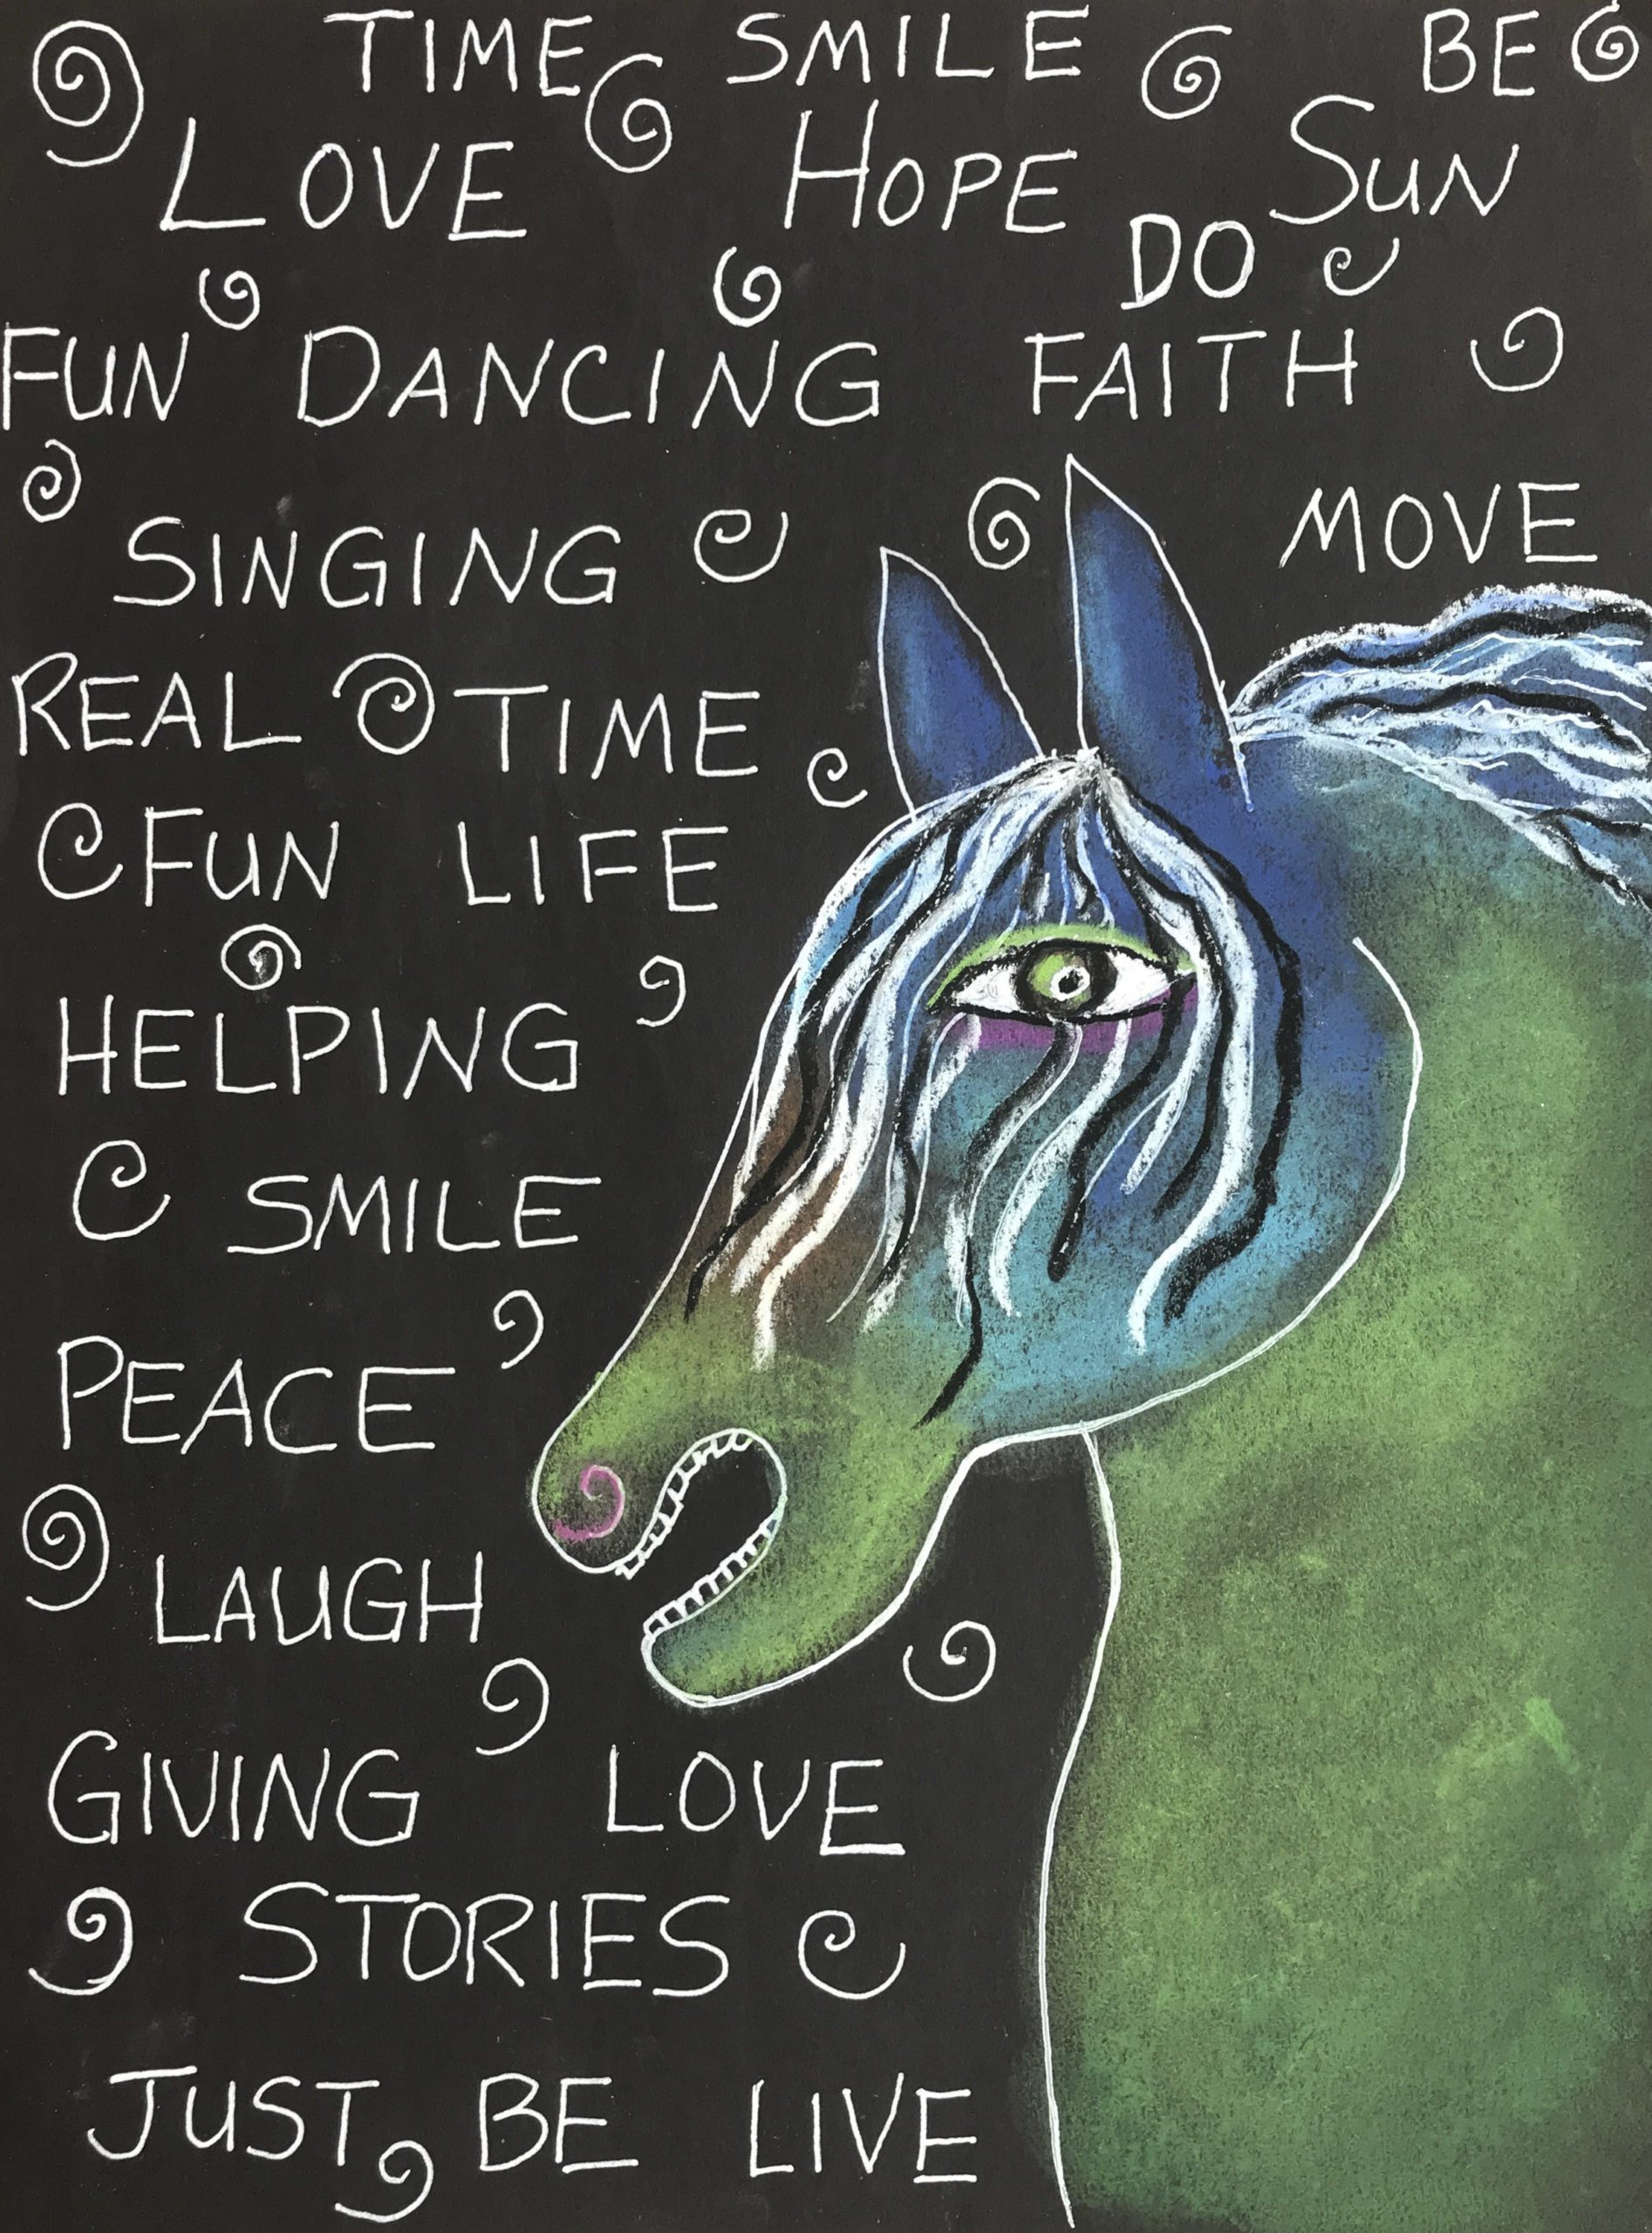
Laurel Burch Pastel Horse

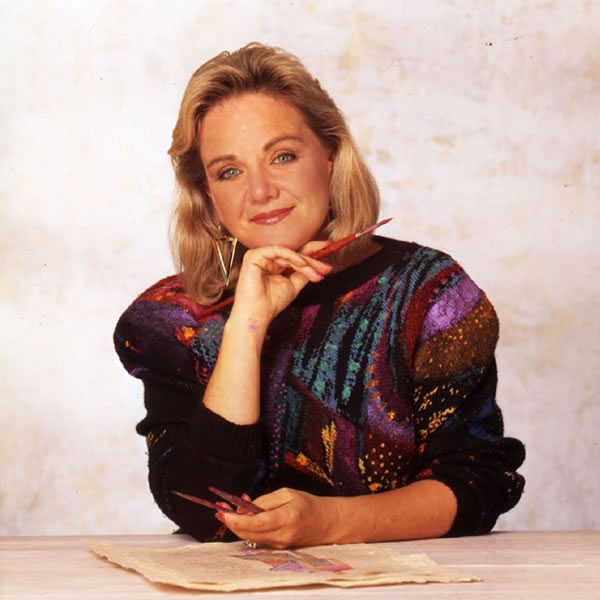
Who is Laurel Burch?
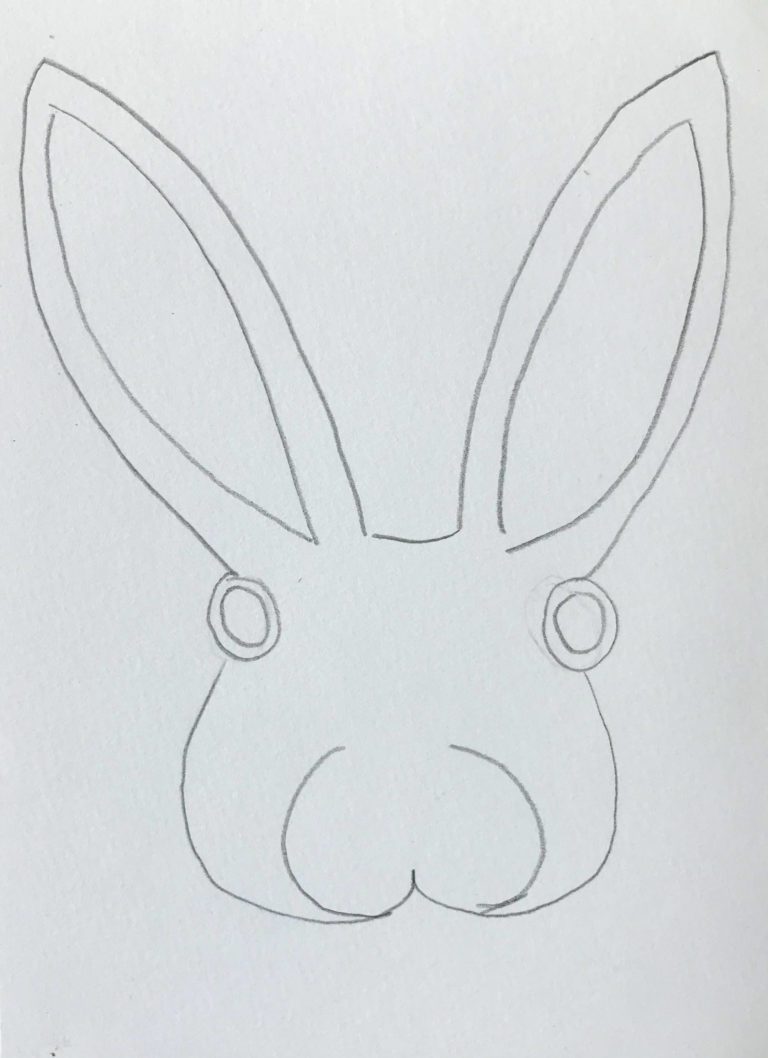
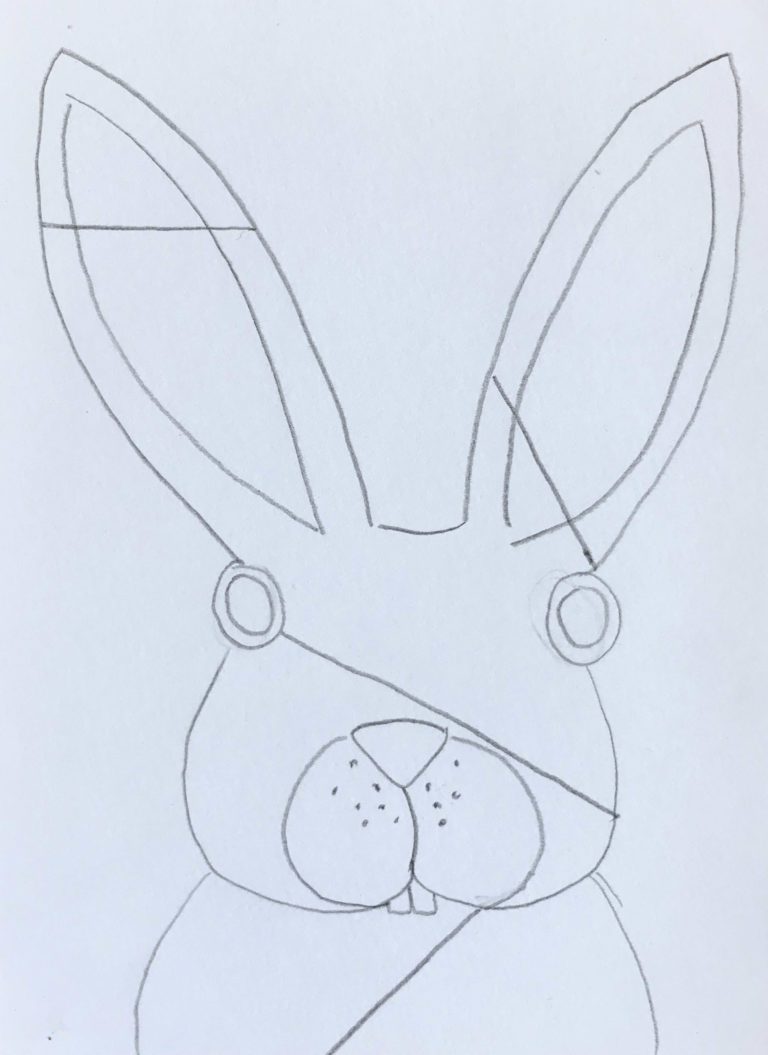
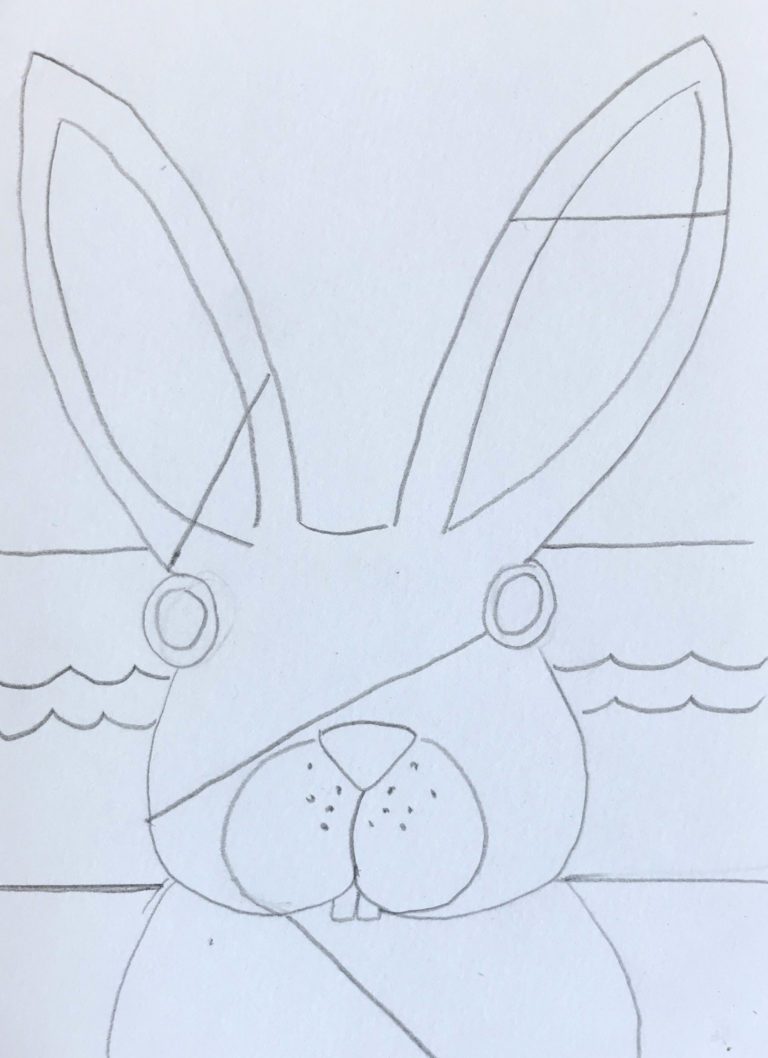
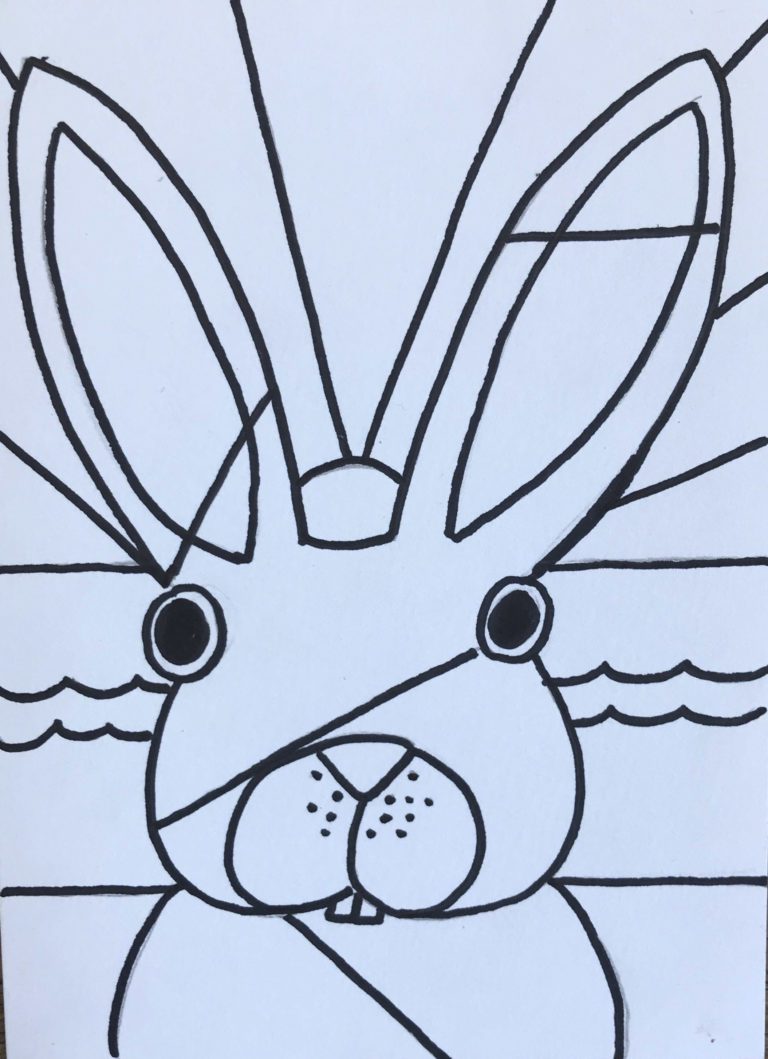
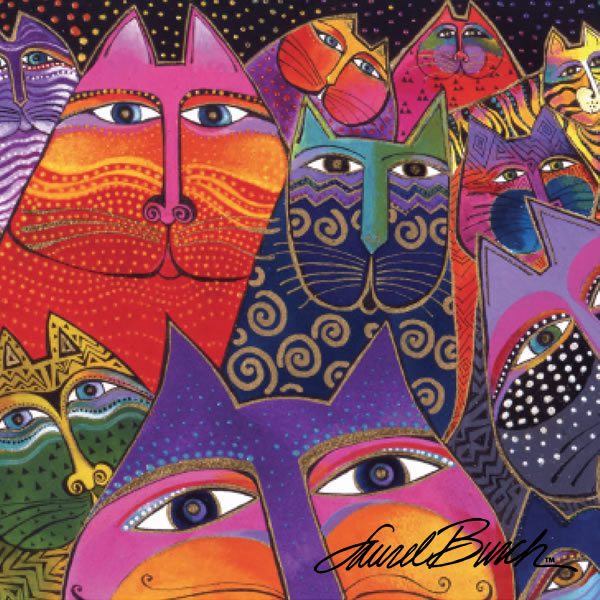
Laurel Burch was born in 1945 and died in 2007. She was an American artist, designer, and business woman. She was a self taught artist and started her art career by making jewelry. She is most famous for her paintings of cats, but also did many paintings of butterflies, horses, and dogs. My art project (below) focuses on her love of horses and the positive messages her art symbolizes.
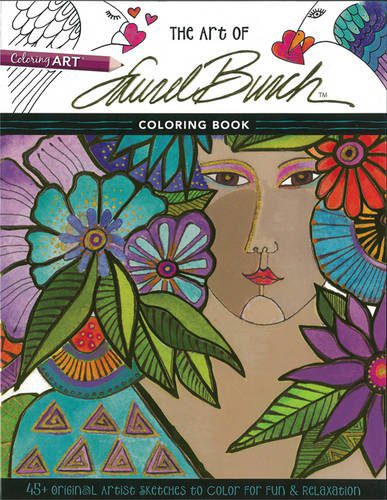
The Art of Laurel Burch Coloring Book
This is a neat coloring book on Laurel Burch designs!

Laurel Burch Dream Believers: Inspirations for Life - Love - Hope
This book has beautiful illustrations and quotes from Laurel Burch. It isn't made as a kids book but has some great info!
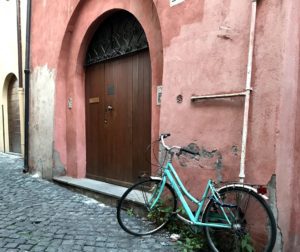
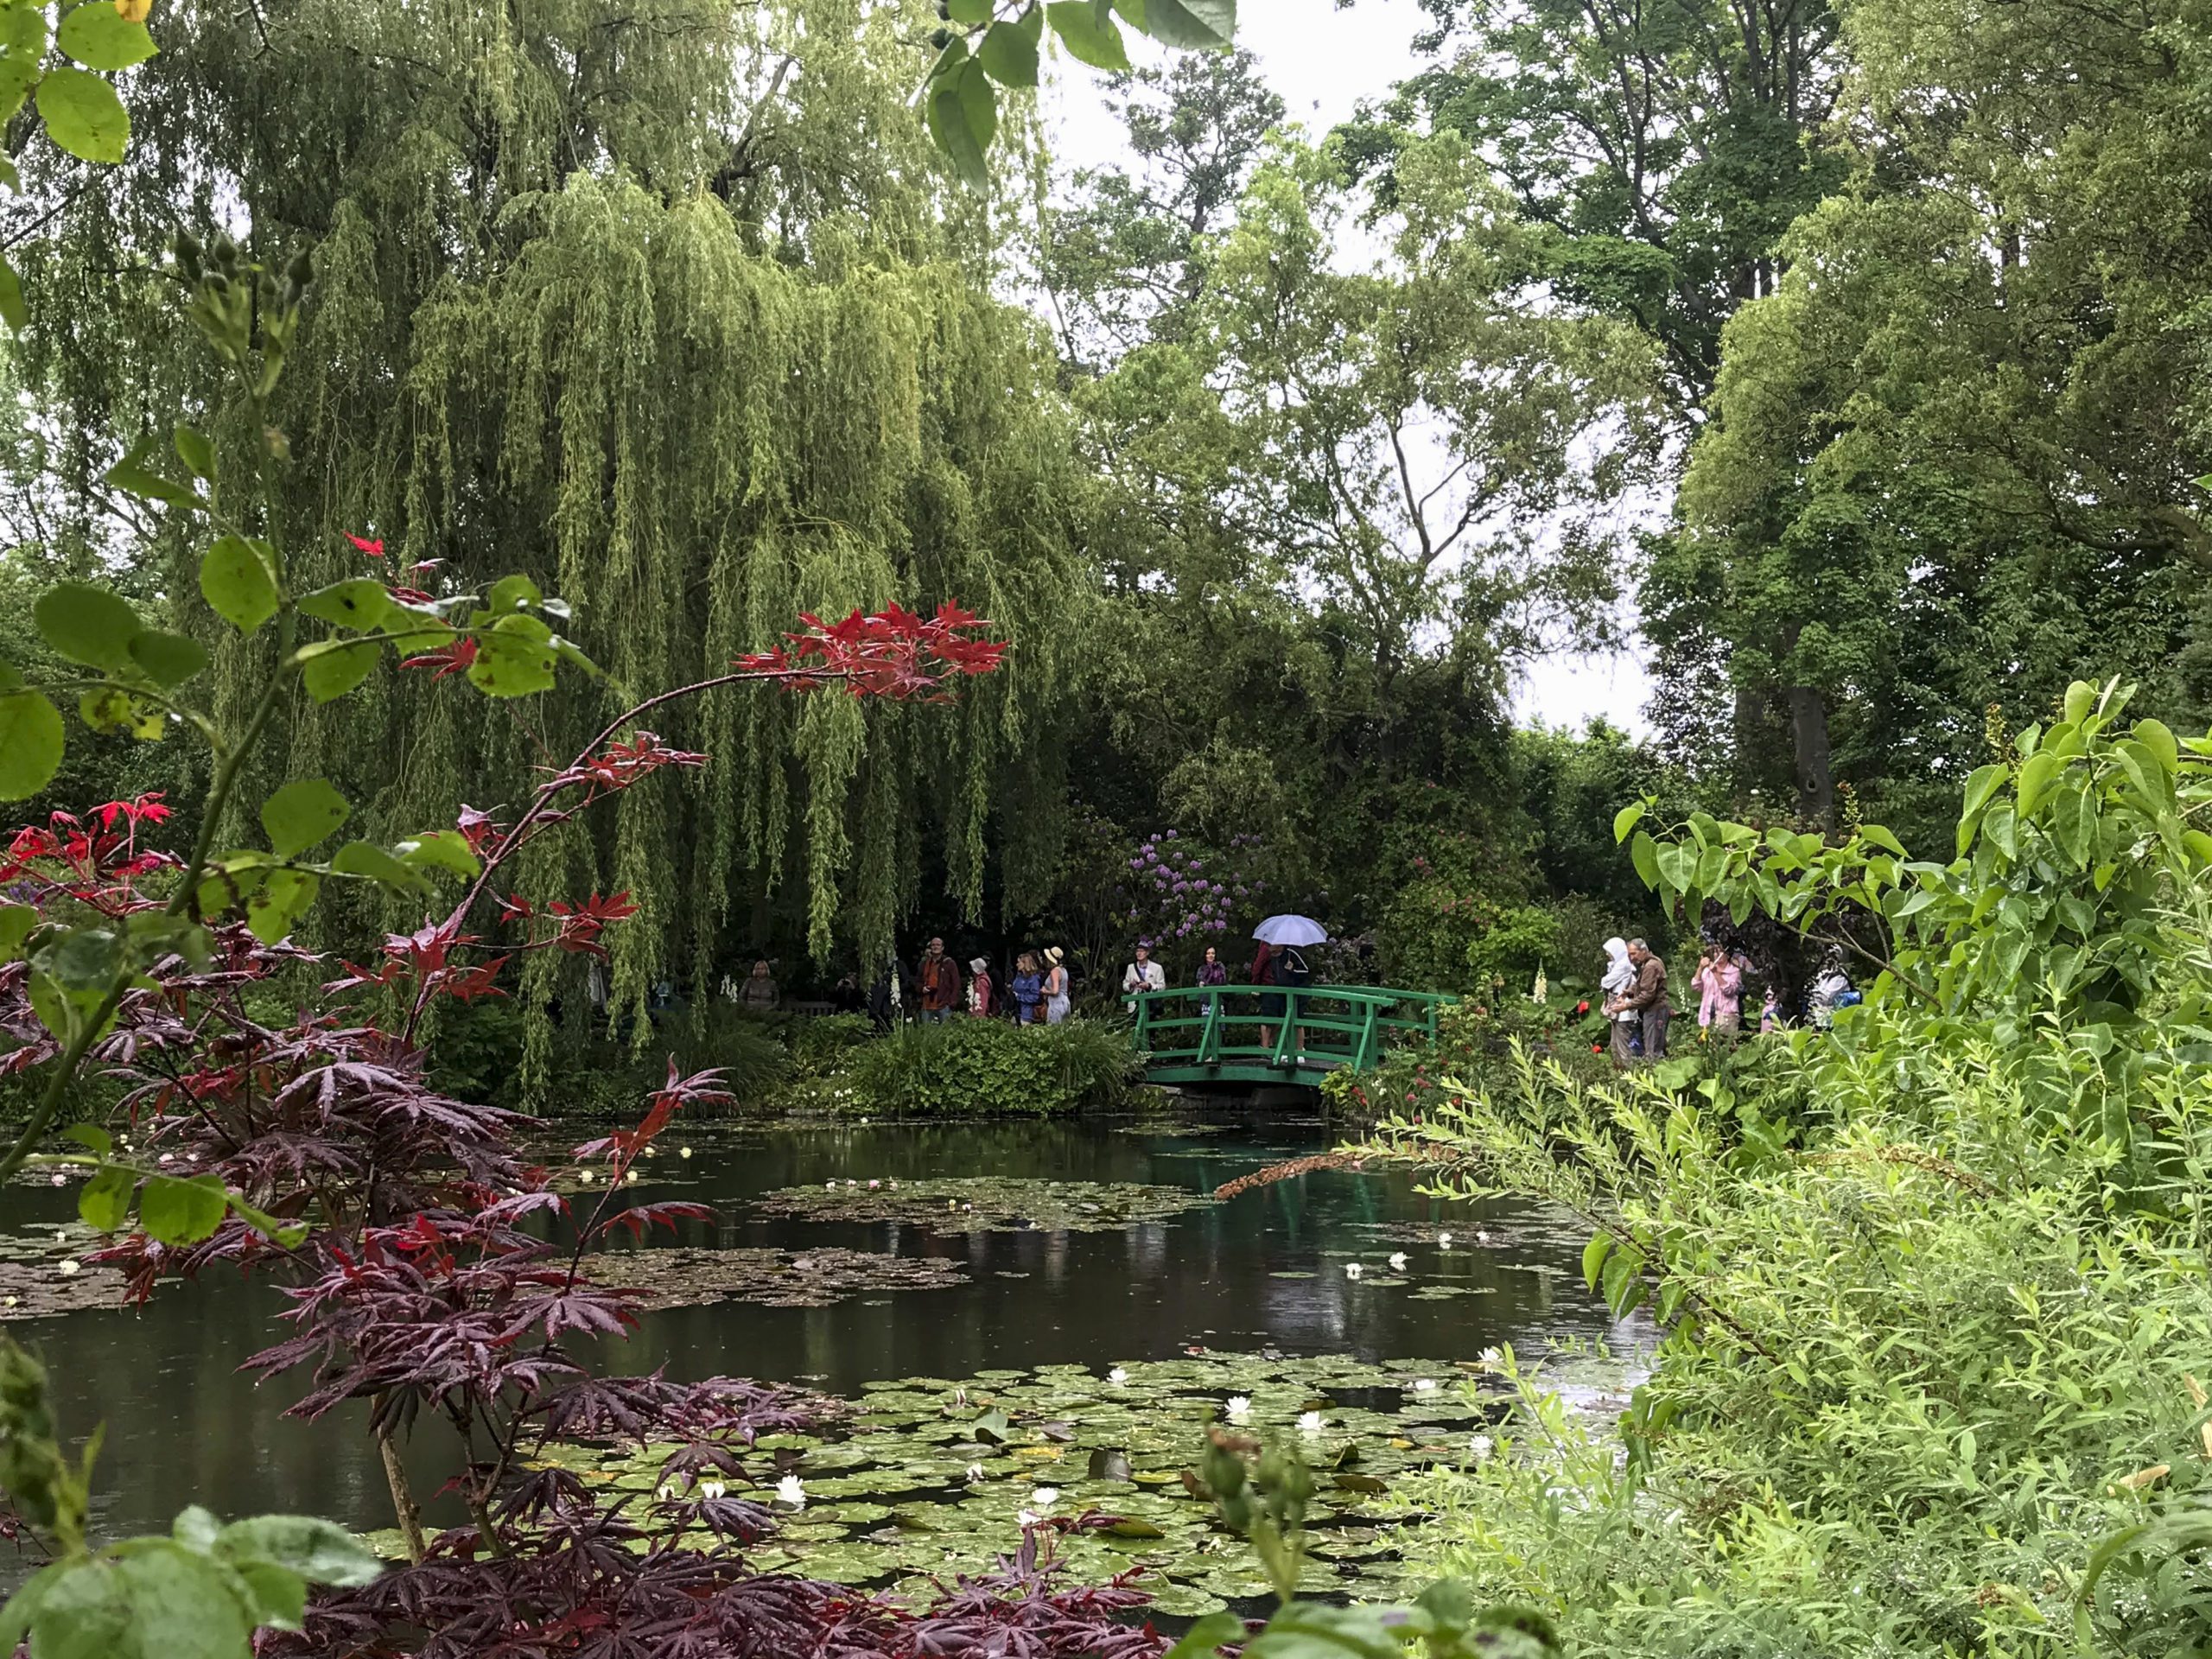
The Doors of Italy
At the end of a 3 week vacation to Europe, I came away with so many pictures of things that captured my interest and the mood of the moment. I couldn’t get enough of all the time worn doors, especially those in Italy.
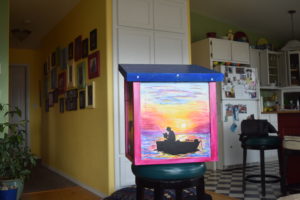
Making Reading Beautiful!
We painted Free Little Libraries! Does your city have a Little Free Library? These are little free standing libraries that have a “host” who looks after them and can be located in someone’s yard , out in the country, or in front of a business or in a park. You can take a book to read or leave one for someone else to find.
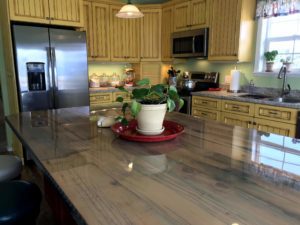
My Beautiful Tuscan Kitchen
This year marks the two year anniversary of our kitchen remodel! My wonderful cabinet maker husband finally got around to making this custom kitchen for our home and I couldn’t be happier!


Laurel Burch Pastel Horse Read More »


