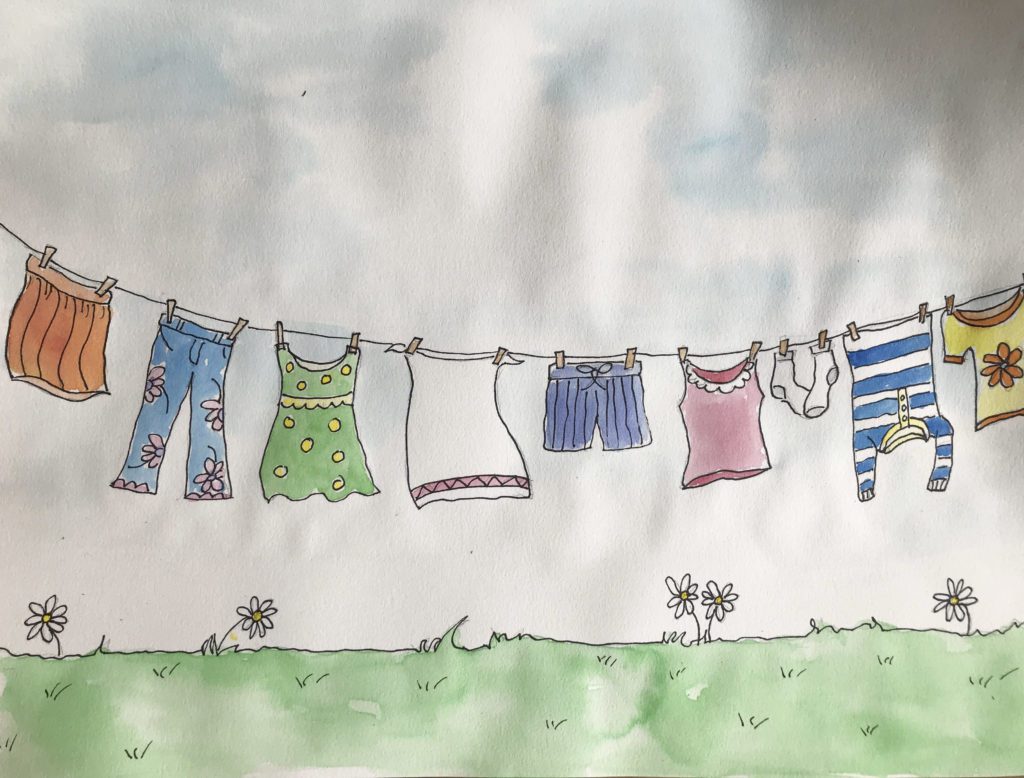
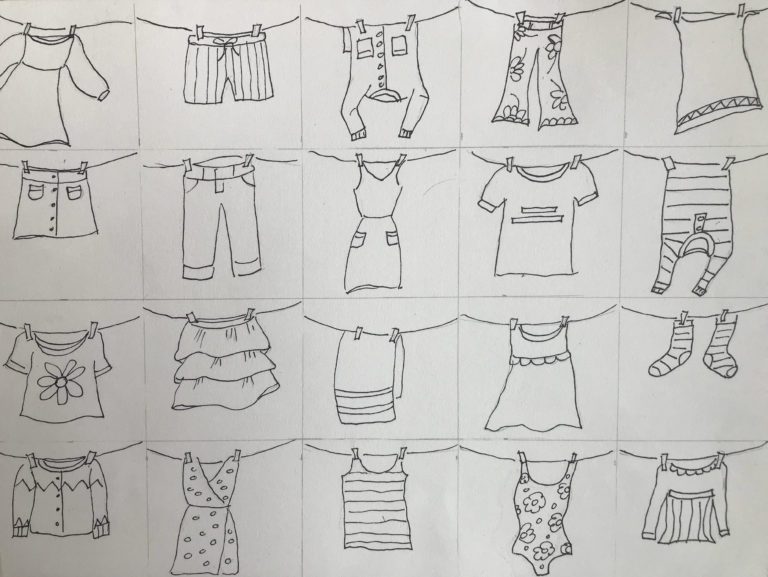
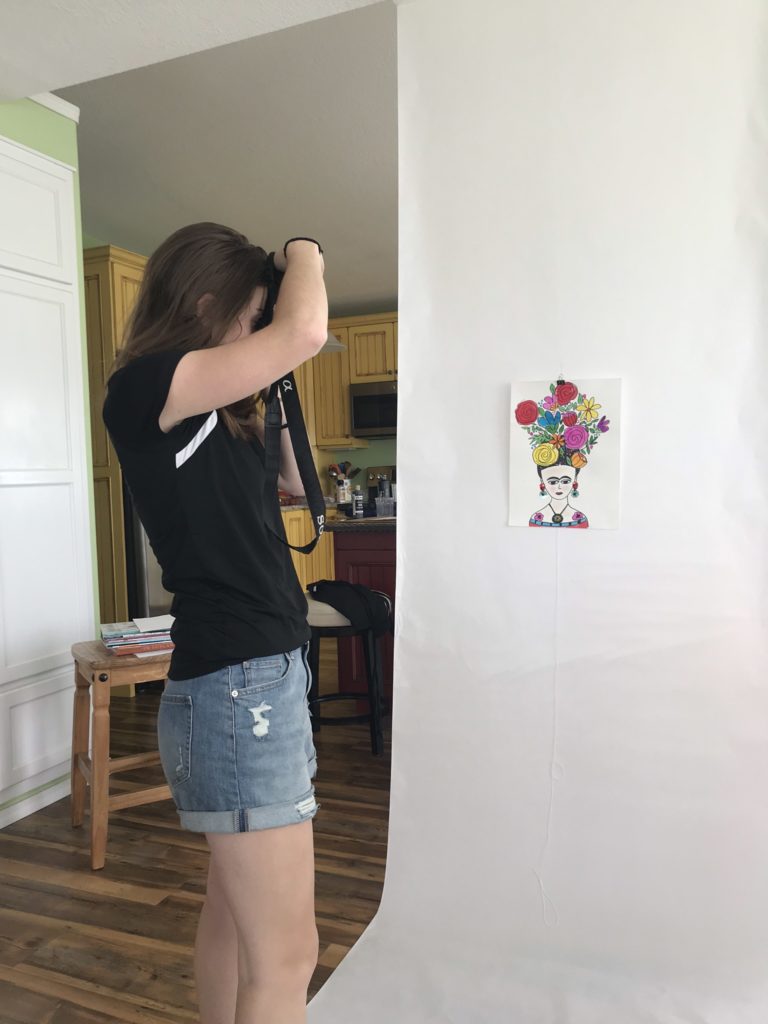
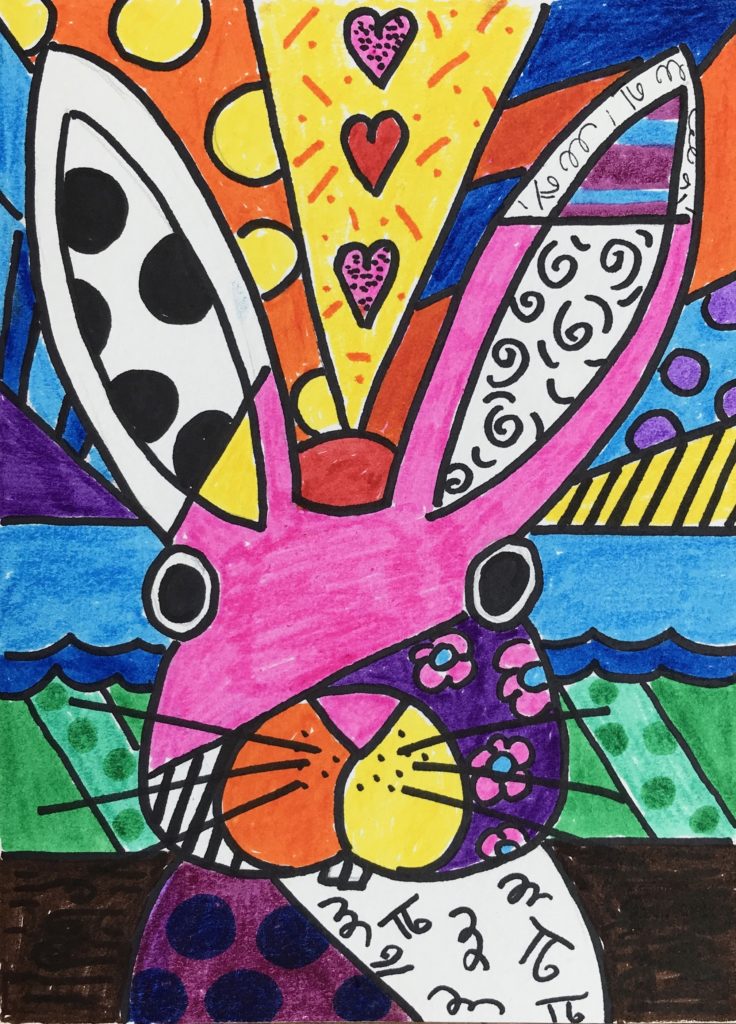
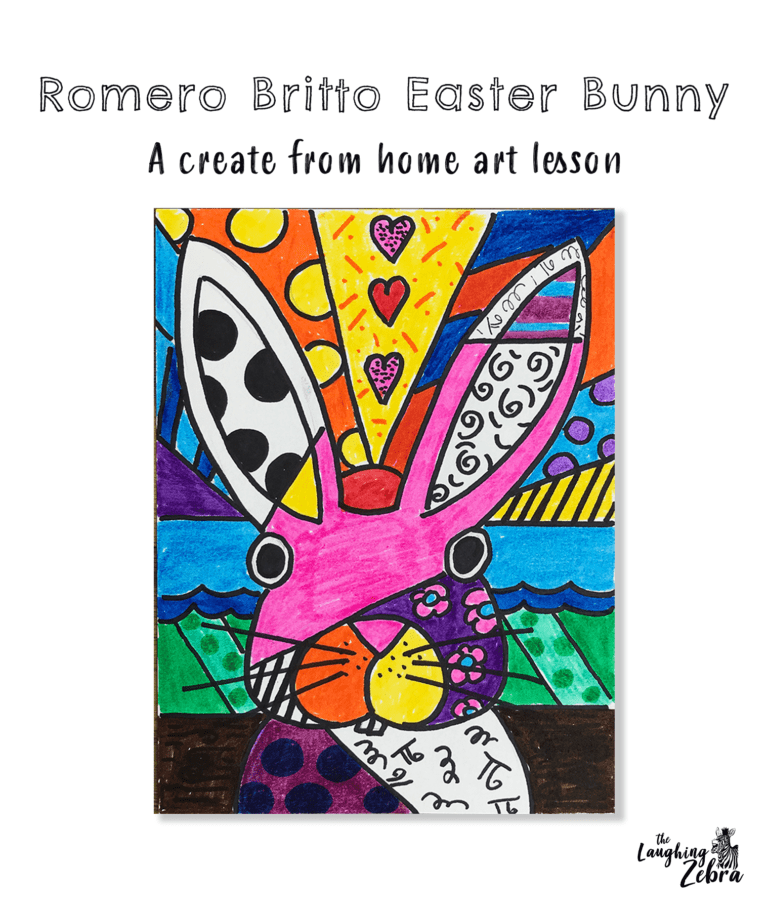
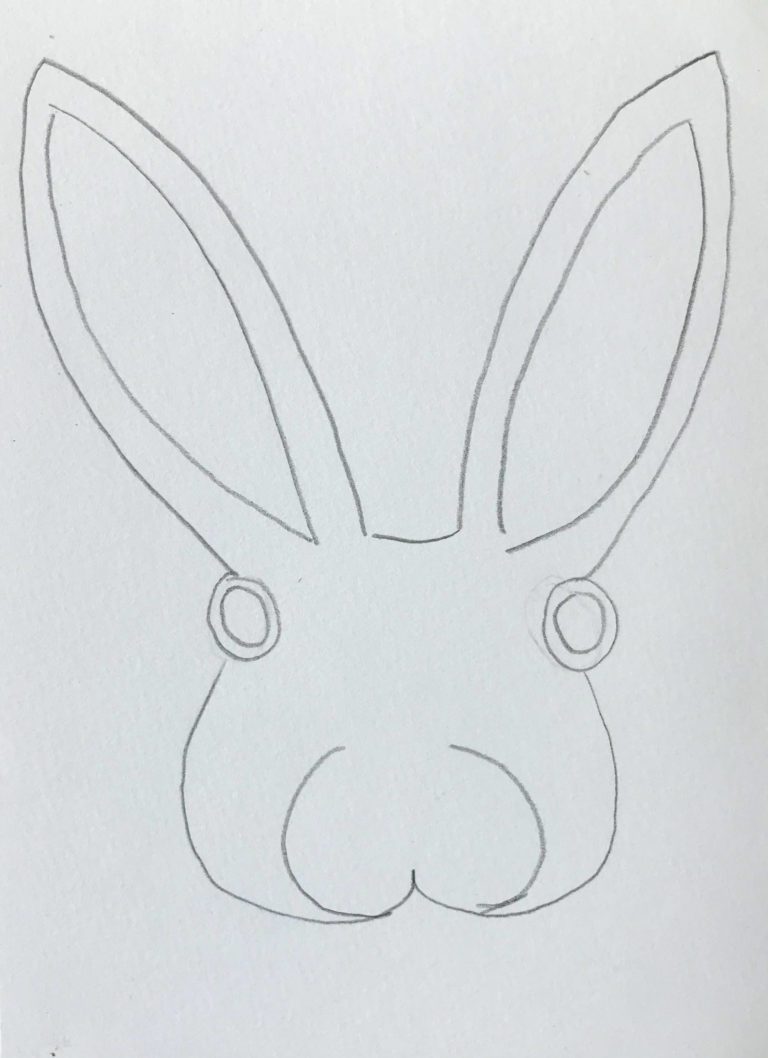
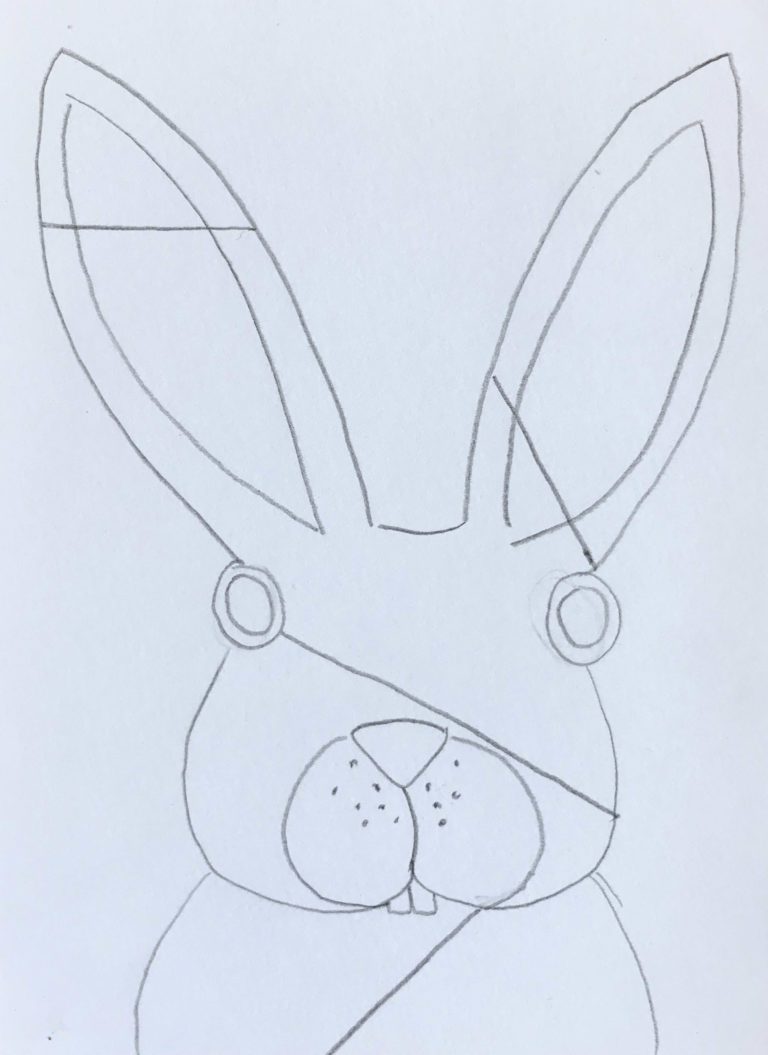
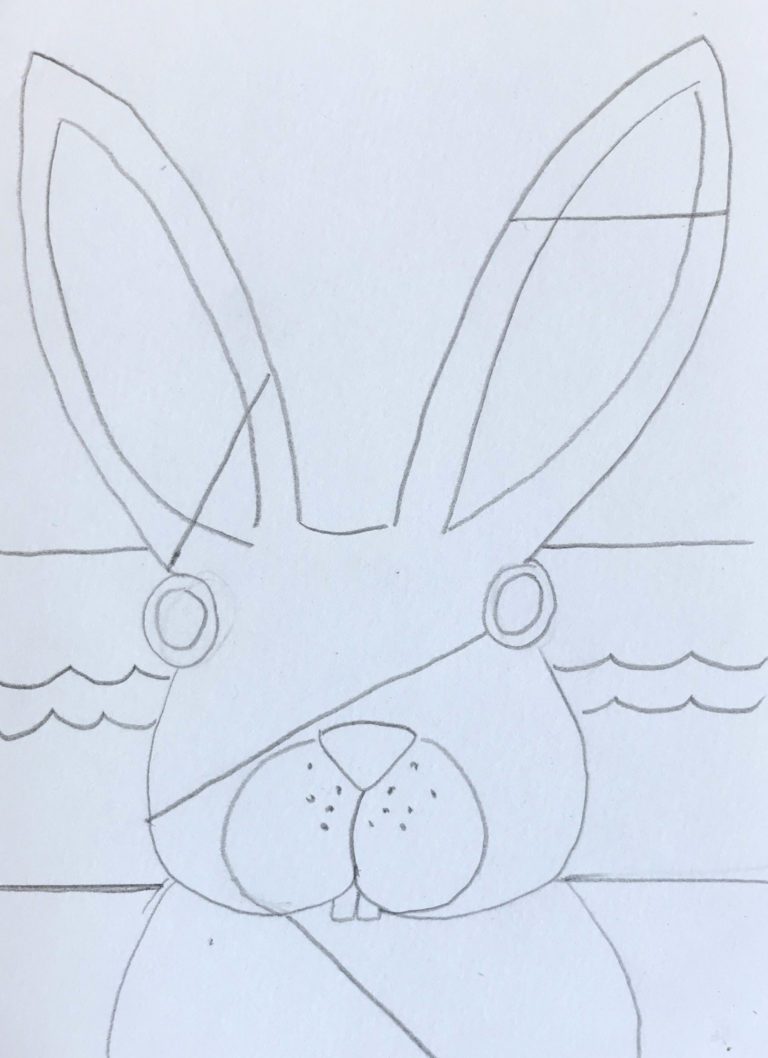
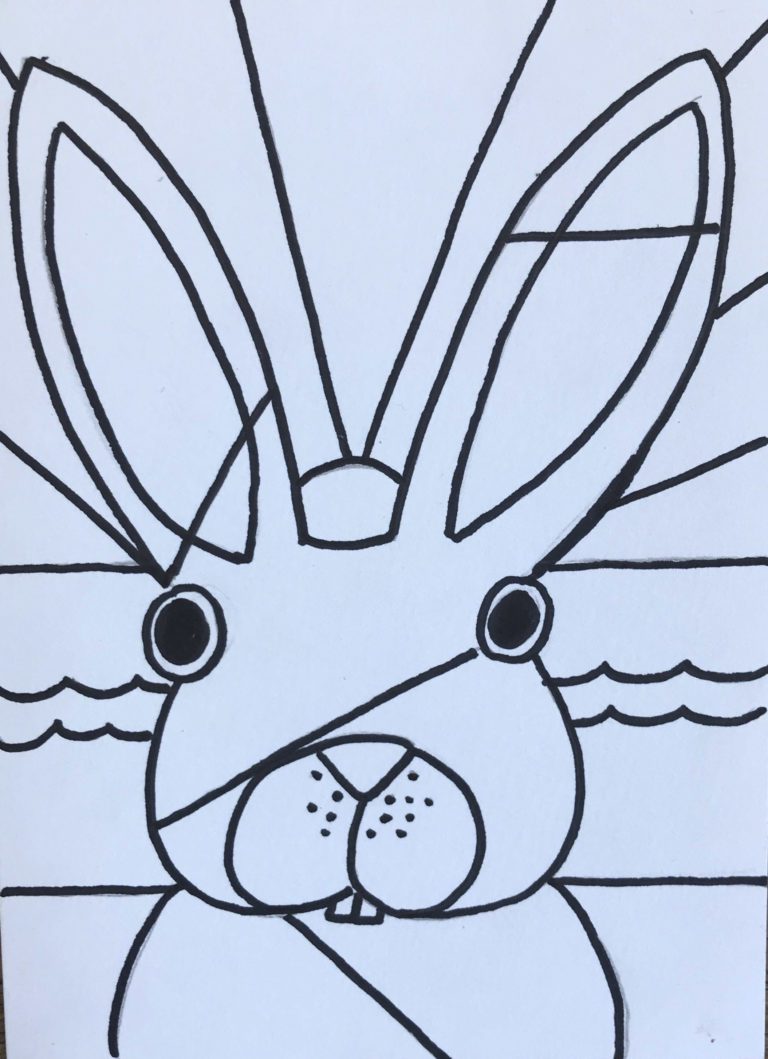
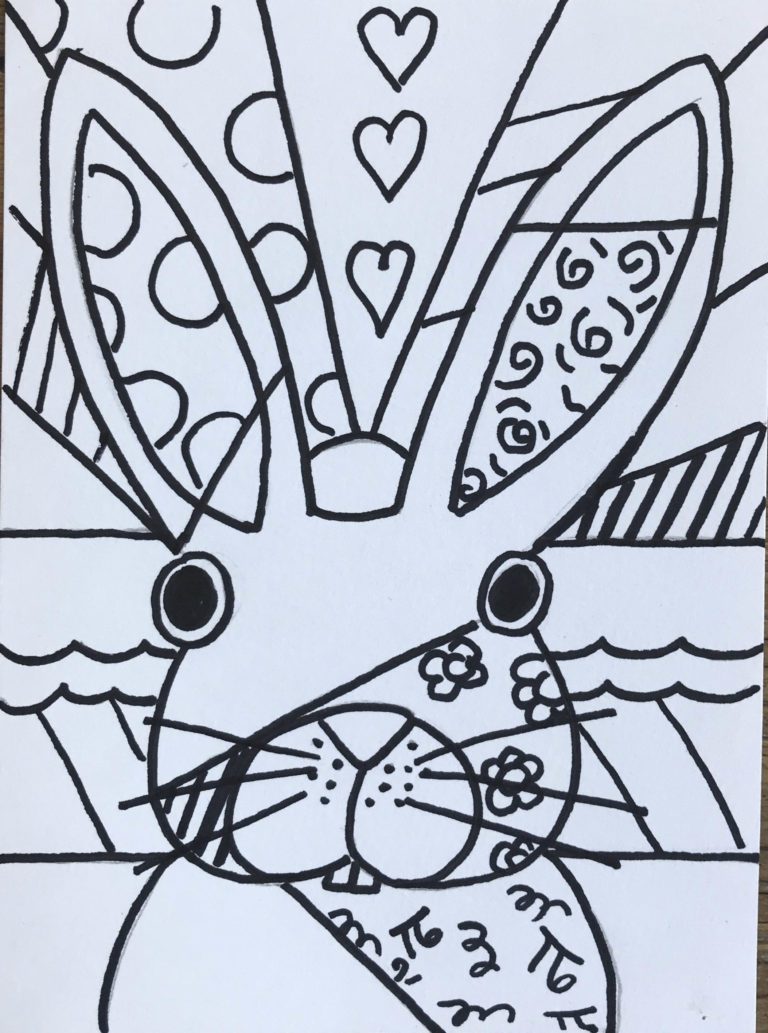
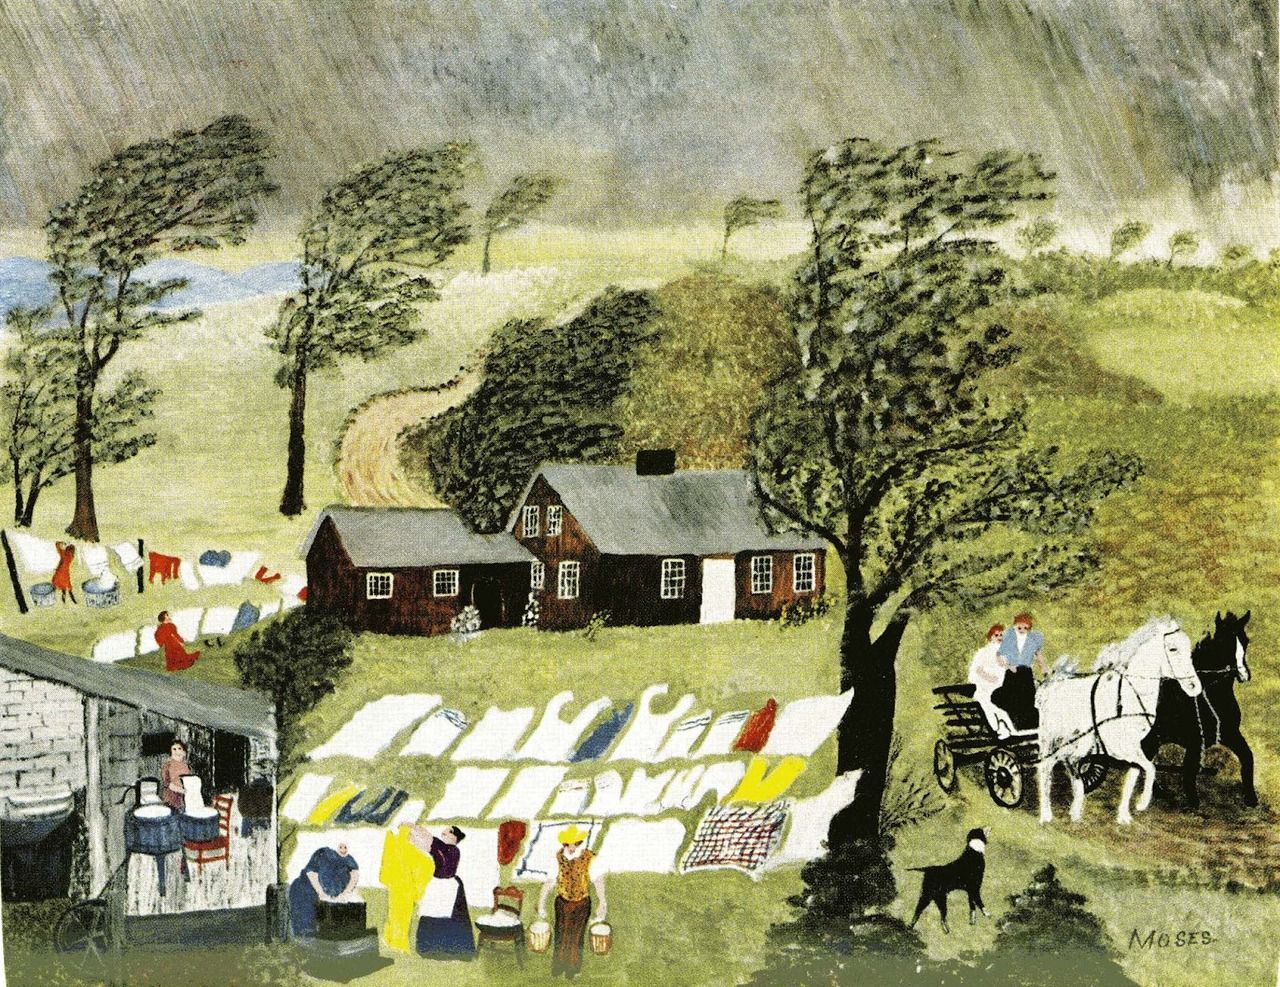
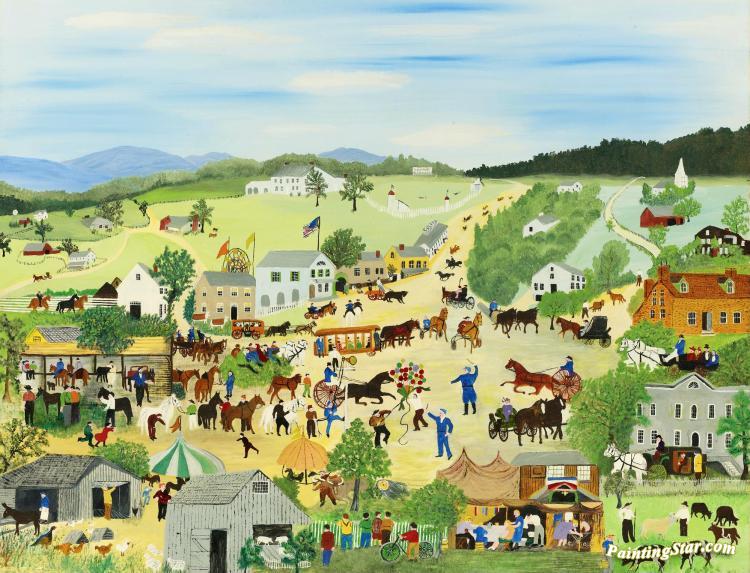
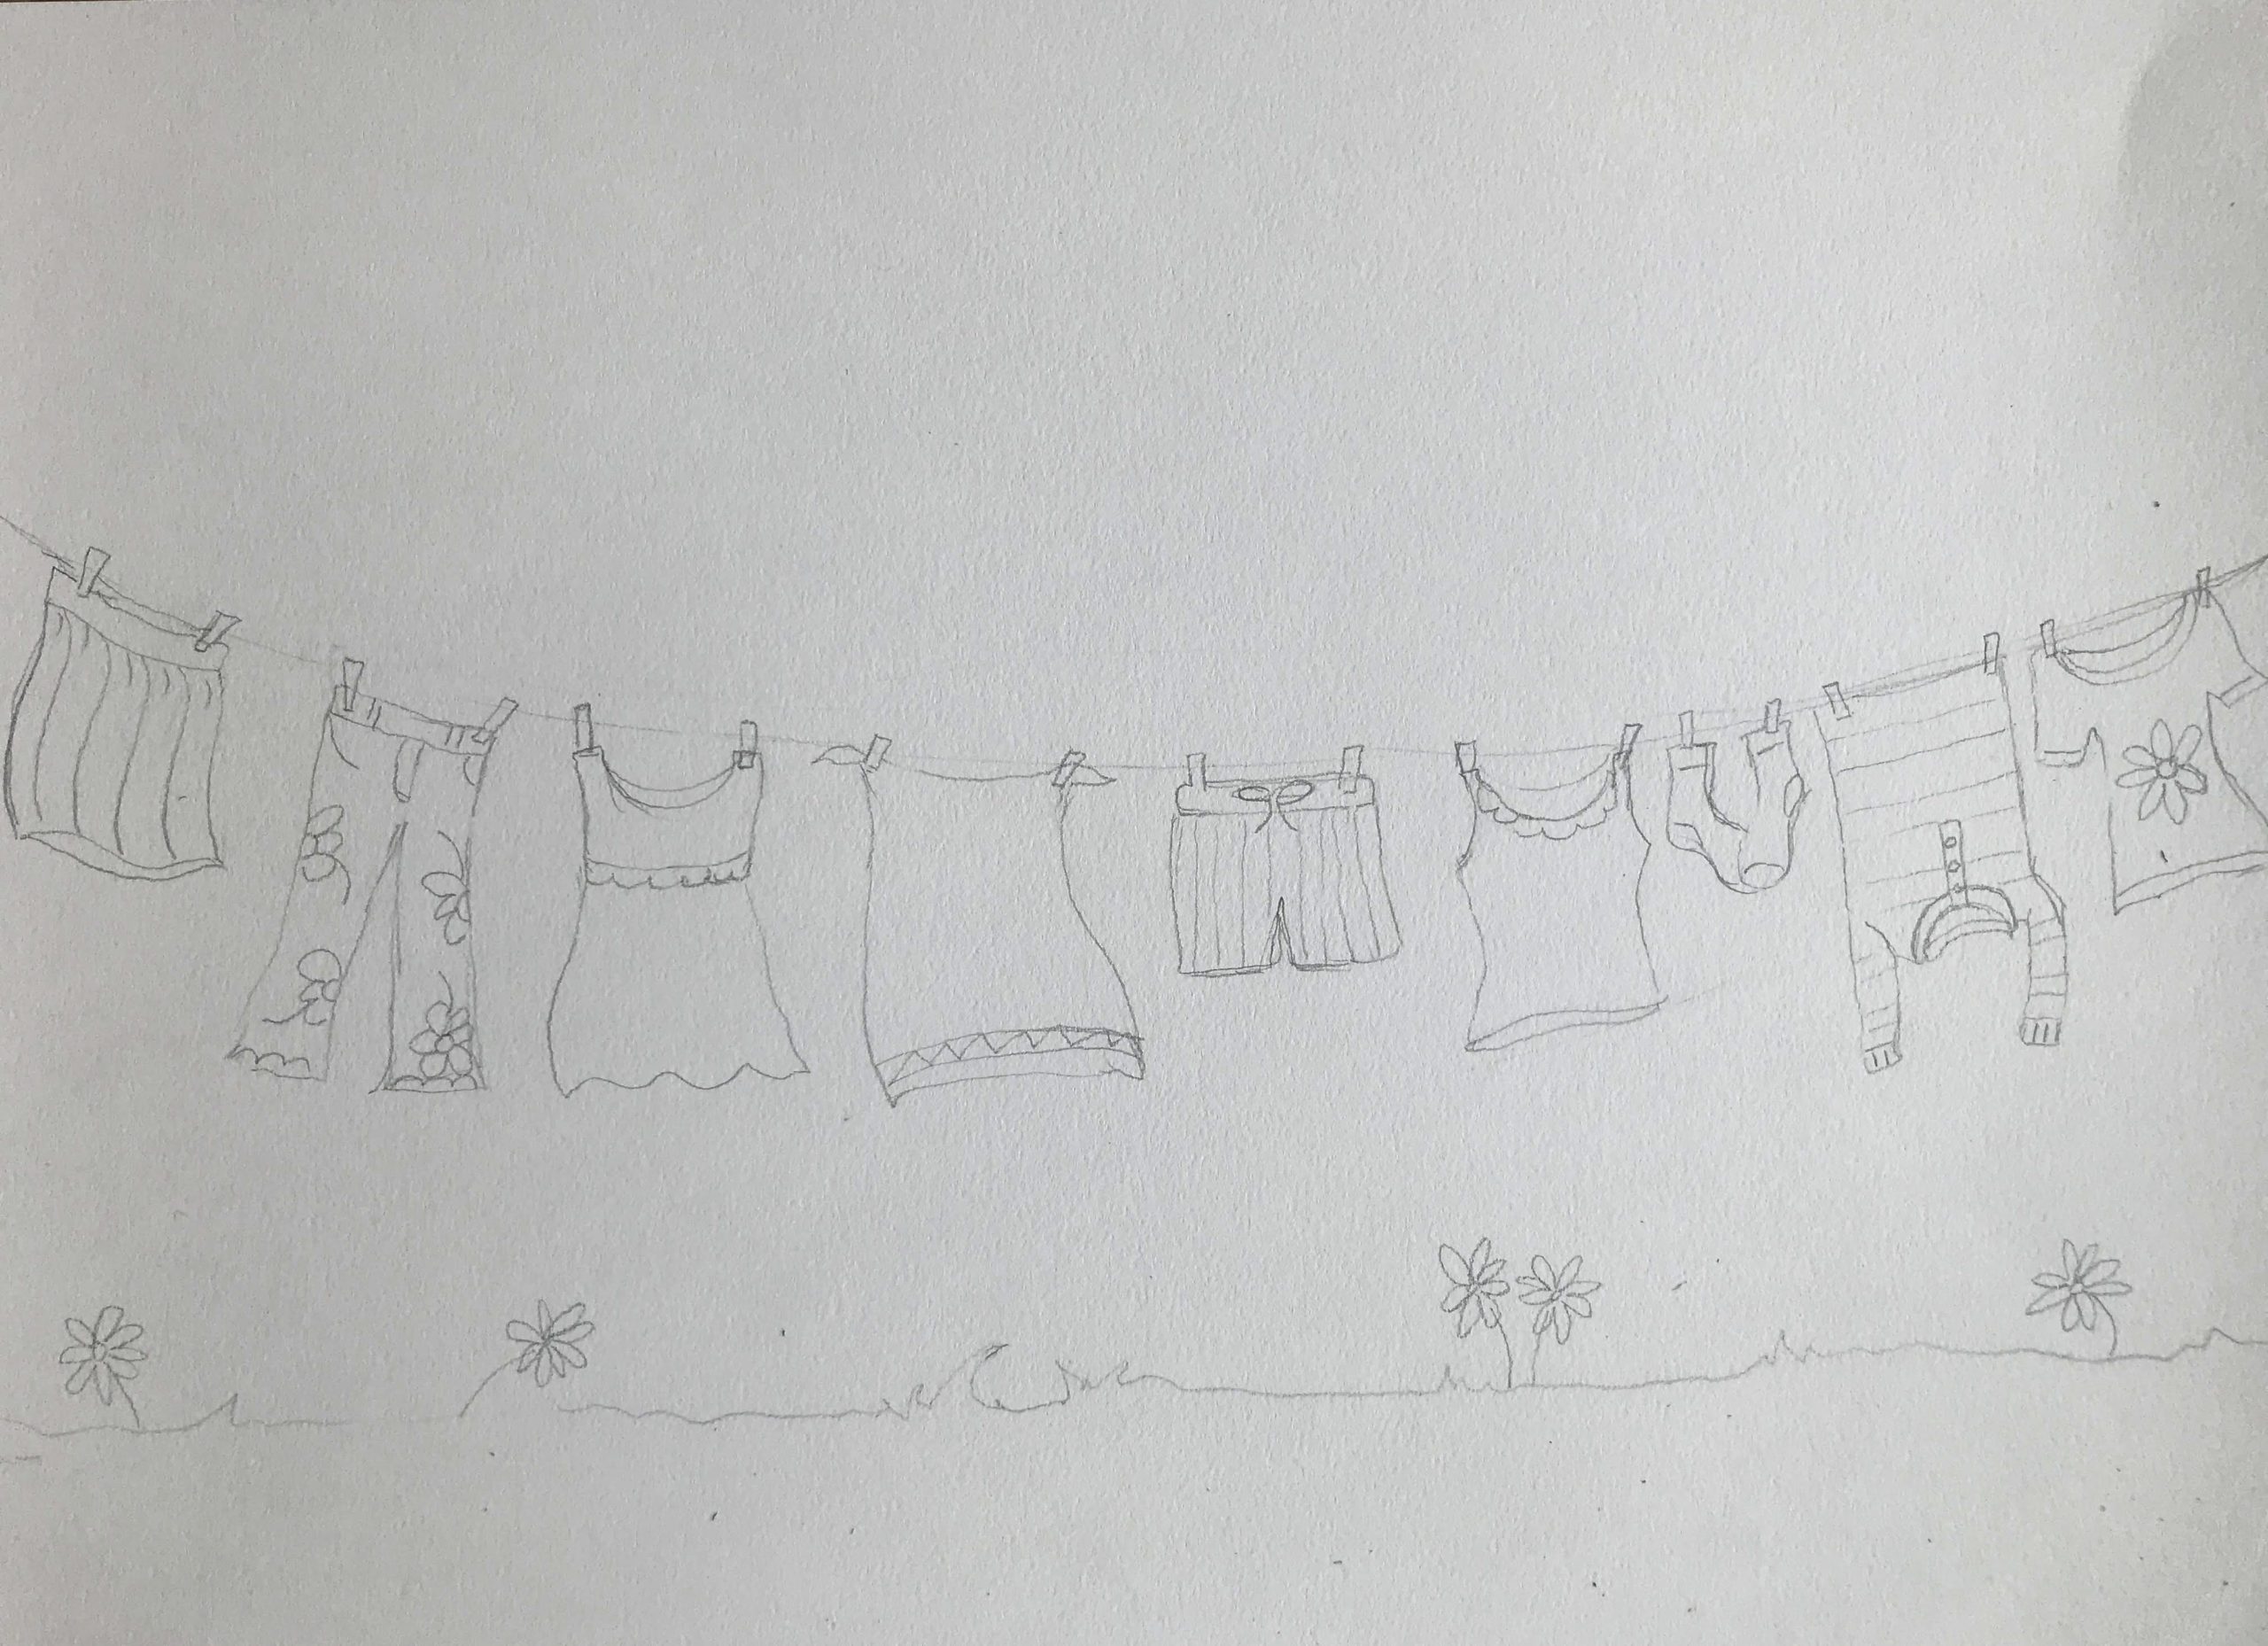
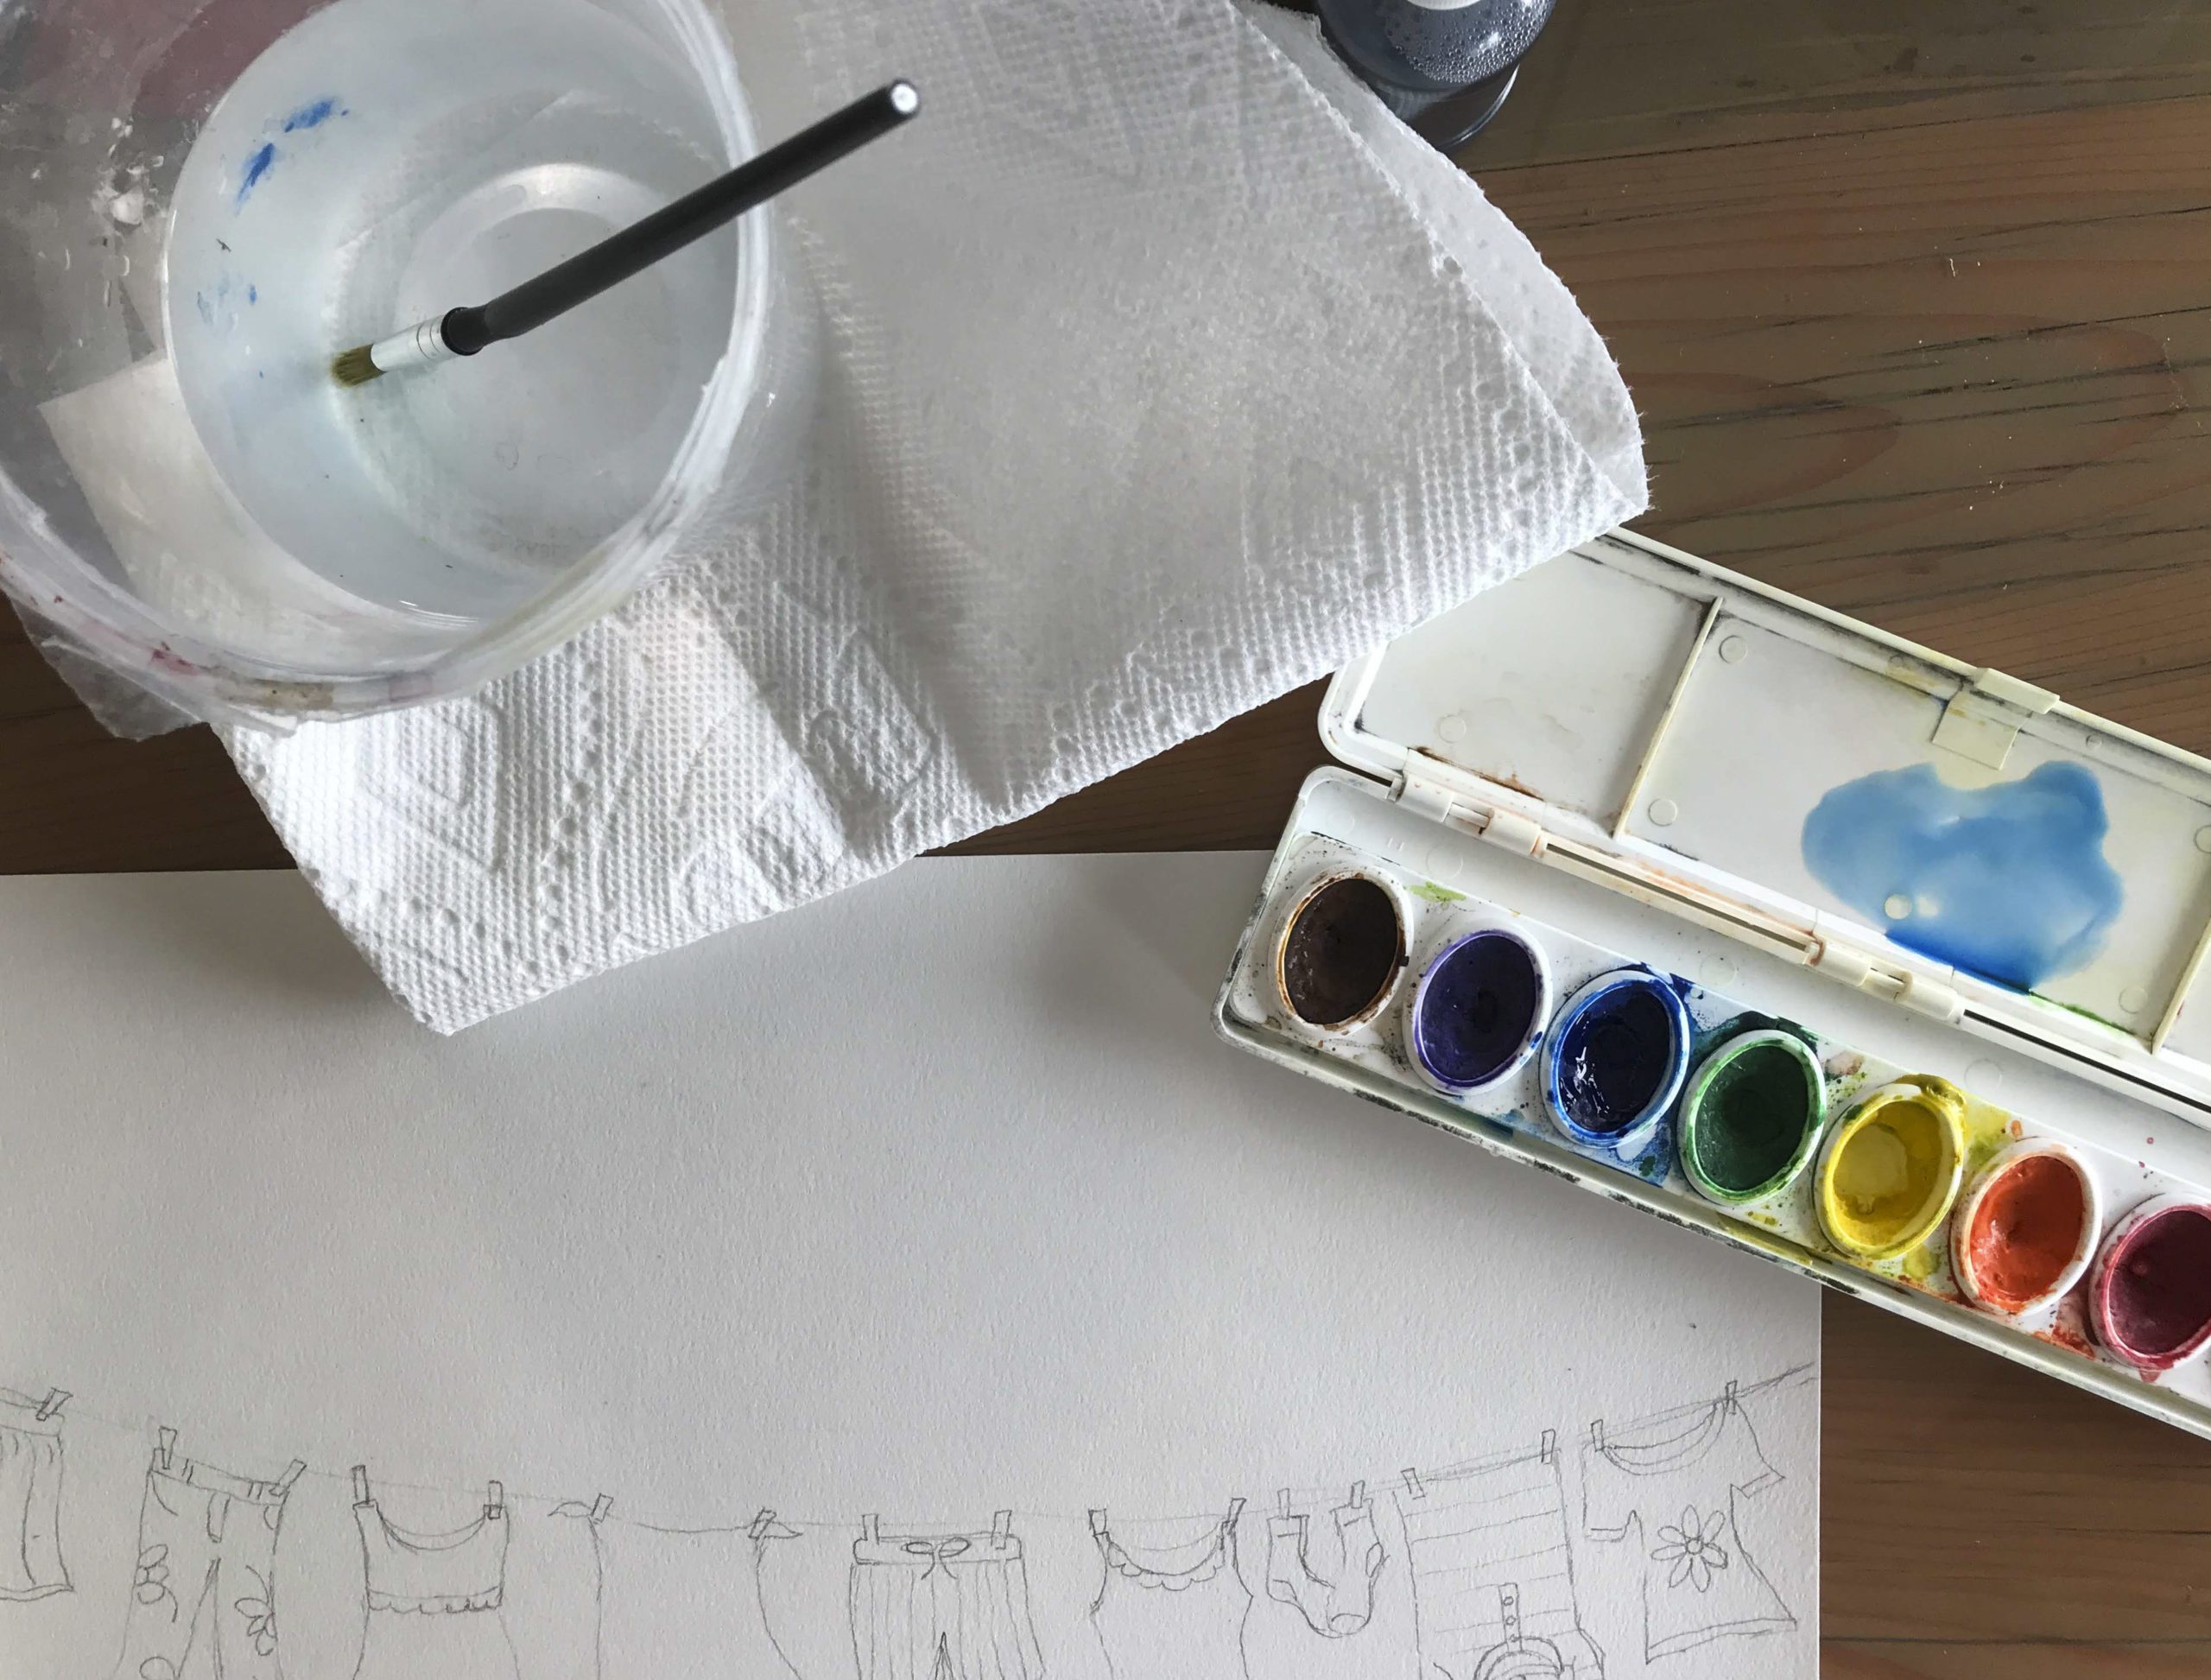
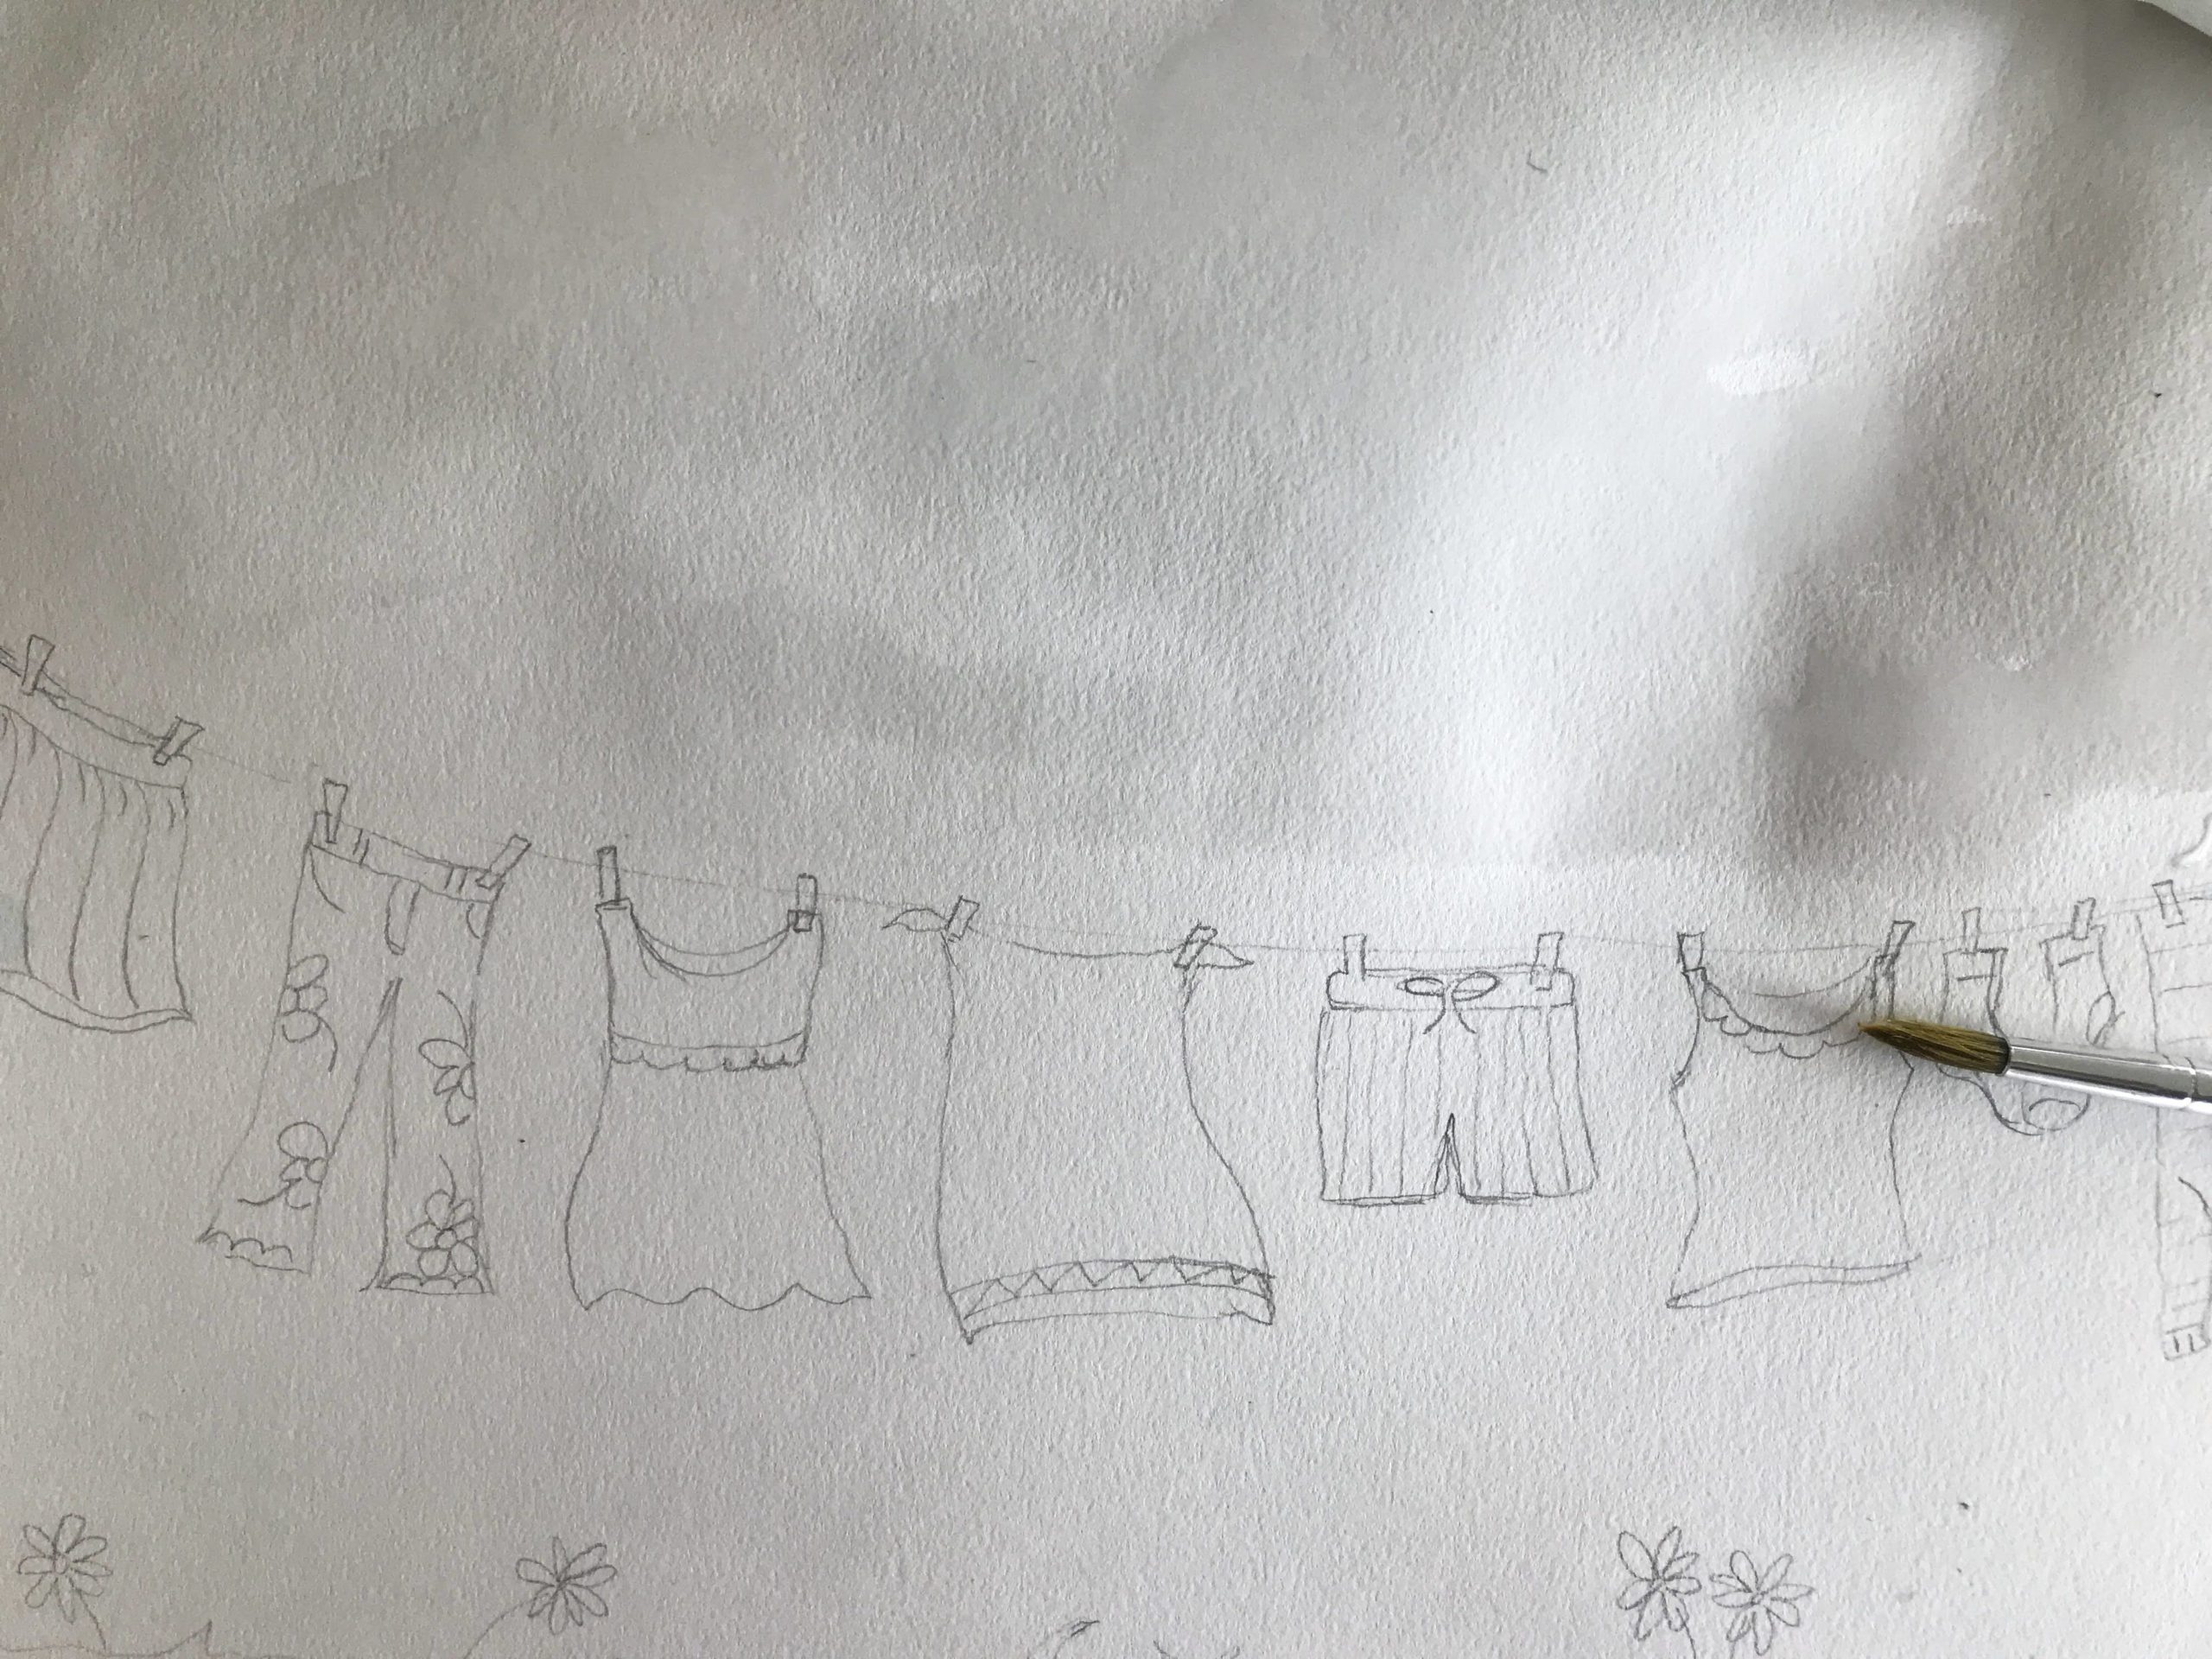
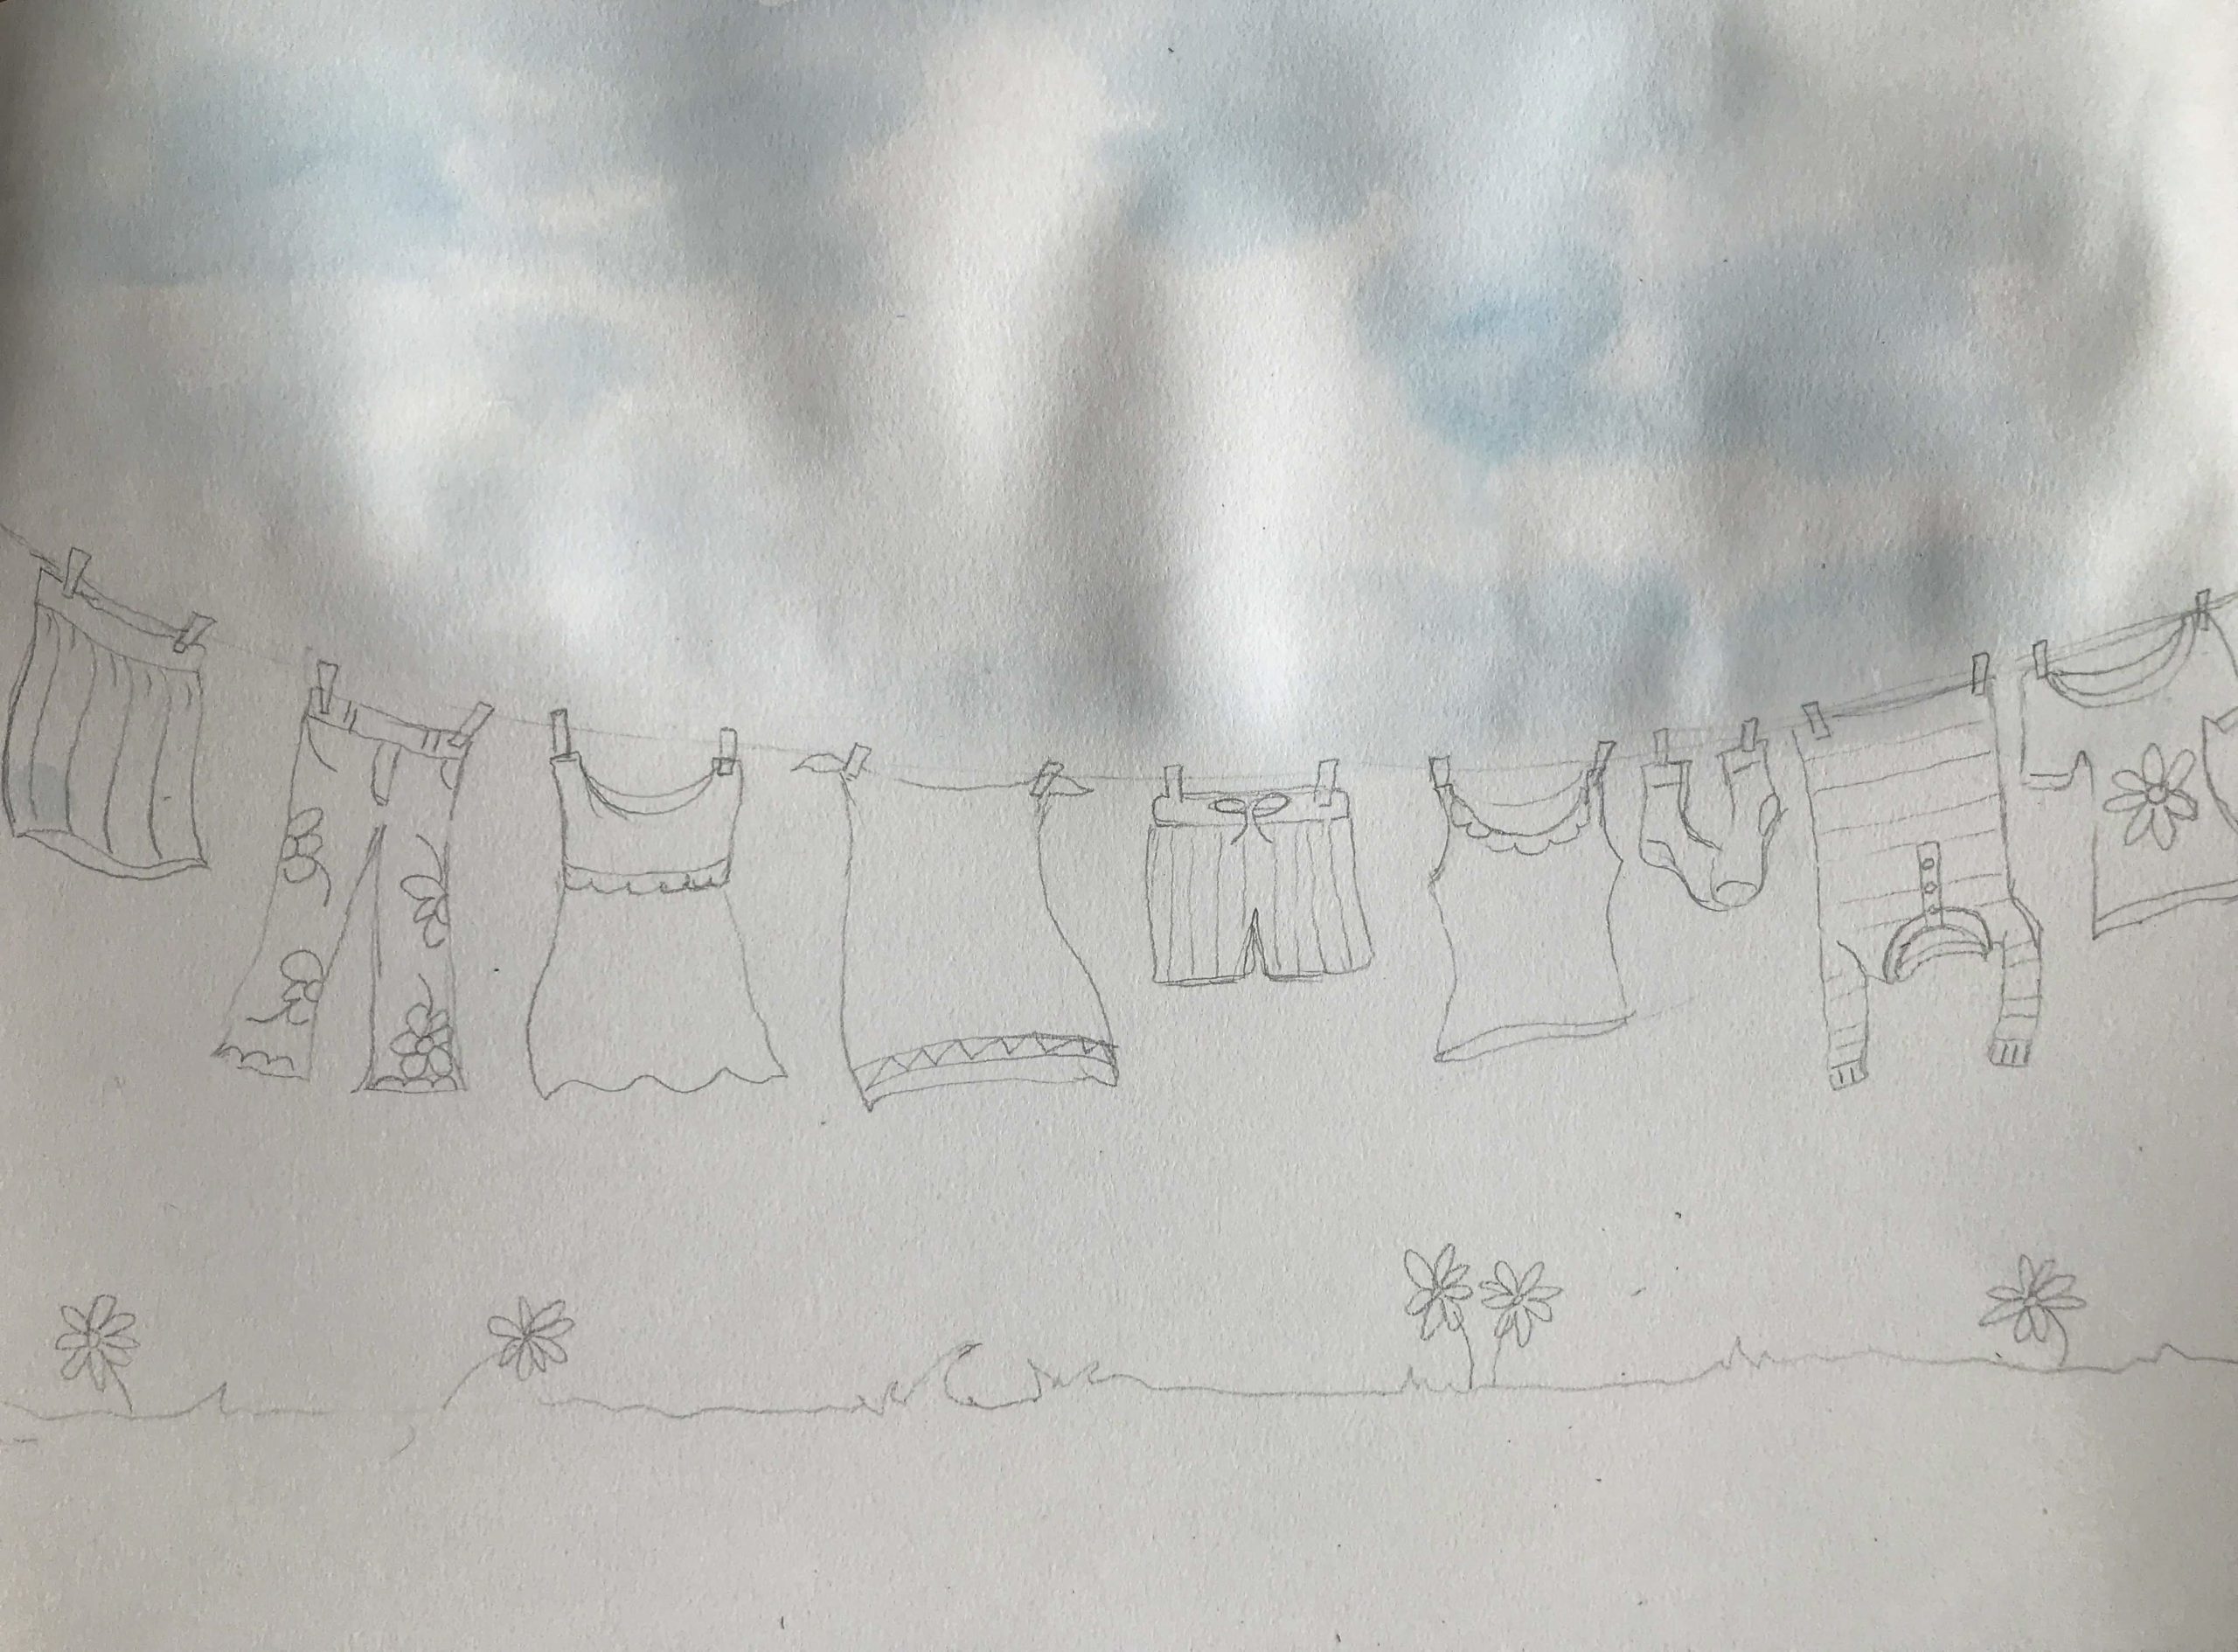
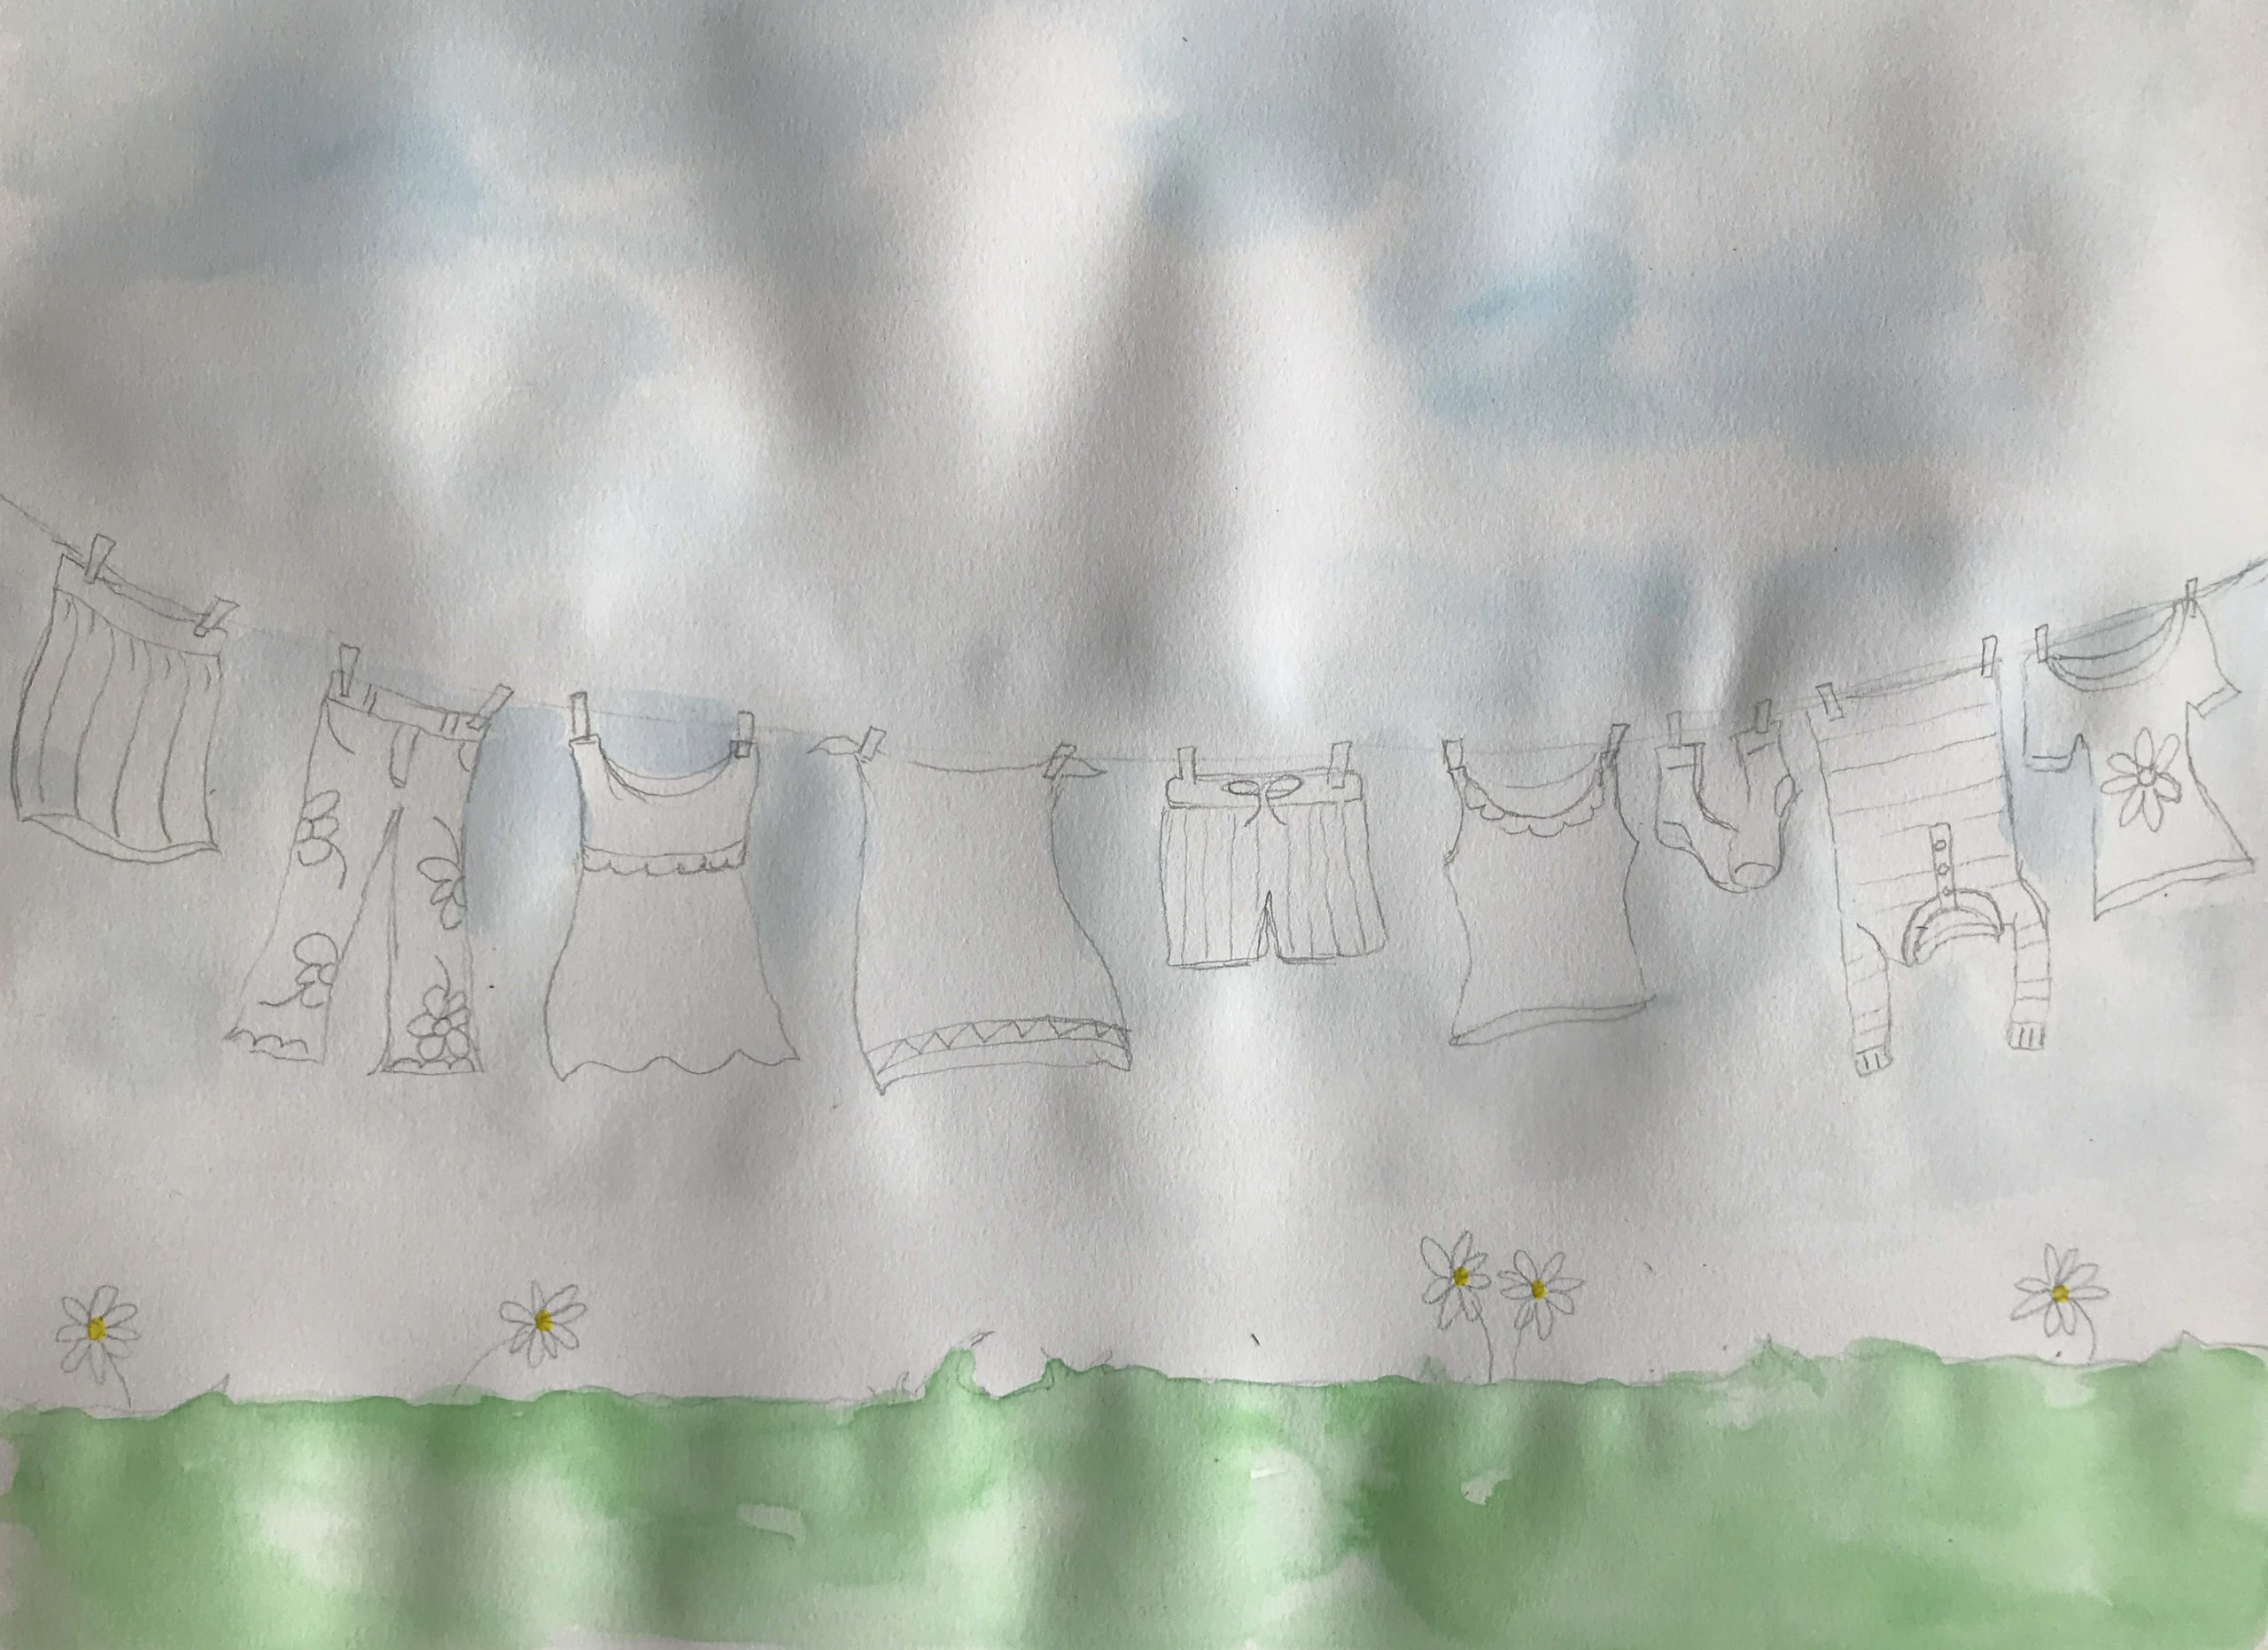
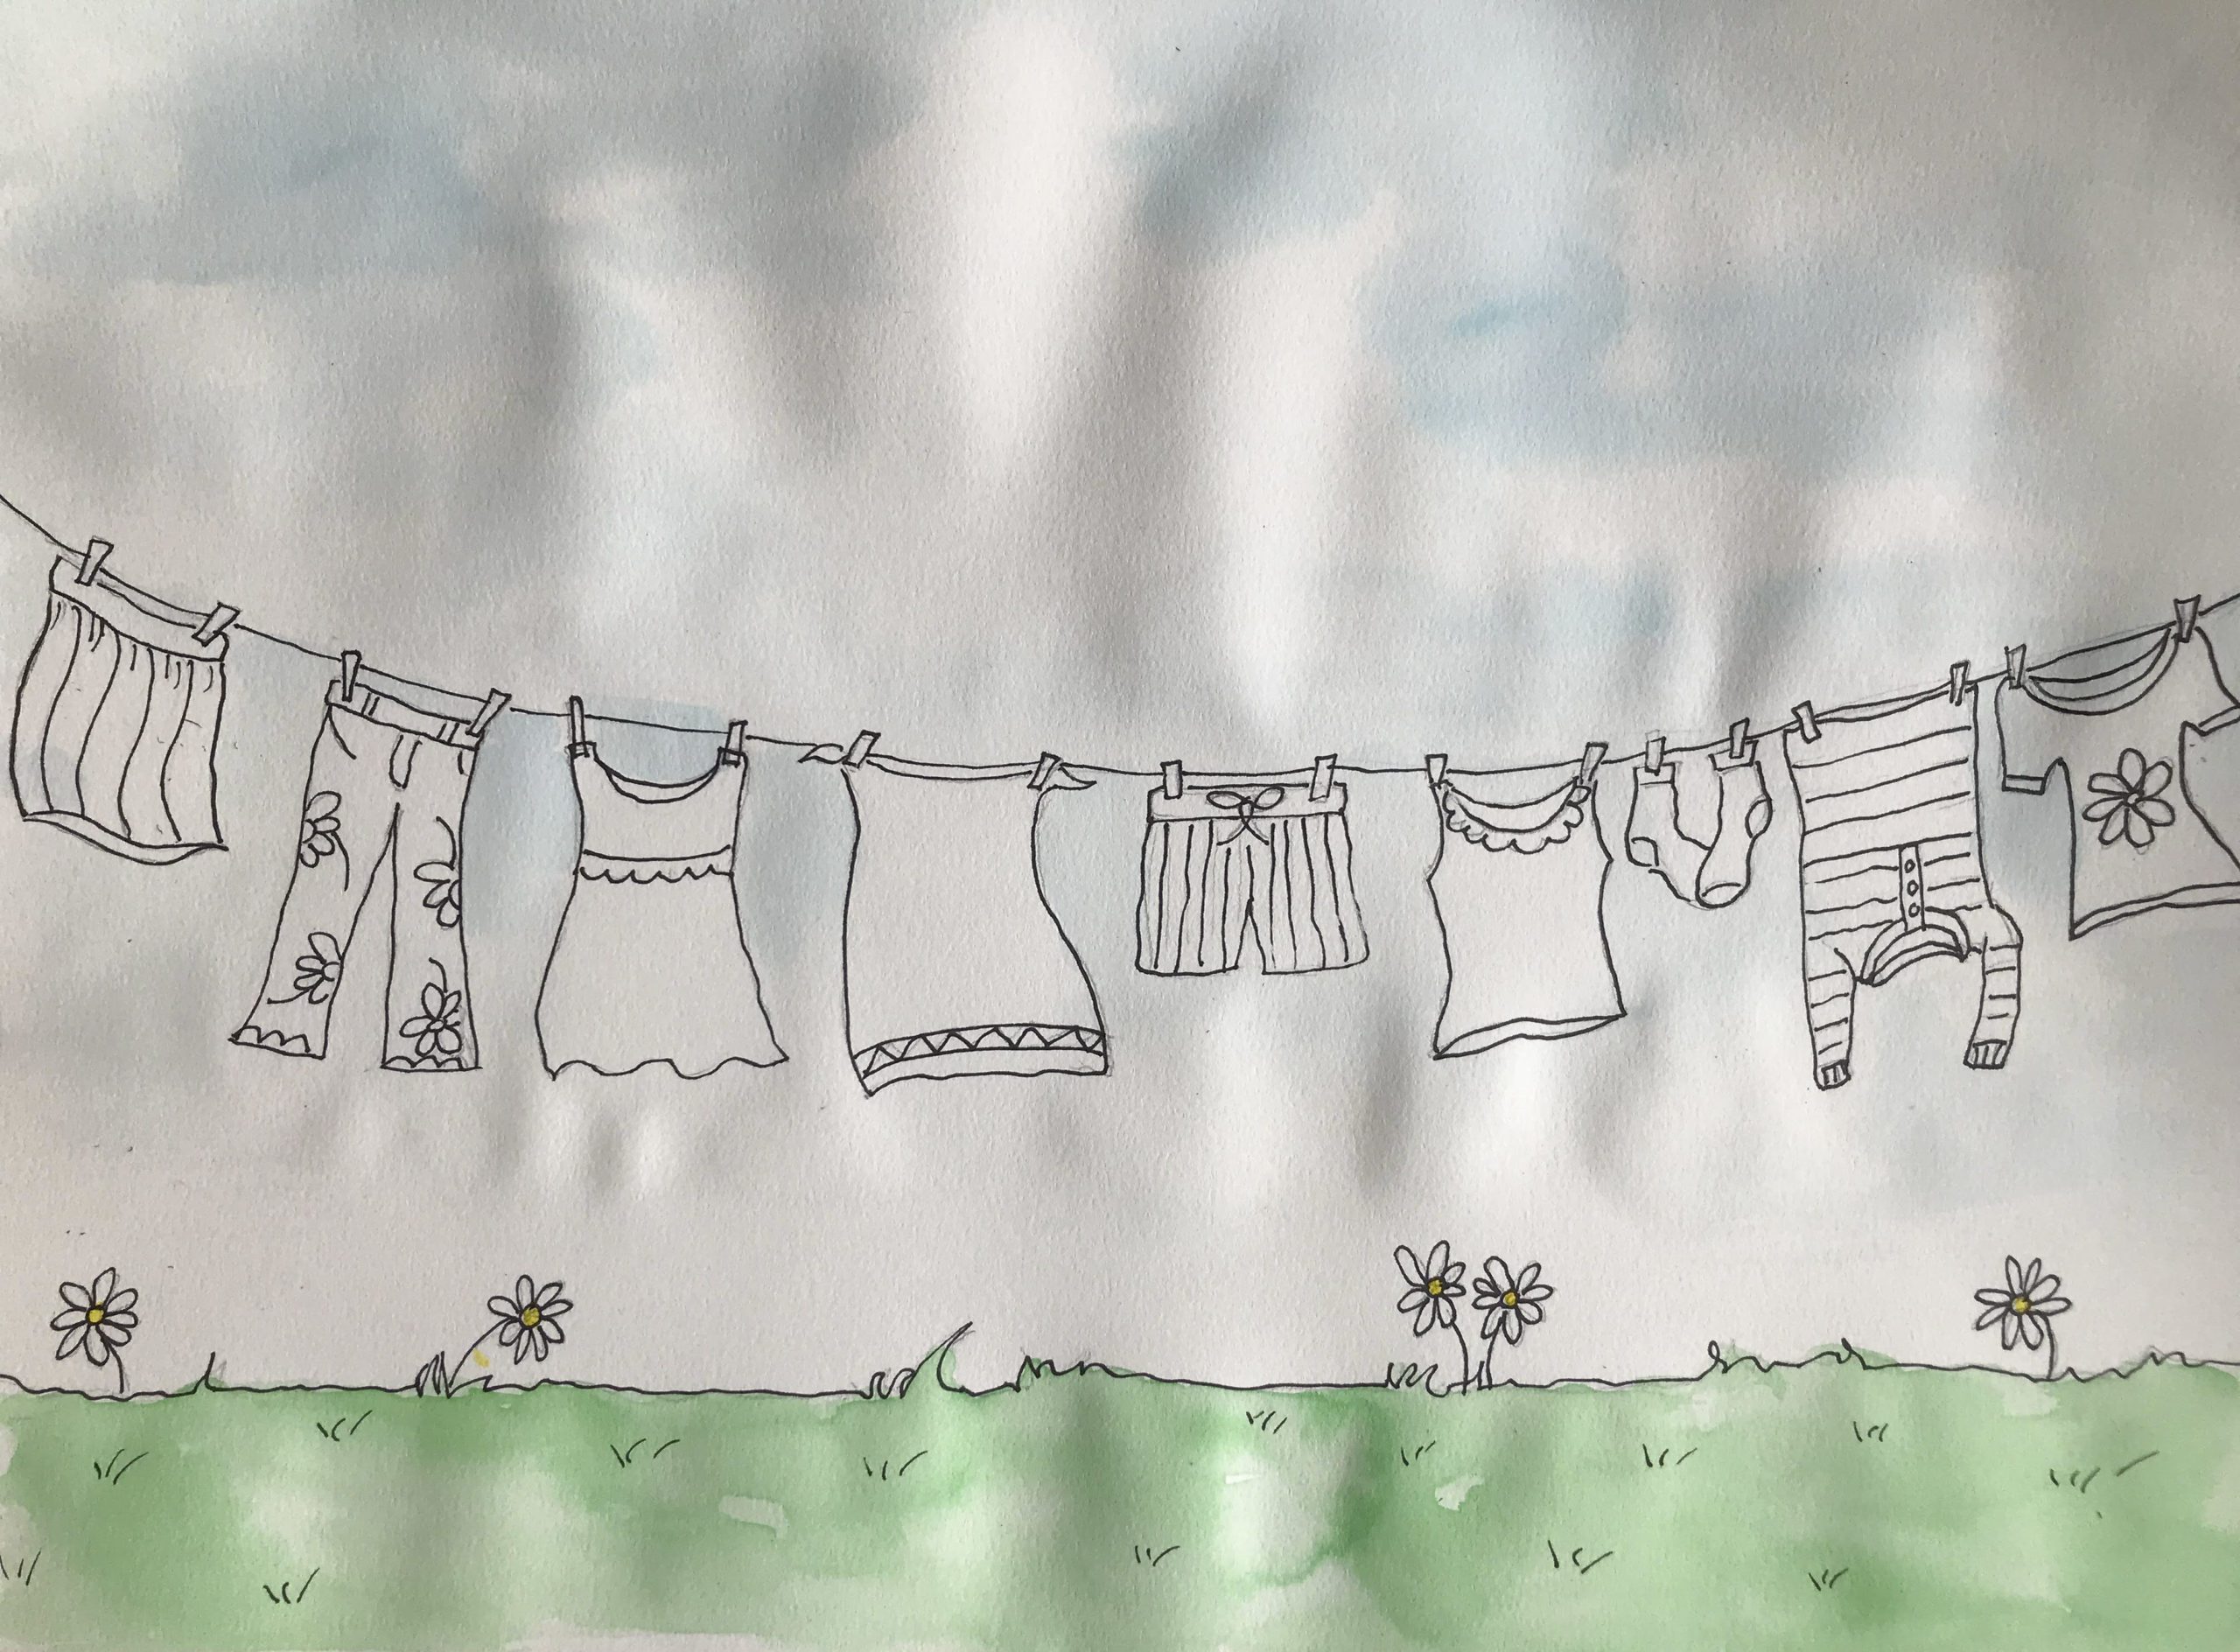
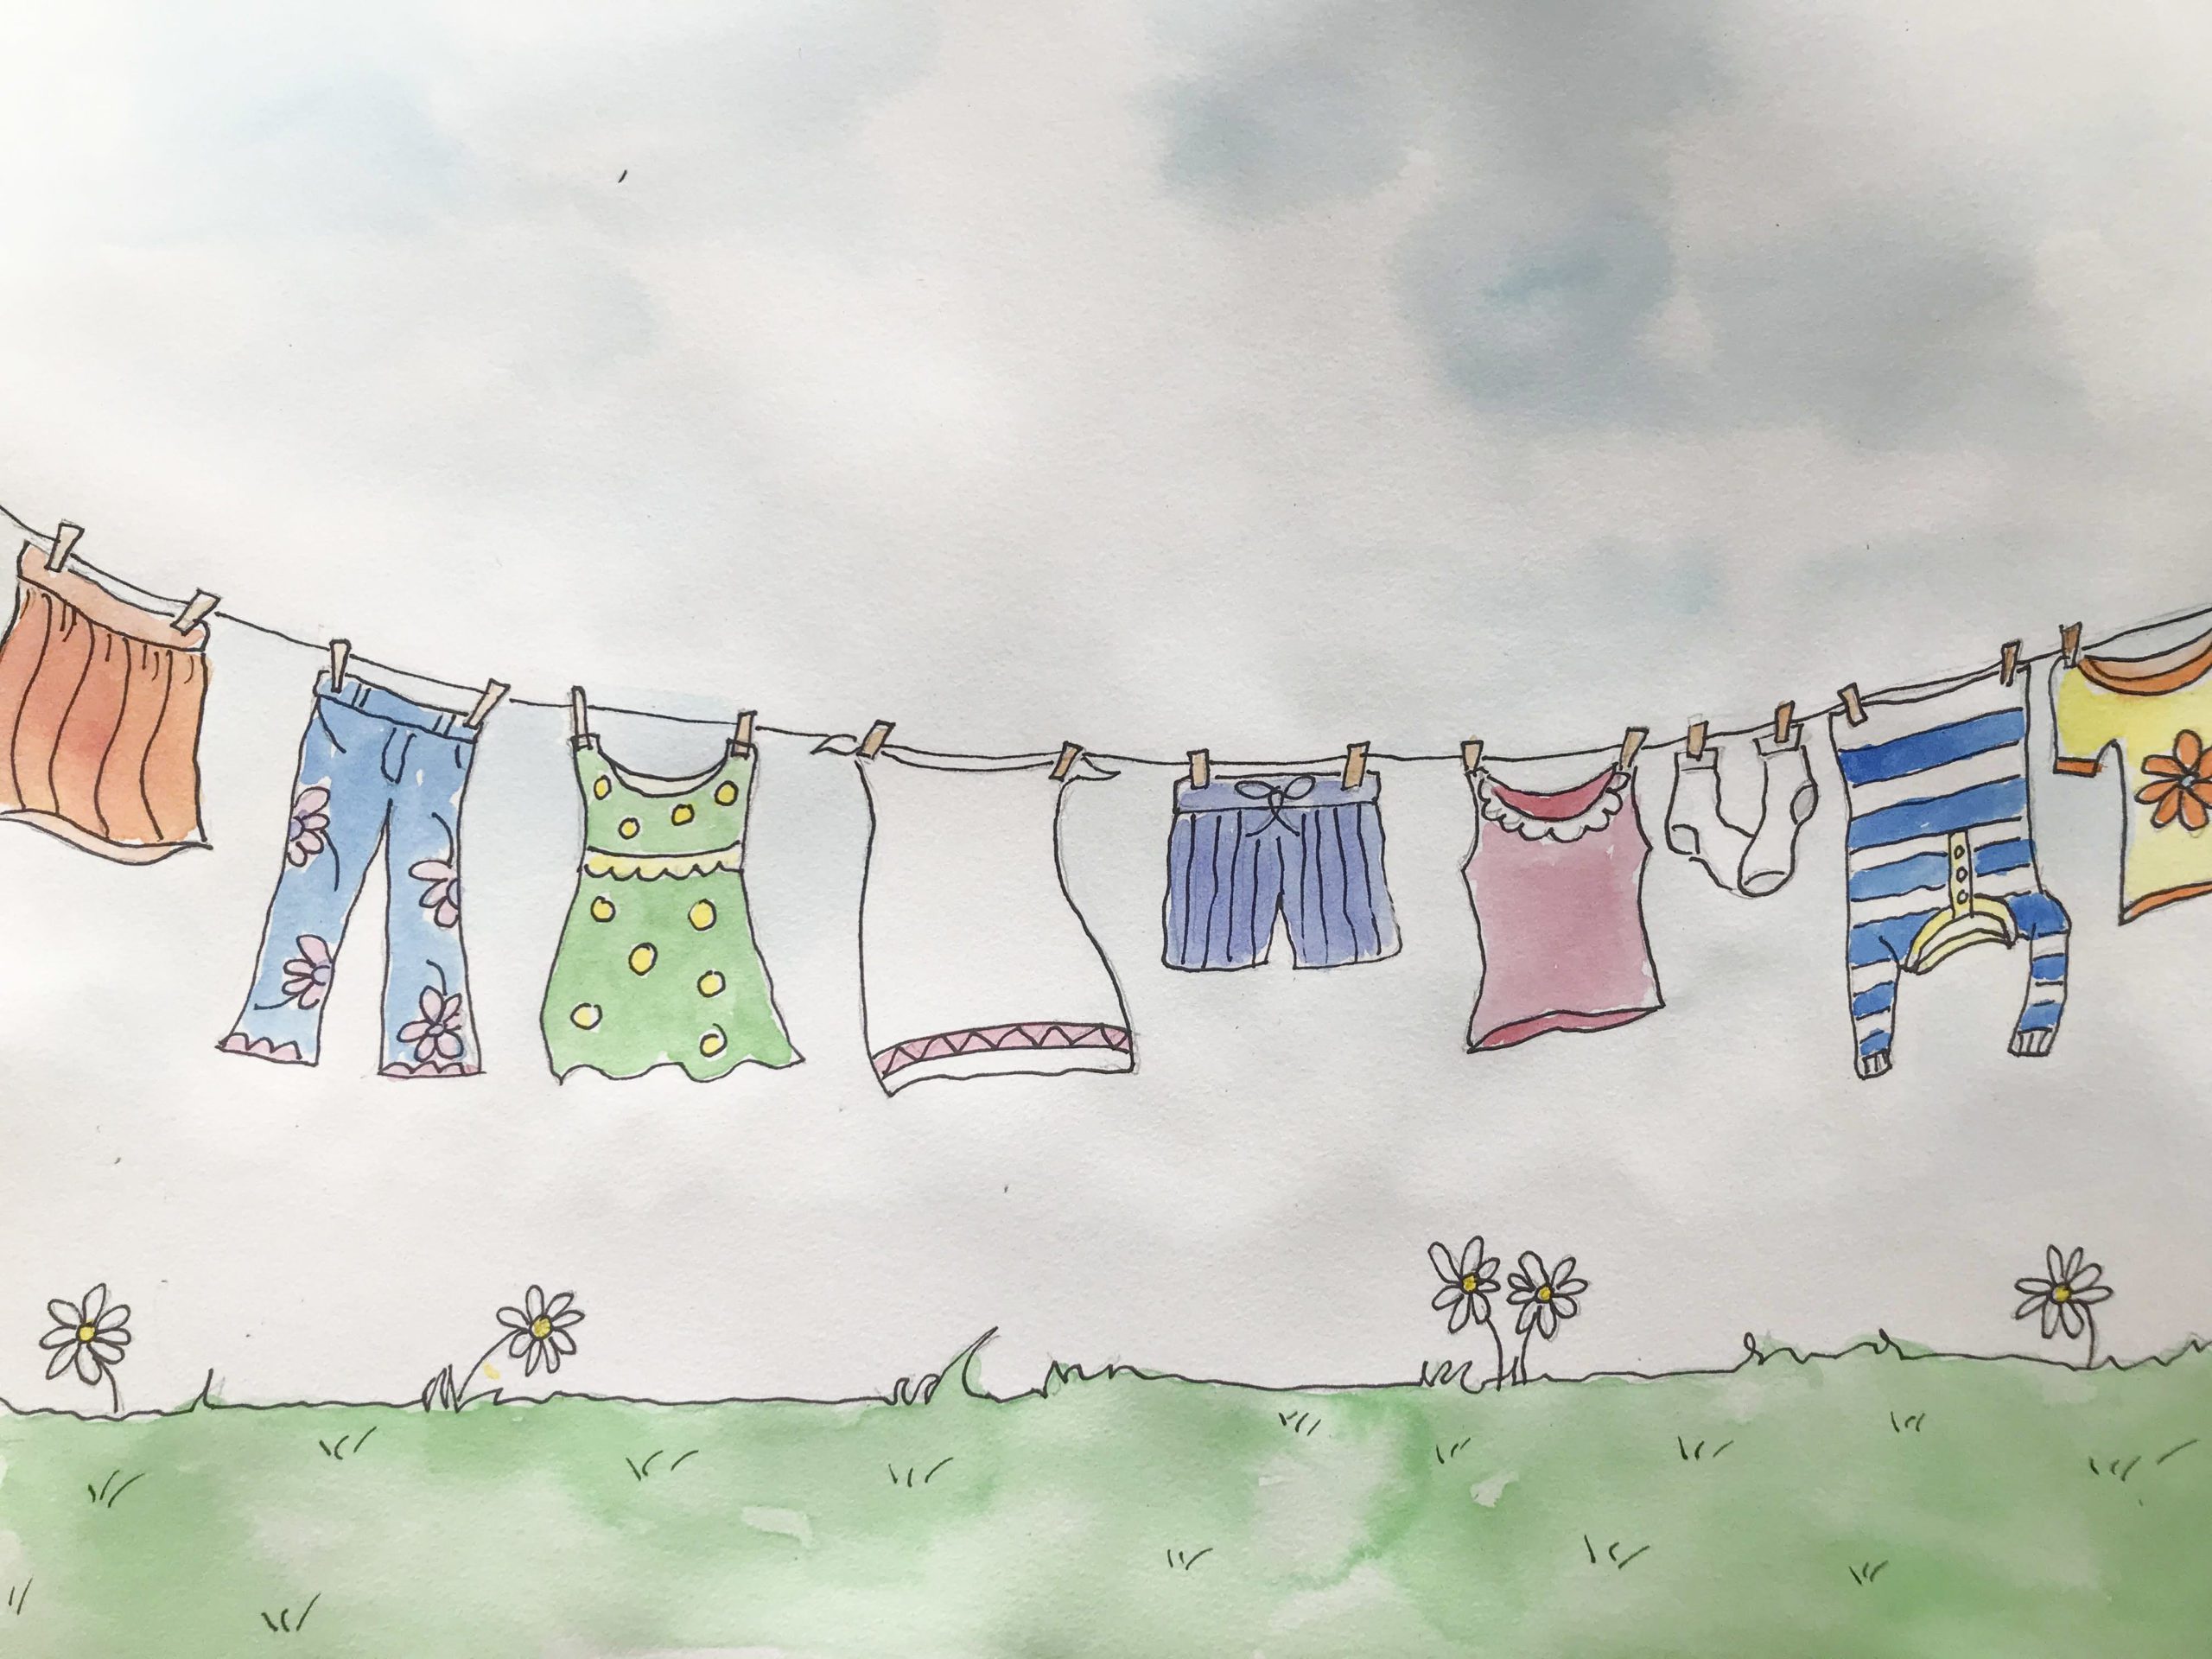
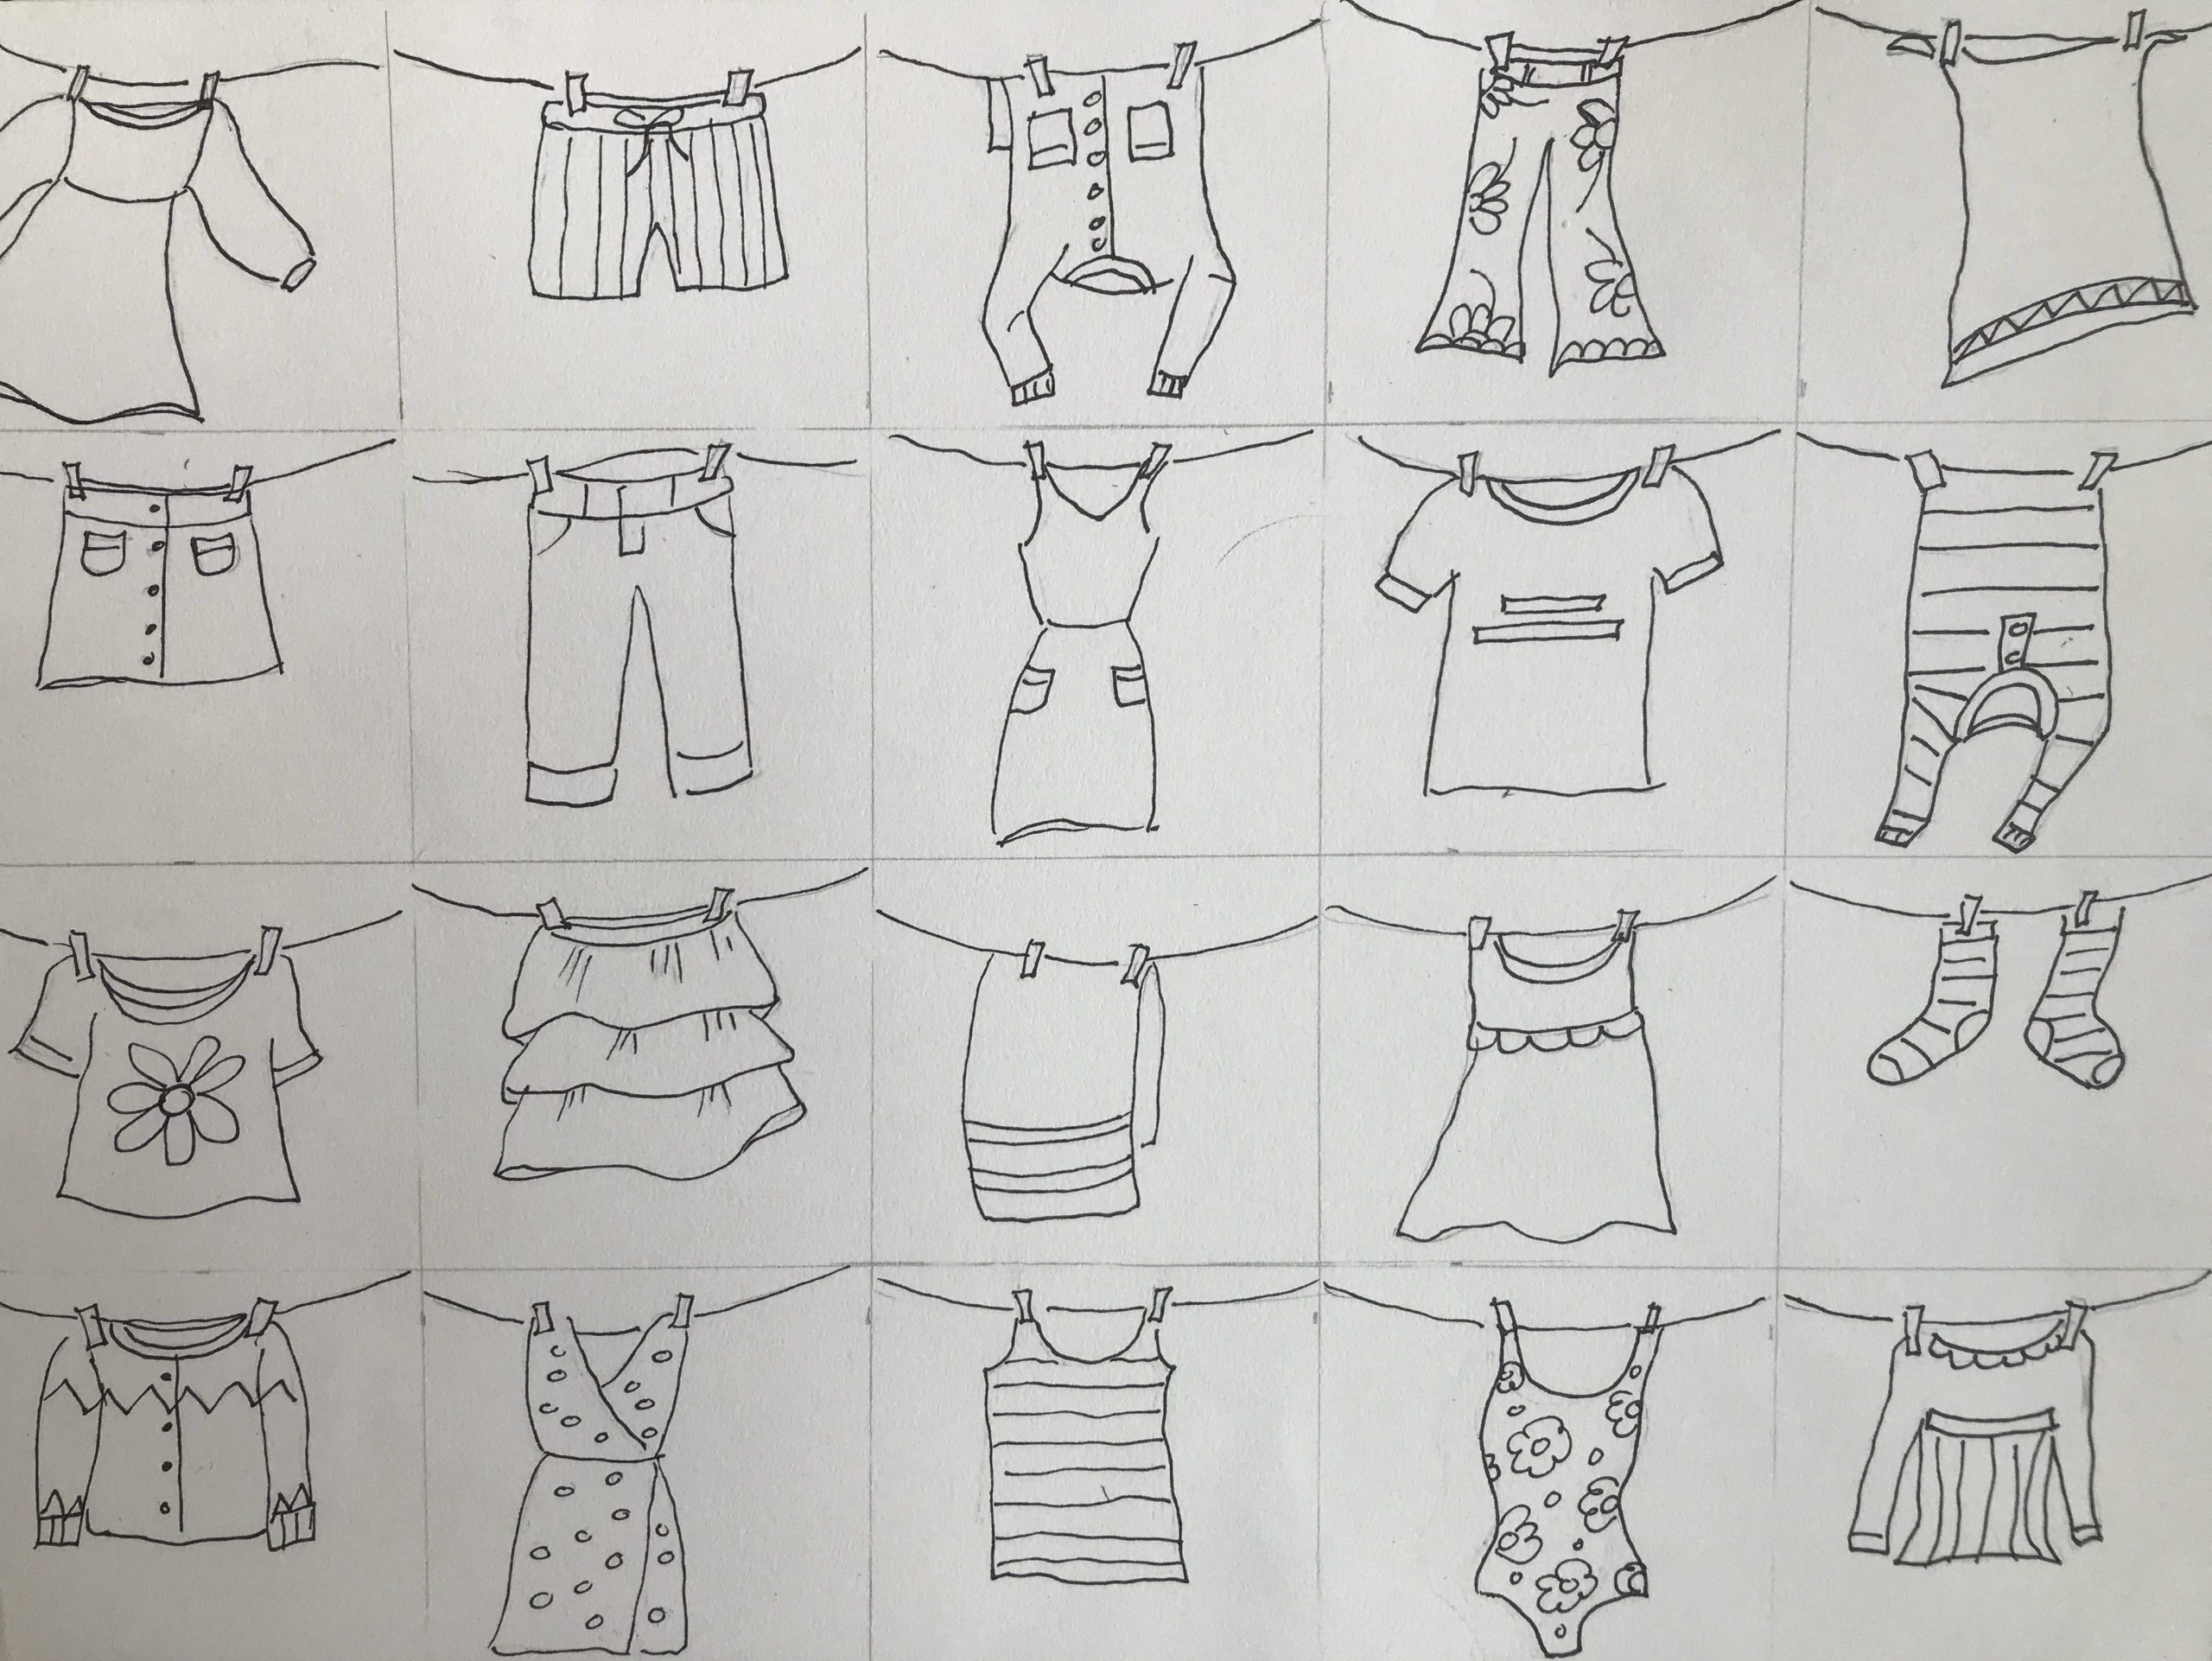
Wash Day with Grandma Moses Art Lesson

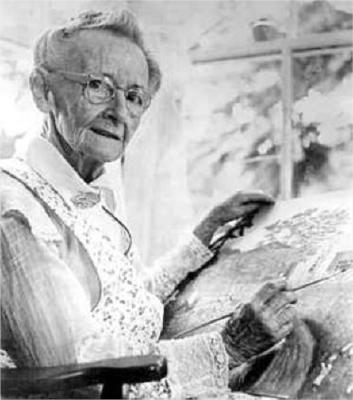
Who is Grandma Moses
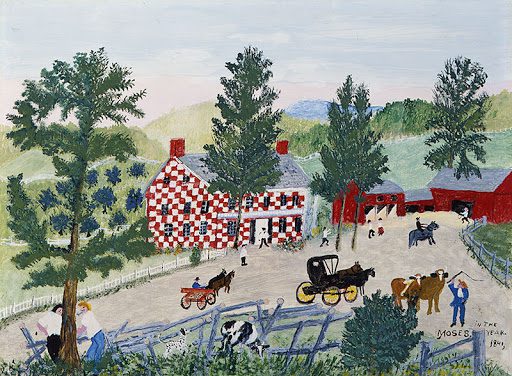
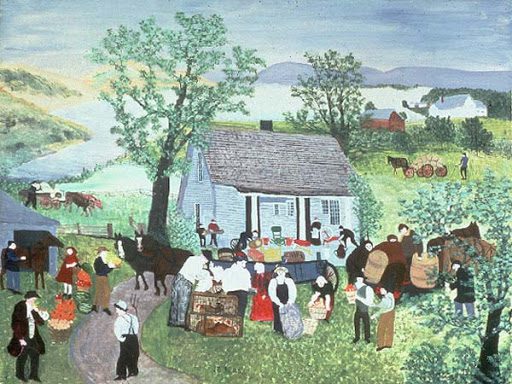
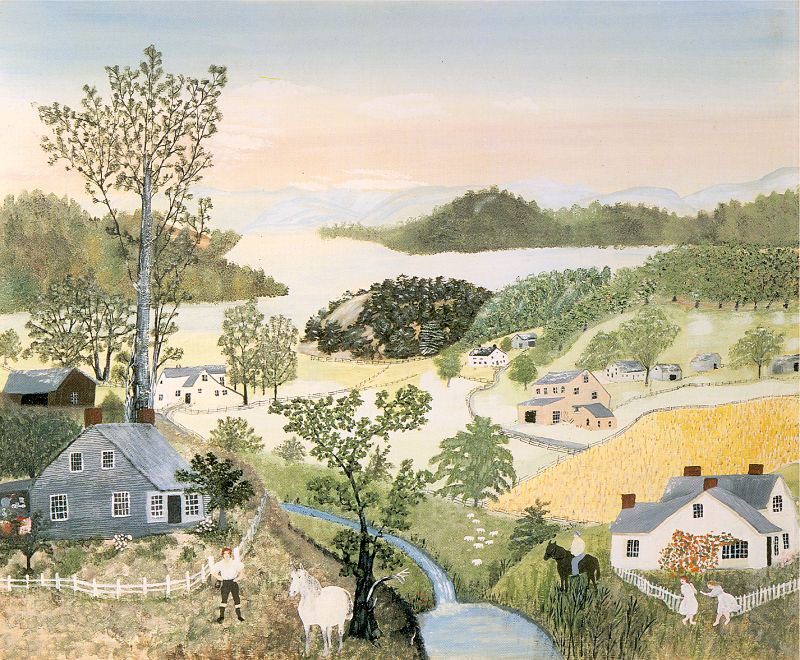
Anna Mary Robertson (Grandma Moses) was born on September 7, 1860 in Washington County, New York. There she spent the first twelve years of her life on the family farm with her father, mother, and nine brothers and sisters. Because her father enjoyed seeing his children draw, he bought them large sheets of blank newspaper. Anna Mary loved drawing happy, colorful scenes. Most of Grandma Moses' works were painted on cardboard. The scenes she painted were happy scenes of herself as a child or rural home life. Other paintings are of people in eighteenth-century costumes, the way they might have dressed in the country. Her most popular paintings include The Old Oaken Bucket, Sugaring Off, Over the River to Grandma's House, and Catching the Turkey. Grandma Moses died on December 13, 1961.
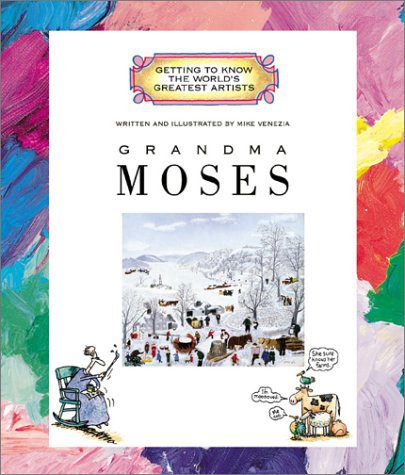
Grandma Moses - Getting to Know the World's Greatest Artists
I love love love this series. It is my go-to for teaching kids about artists. They are fun, illustrated and informative.
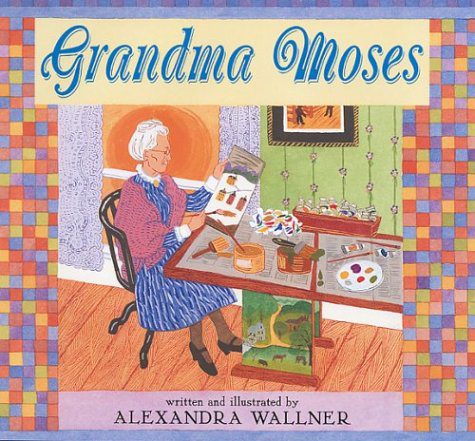
Grandma Moses
This is a nice story on her life, but no actual Grandma Moses pics in the book.
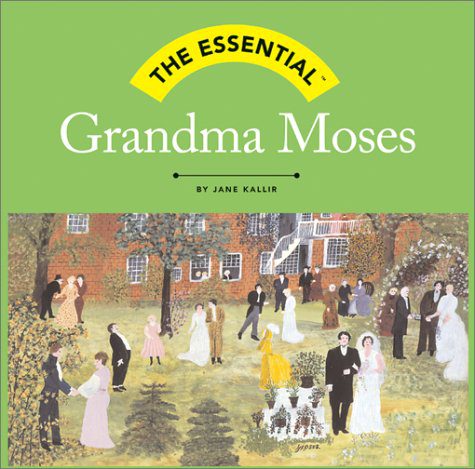
The Essential: Grandma Moses
This is a nice introduction to the life and work of Grandma Moses. It features reproductions of many excellent paintings and some of their details .
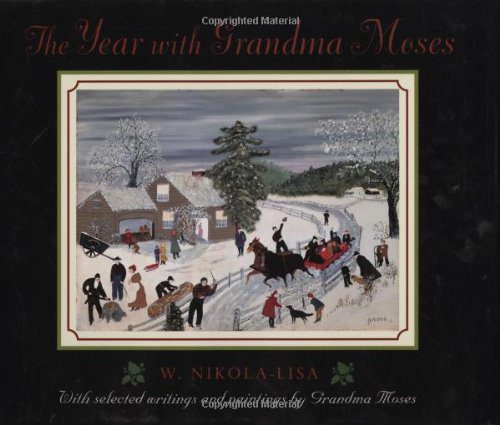
The Year with Grandma Moses
This book brings together 13 of her classic paintings, along with brief excerpts from the artist's own autobiographical writings. It follows the different seasons.

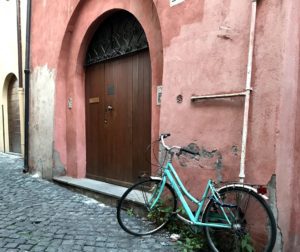
The Doors of Italy
At the end of a 3 week vacation to Europe, I came away with so many pictures of things that captured my interest and the mood of the moment. I couldn’t get enough of all the time worn doors, especially those in Italy.
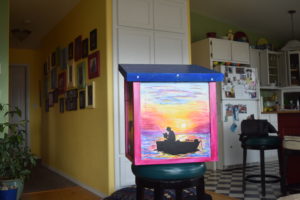
Making Reading Beautiful!
We painted Free Little Libraries! Does your city have a Little Free Library? These are little free standing libraries that have a “host” who looks after them and can be located in someone’s yard , out in the country, or in front of a business or in a park. You can take a book to read or leave one for someone else to find.
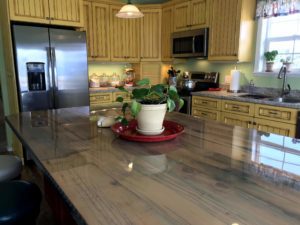
My Beautiful Tuscan Kitchen
This year marks the two year anniversary of our kitchen remodel! My wonderful cabinet maker husband finally got around to making this custom kitchen for our home and I couldn’t be happier!
Wash Day with Grandma Moses Art Lesson Read More »


