
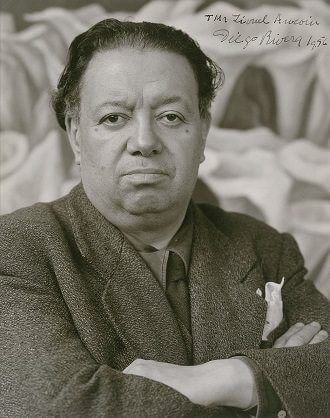
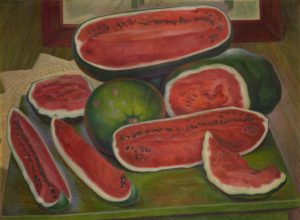
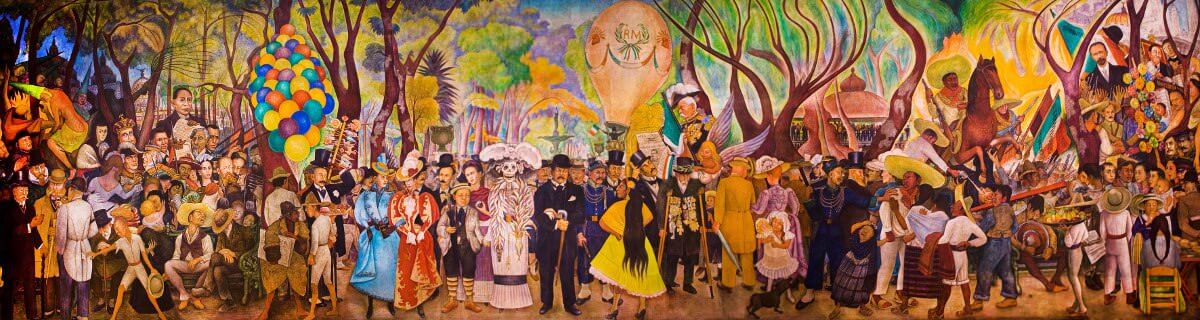
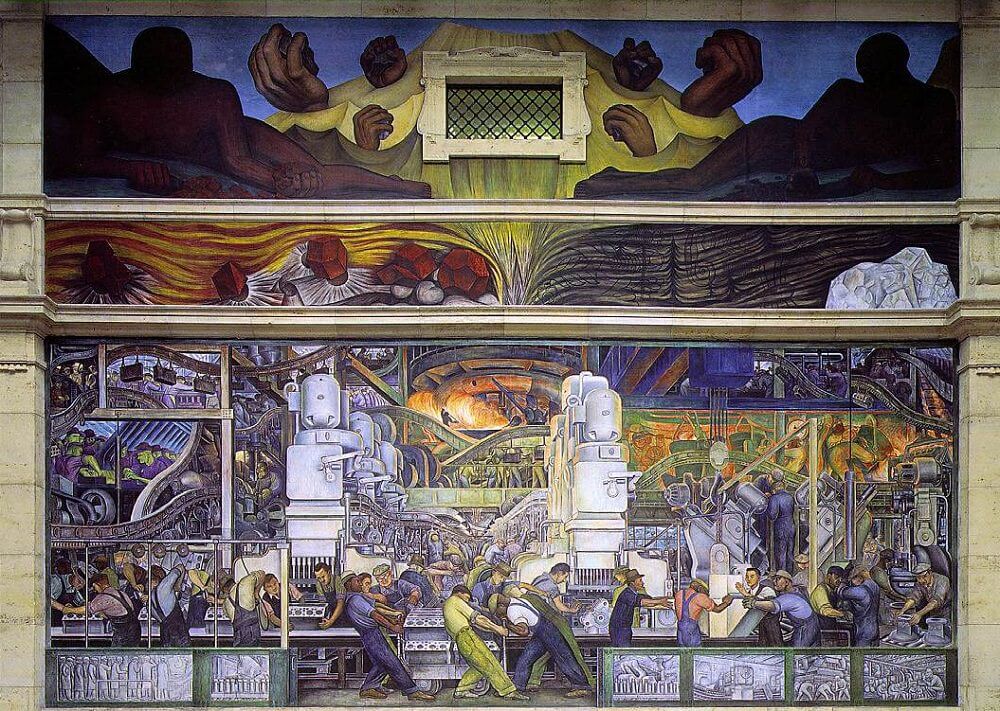
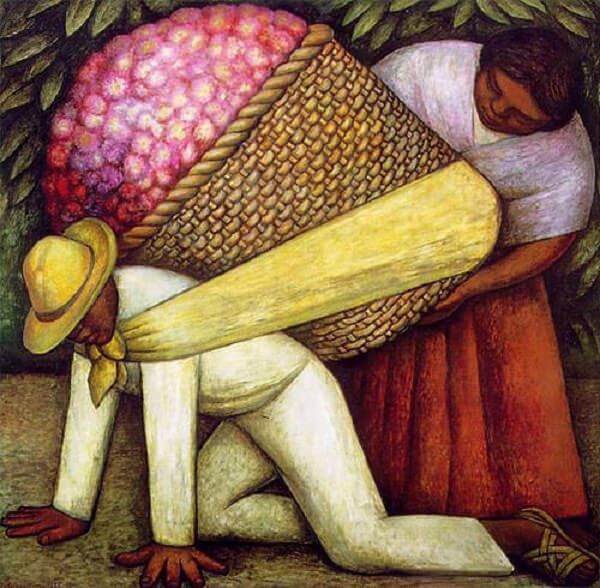
Who is Diego Rivera?
Rivera was born on December 8, 1886, in Guanajuato, Mexico. At age 10 he earned a scholarship to study art in Mexico City. In 1907 he won a scholarship that allowed him to travel to Europe. He studied art in Spain and then settled in Paris, France. In 1921 Rivera returned to Mexico. He and the Mexican painter David Alfaro Siqueiros hoped to create a new kind of art especially for Mexico. They wanted to paint murals on buildings where everyone could see them. The murals would tell the stories of the Mexican people. Rivera completed his first important mural in 1923. He was soon hired to paint murals on several public buildings in Mexico. Between 1930 and 1934 Rivera painted murals in the United States. He died on November 25, 1957, in Mexico City. Frida Kahlo, his wife, also was a famous painter.
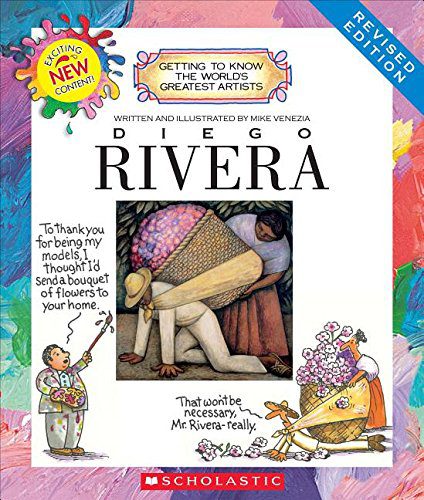
Diego Rivera - Getting to Know the World's Greatest Artists
I love love love this series. It is my go-to for teaching kids about artists. They are fun, illustrated and informative.
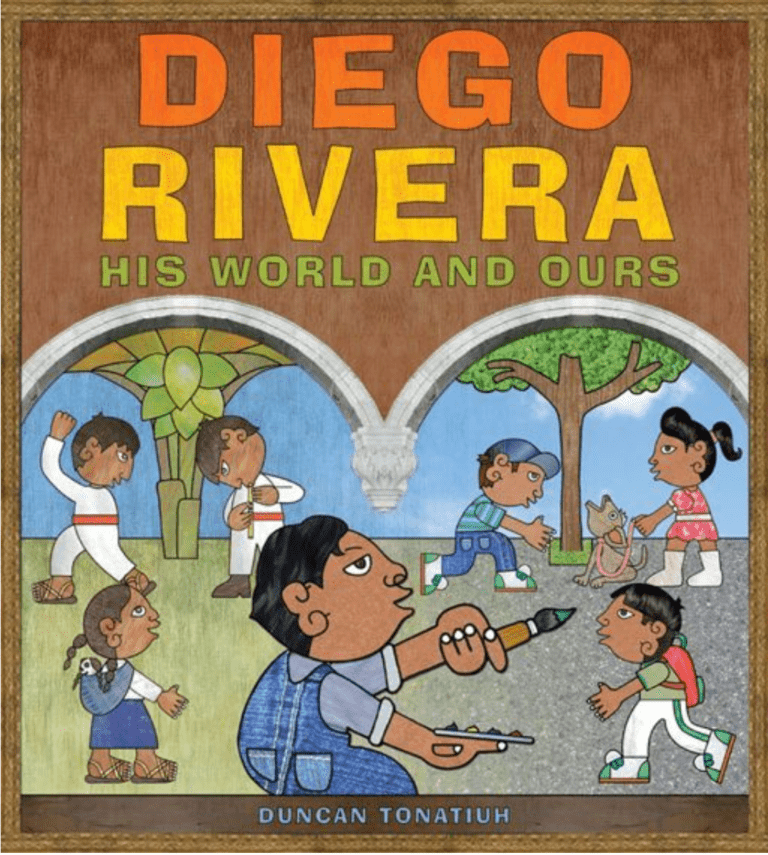
Diego Rivera - His World and OUrs
This children's book follows the story of how a young Diego turns from a mischievous boy to a famous painter!
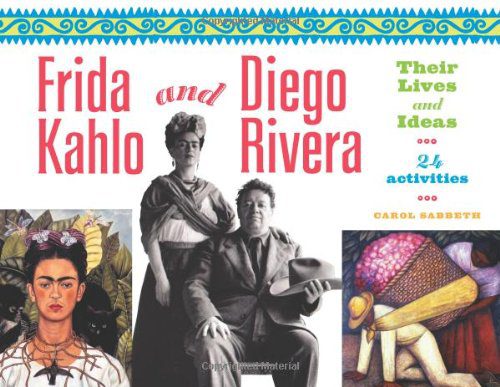
Frida Kahlo and Diego Rivera: Their Lives and Ideas, 24 Activities
This book has some nice activities about Diego Rivera and Frida Kahlo.
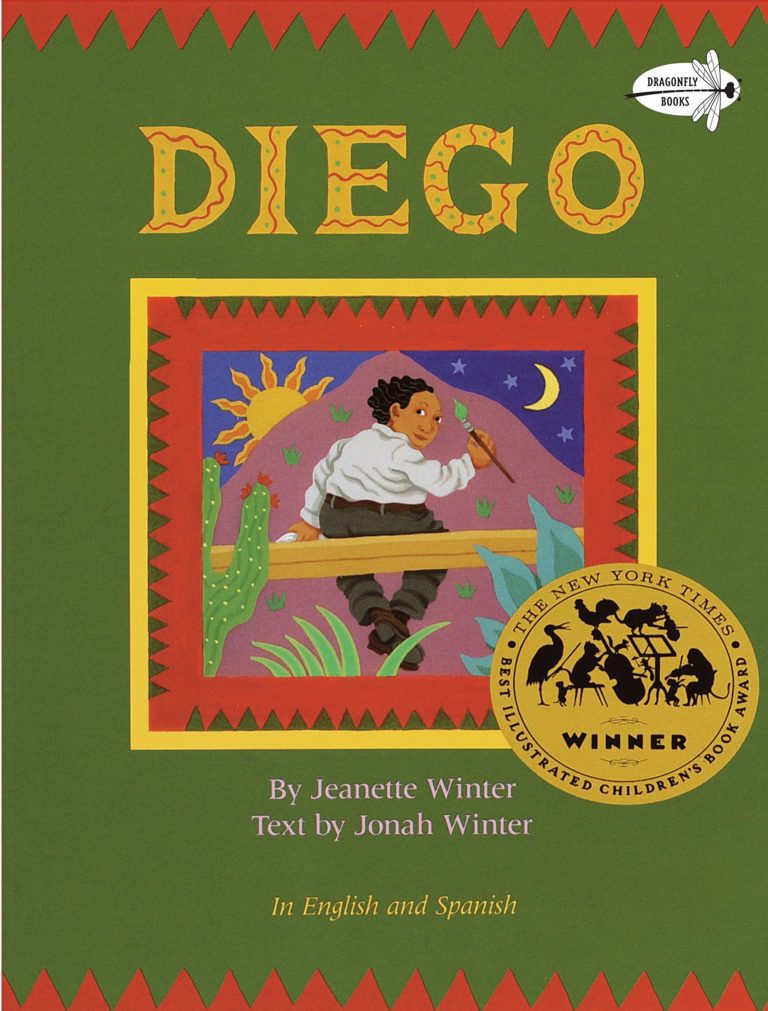
Diego
This book is in both English and Spanish and is an awesome way to bring Diego Rivera's paintings to life!
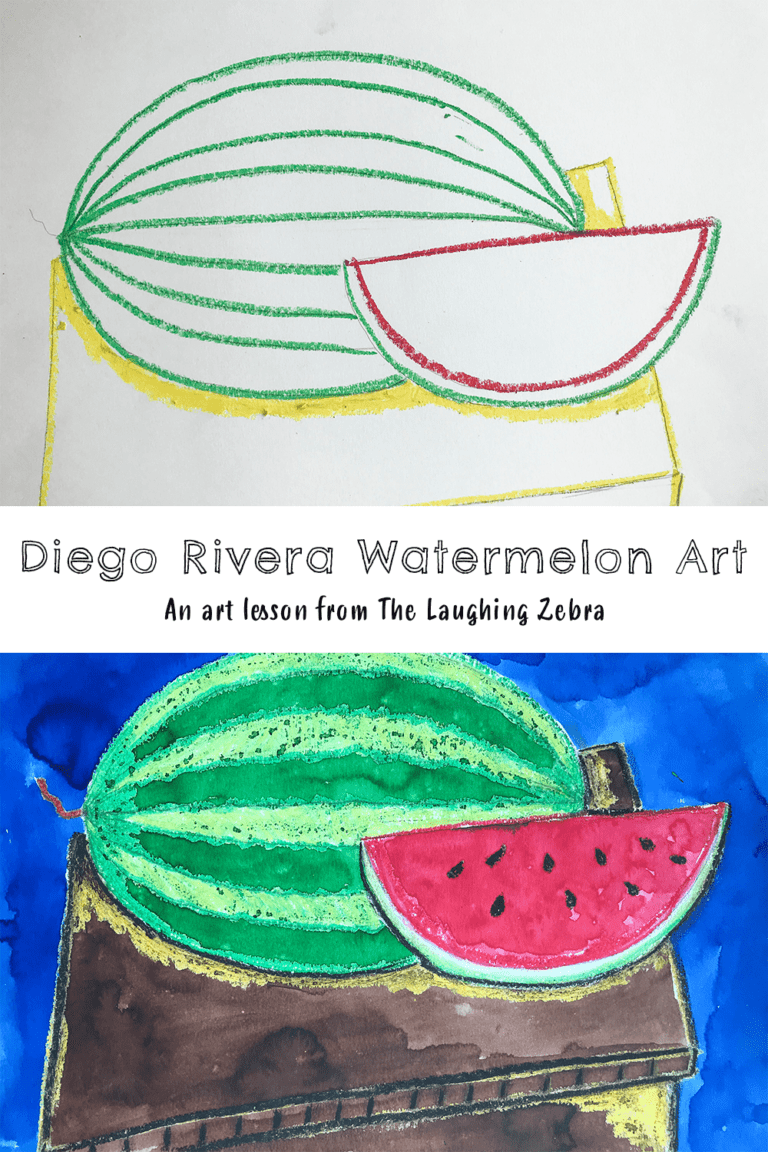
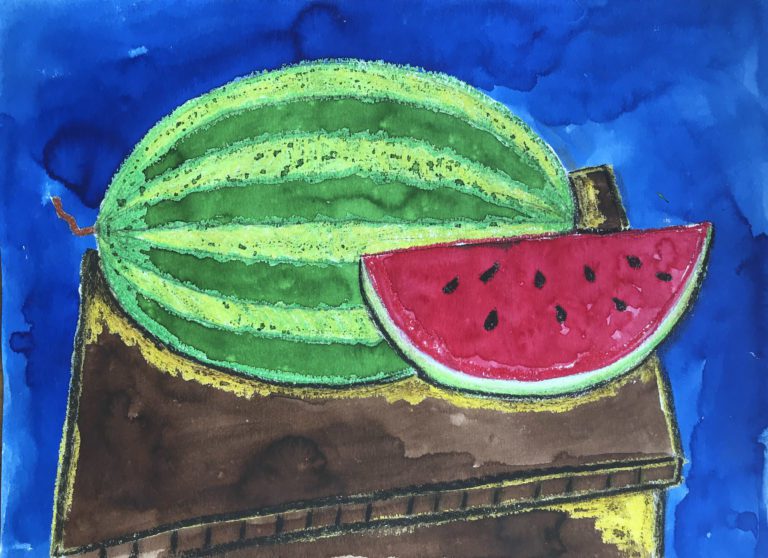
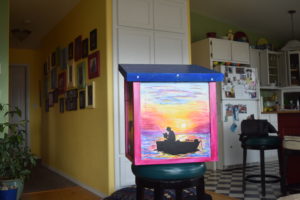
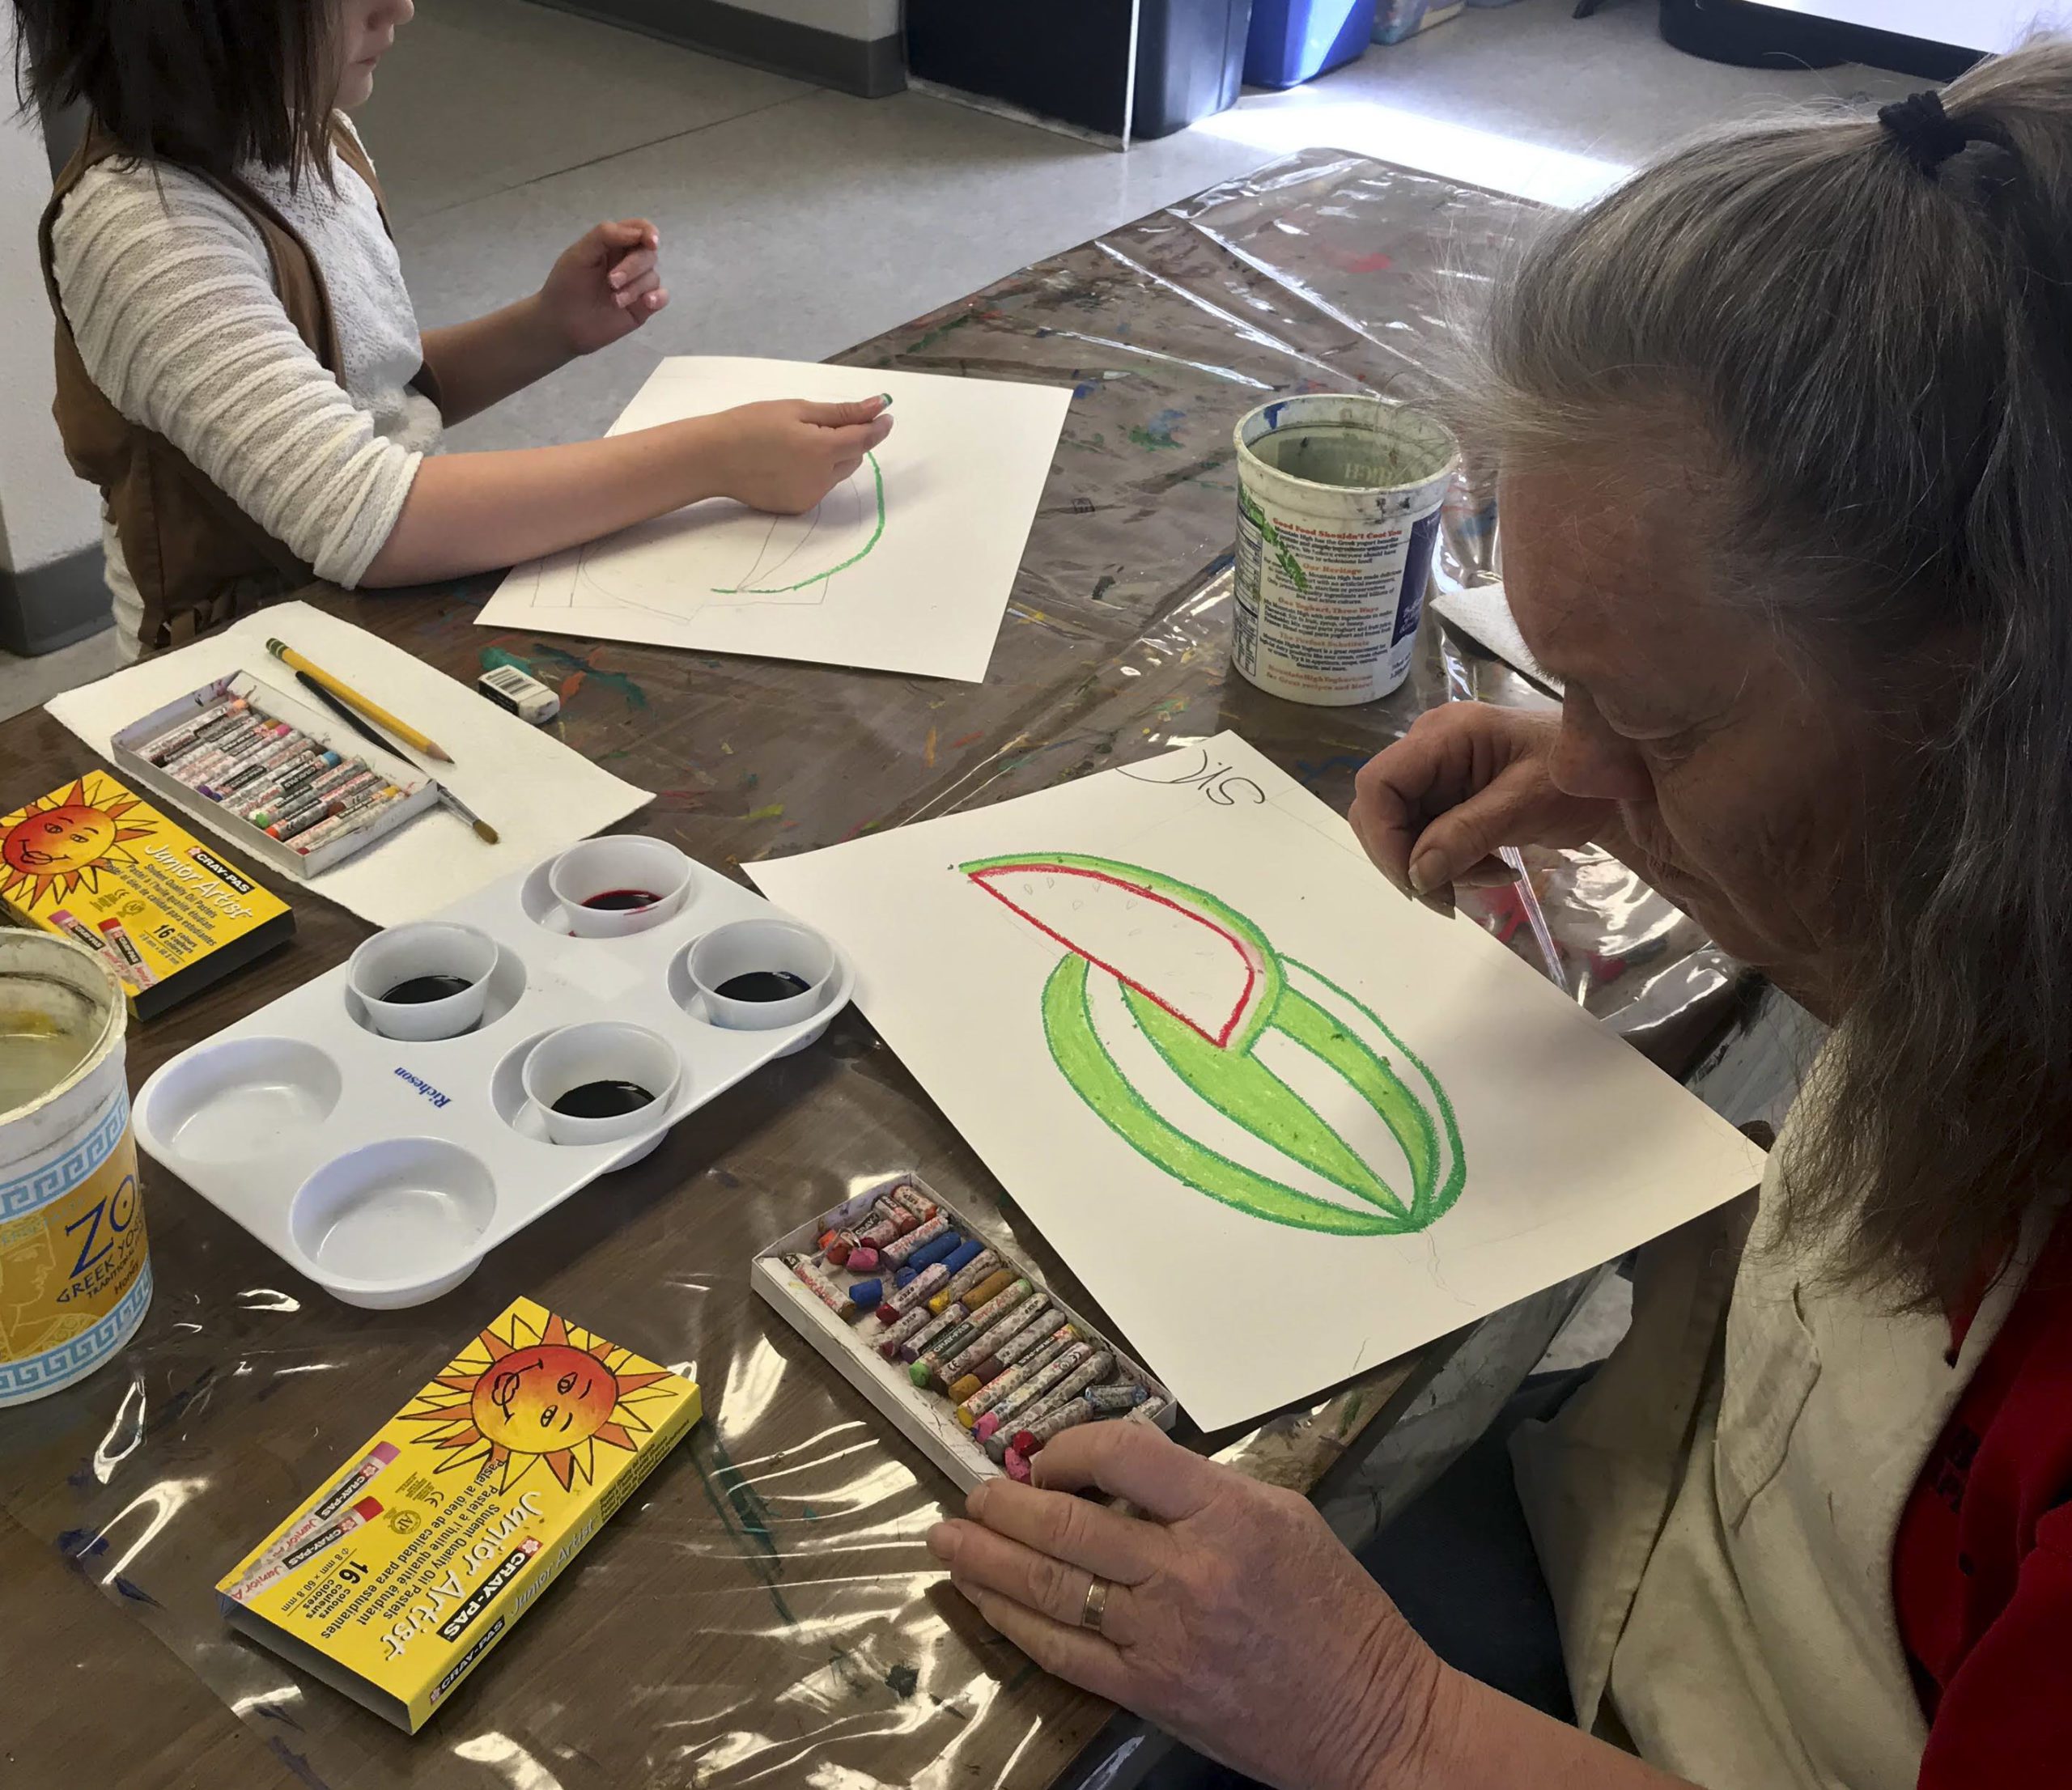
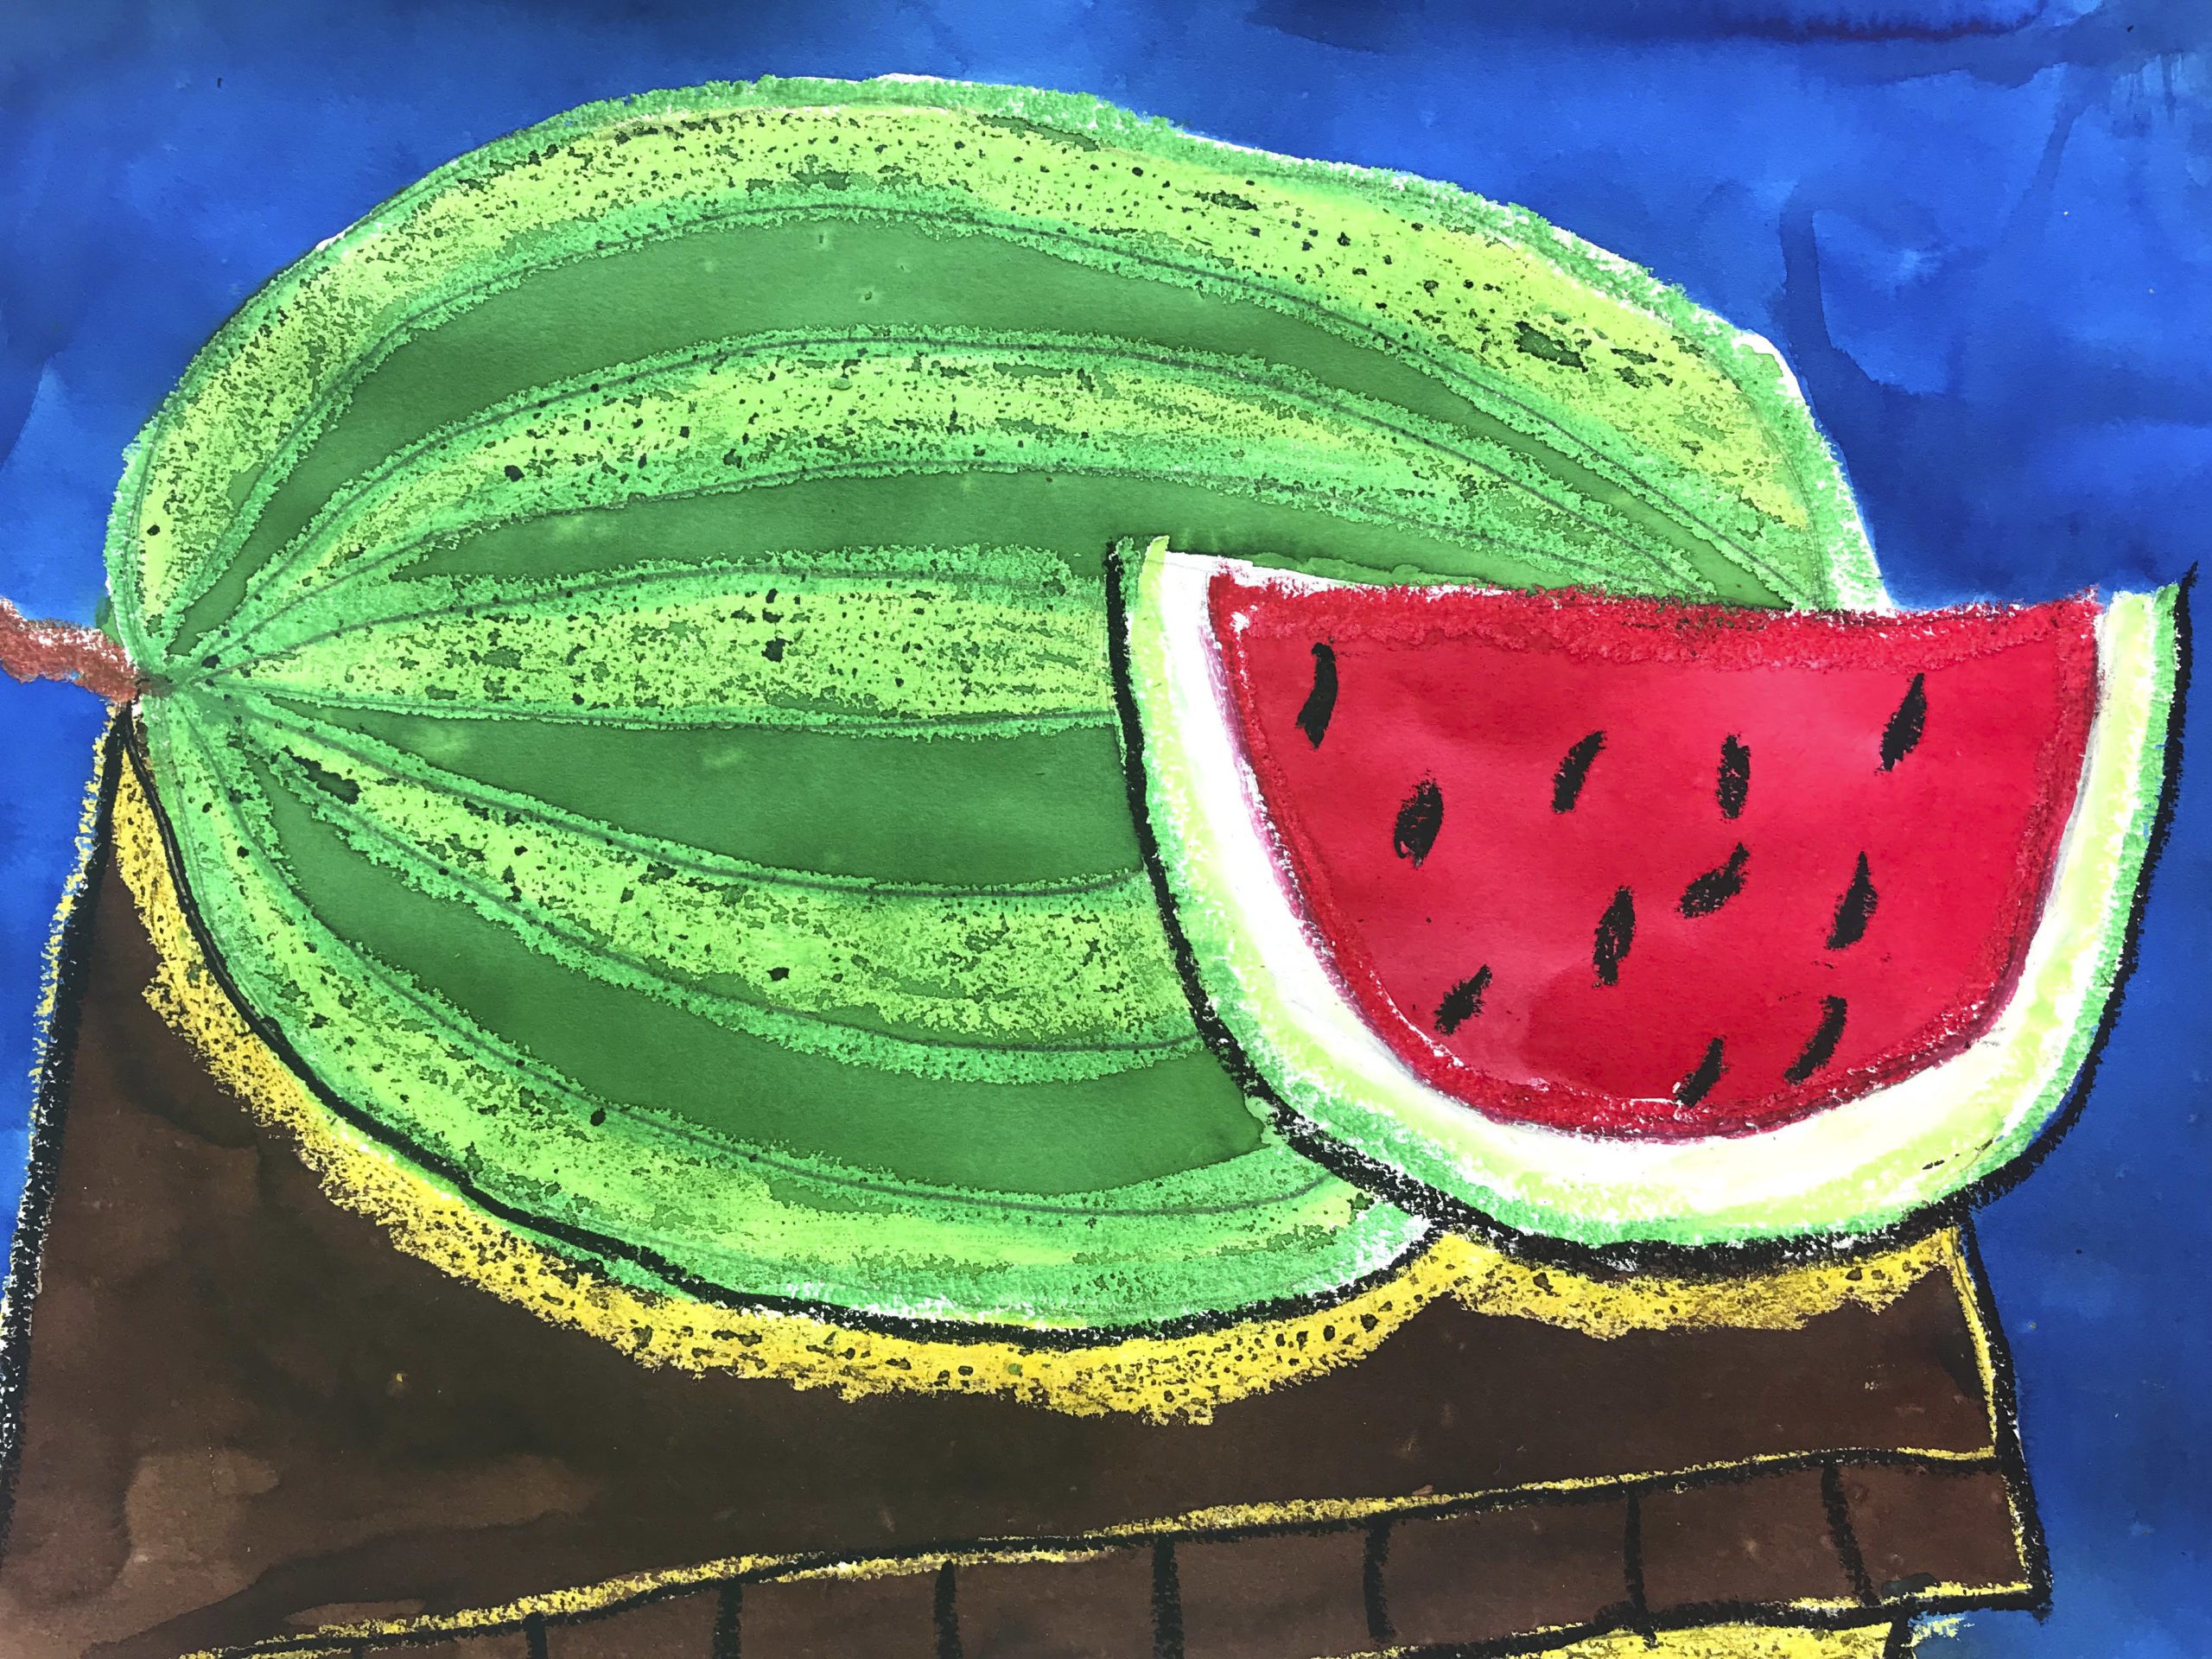
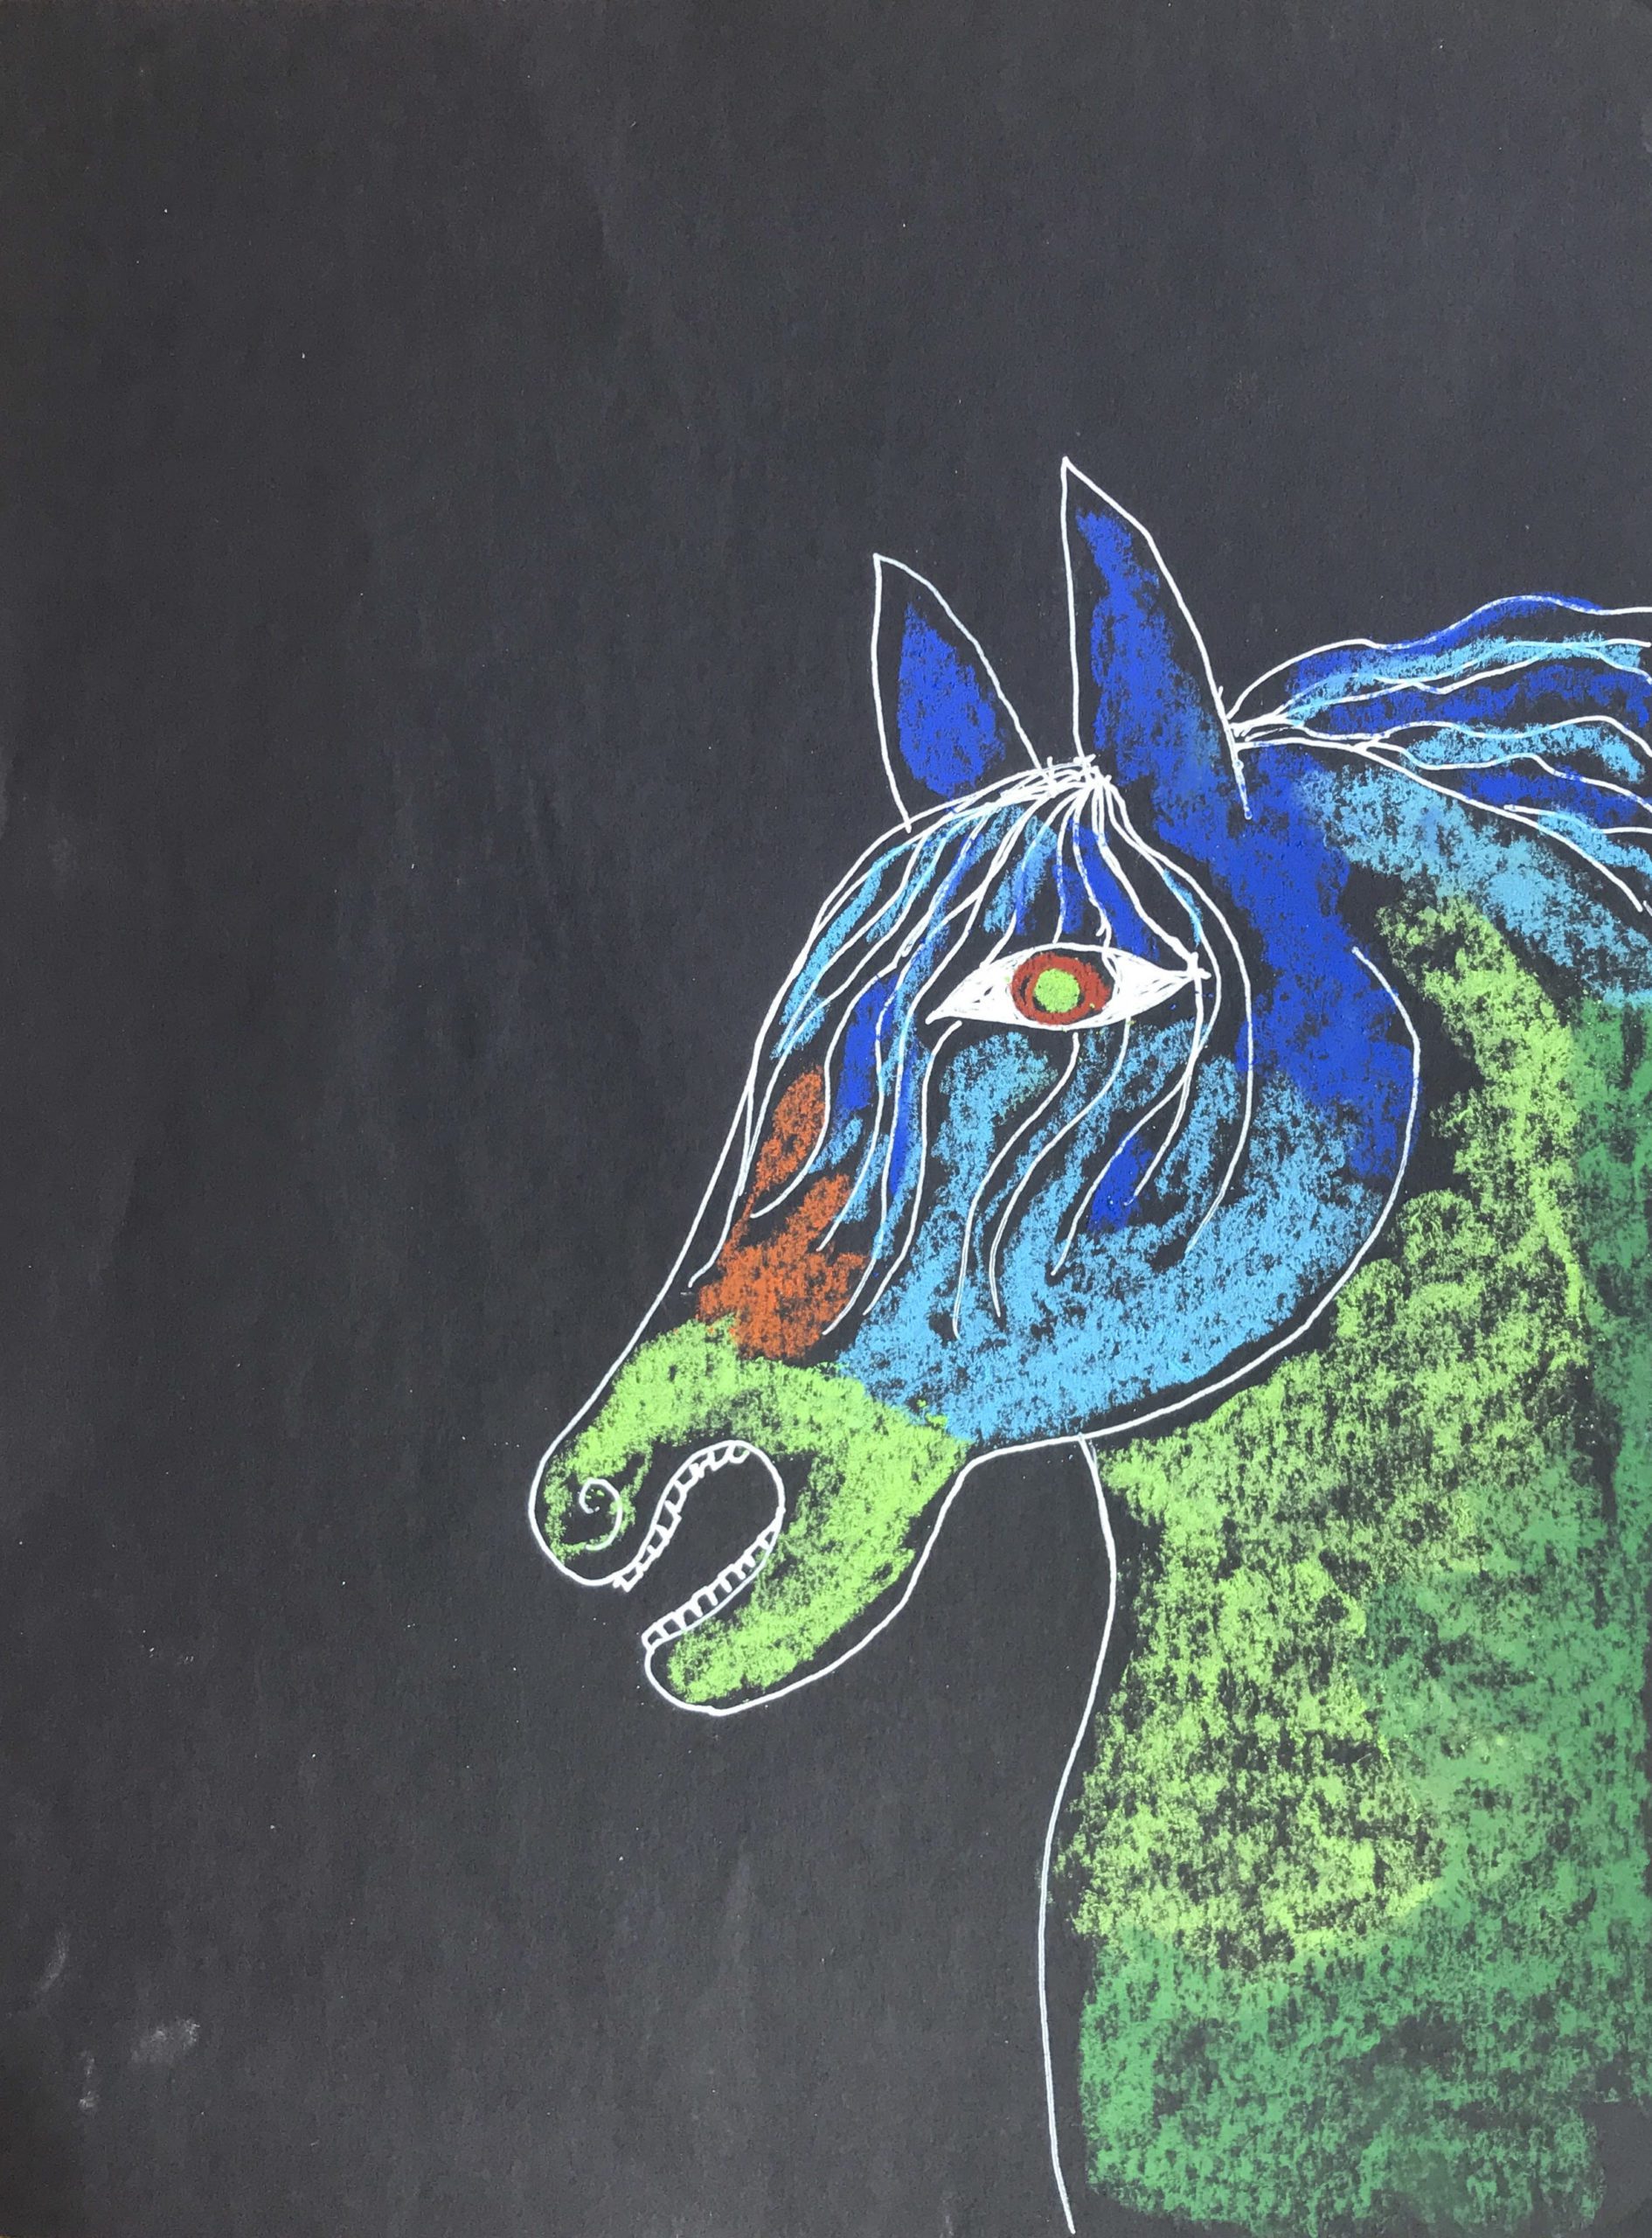
This is a fun lesson where you use oil pastels and liquid watercolors to do a resist painting. I love the bold vibrant Sargeant’s art liquid watercolors and use them a lot in my lessons. You can get these in a set of 10/ 8 oz. bottles that although they are a bit pricey they are well worth it and will last a long time.
You can also buy them individually. Just make sure to get this brand as is the best one out there that flows and is not a gel consistency.
My favorite oil pastels for kids are the cray-pas junior artist pastels.
And then you need a pencil, eraser and a sheet of watercolor paper. I use the 11×15 Canson Montval student watercolor paper from Nasco, but any medium to heavy weight watercolor paper will do.
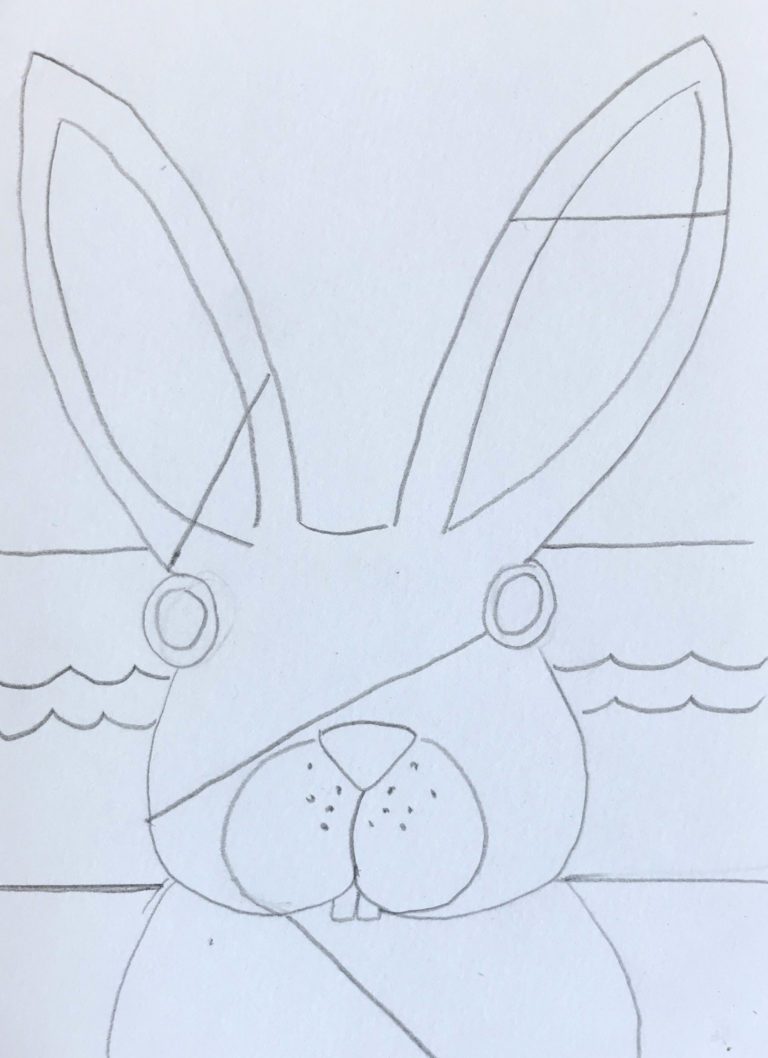
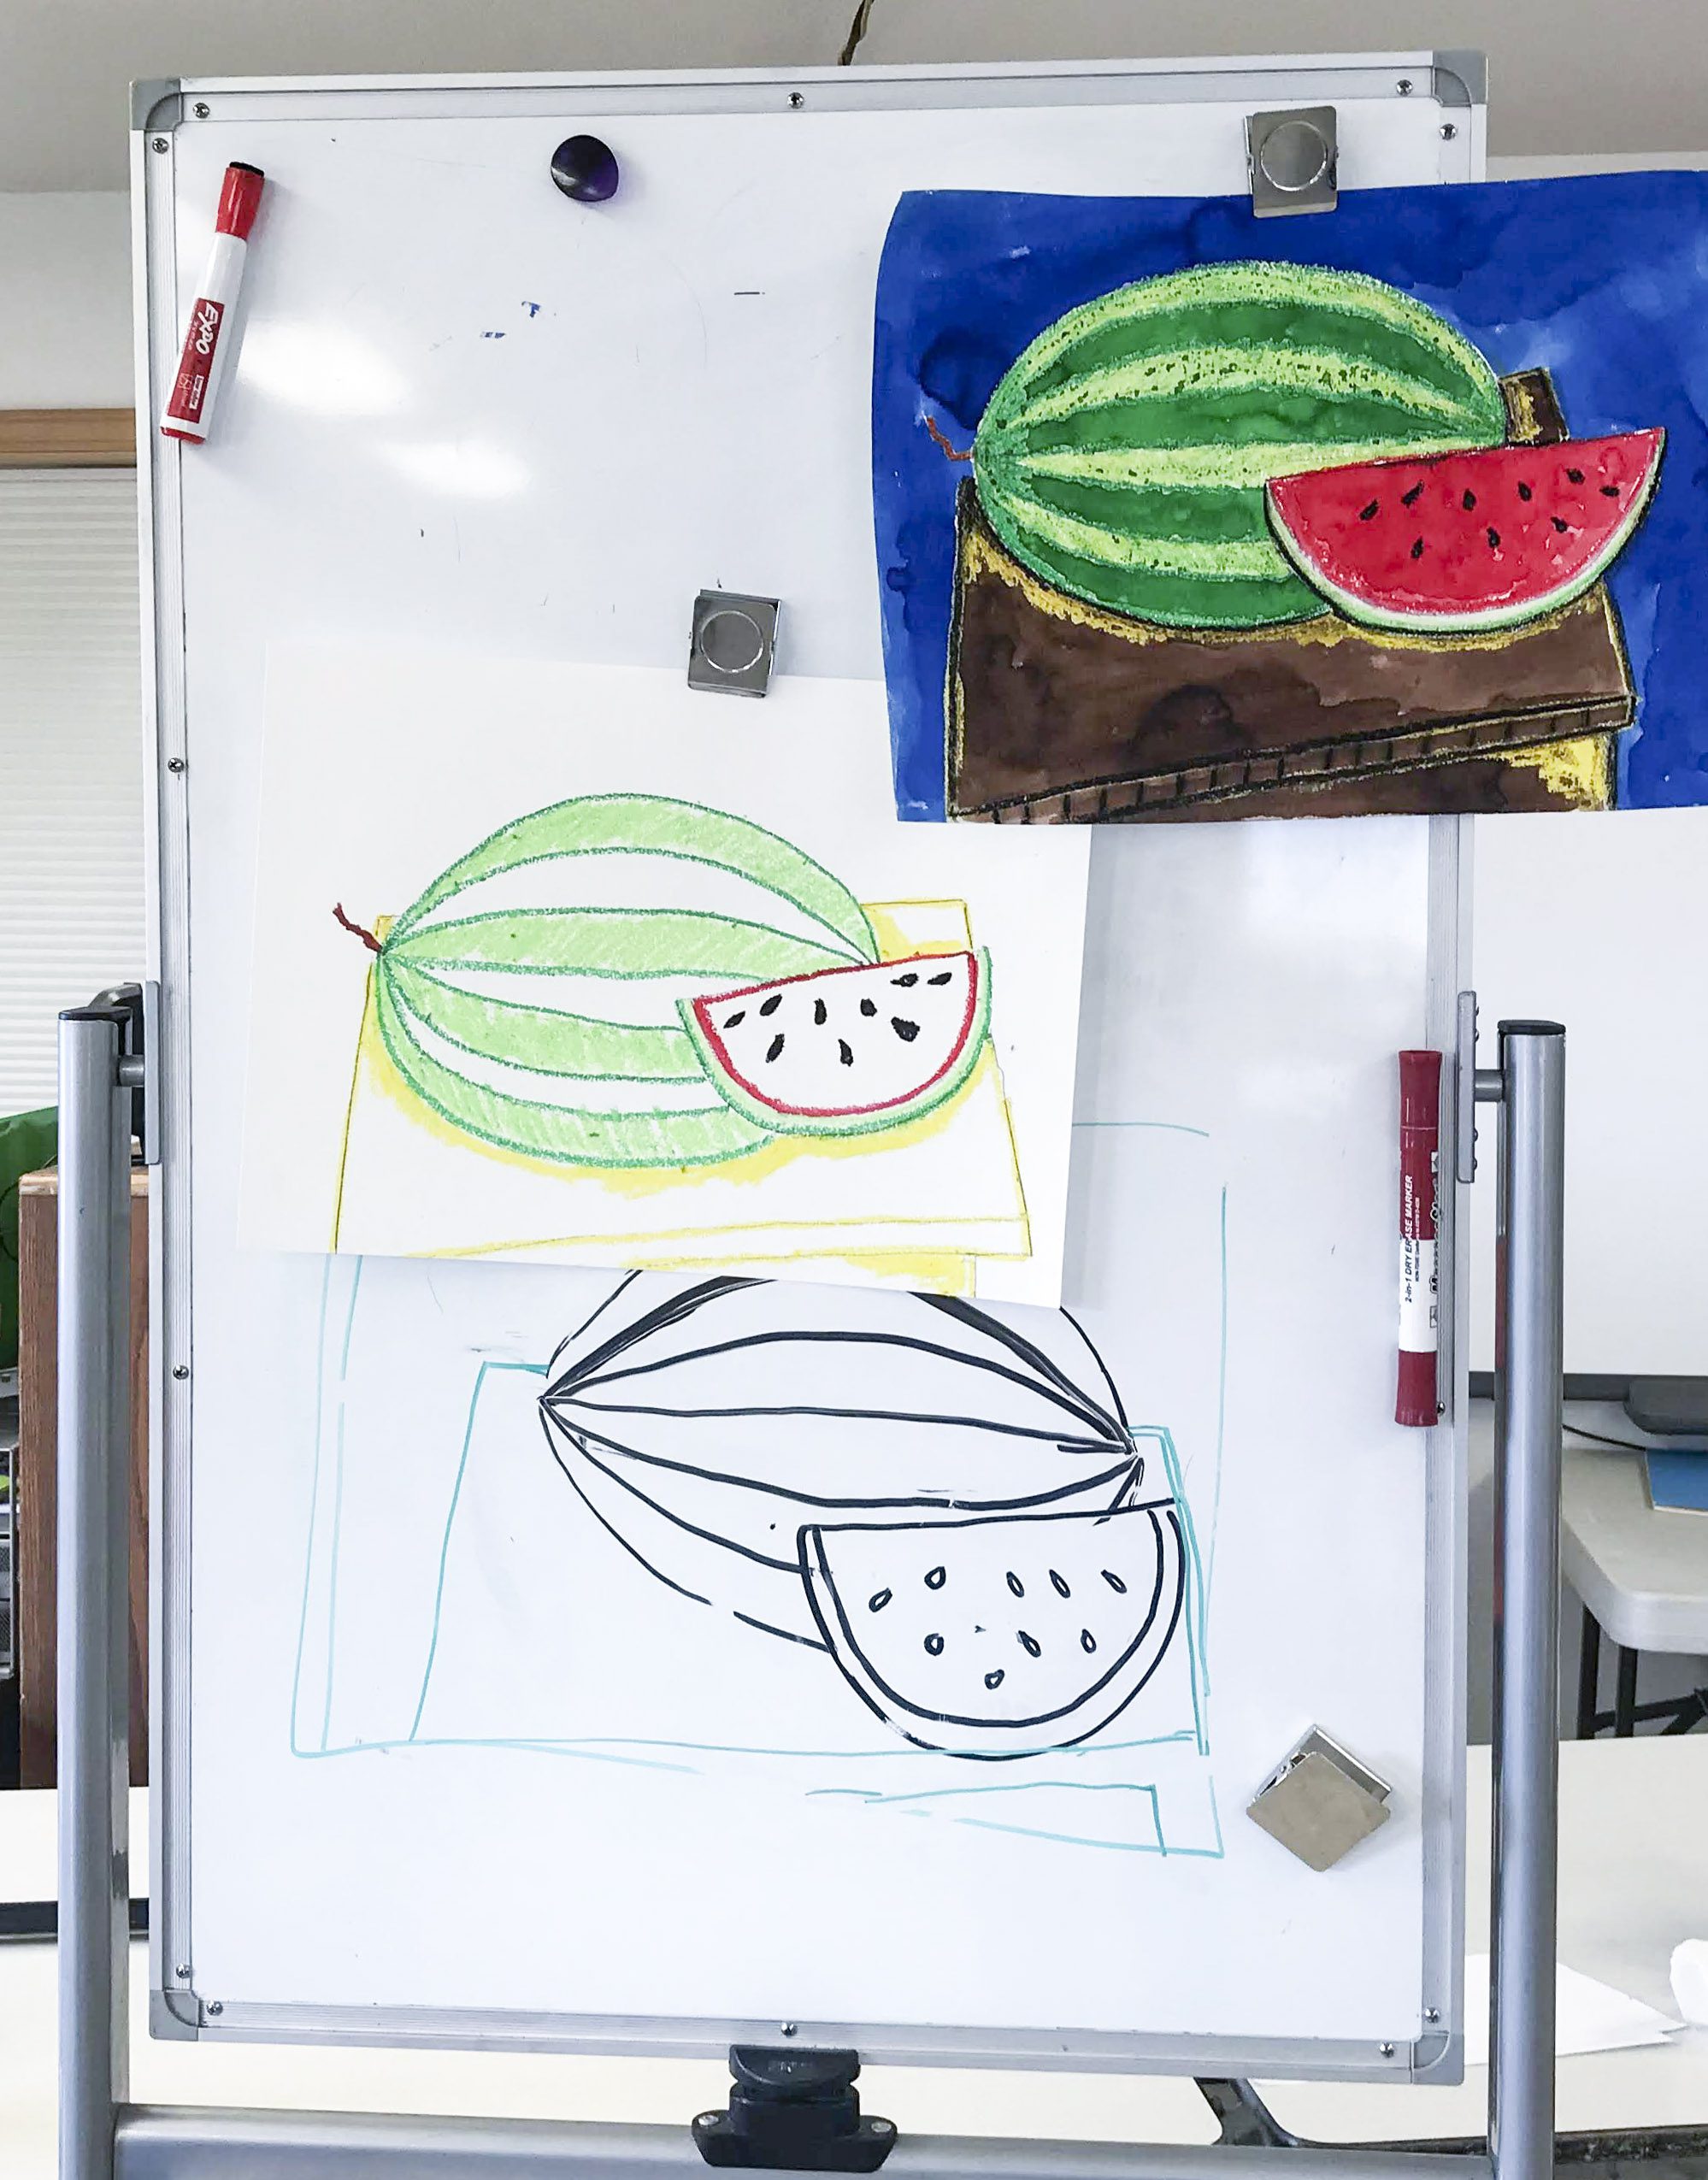
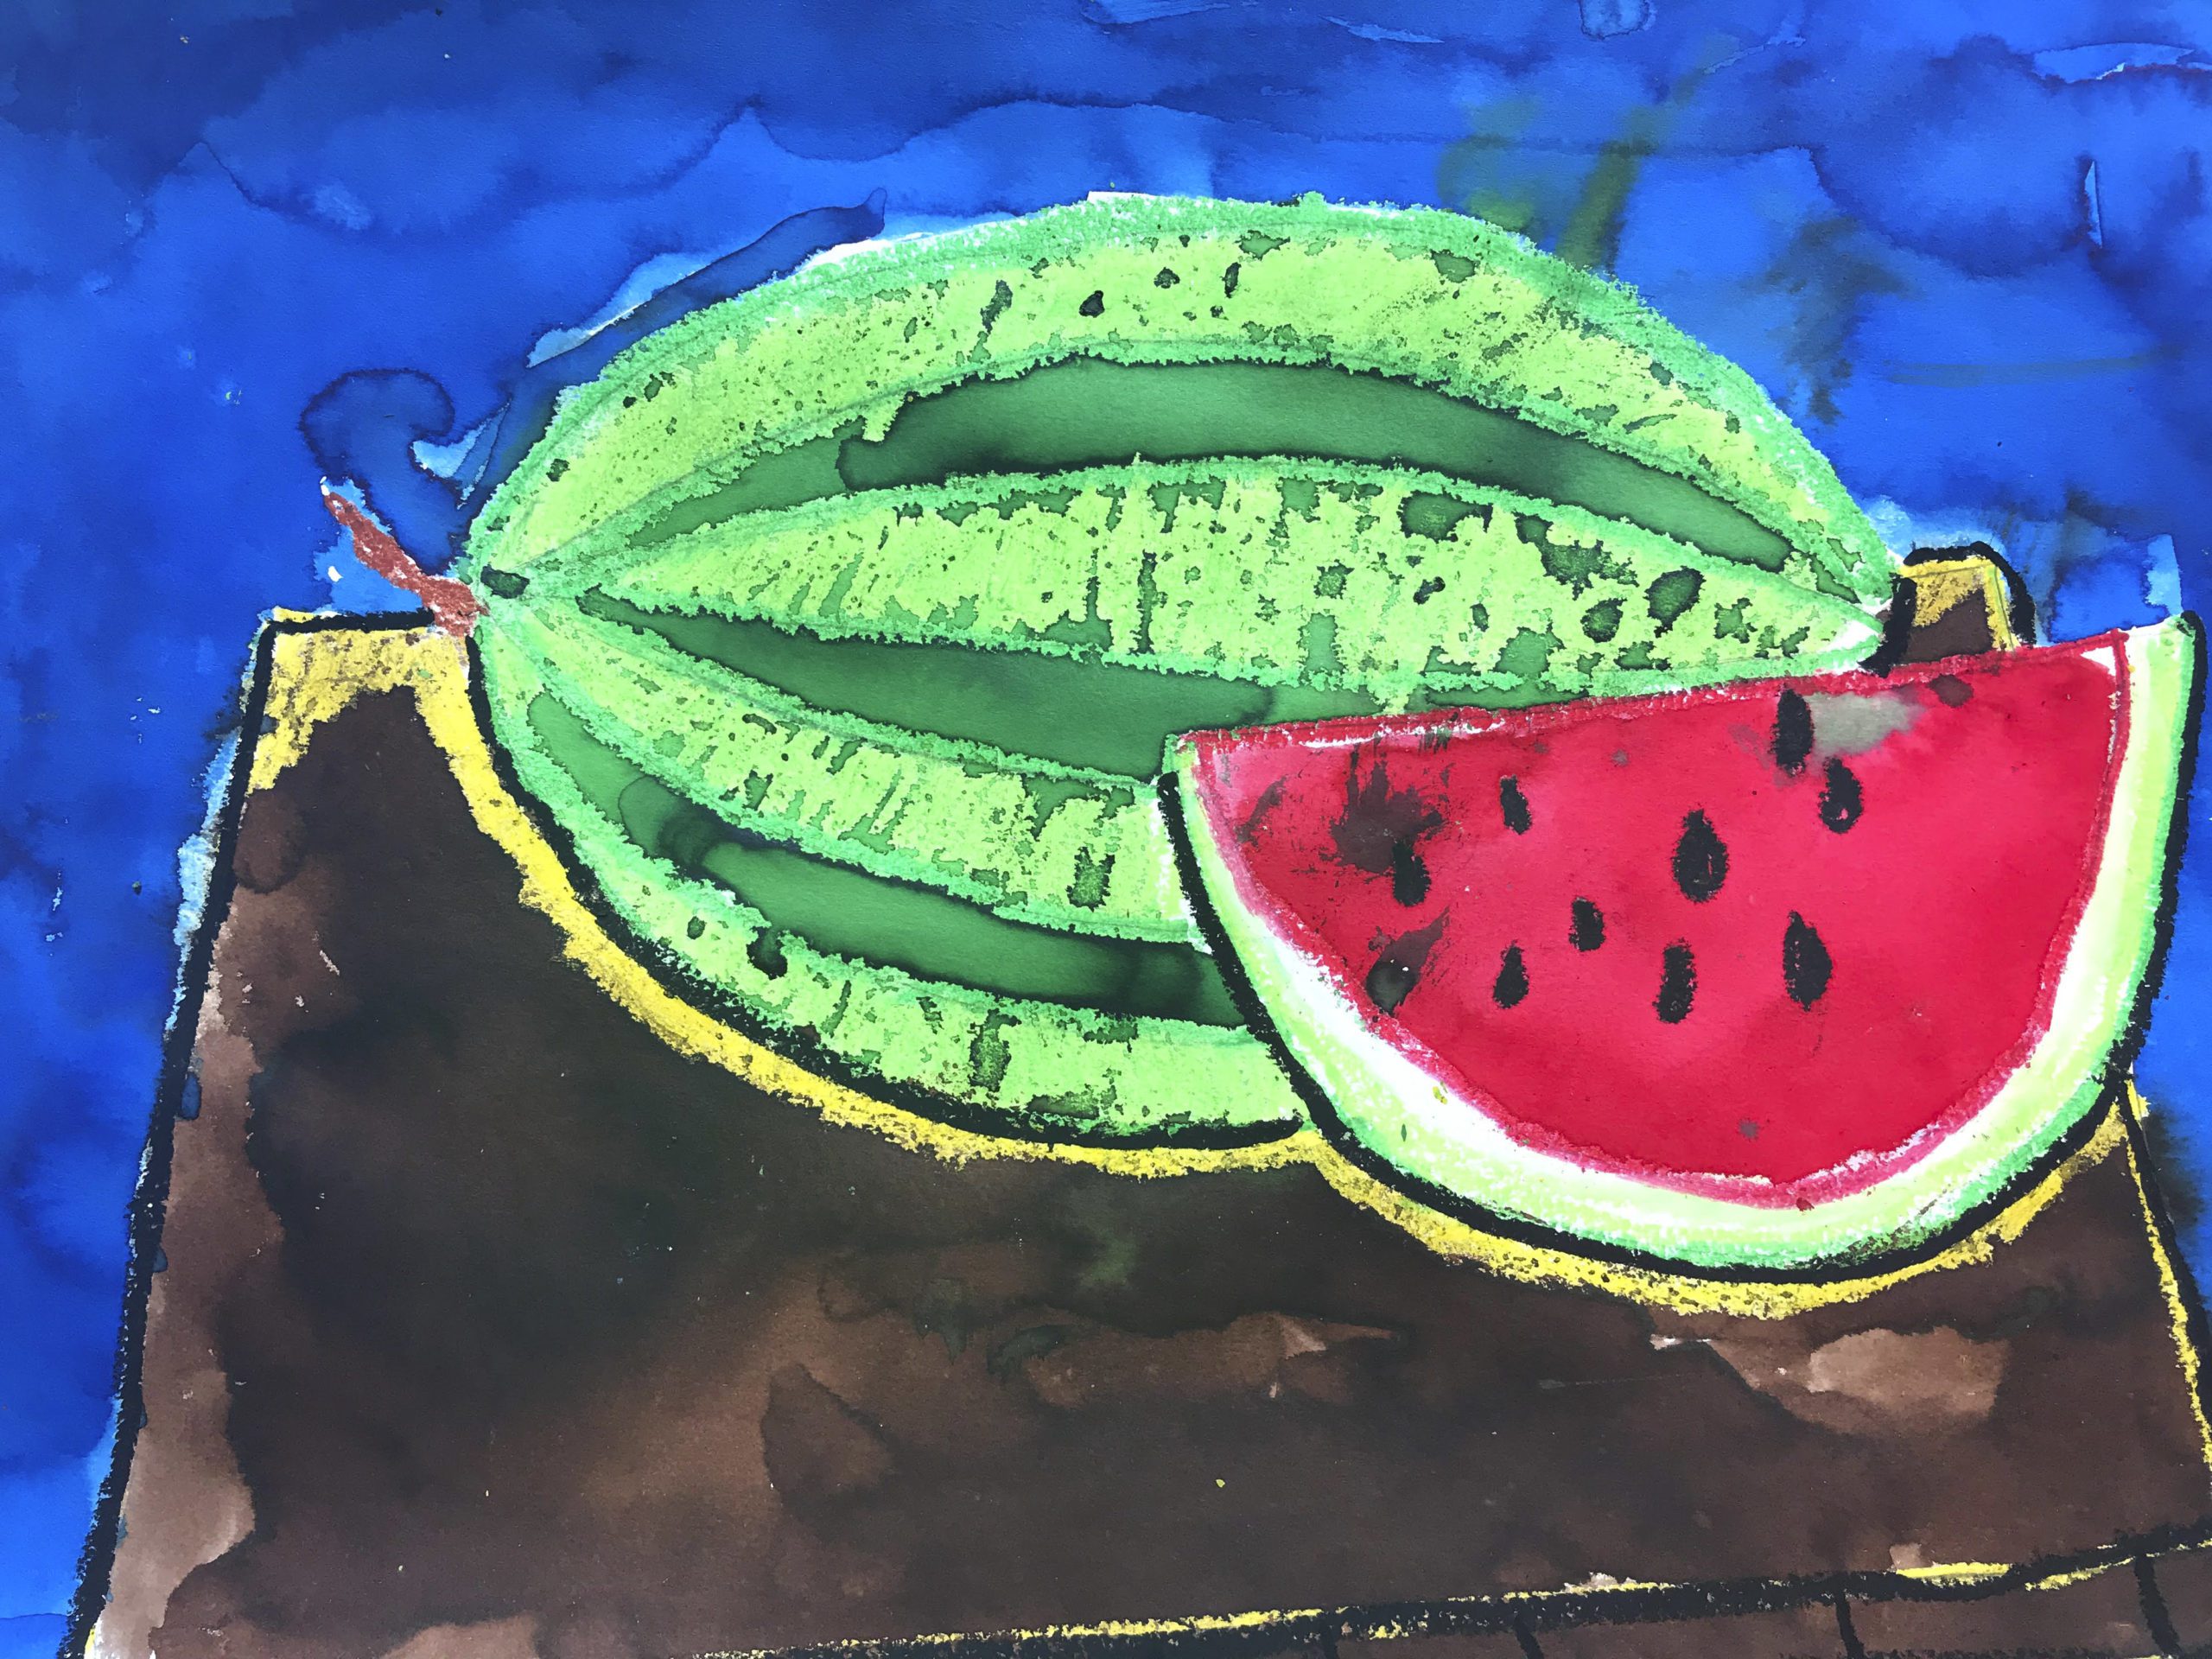
Step-by-Step:
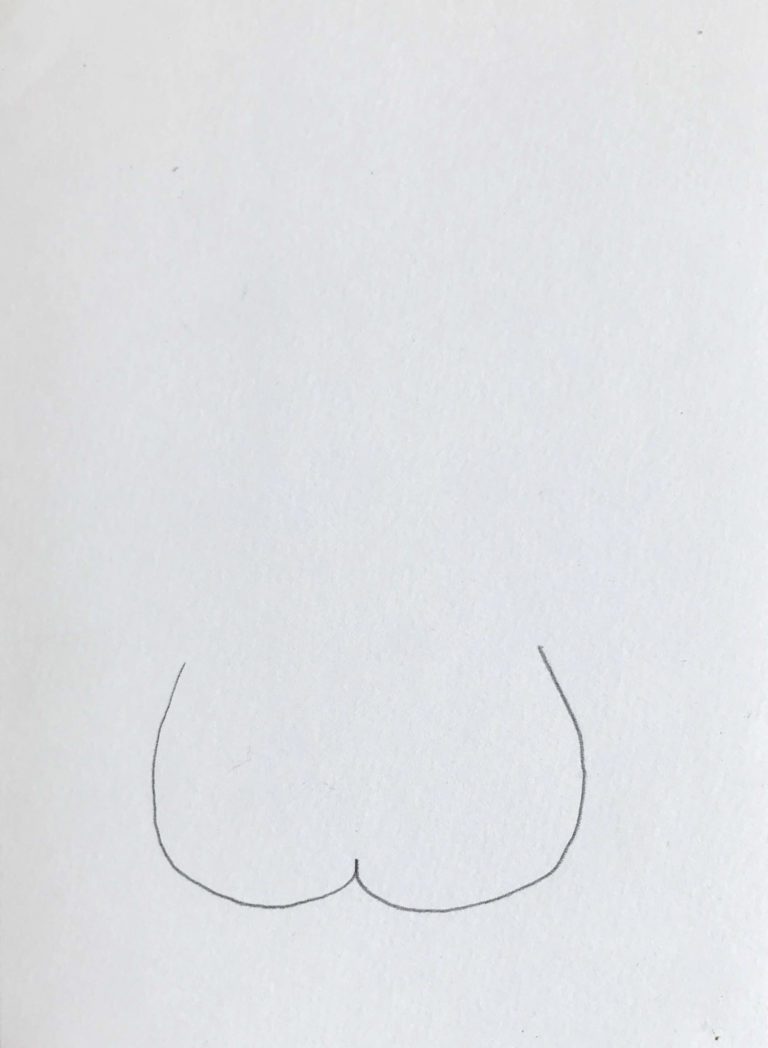
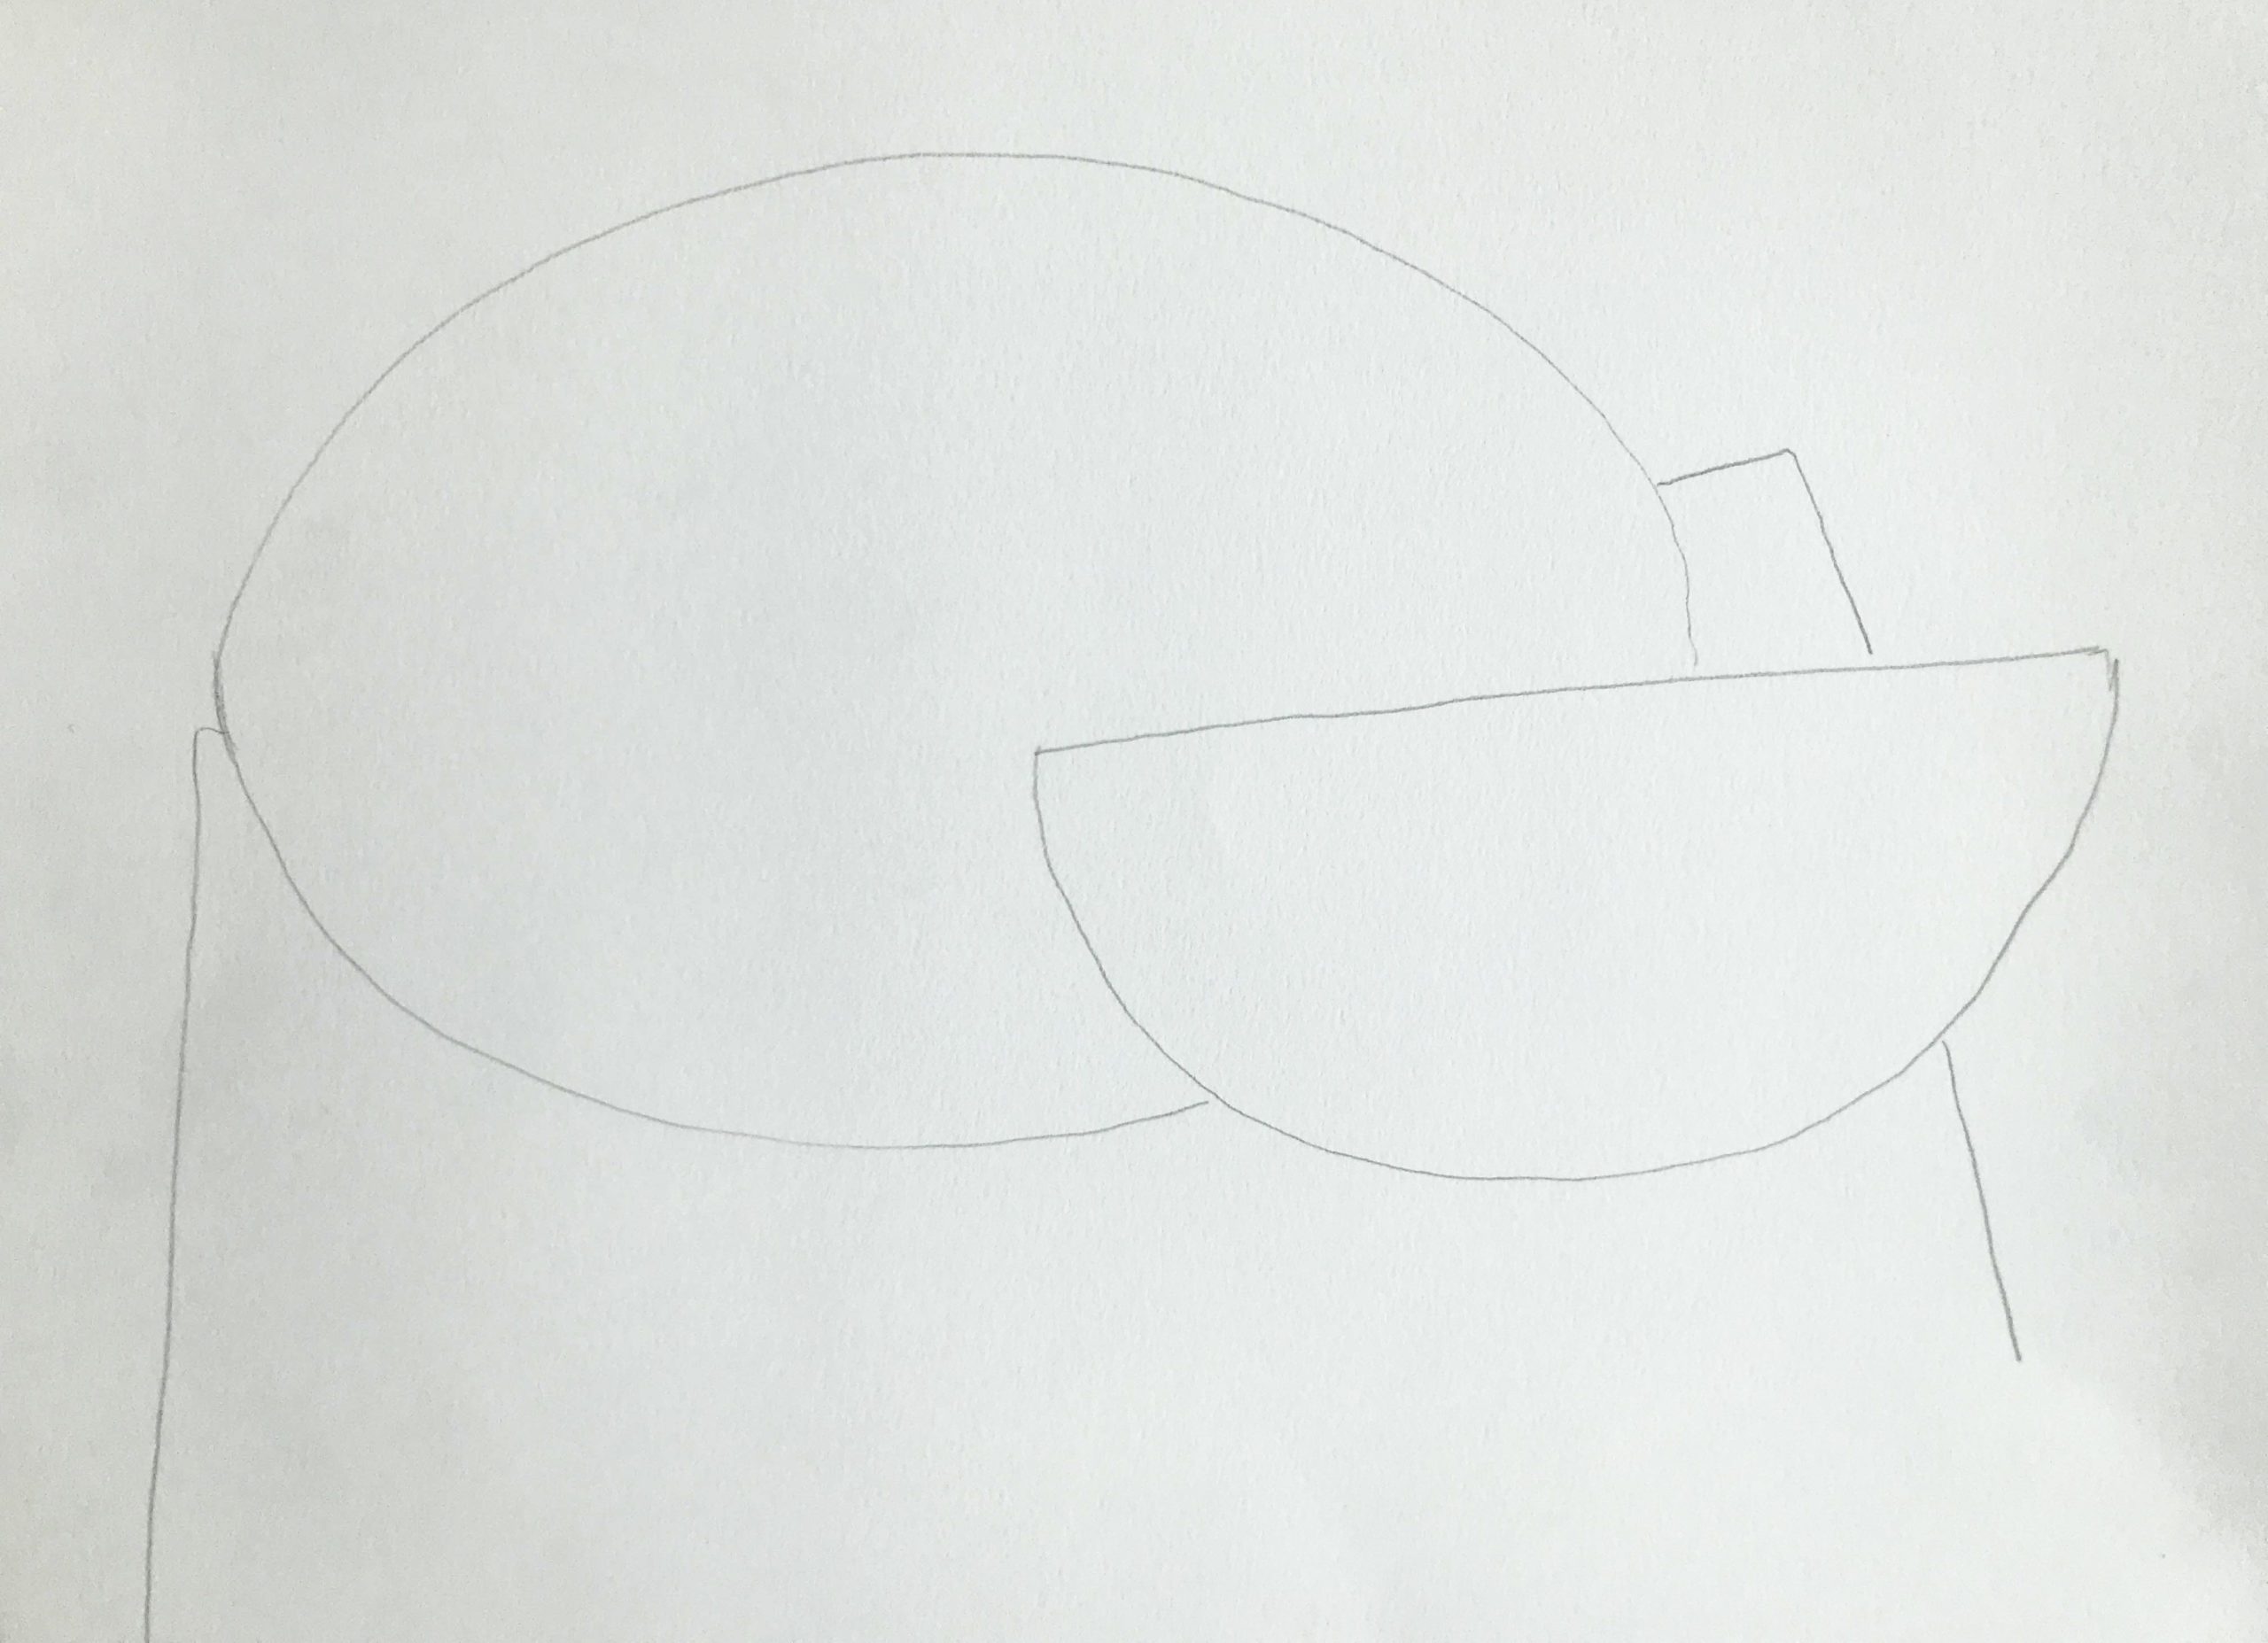
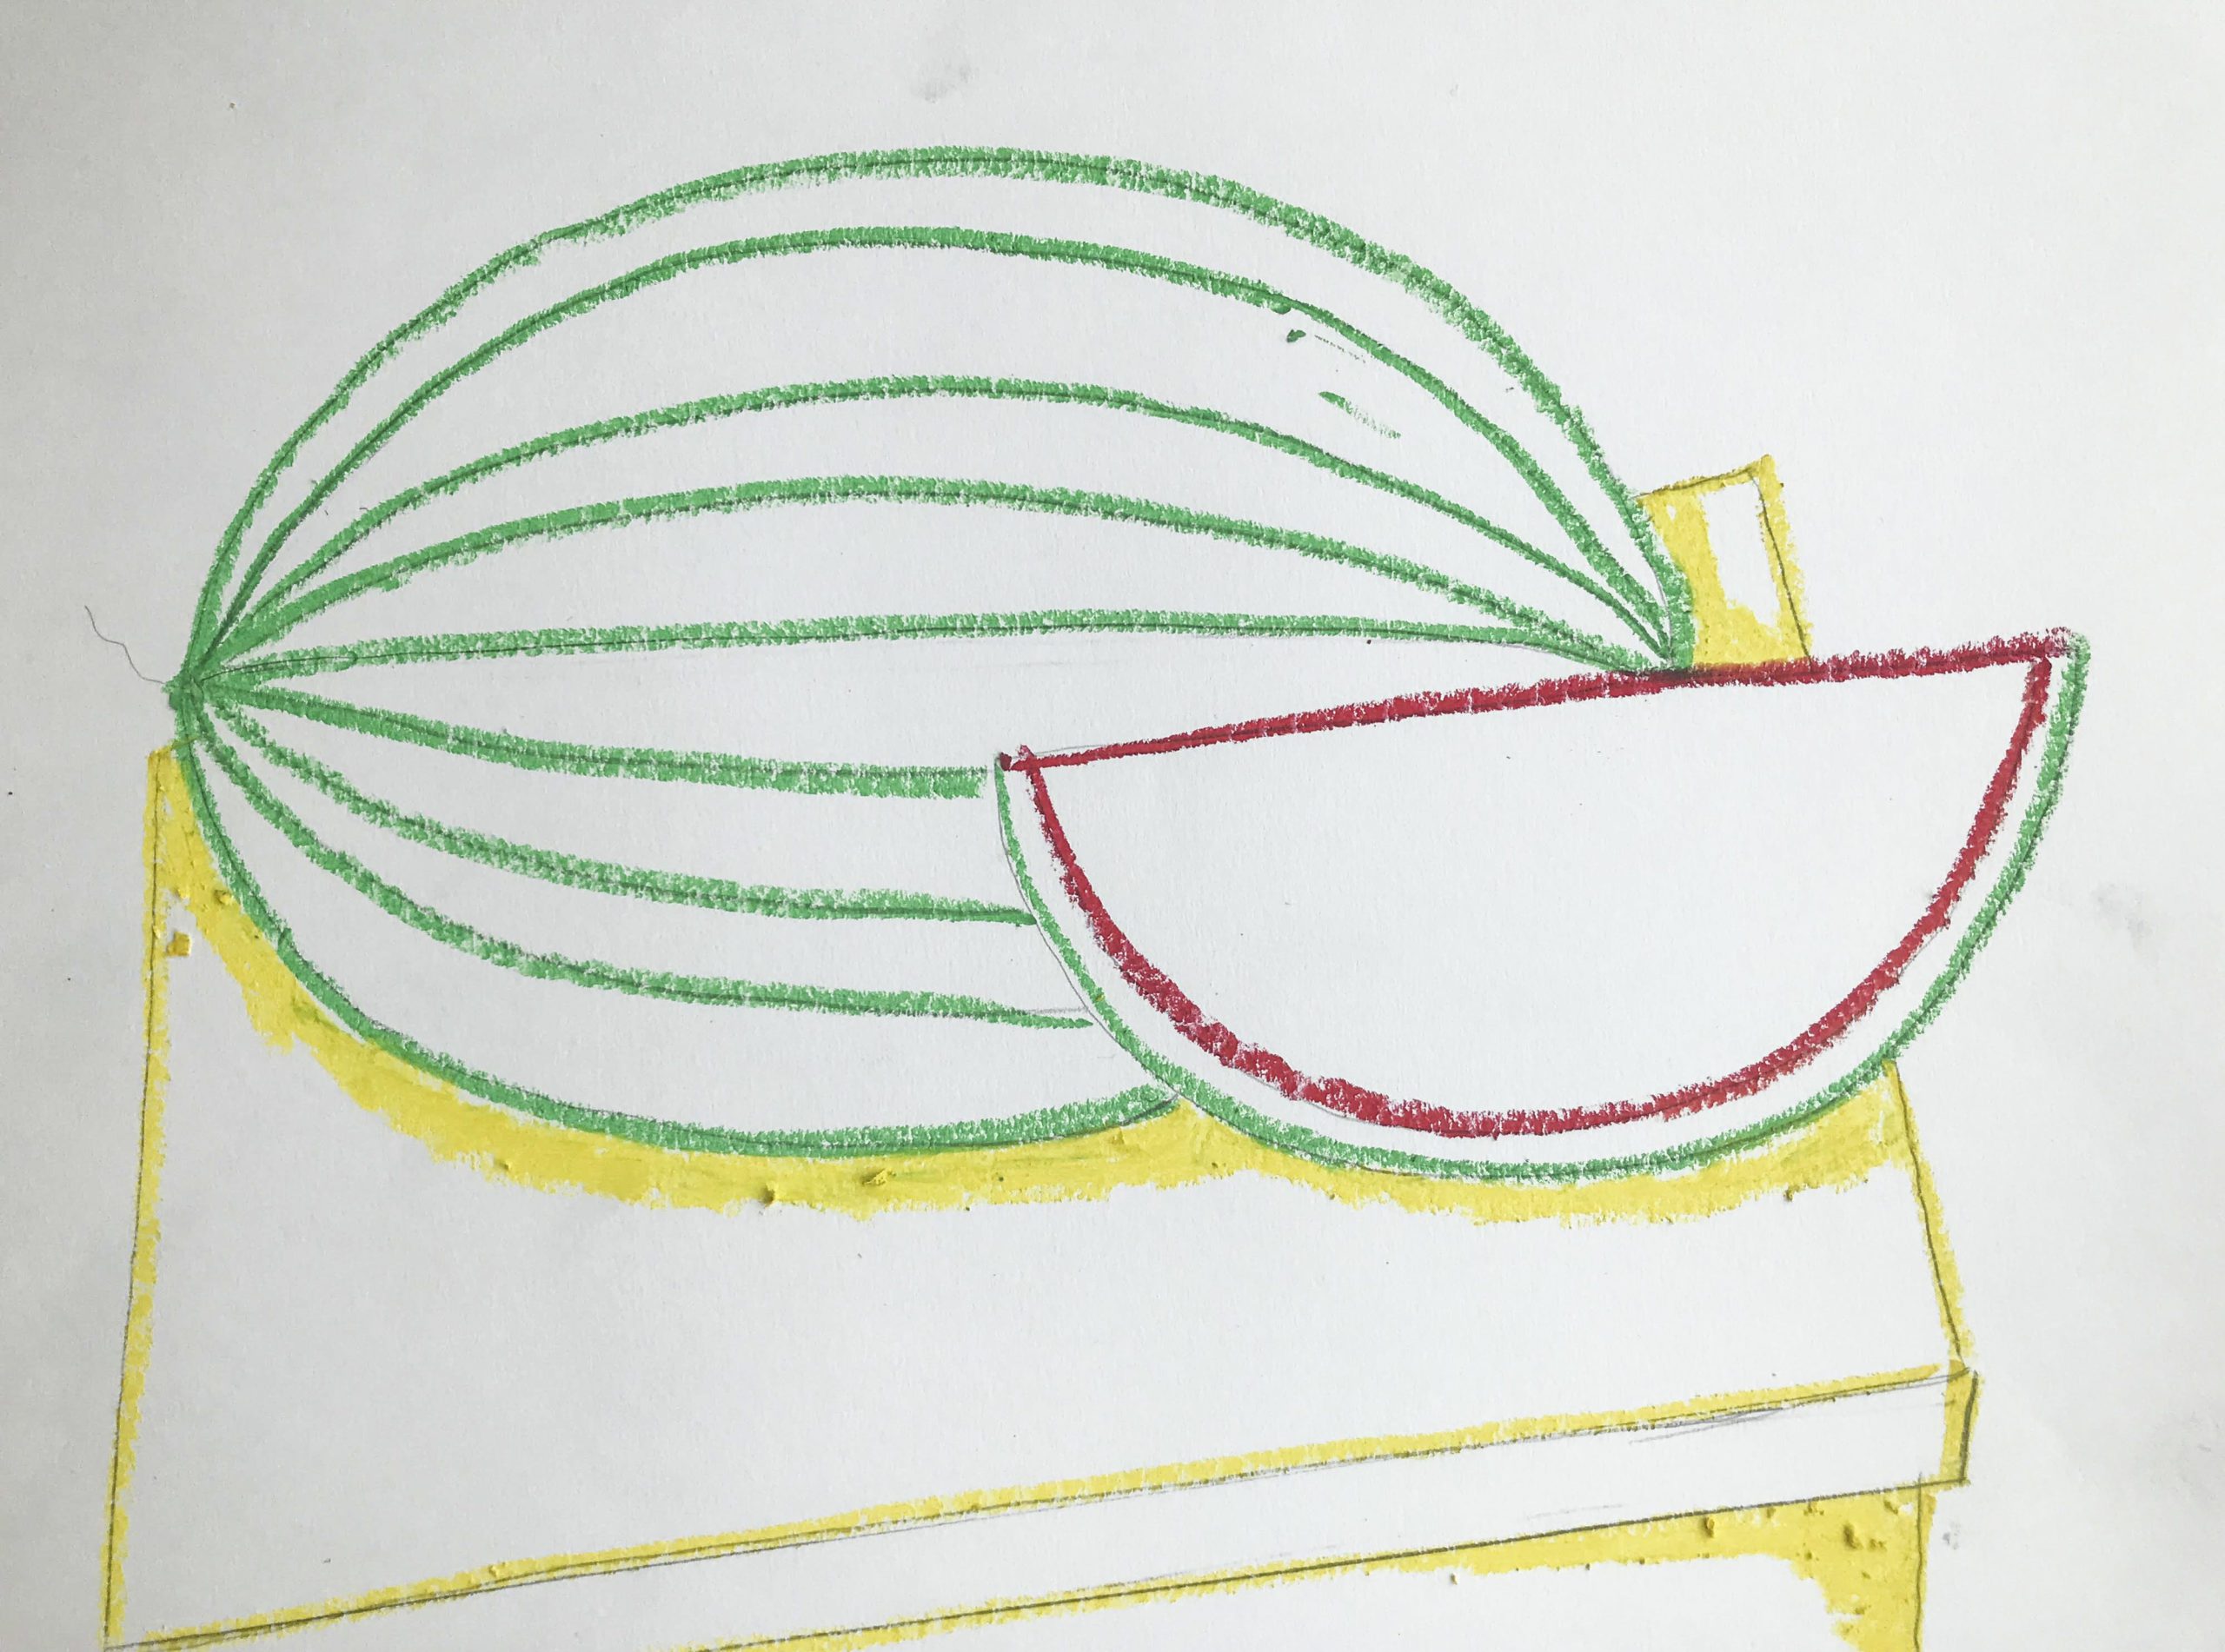
- Draw a half oval for the watermelon wedge on the right side of your paper about a quarter of the way up.
- Add a large oval behind this shape starting the line in the middle of the wedge shape.
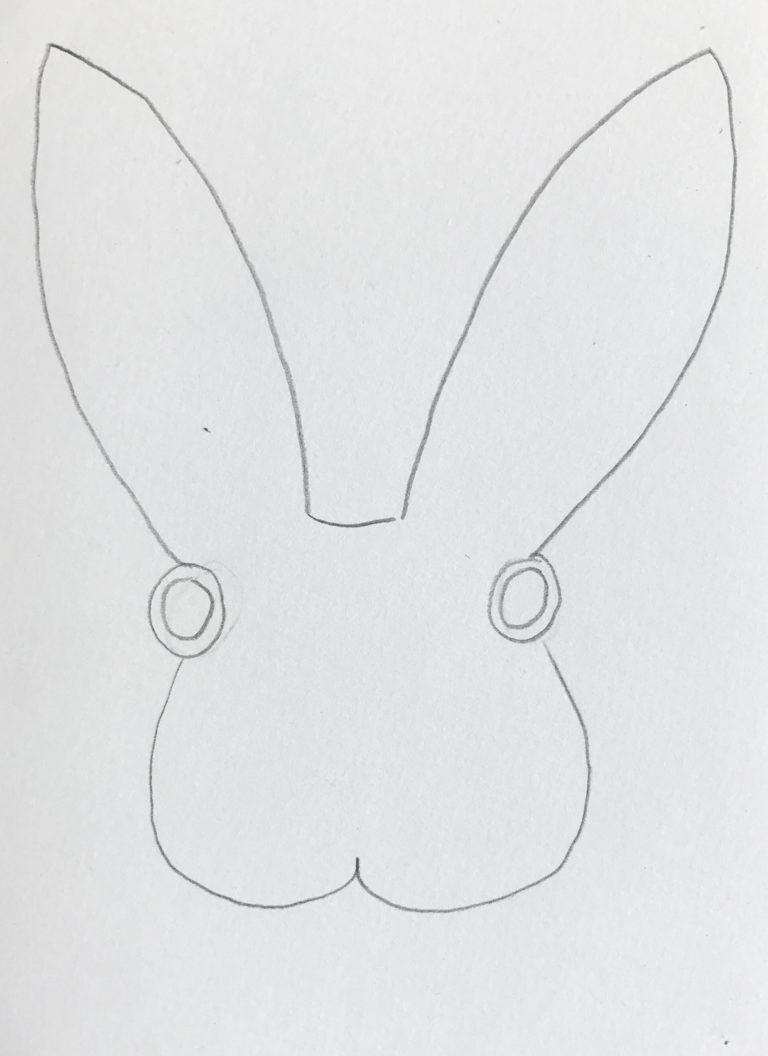
- Add the back and side table lines.
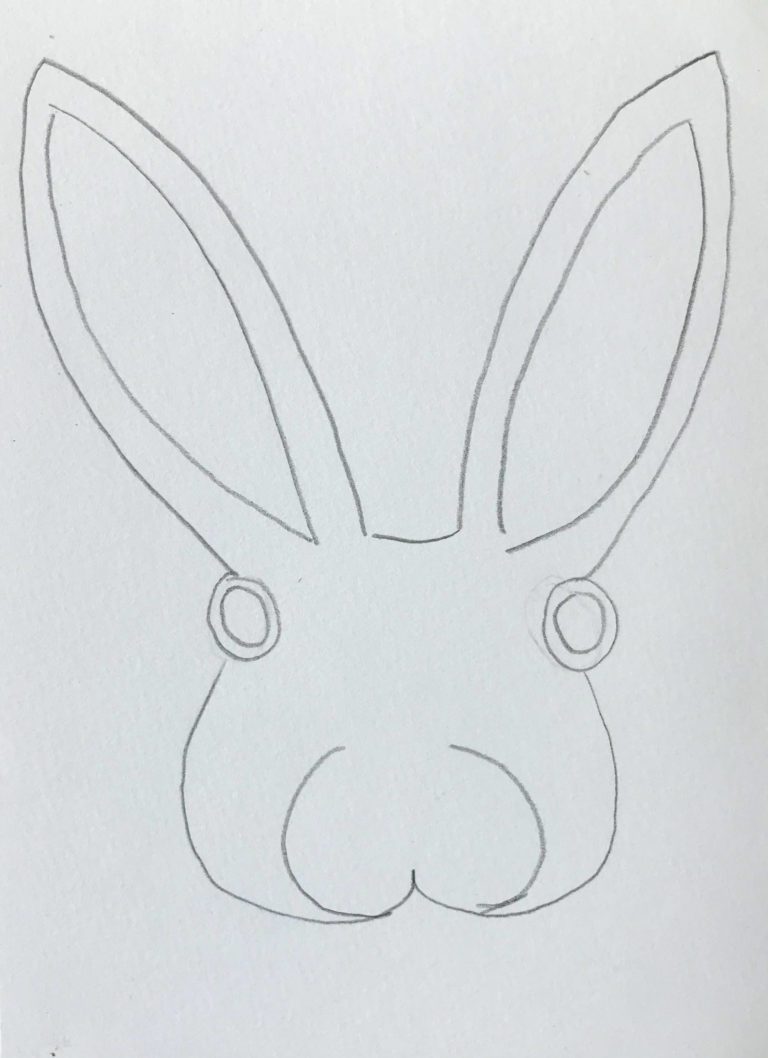
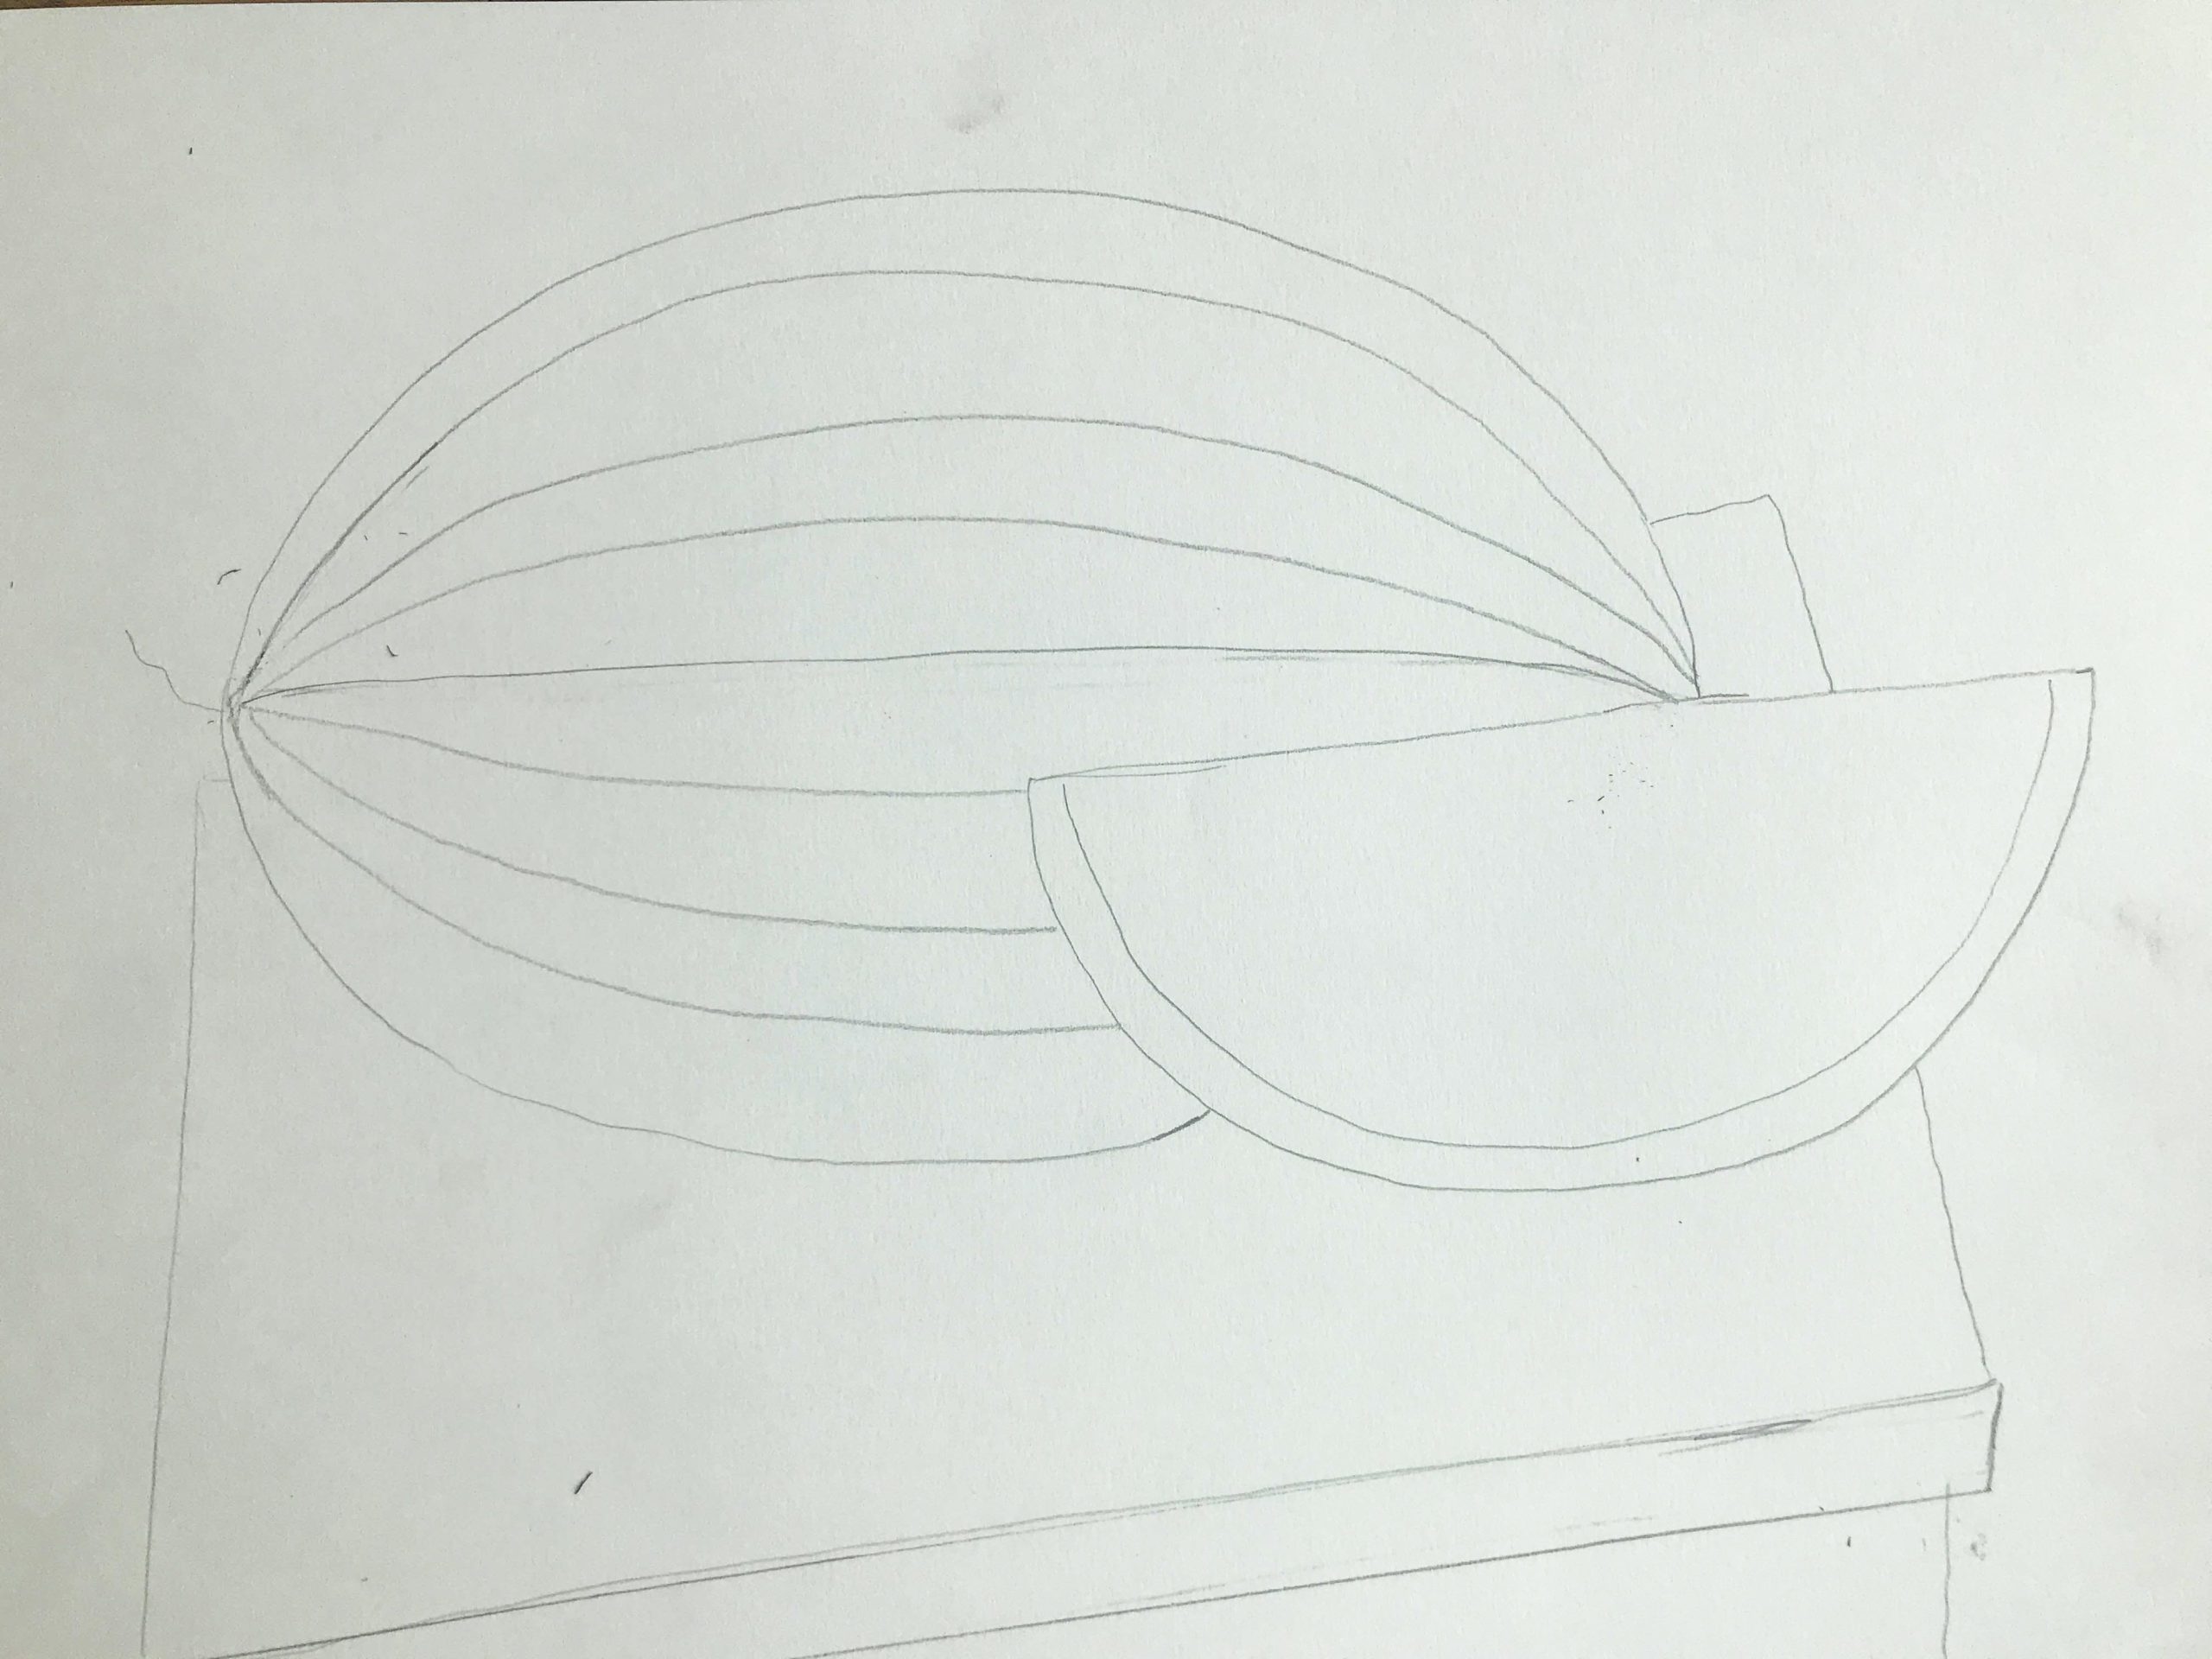
- Add the edge and bottom of the table and add a curved line on the wedge for the rind, 4 curved stripes on the whole watermelon, and the stem.
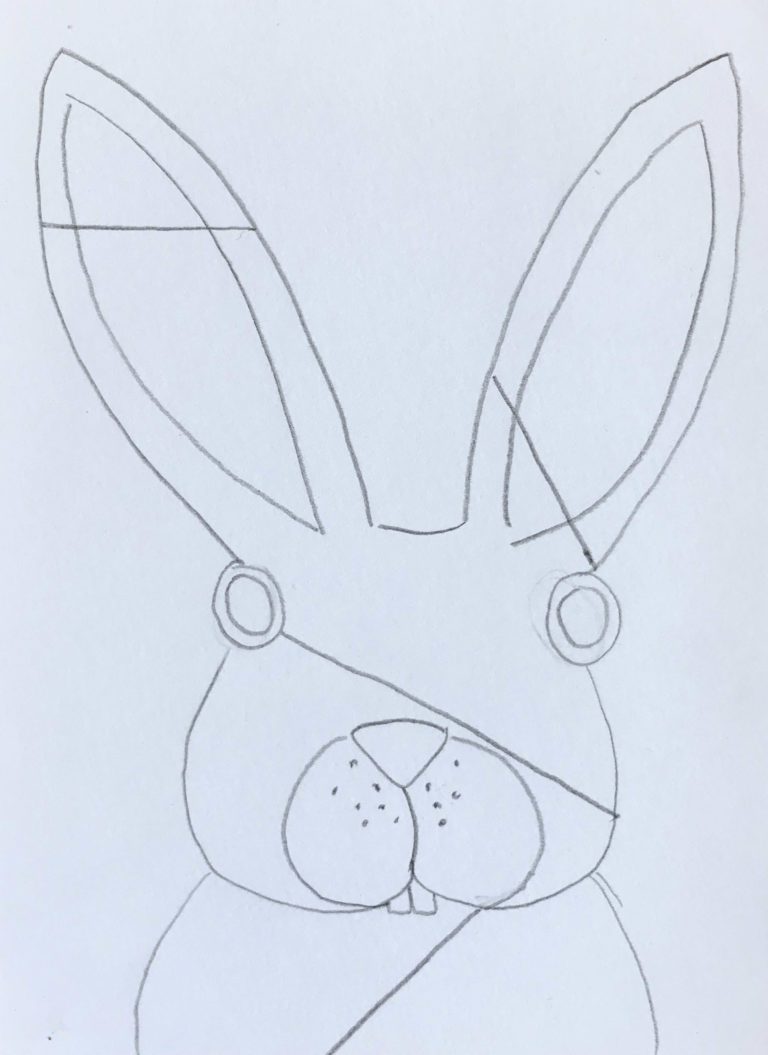
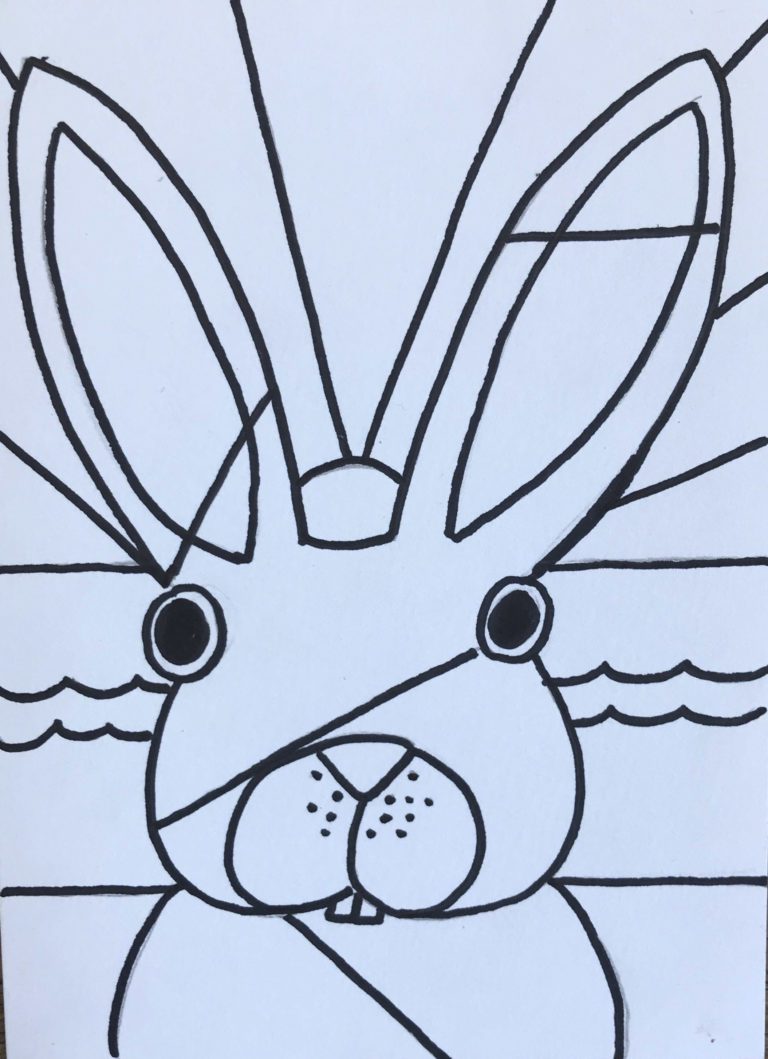
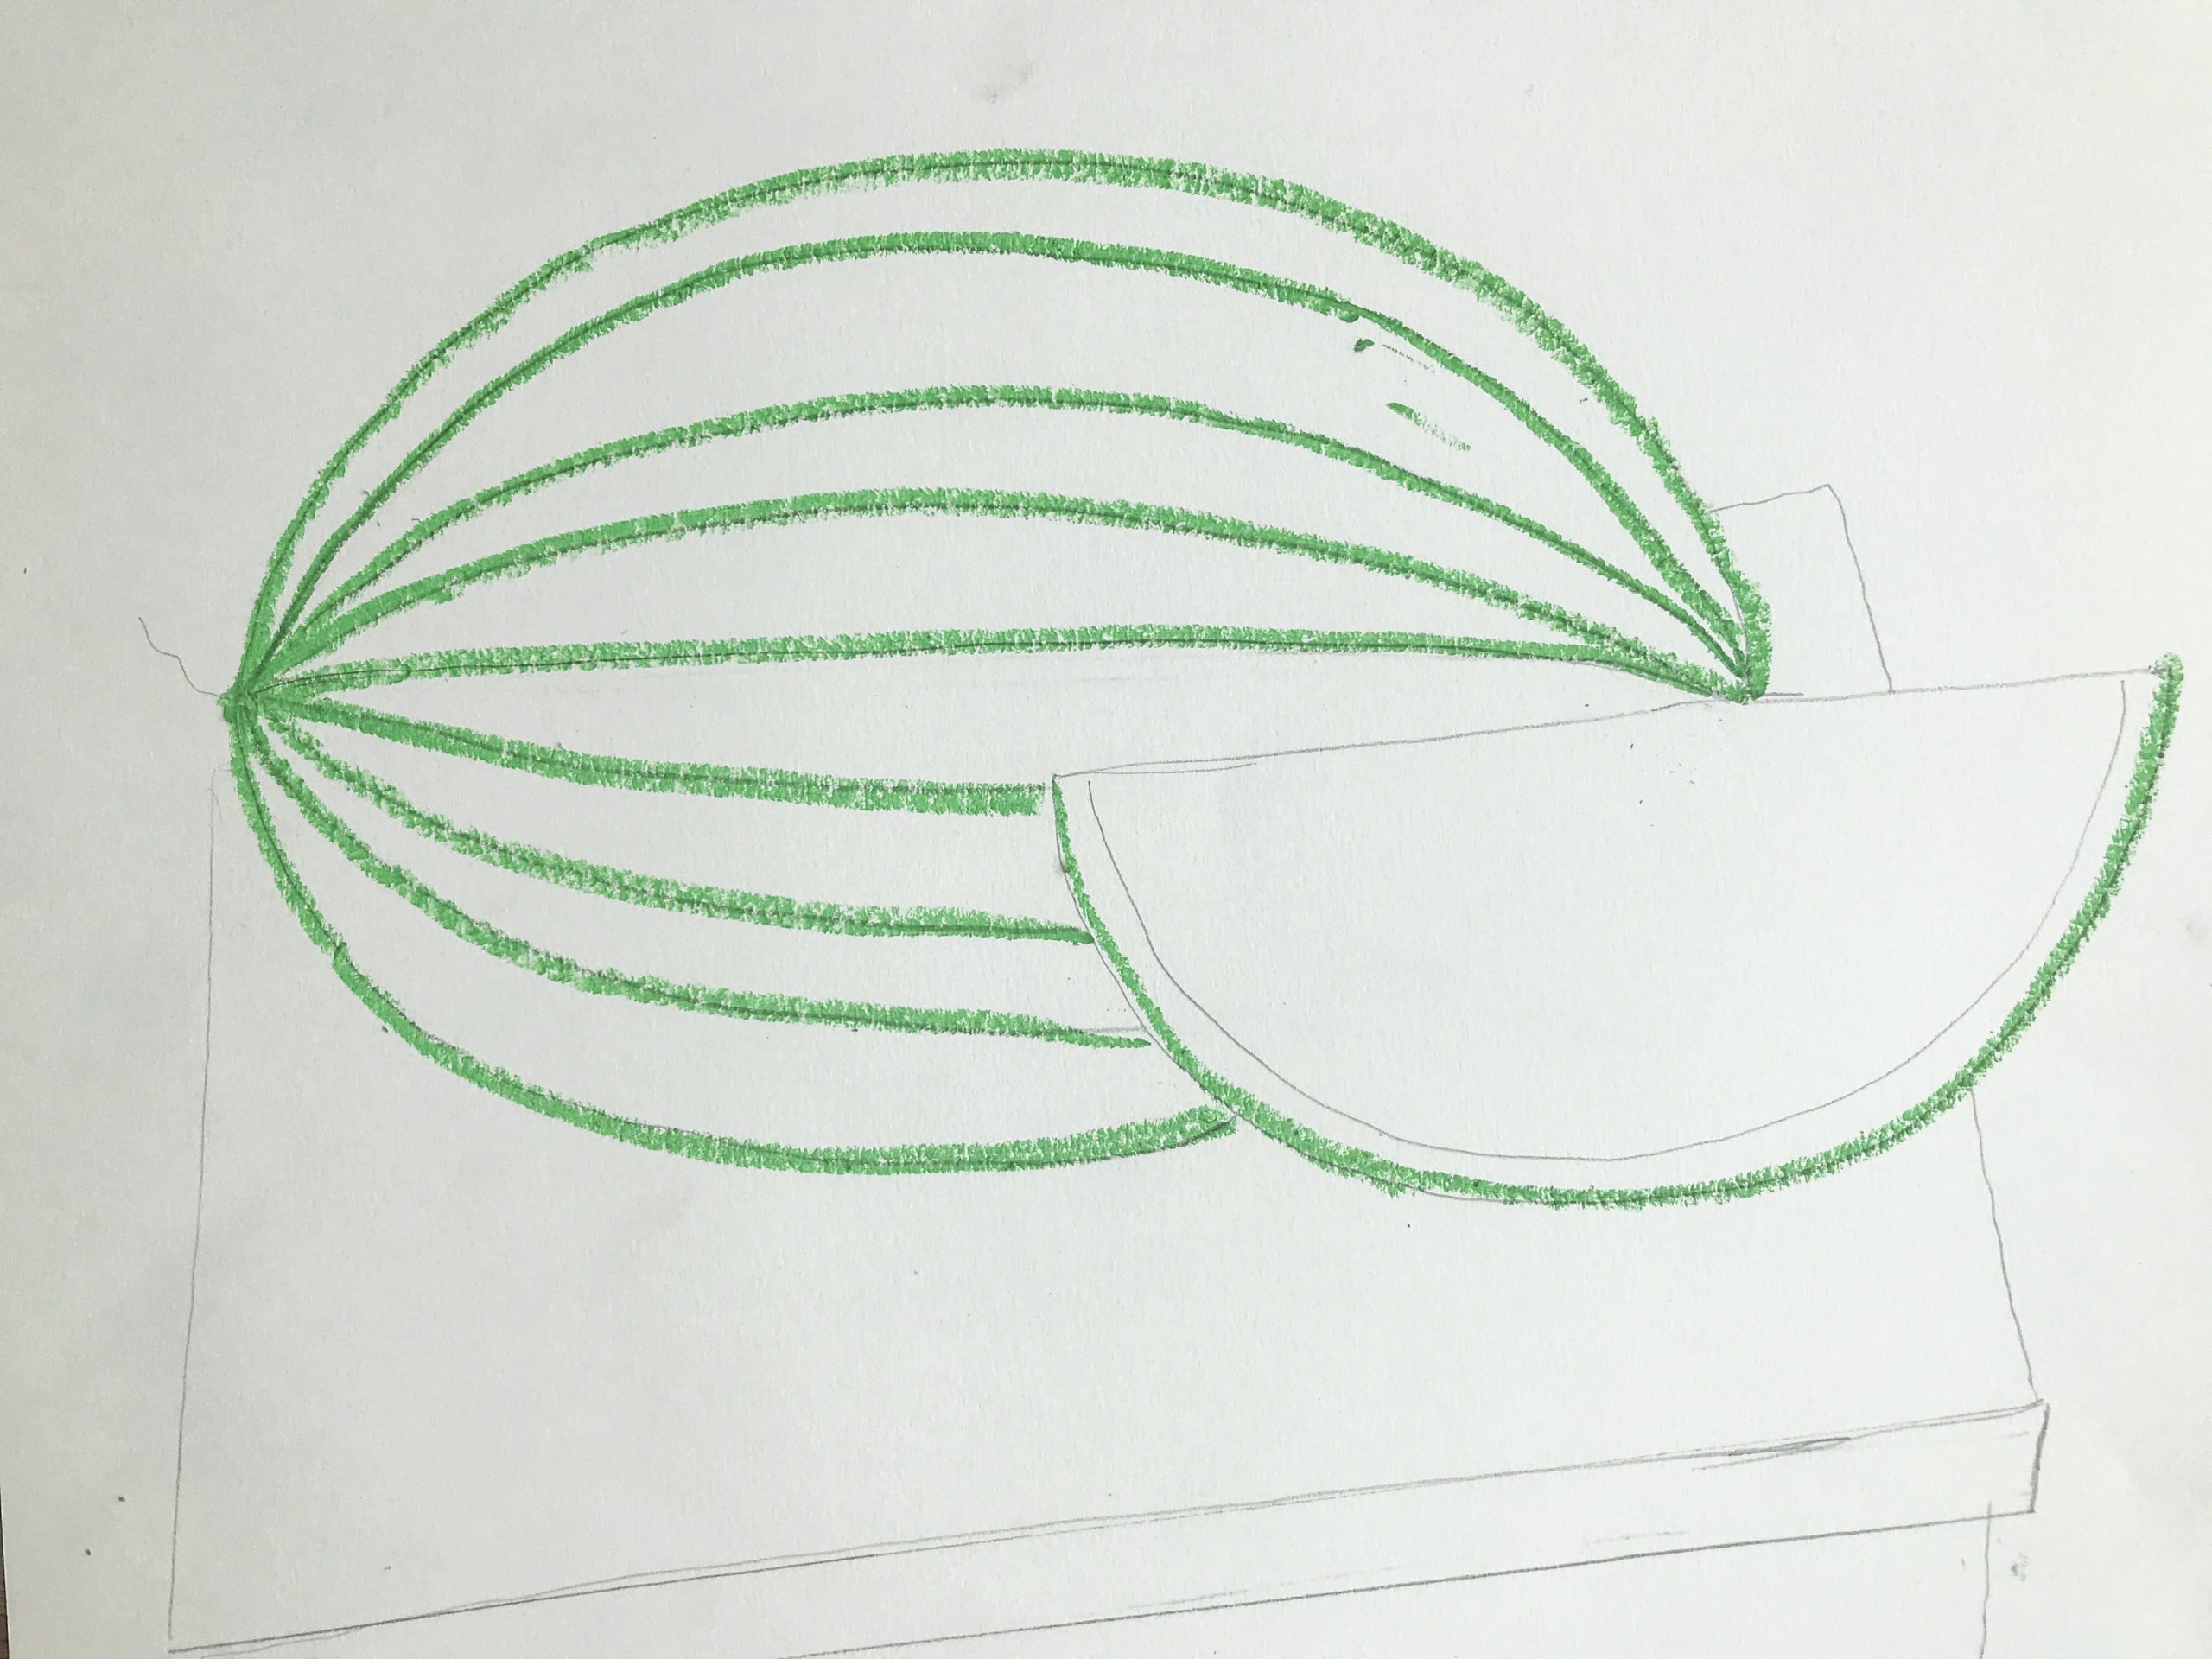
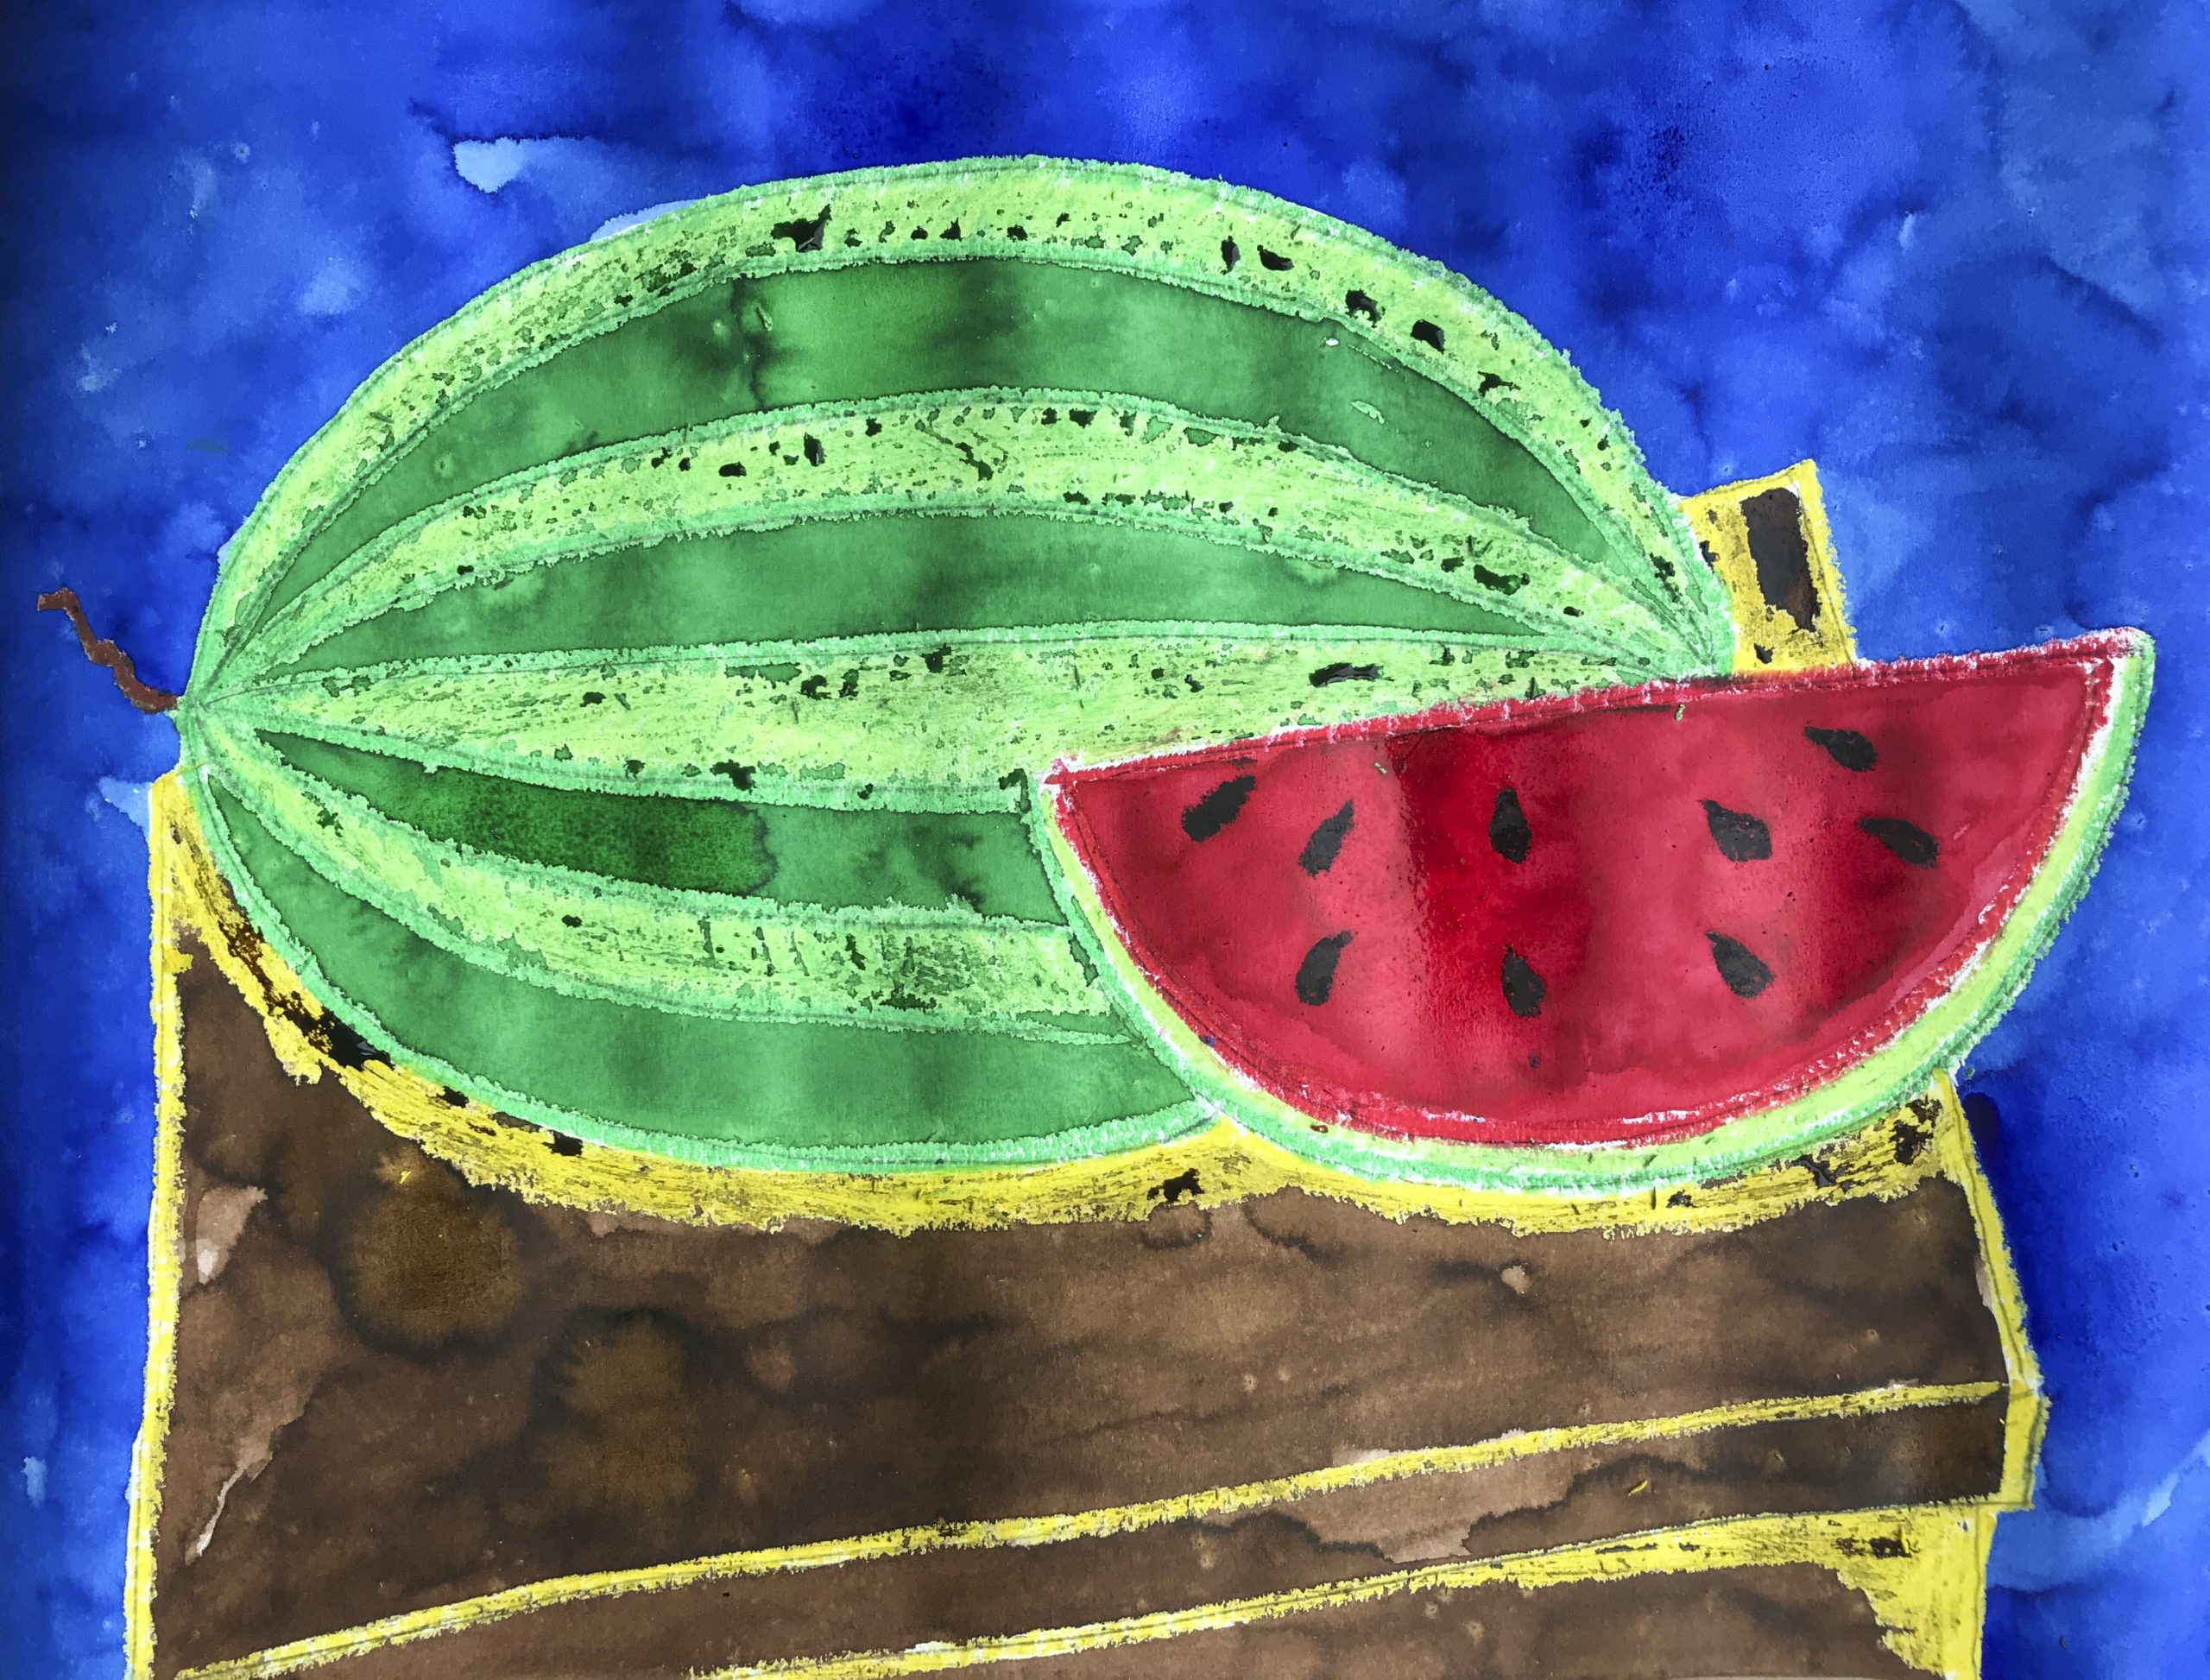
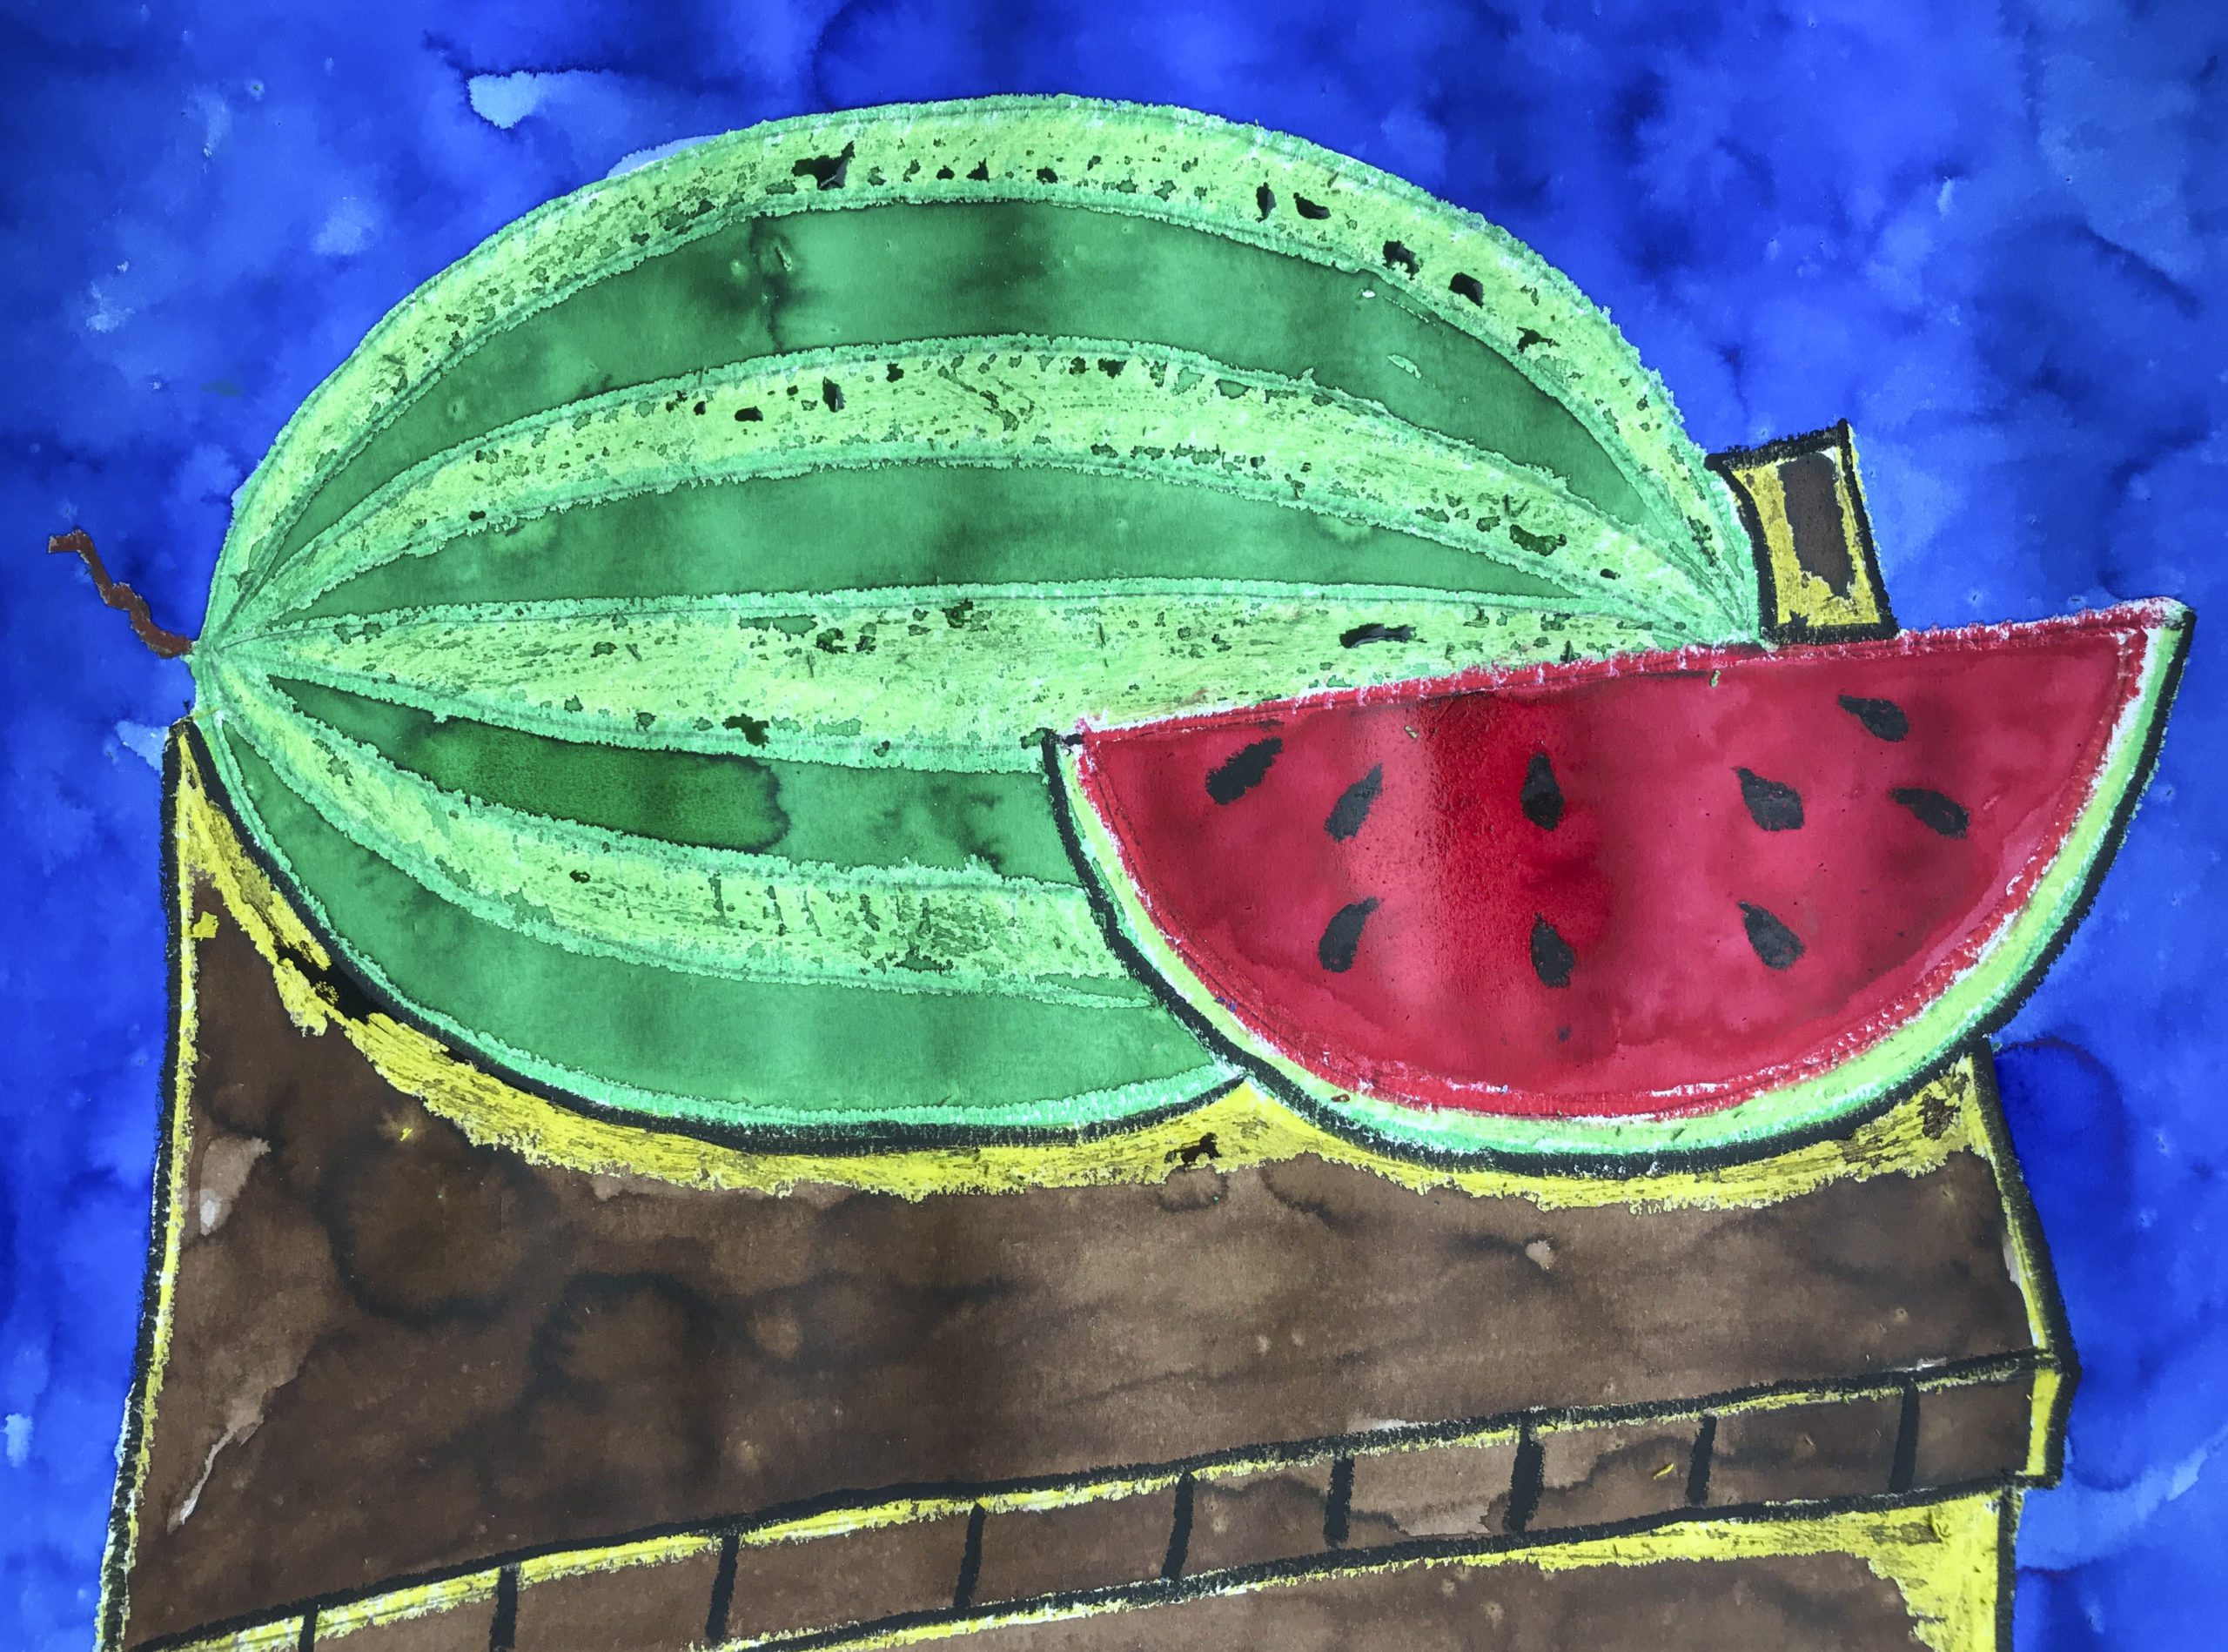
- For all the pastel work press hard to get good coverage and nice dark lines. Use the dark green oil pastel to outline the large melon, add stripes and go over the bottom pencil line of the wedge.
- Outline the wedge with red.
- Outline the table and do shading with yellow.
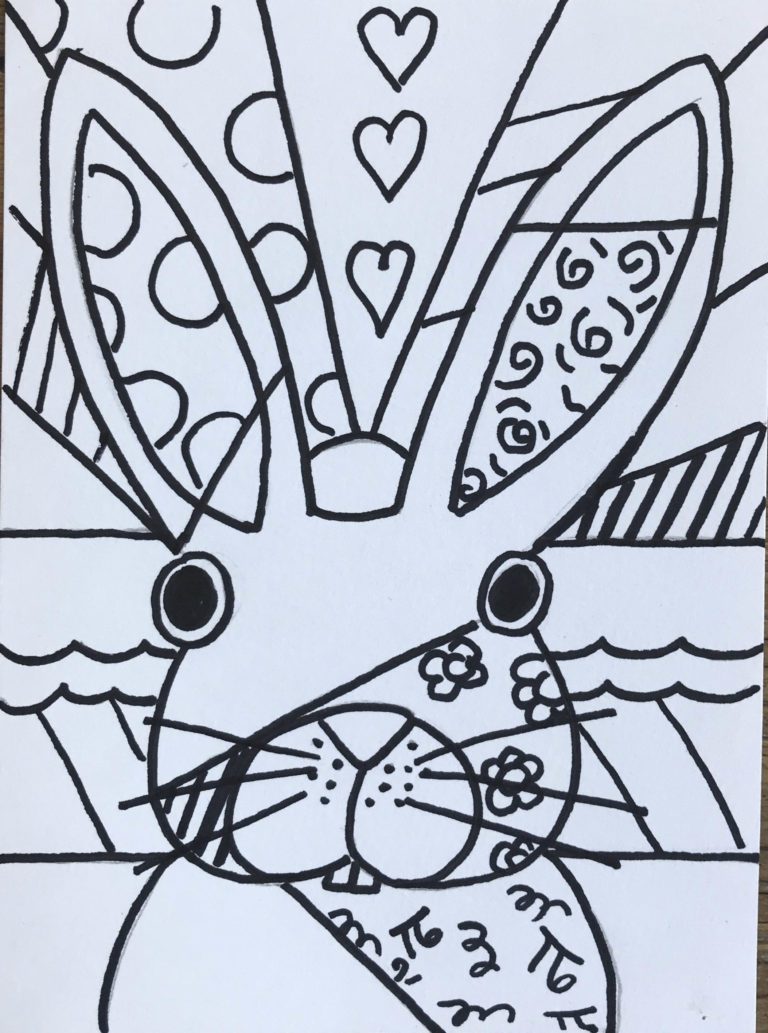
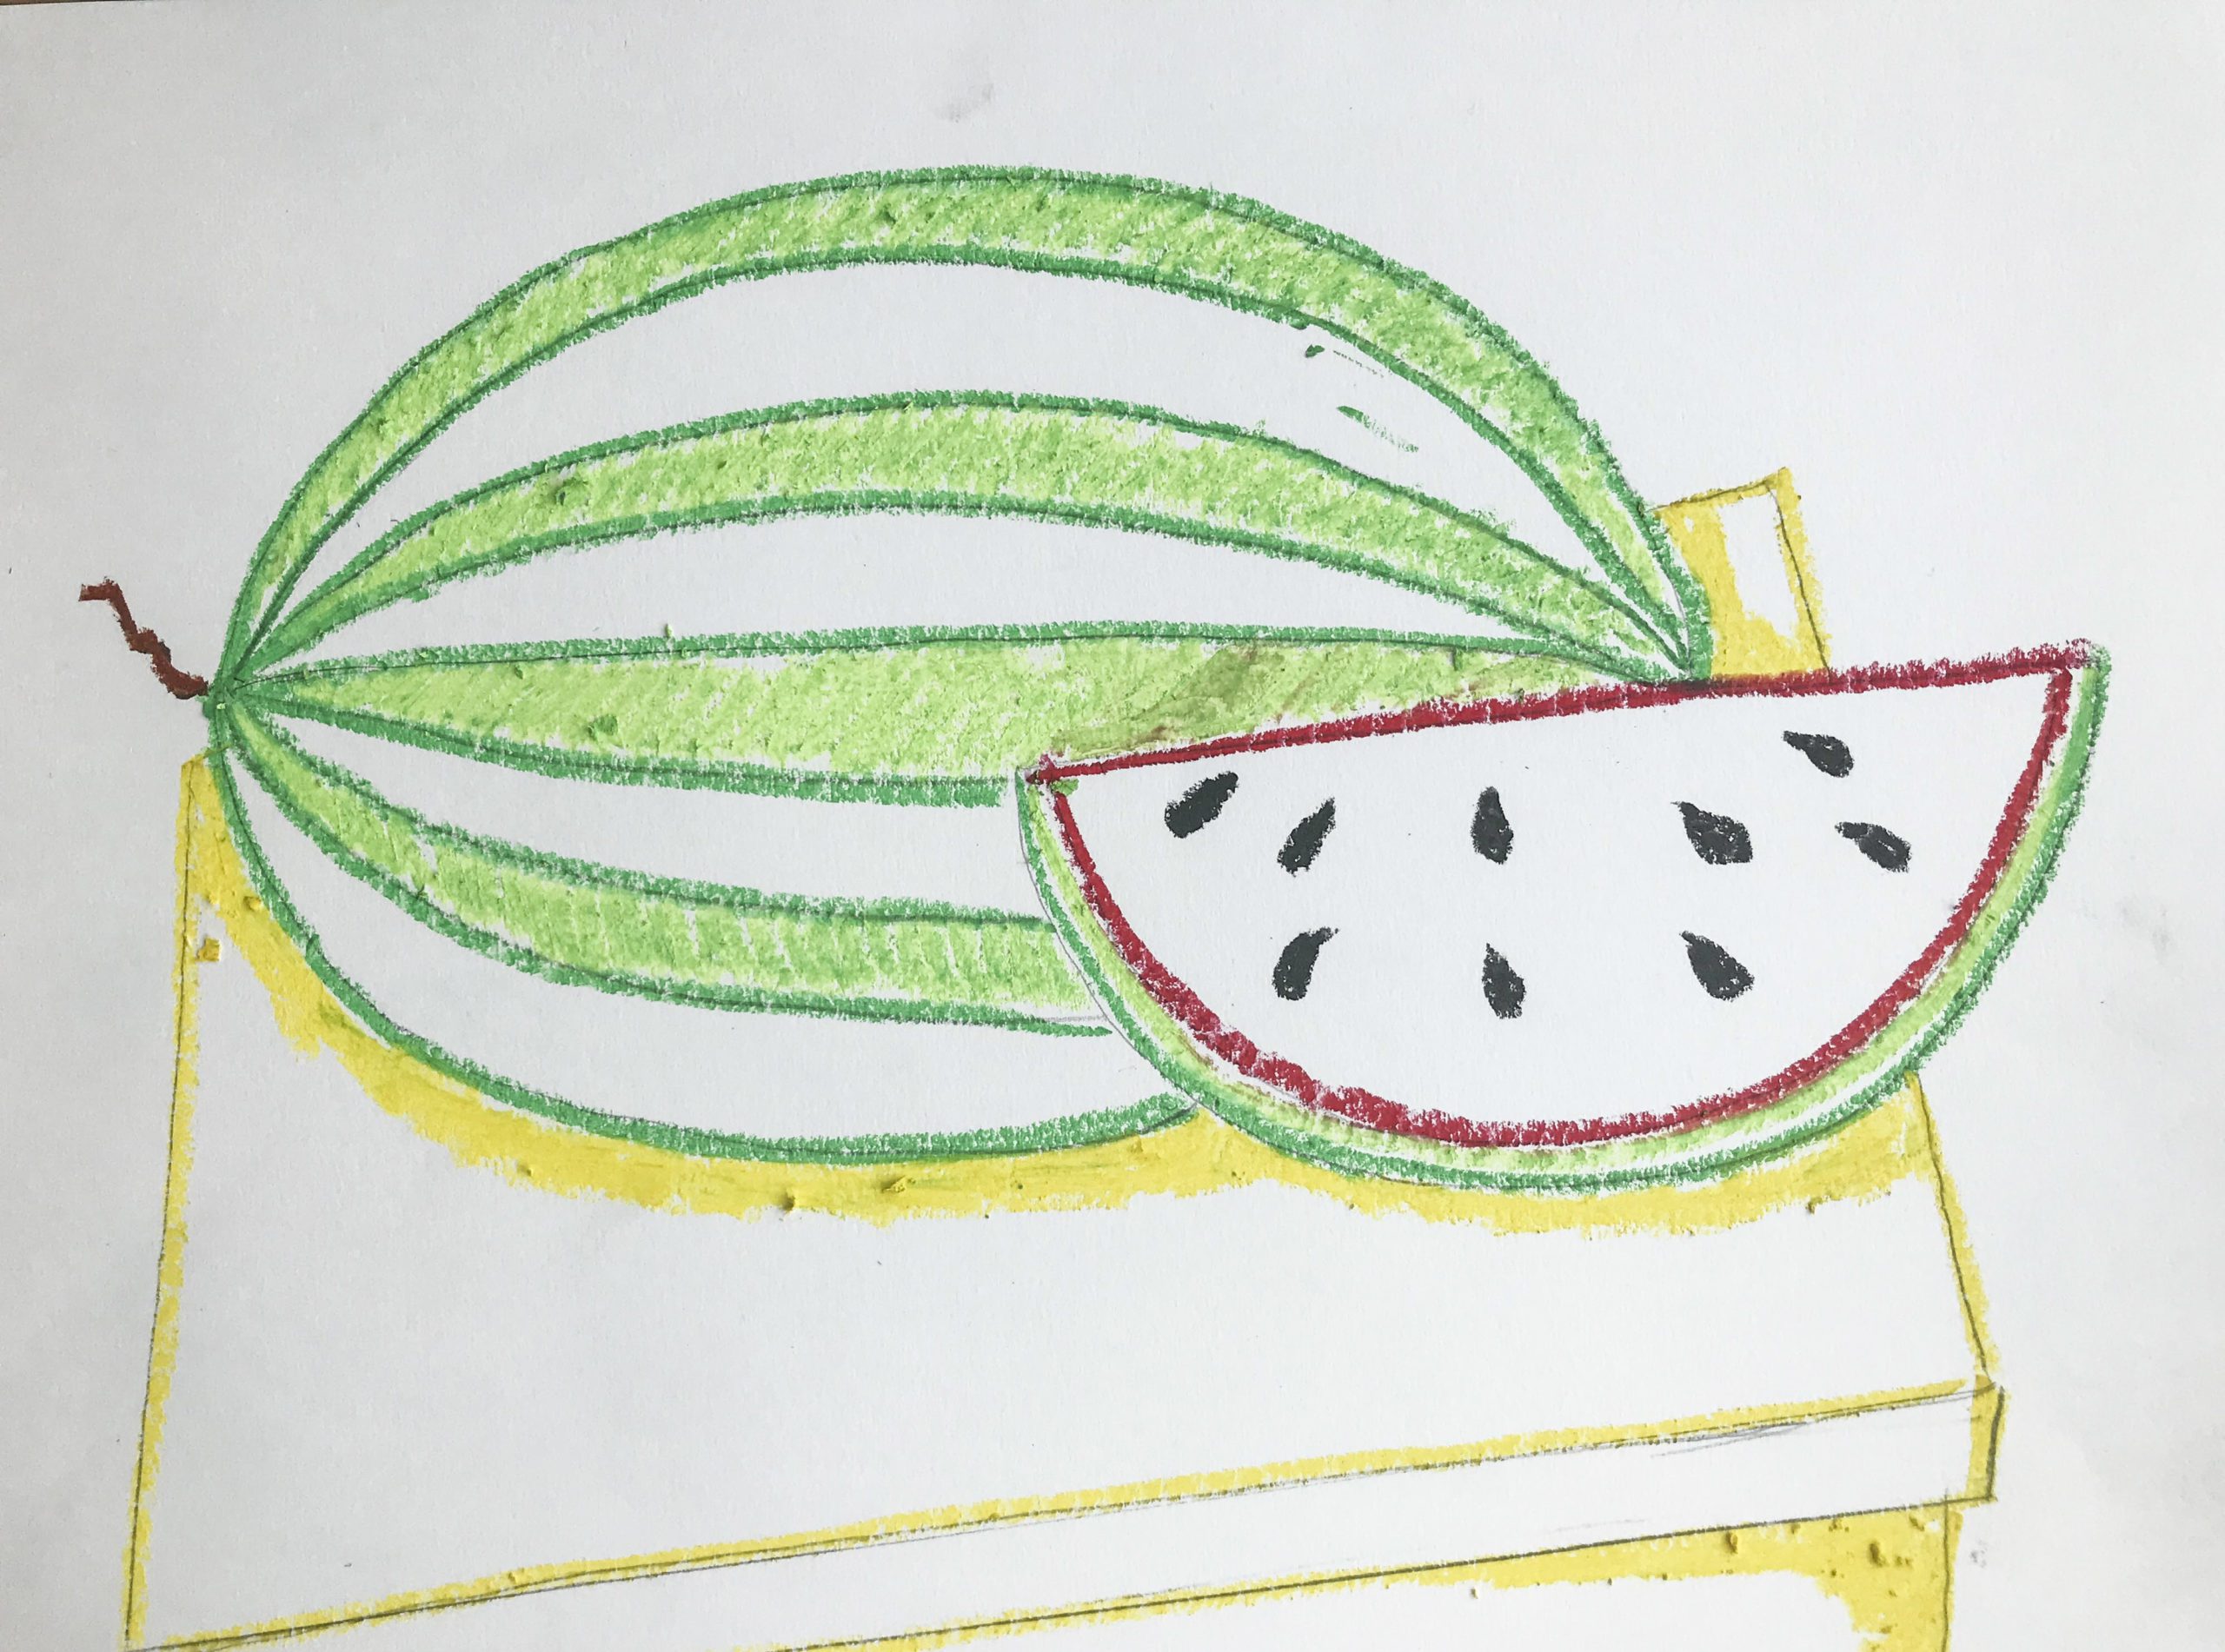
- Color in the stripes on the large watermelon with light green oil pastel using vertical angled strokes. Leave some white paper showing through. Draw a light green line next to the dark green outline on the wedge. Go over the stem with brown oil pastel. Add 9 or 10 teardrop shaped seeds with the black oil pastel.
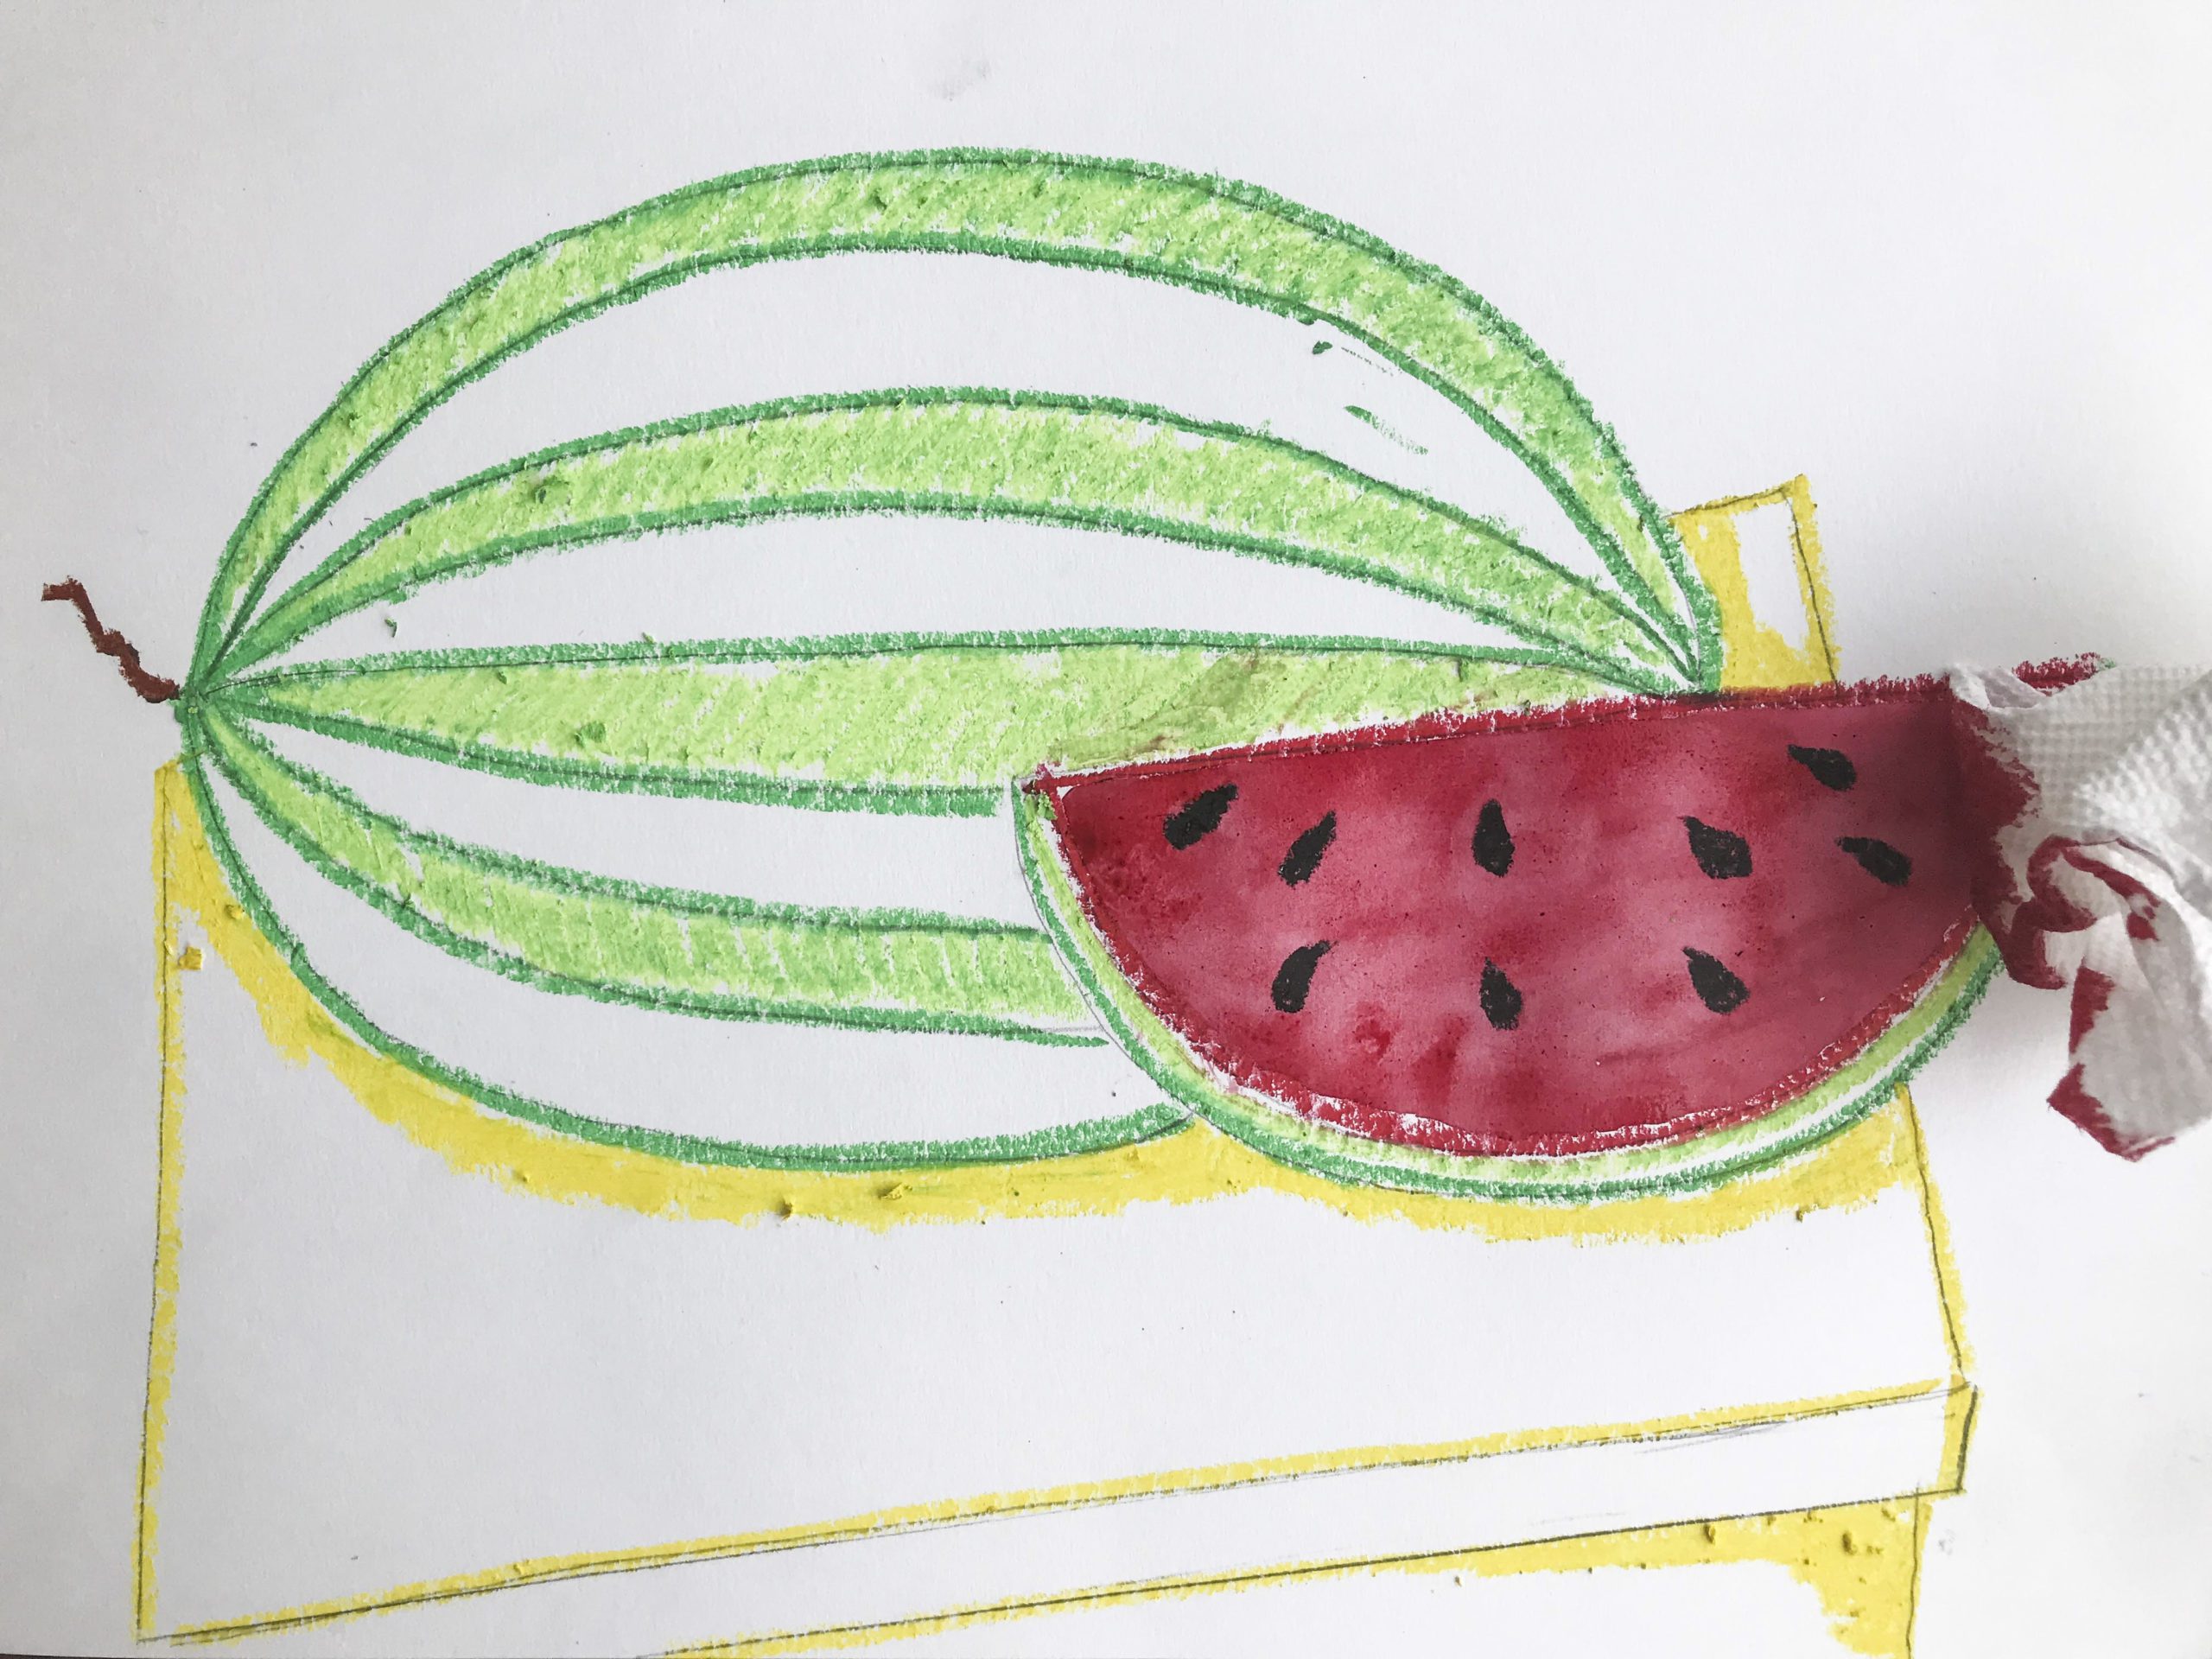
- Fill in the wedge with the red liquid watercolor. Paint right over the seeds.
- Paint green over the whole watermelon pressing hard with the brush as you go over the stripes so some of it sticks to the paper.
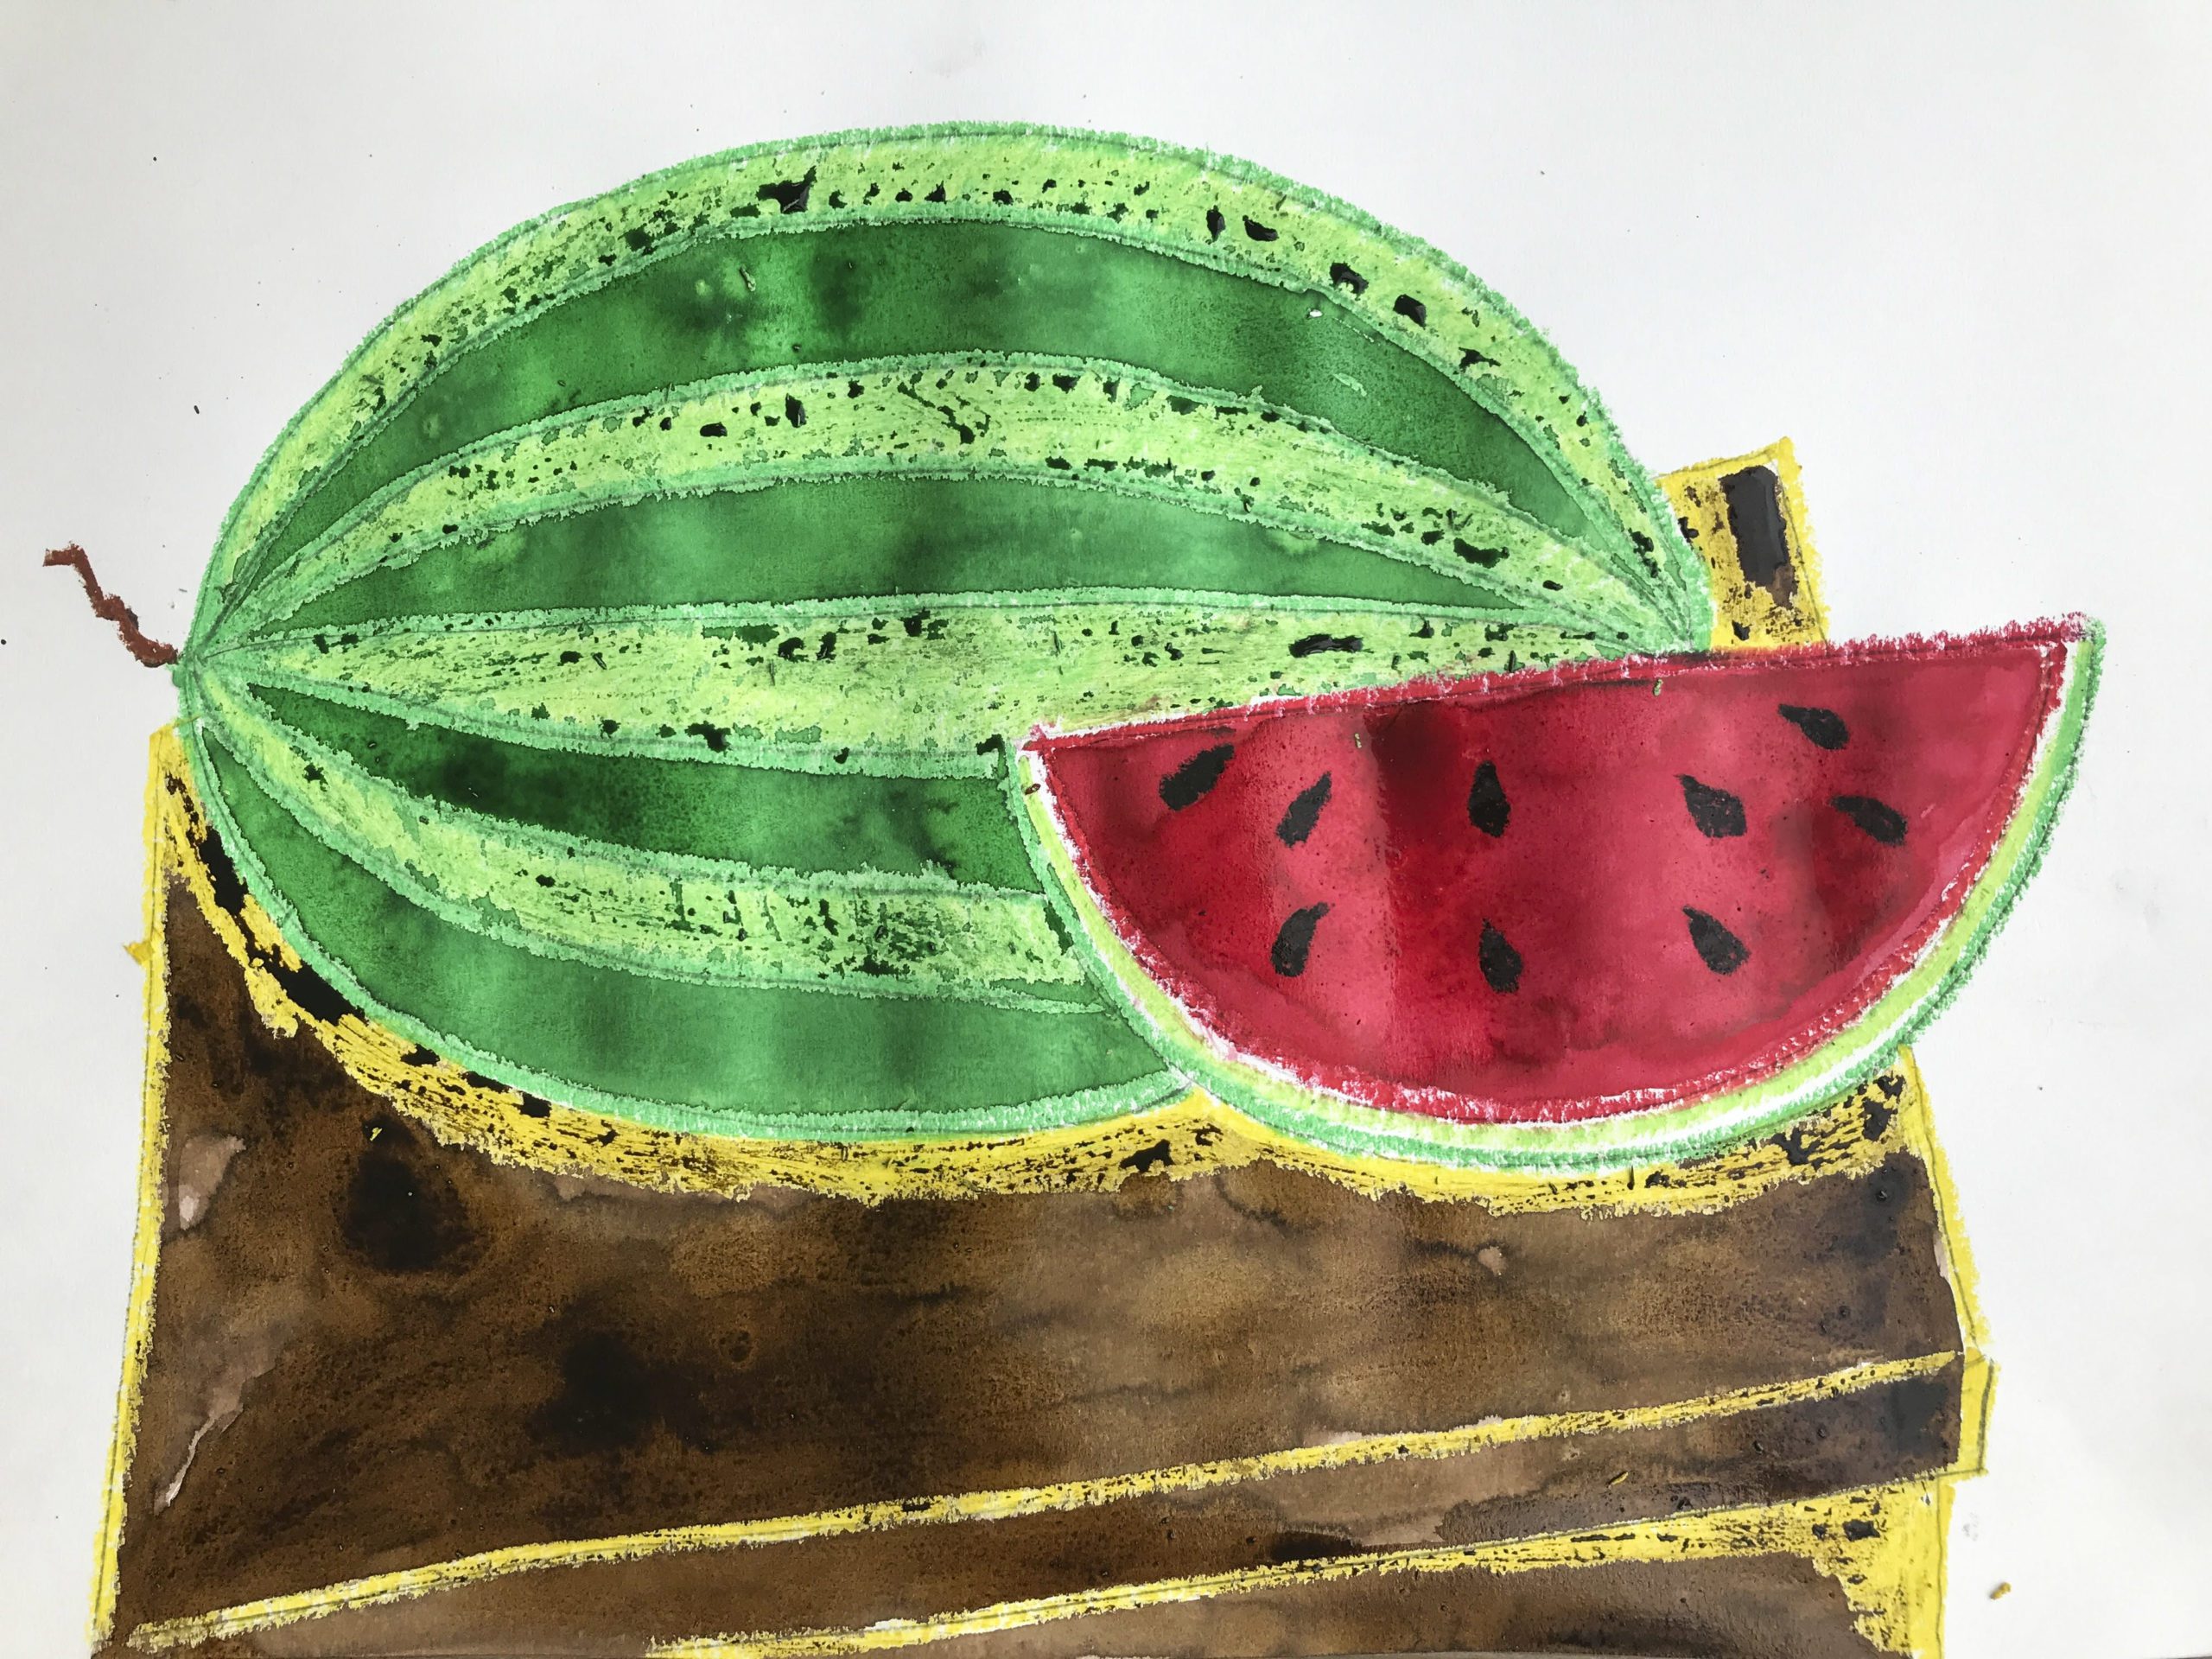
- Paint the table in brown.
- Paint the background in blue.
- Outline the bottom of the watermelon wedge and the bottom of the whole watermelon with black. Outline the whole table with black and add the table edge lines.
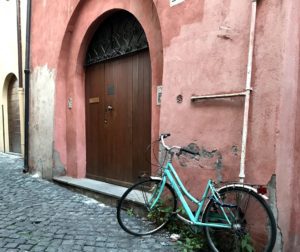
The Doors of Italy
At the end of a 3 week vacation to Europe, I came away with so many pictures of things that captured my interest and the mood of the moment. I couldn’t get enough of all the time worn doors, especially those in Italy.
Making Reading Beautiful!
We painted Free Little Libraries! Does your city have a Little Free Library? These are little free standing libraries that have a “host” who looks after them and can be located in someone’s yard , out in the country, or in front of a business or in a park. You can take a book to read or leave one for someone else to find.
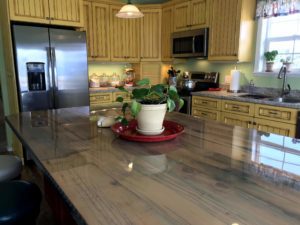
My Beautiful Tuscan Kitchen
This year marks the two year anniversary of our kitchen remodel! My wonderful cabinet maker husband finally got around to making this custom kitchen for our home and I couldn’t be happier!


