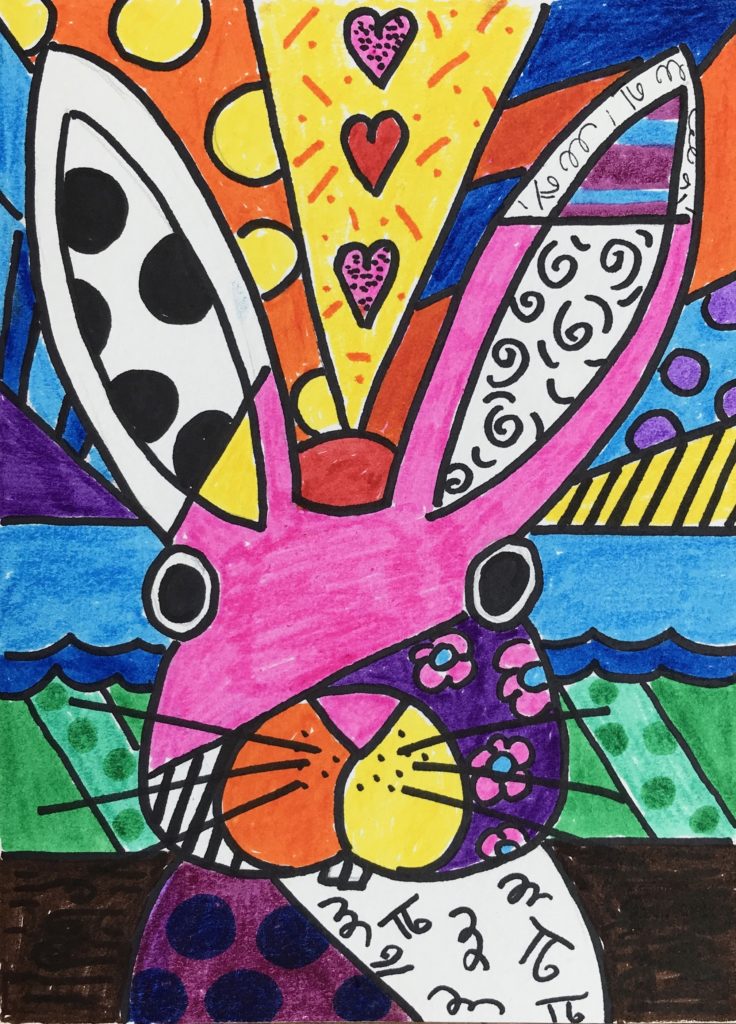
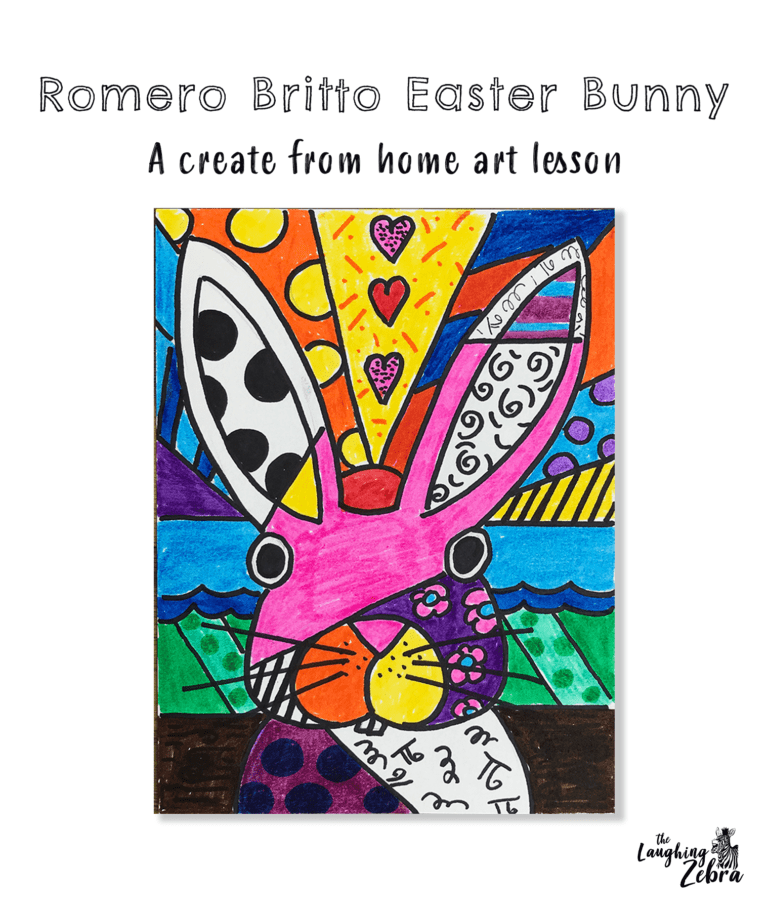
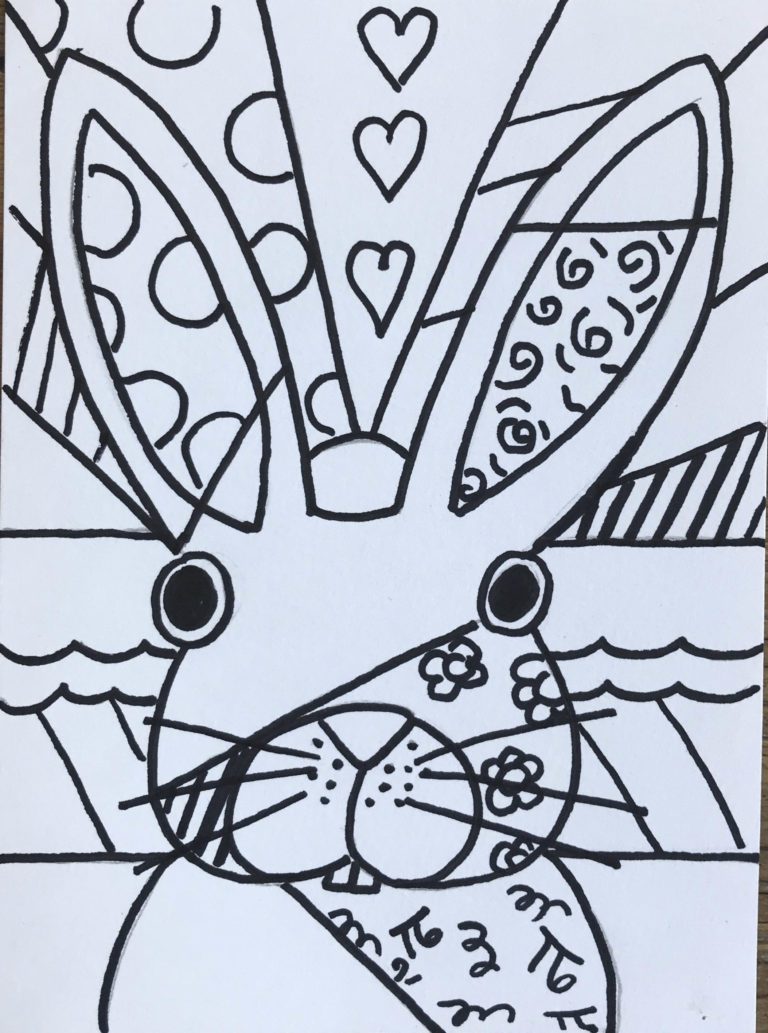
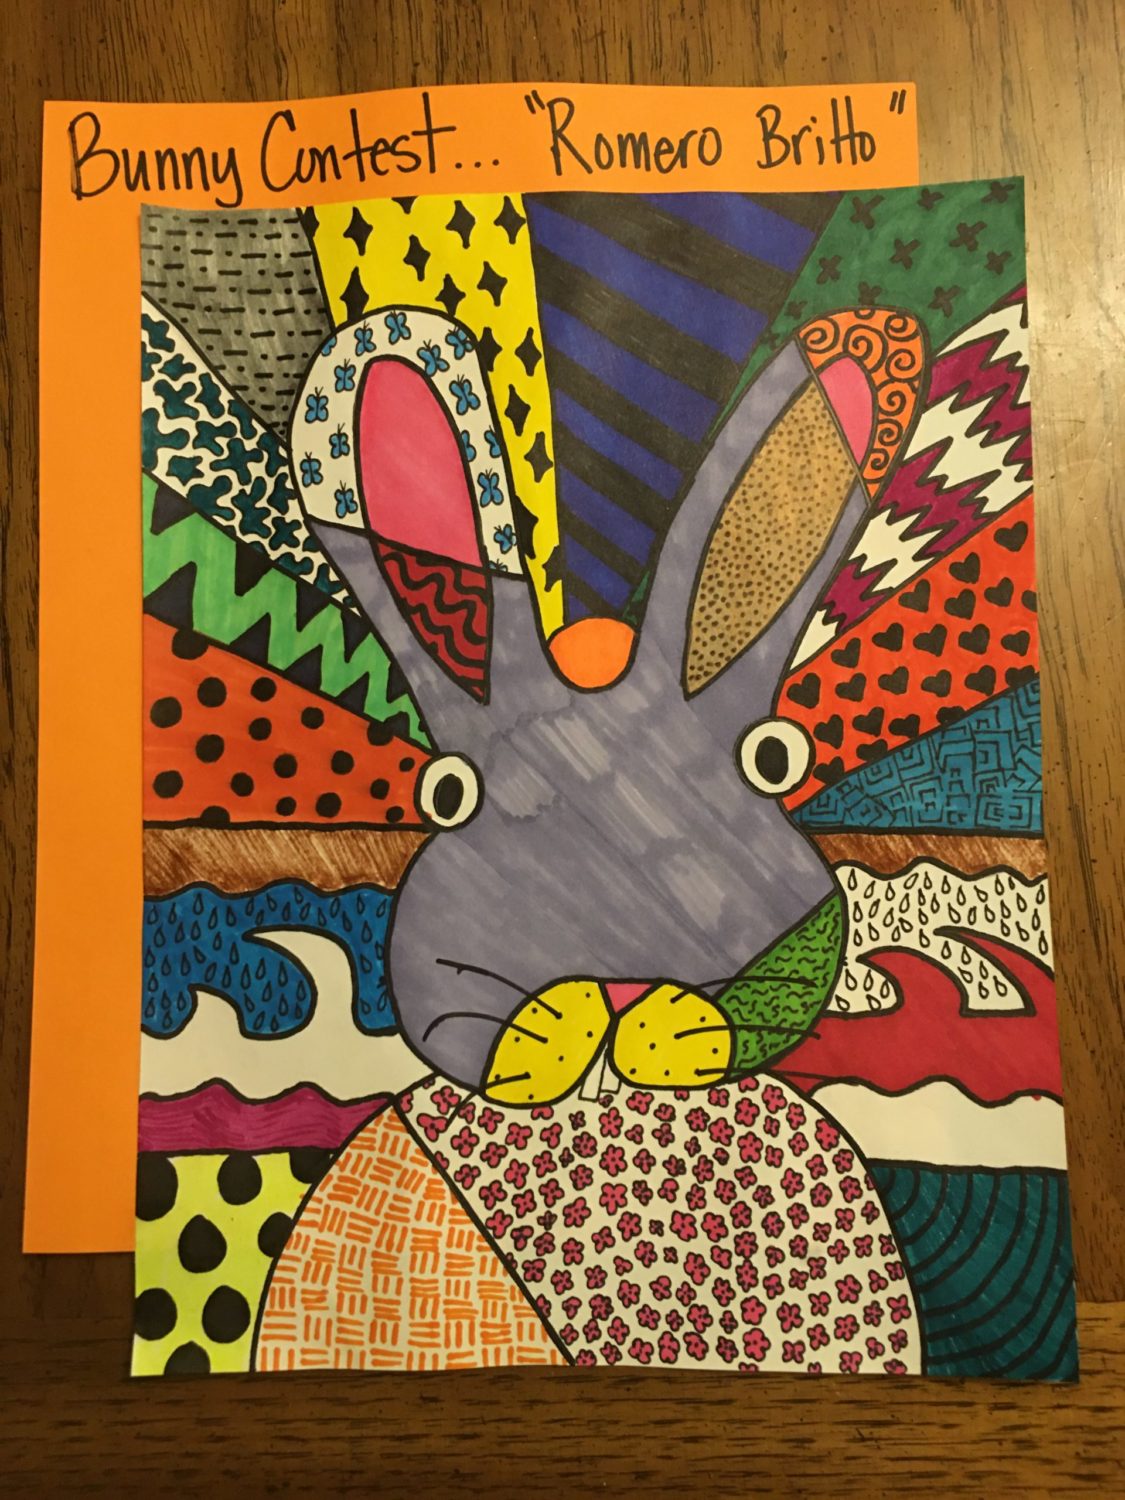
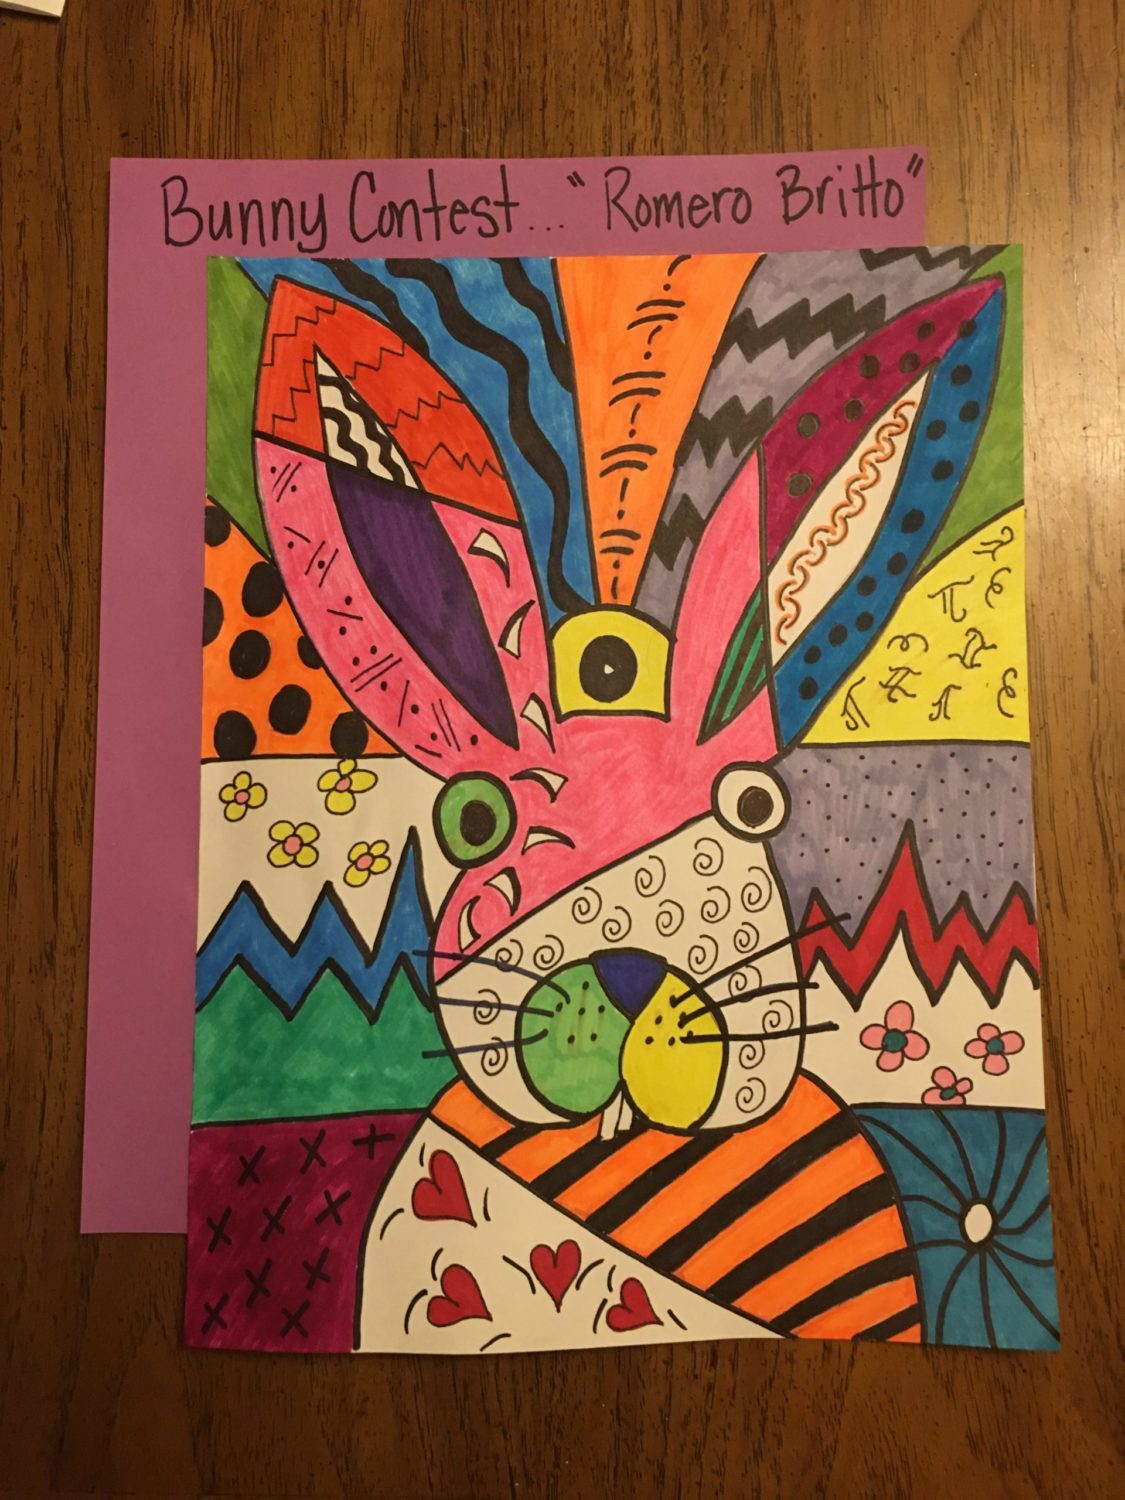
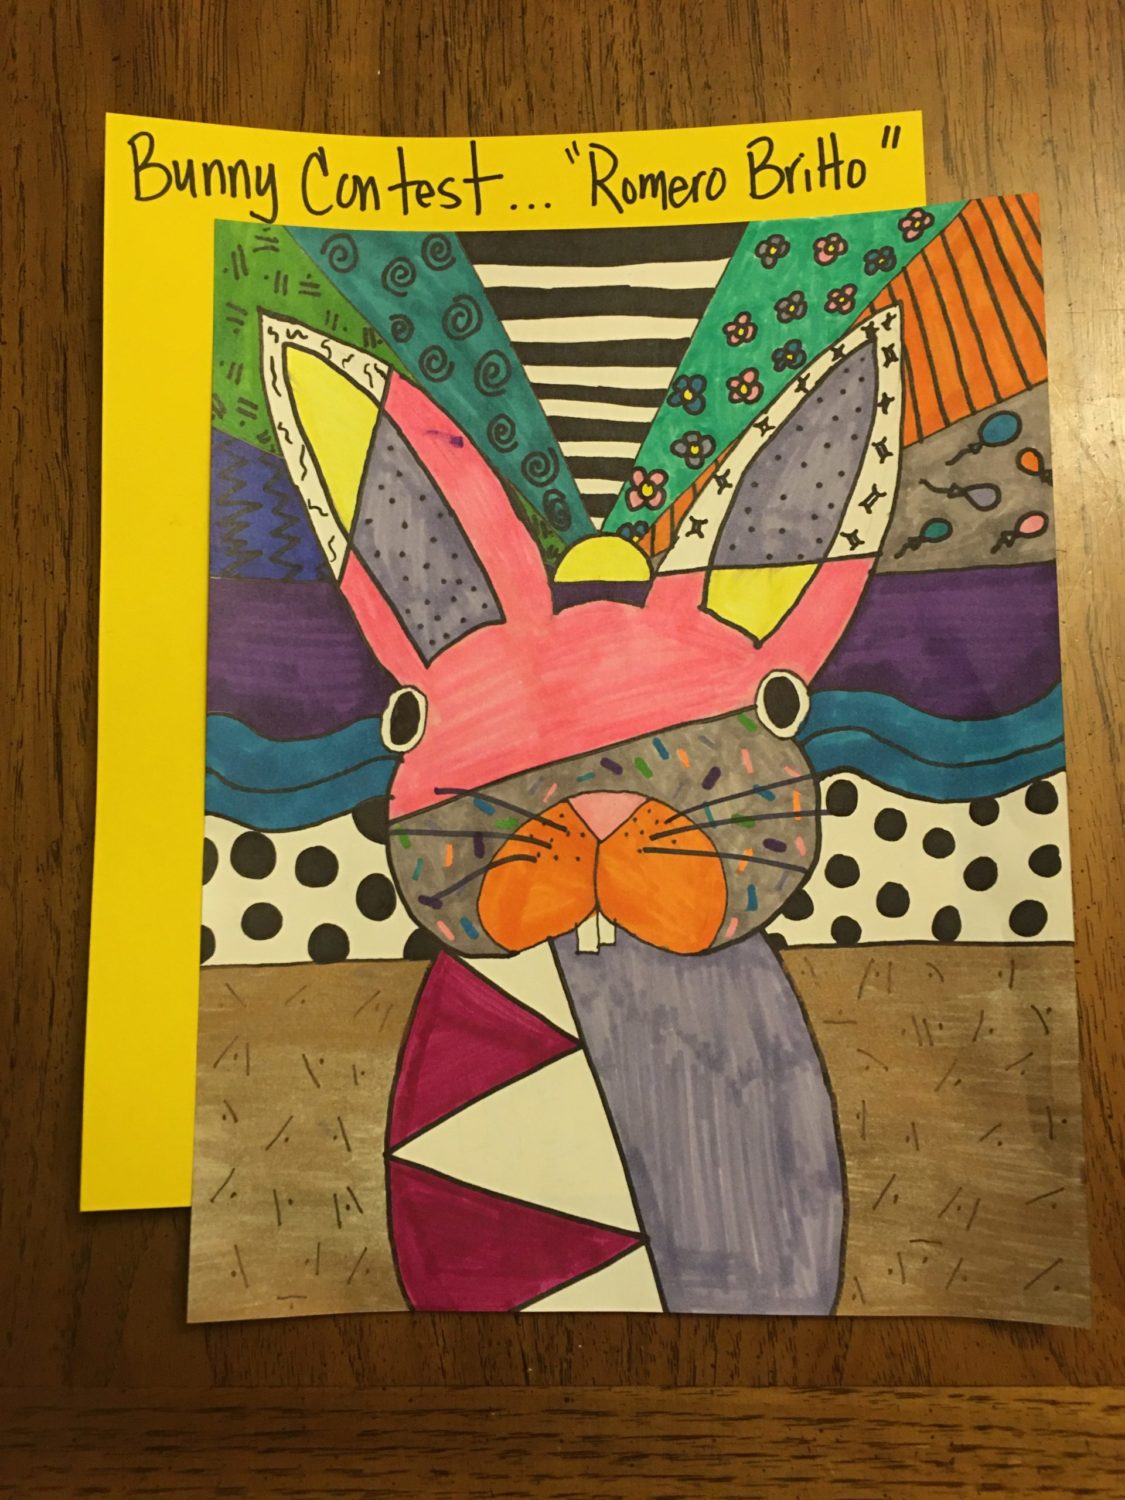
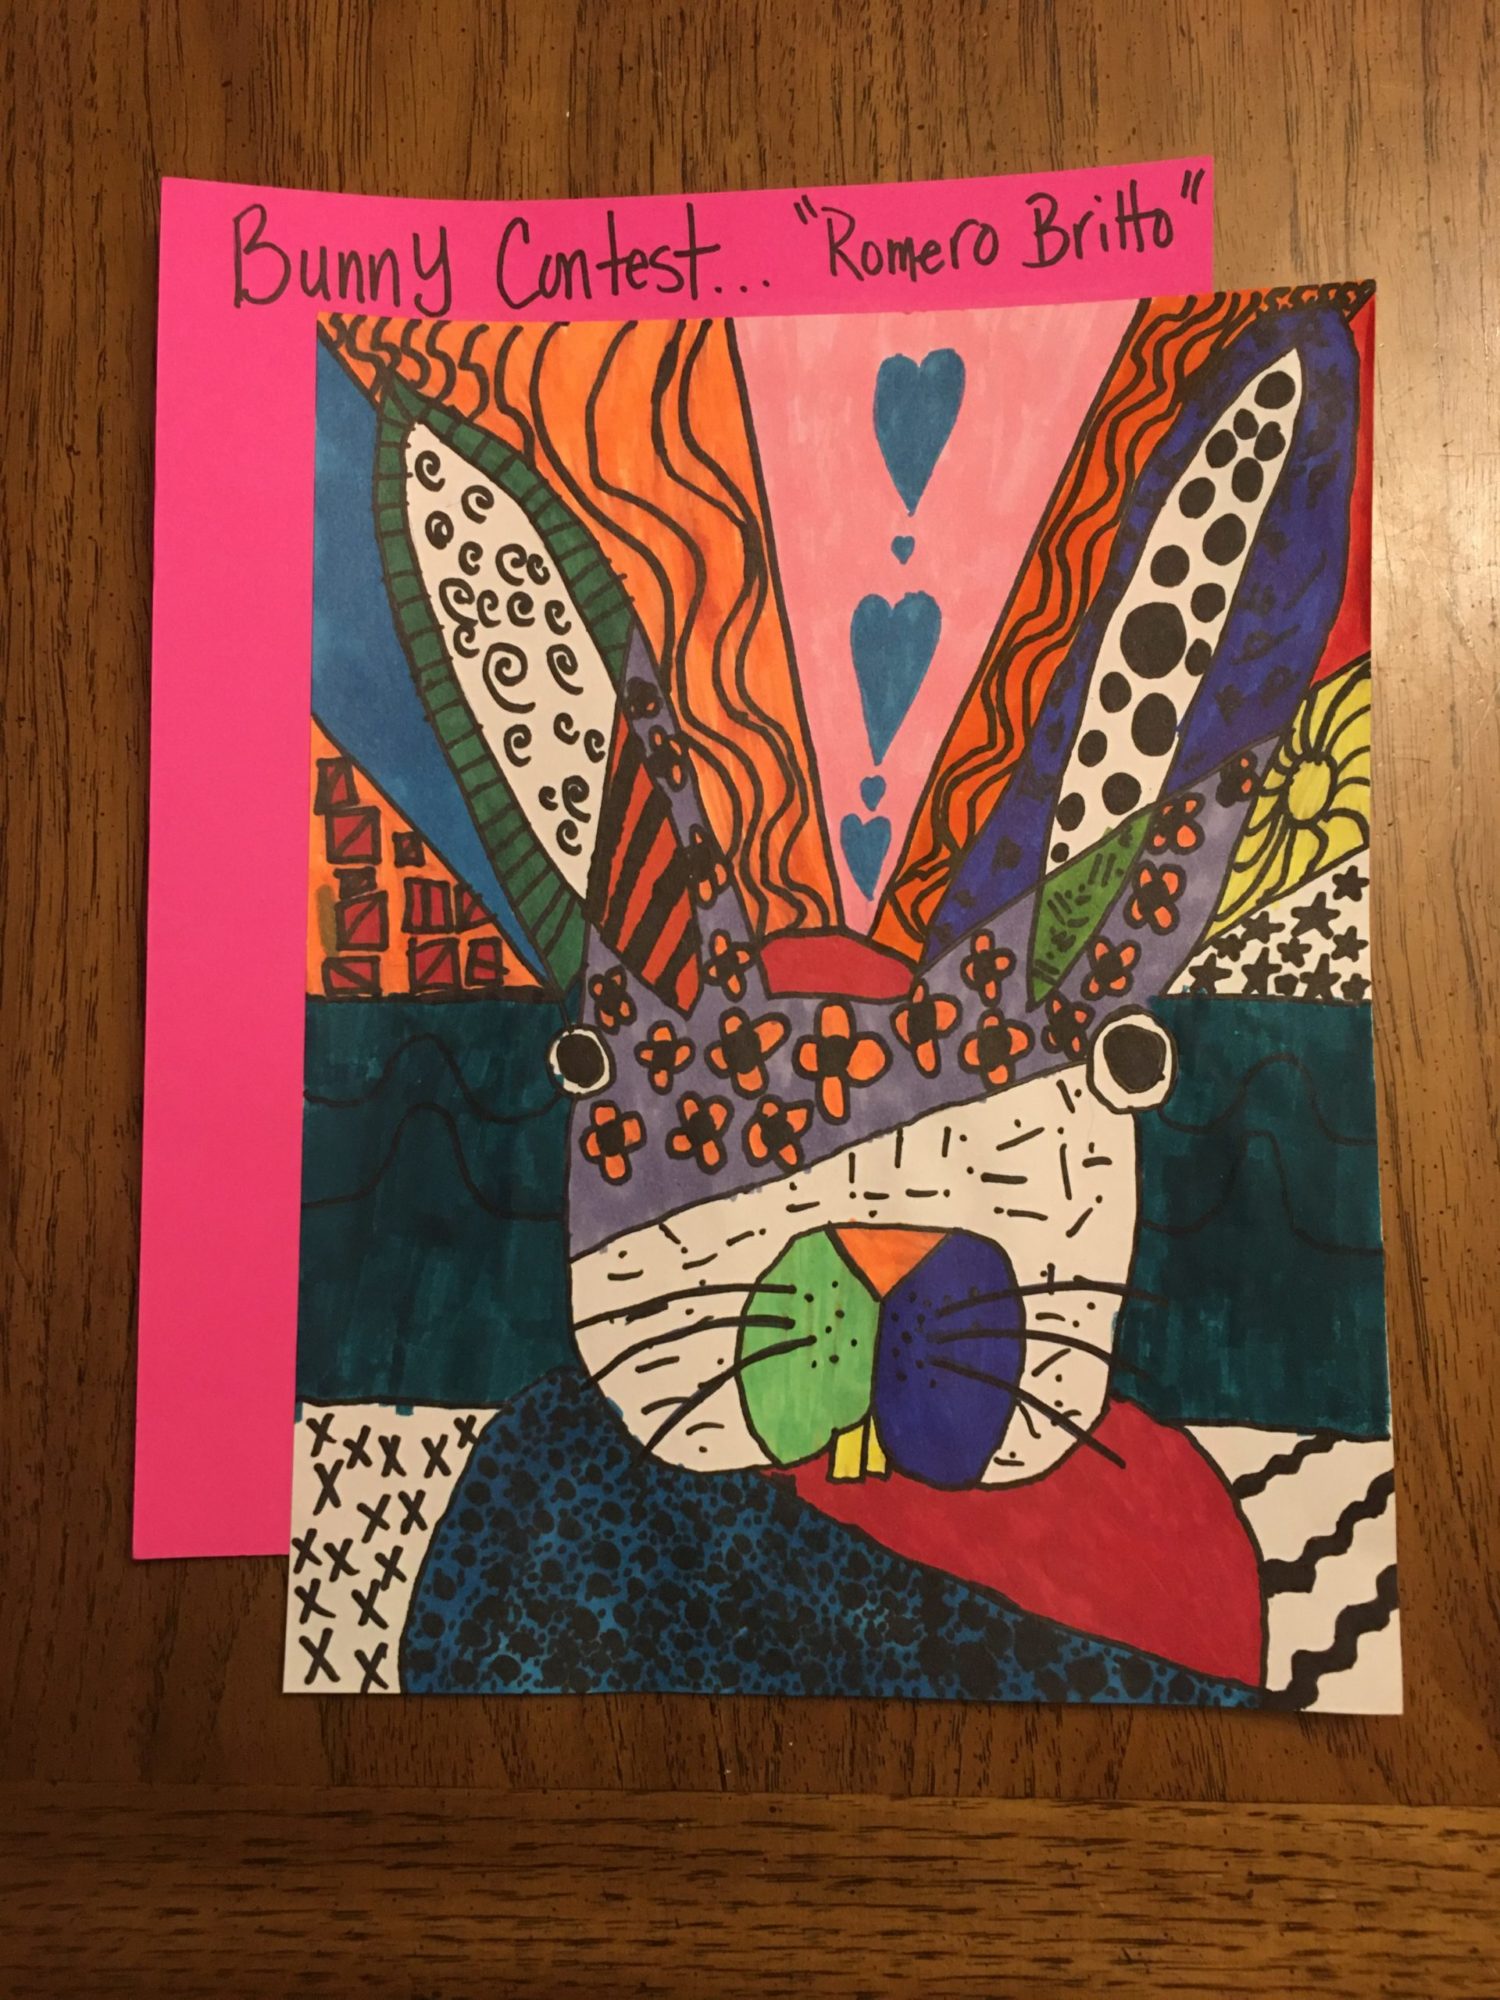
Easter Bunny in the Style of Romero Britto Art Lesson

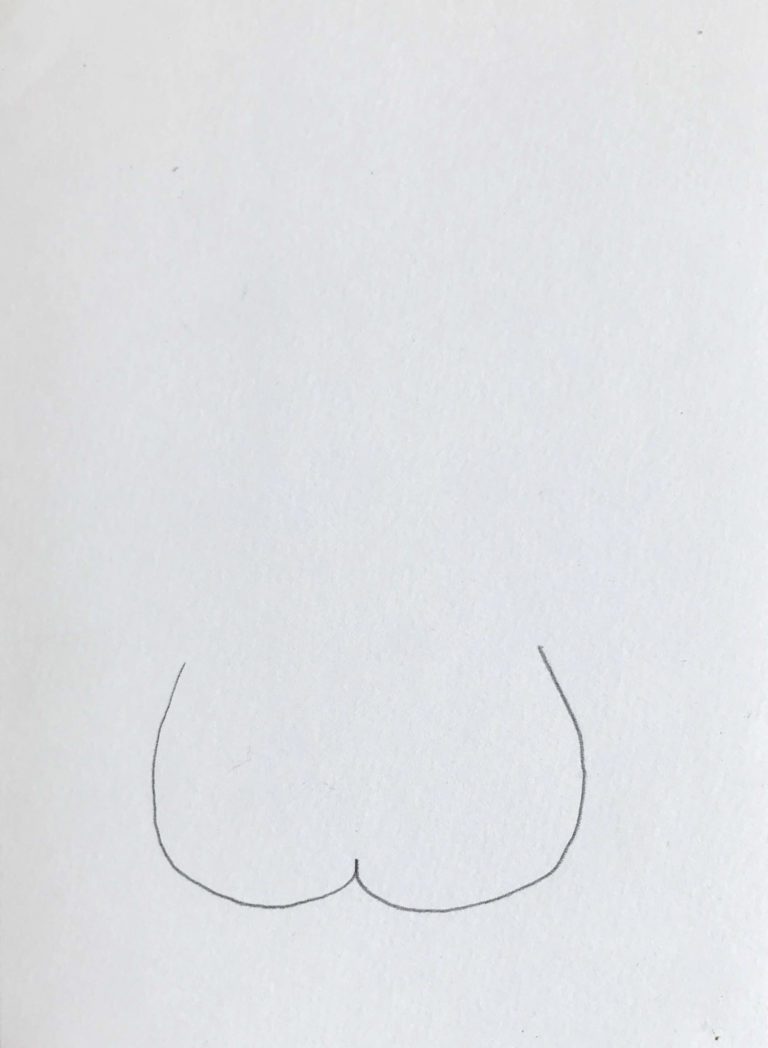
Step 1
Draw a "w" for the bunny face
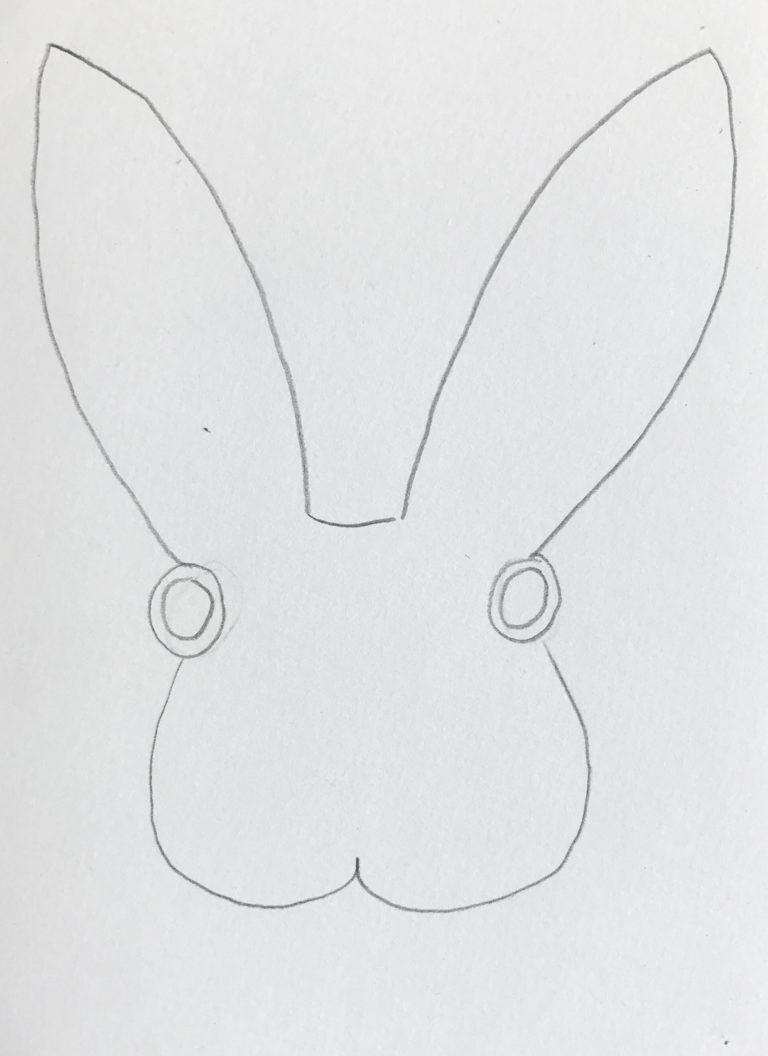
Step 2
Add eyes and ears
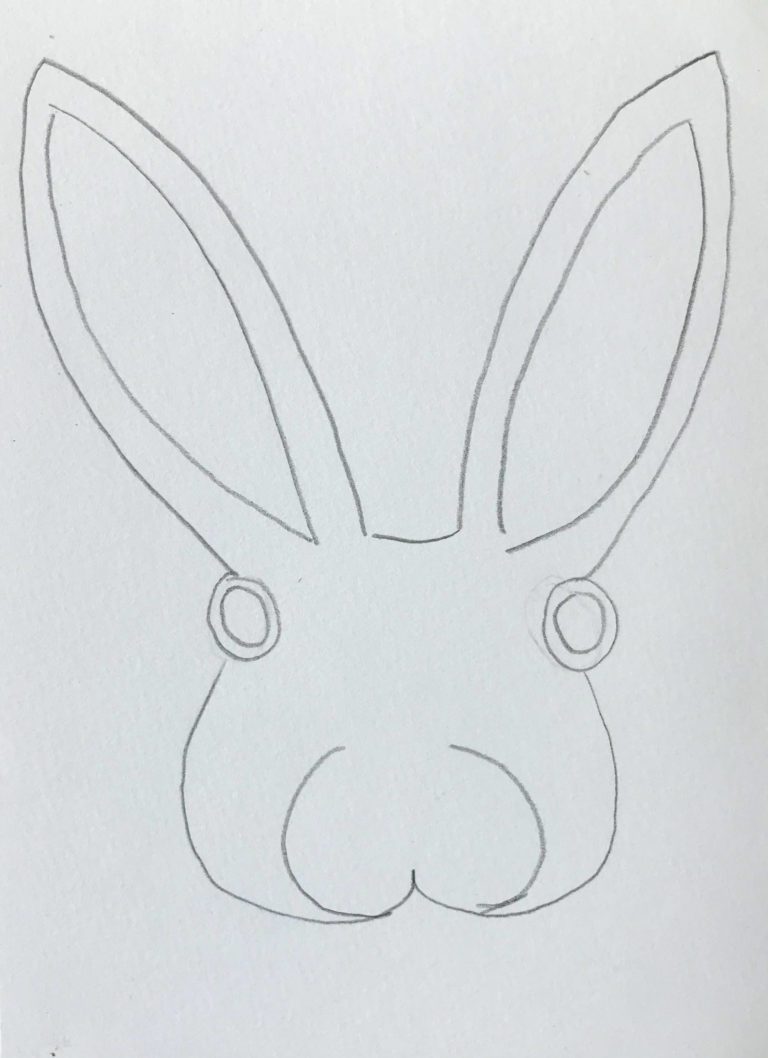
Step 3
Add lines for the muzzle and inside the ears

Step 4
Add the nose, front teeth, and body
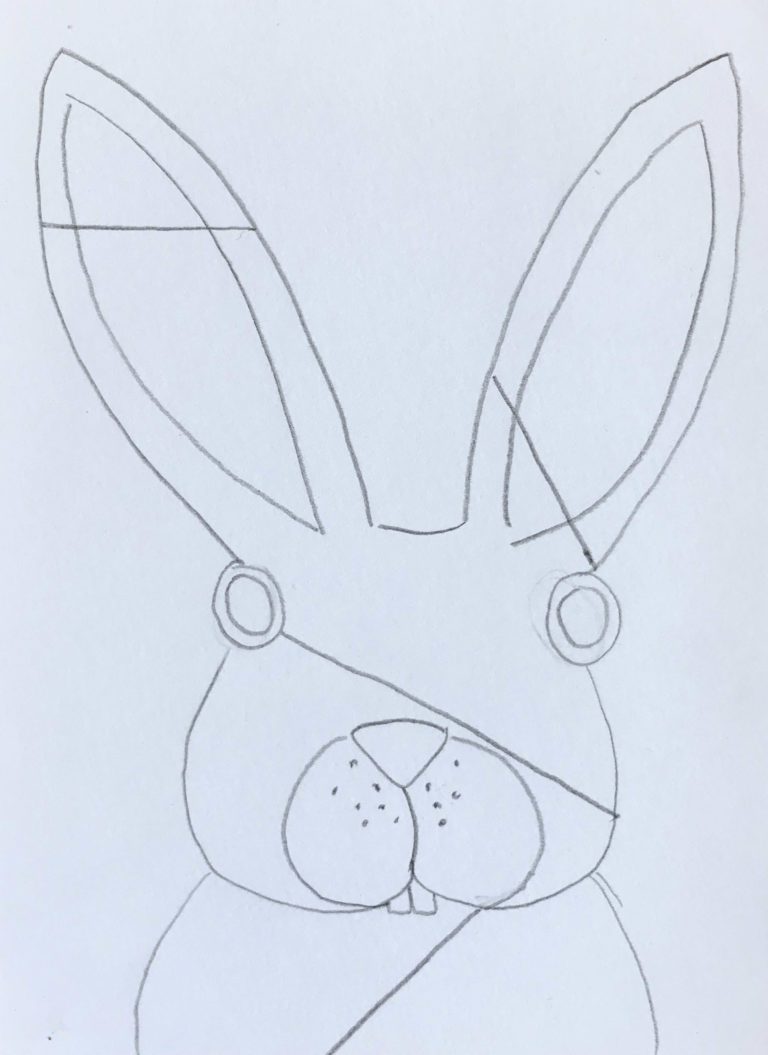
Step 5
Add 4 diagonal lines inside the bunny
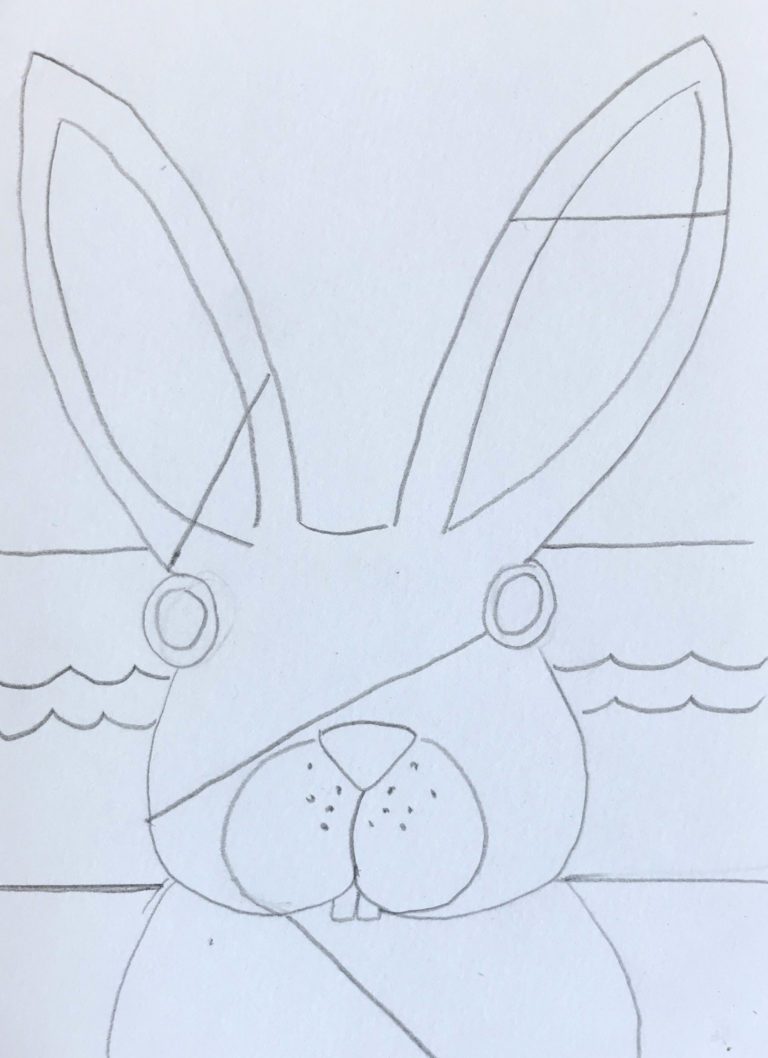
Step 6
Add the background lines
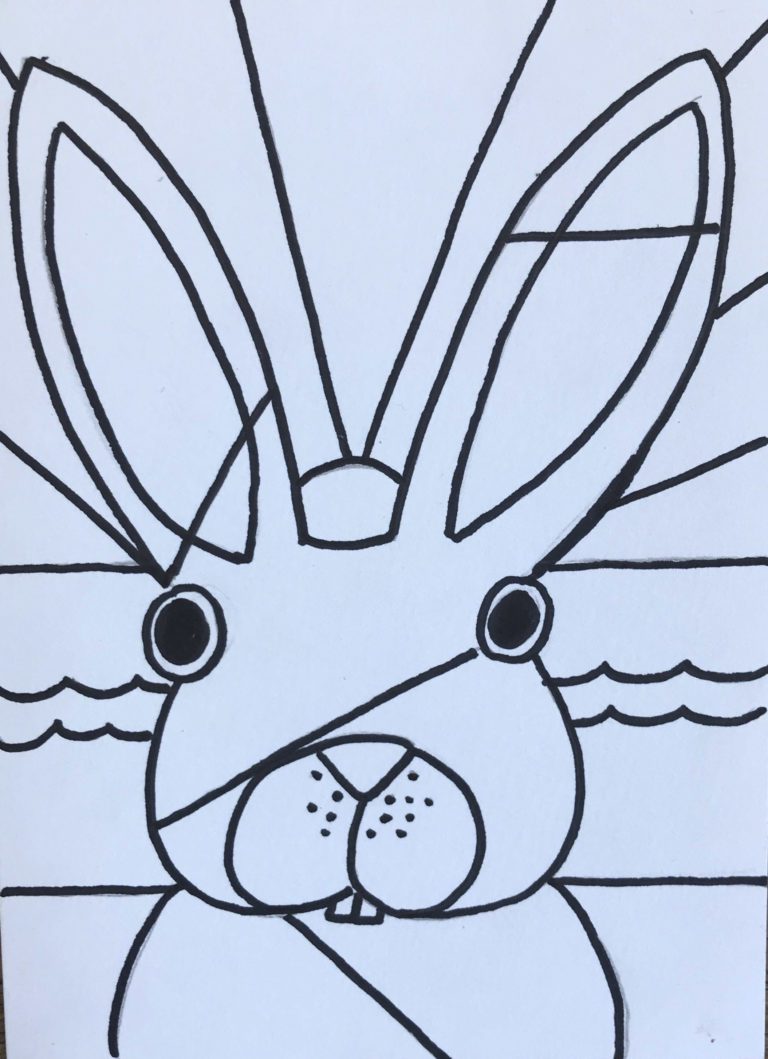
Step 7
Go over everything with Sharpies
Step 8
Add patterns with the pattern guide below
Step 9
Fill in your sections with markers! (Make sure to leave at least six spaces white)
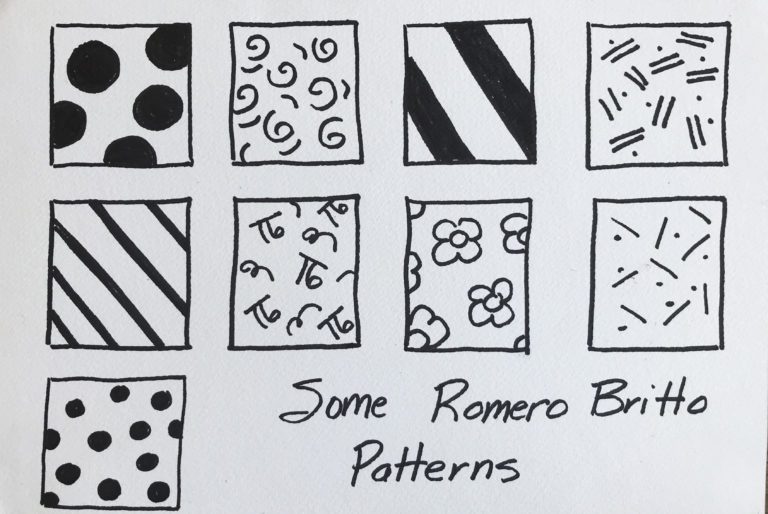
Pattern Guide
Use these patterns (or create your own) to fill in parts of the bunny and the background! Make sure to leave some spaces blank.


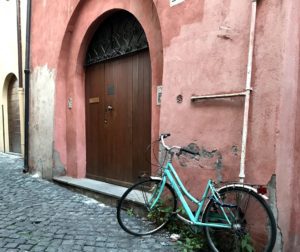
The Doors of Italy
At the end of a 3 week vacation to Europe, I came away with so many pictures of things that captured my interest and the mood of the moment. I couldn’t get enough of all the time worn doors, especially those in Italy.
Making Reading Beautiful!
We painted Free Little Libraries! Does your city have a Little Free Library? These are little free standing libraries that have a “host” who looks after them and can be located in someone’s yard , out in the country, or in front of a business or in a park. You can take a book to read or leave one for someone else to find.
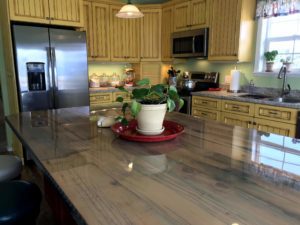
My Beautiful Tuscan Kitchen
This year marks the two year anniversary of our kitchen remodel! My wonderful cabinet maker husband finally got around to making this custom kitchen for our home and I couldn’t be happier!

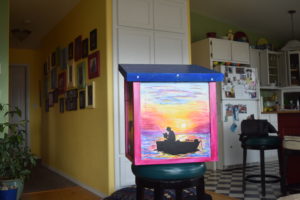
My Bag of Tricks!
This is what is in my art bag! I love messing around with new supplies so this changes often, but I always go for things that are light and easy so I can take them anywhere!
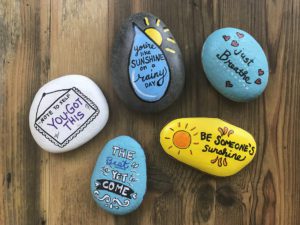
Kindness Rocks Art Idea
These kindness rocks are a great way to spread some happiness – leave them on your favorite walk, or share them with someone to brighten their day!
Ten Lists of 10 Interesting Art Facts
Day 10 of Top Ten for the Next Ten – This is the last list so I decided to do a list of lists! Ten great and interesting lists of art facts!
Easter Bunny in the Style of Romero Britto Art Lesson Read More »