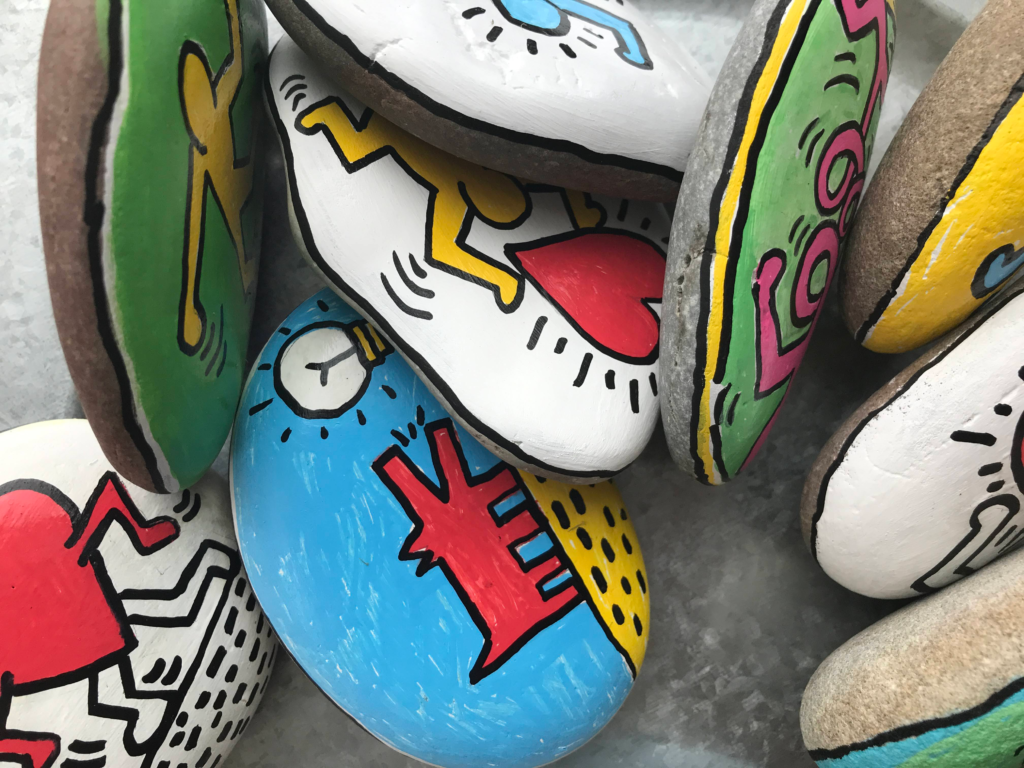
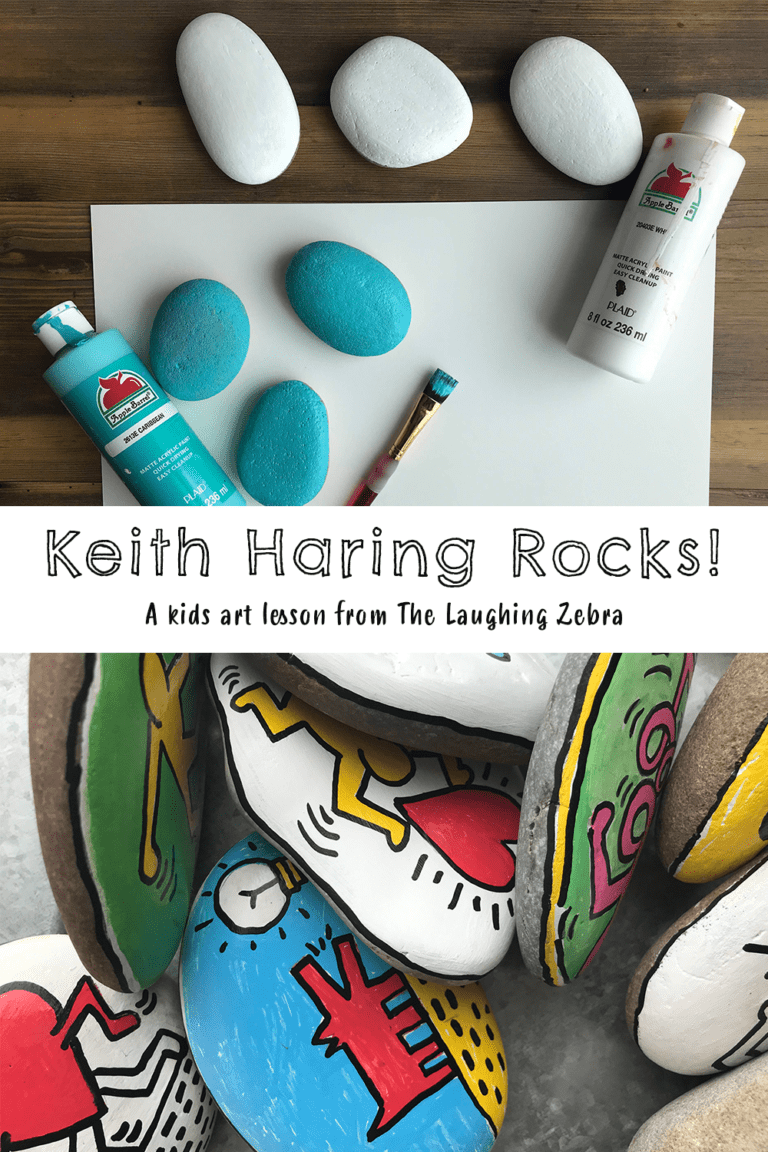
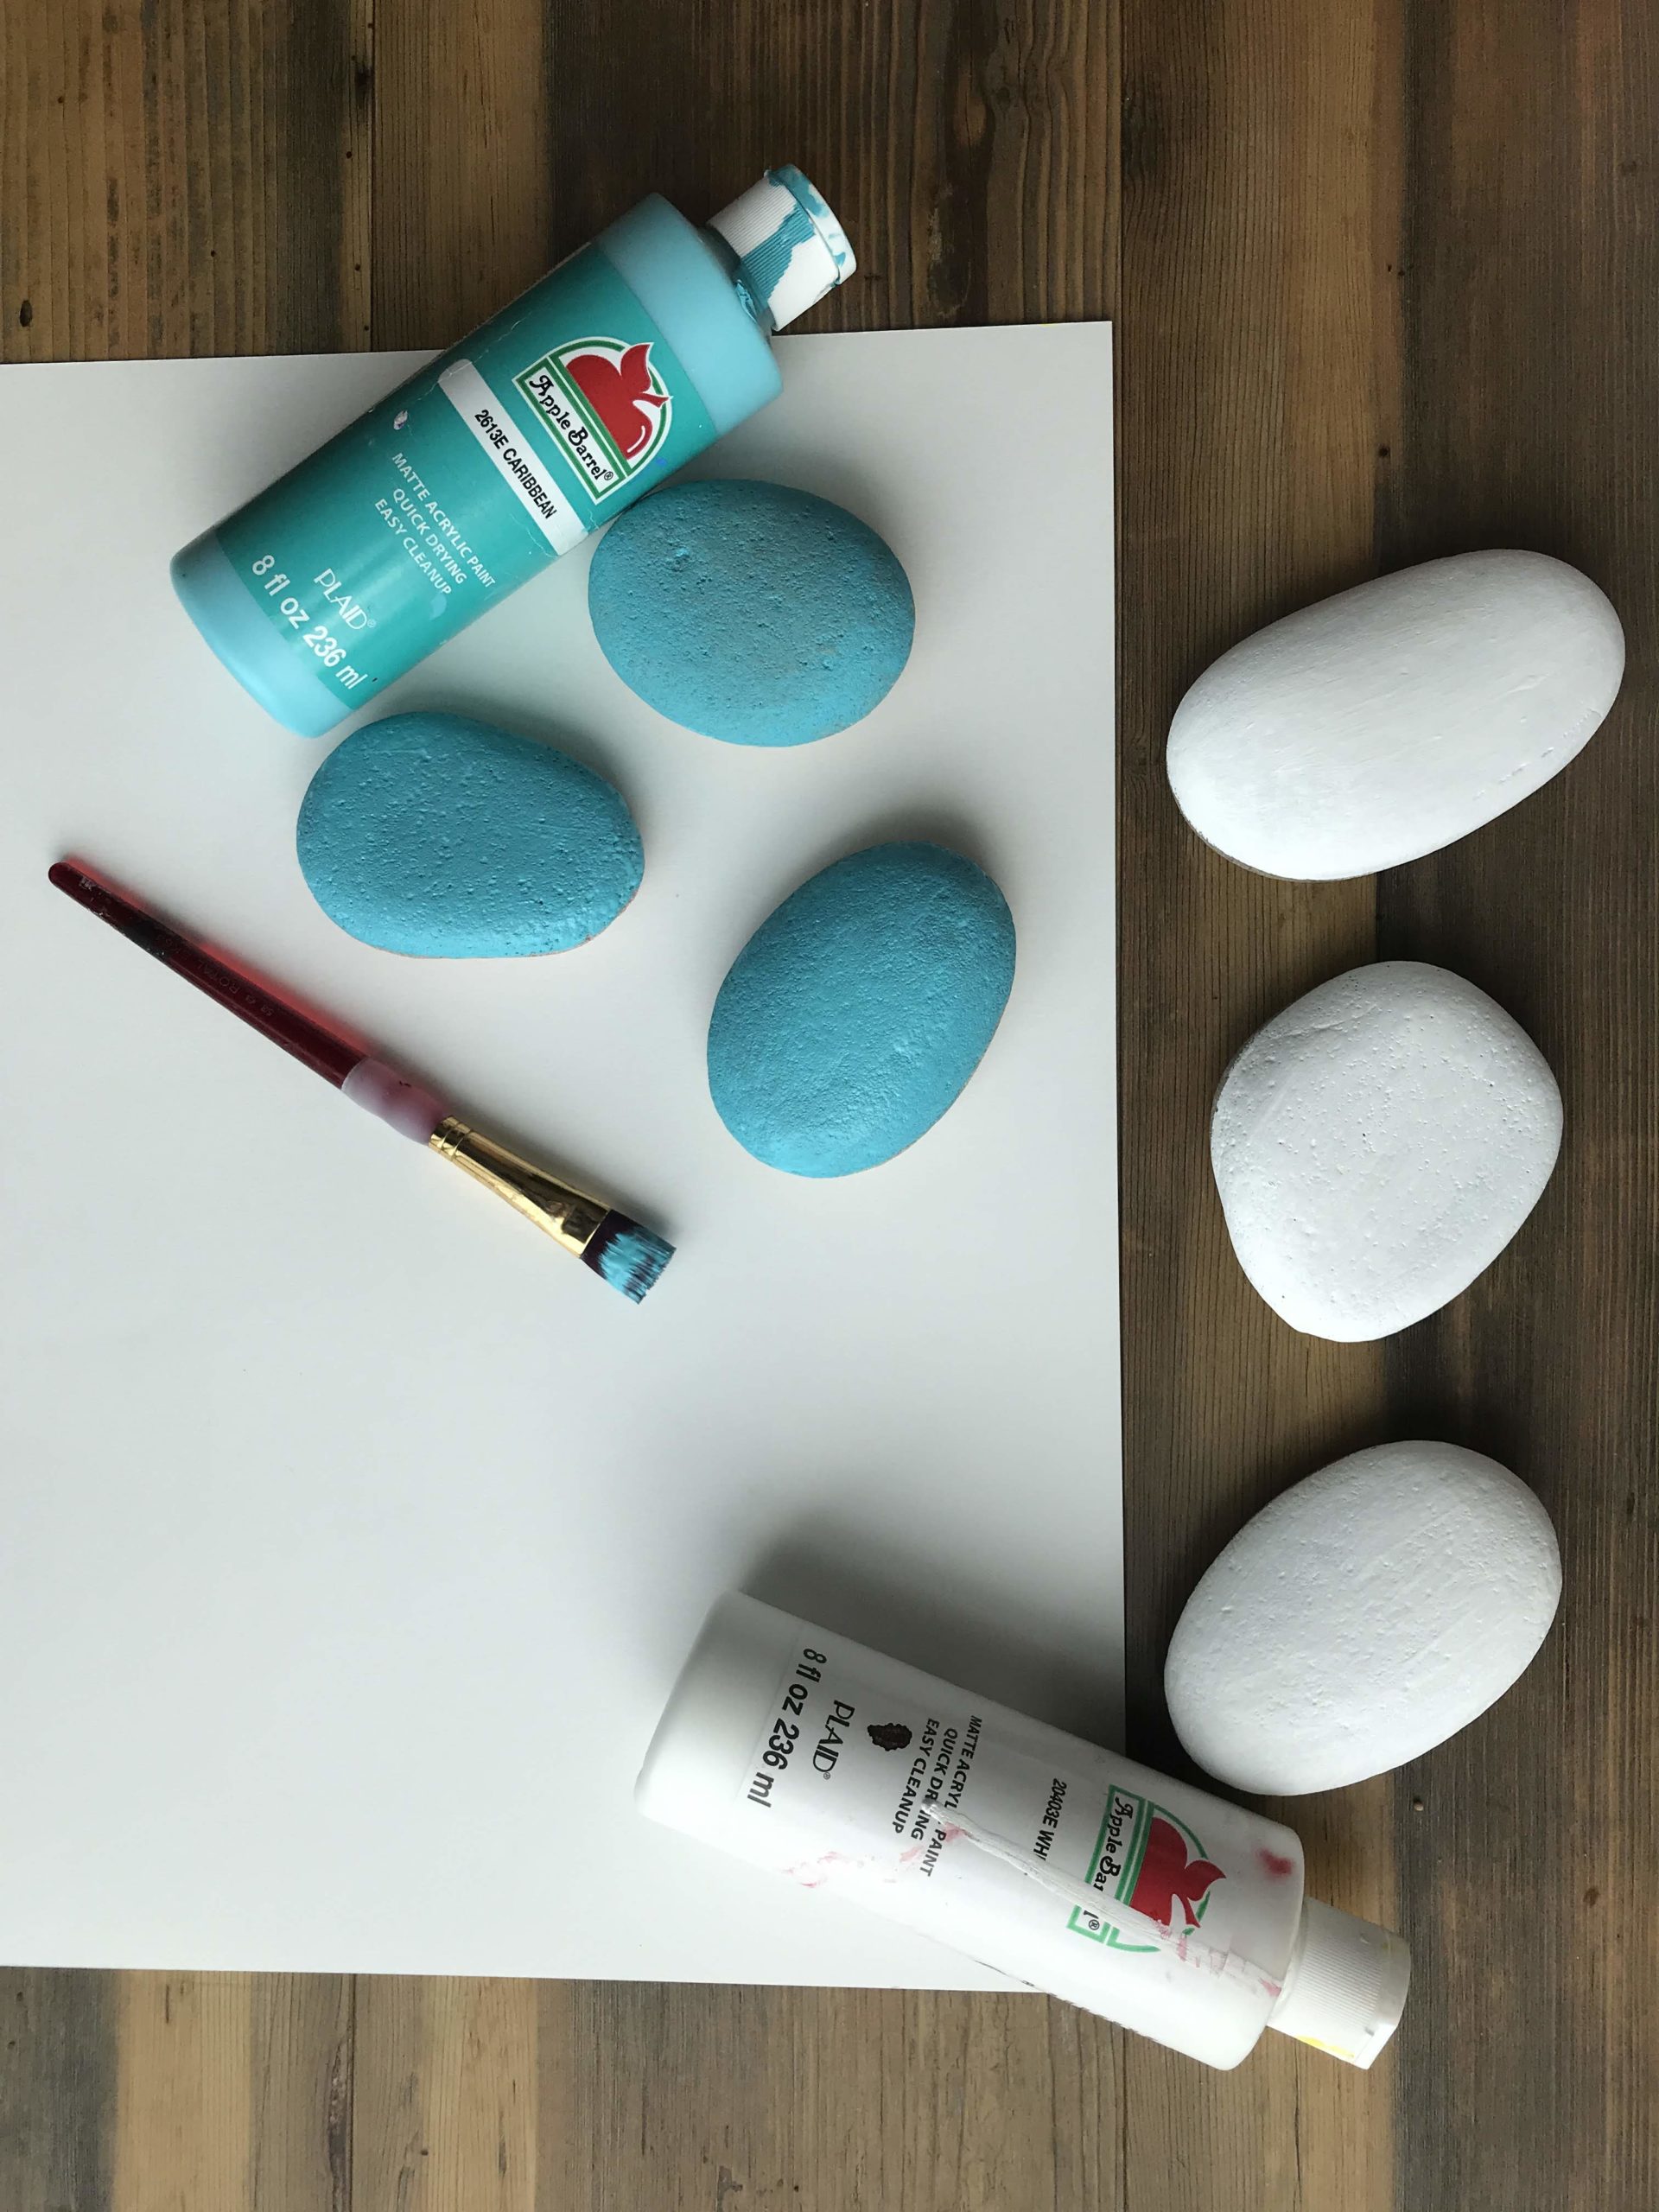
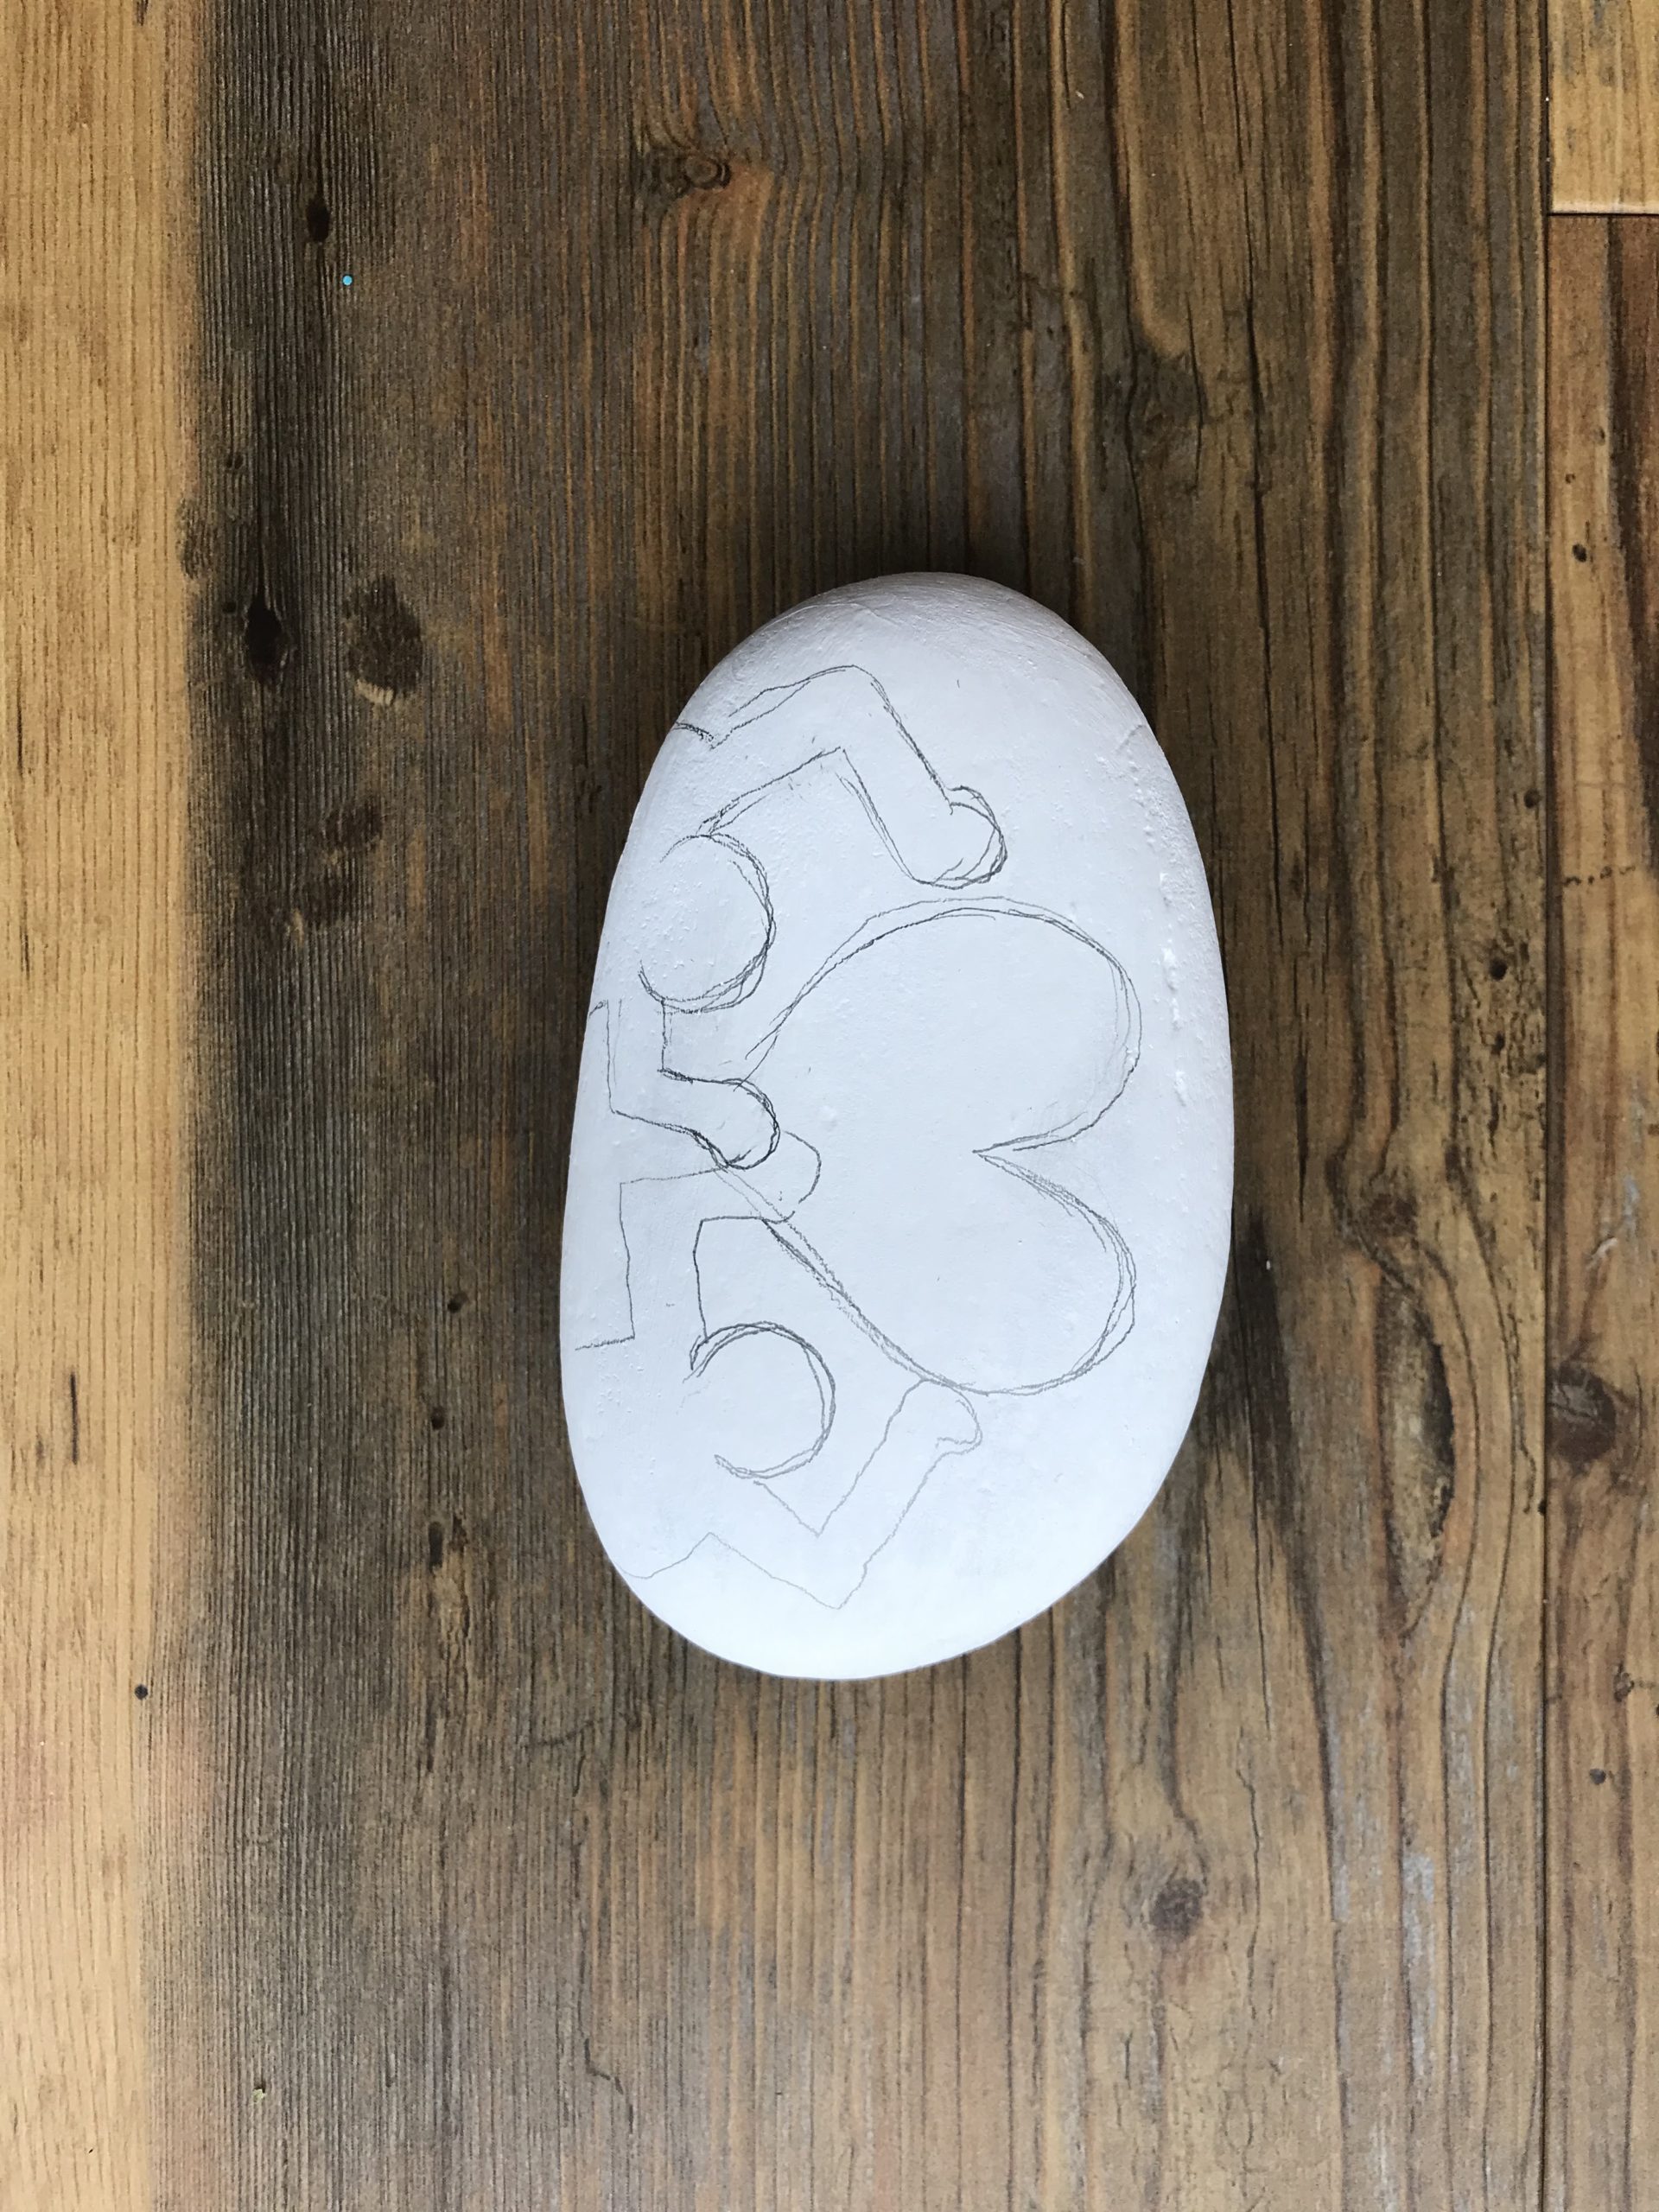
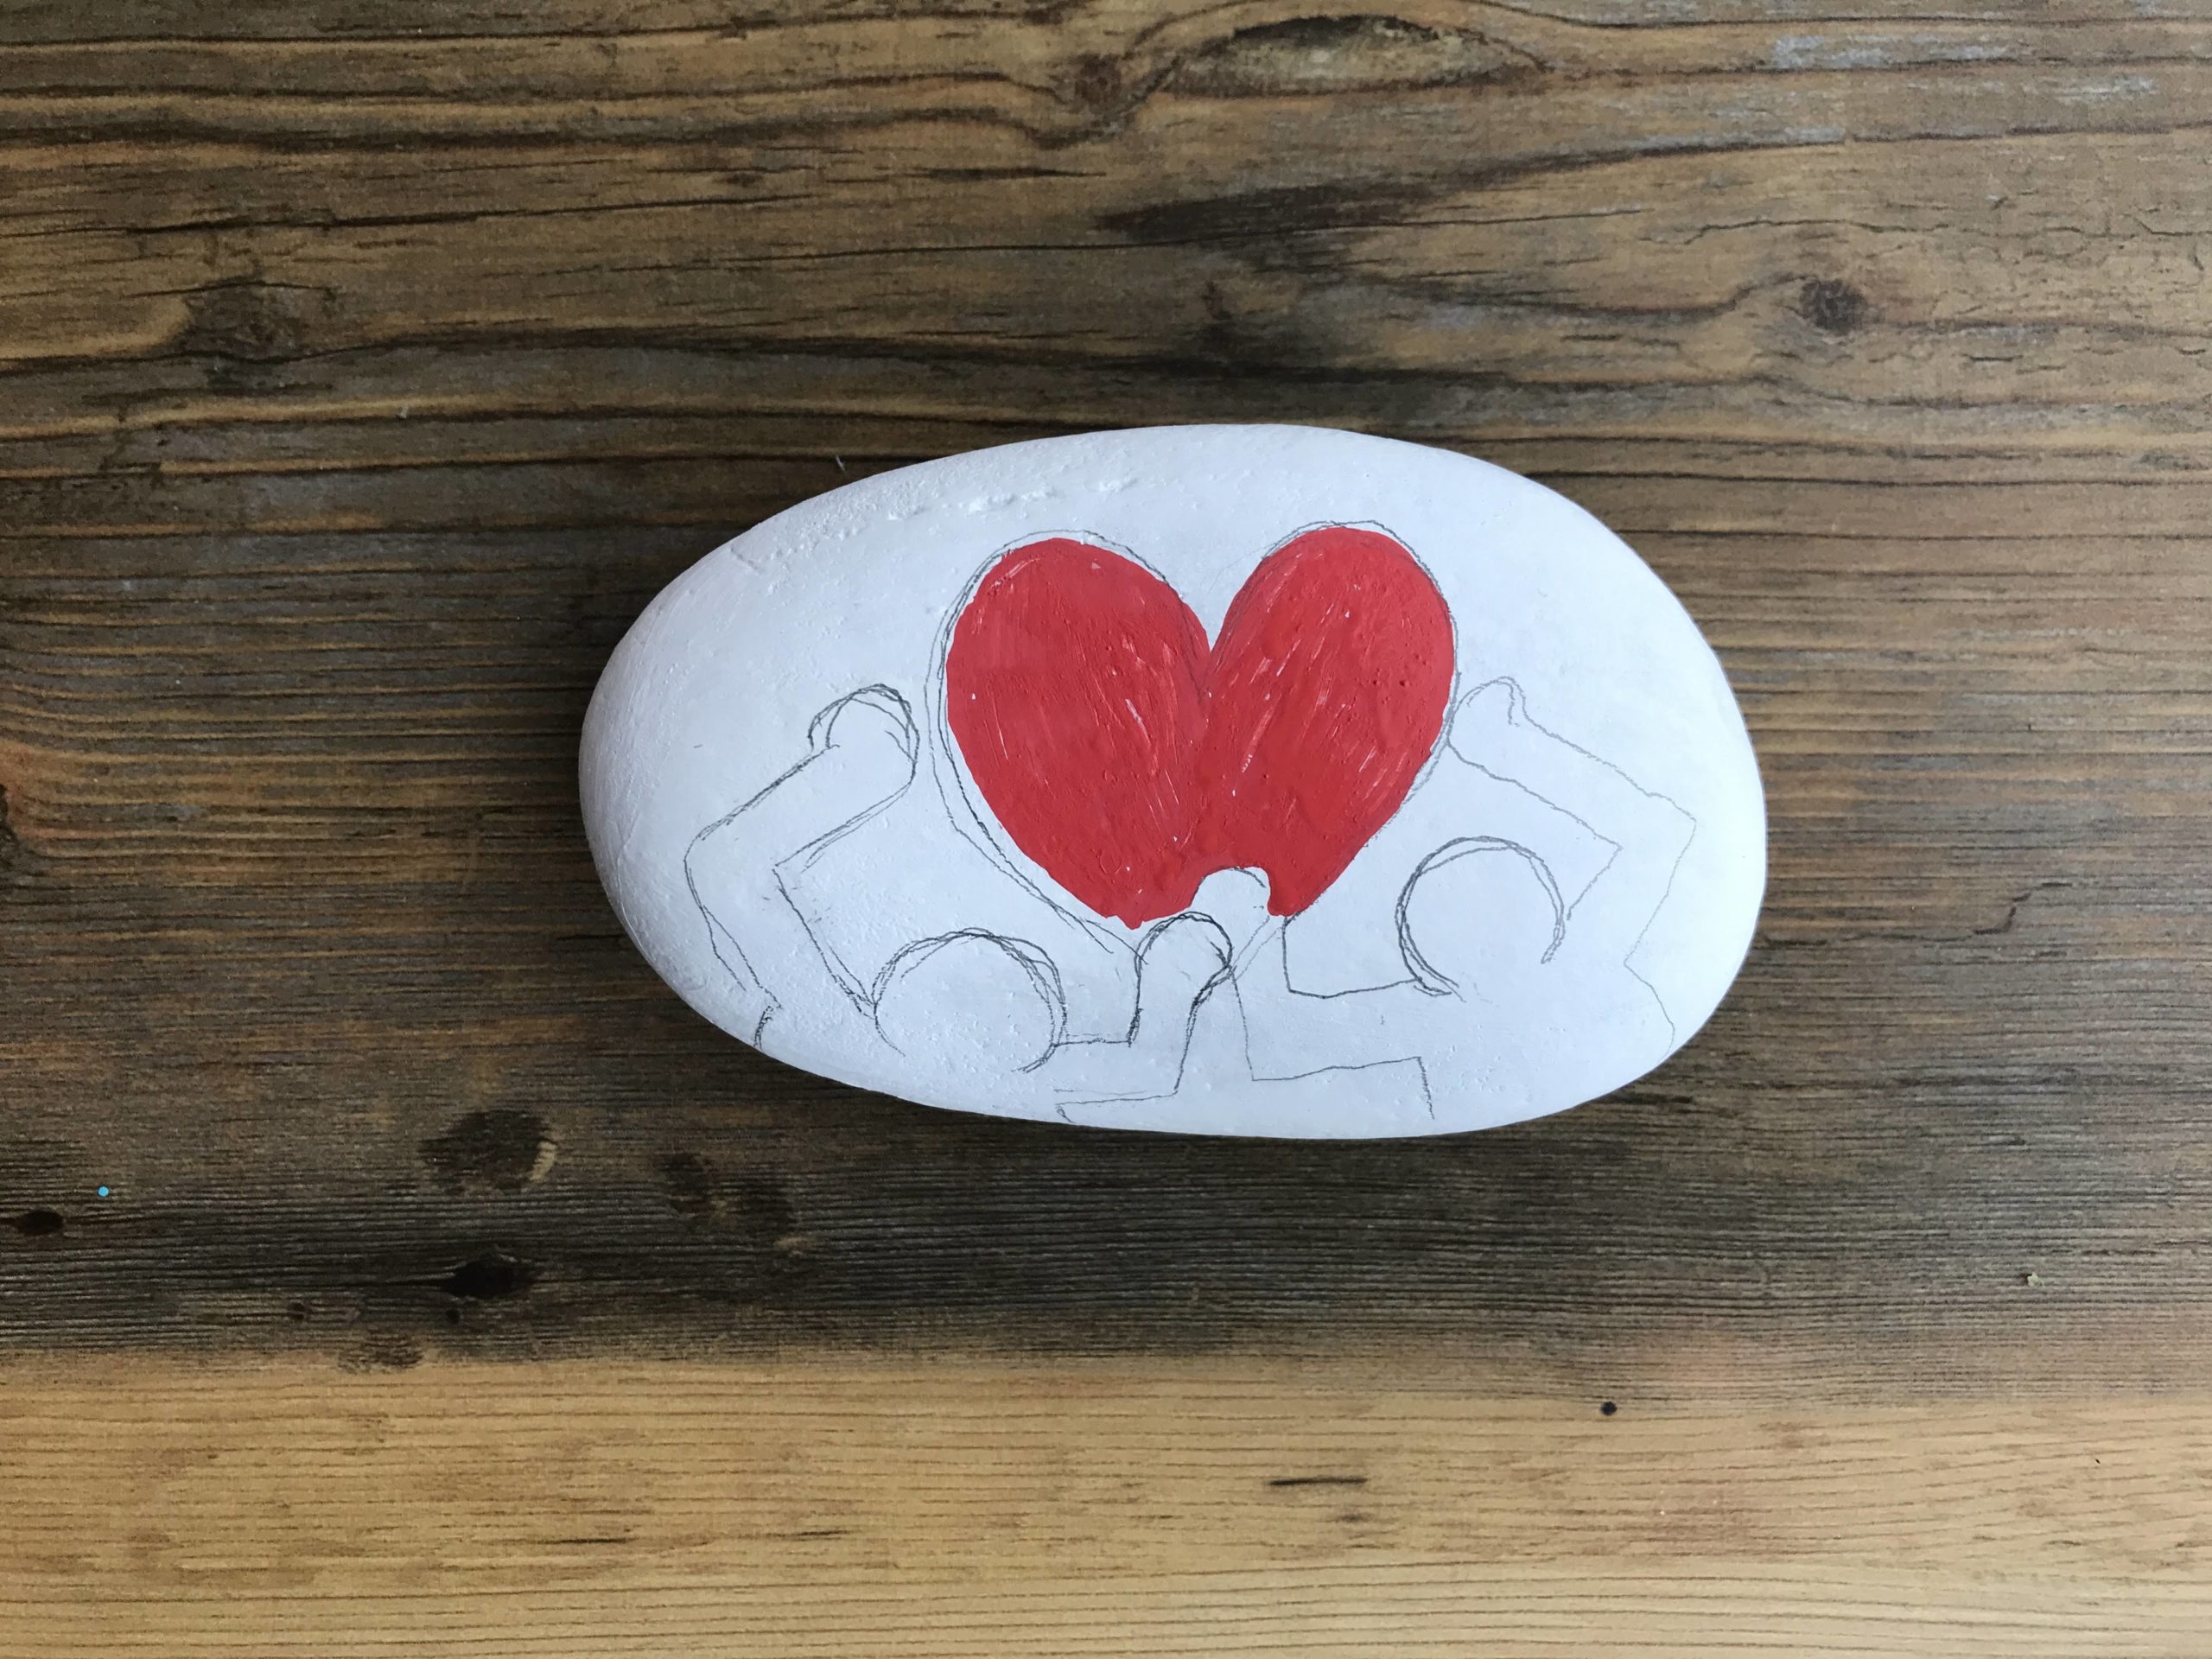
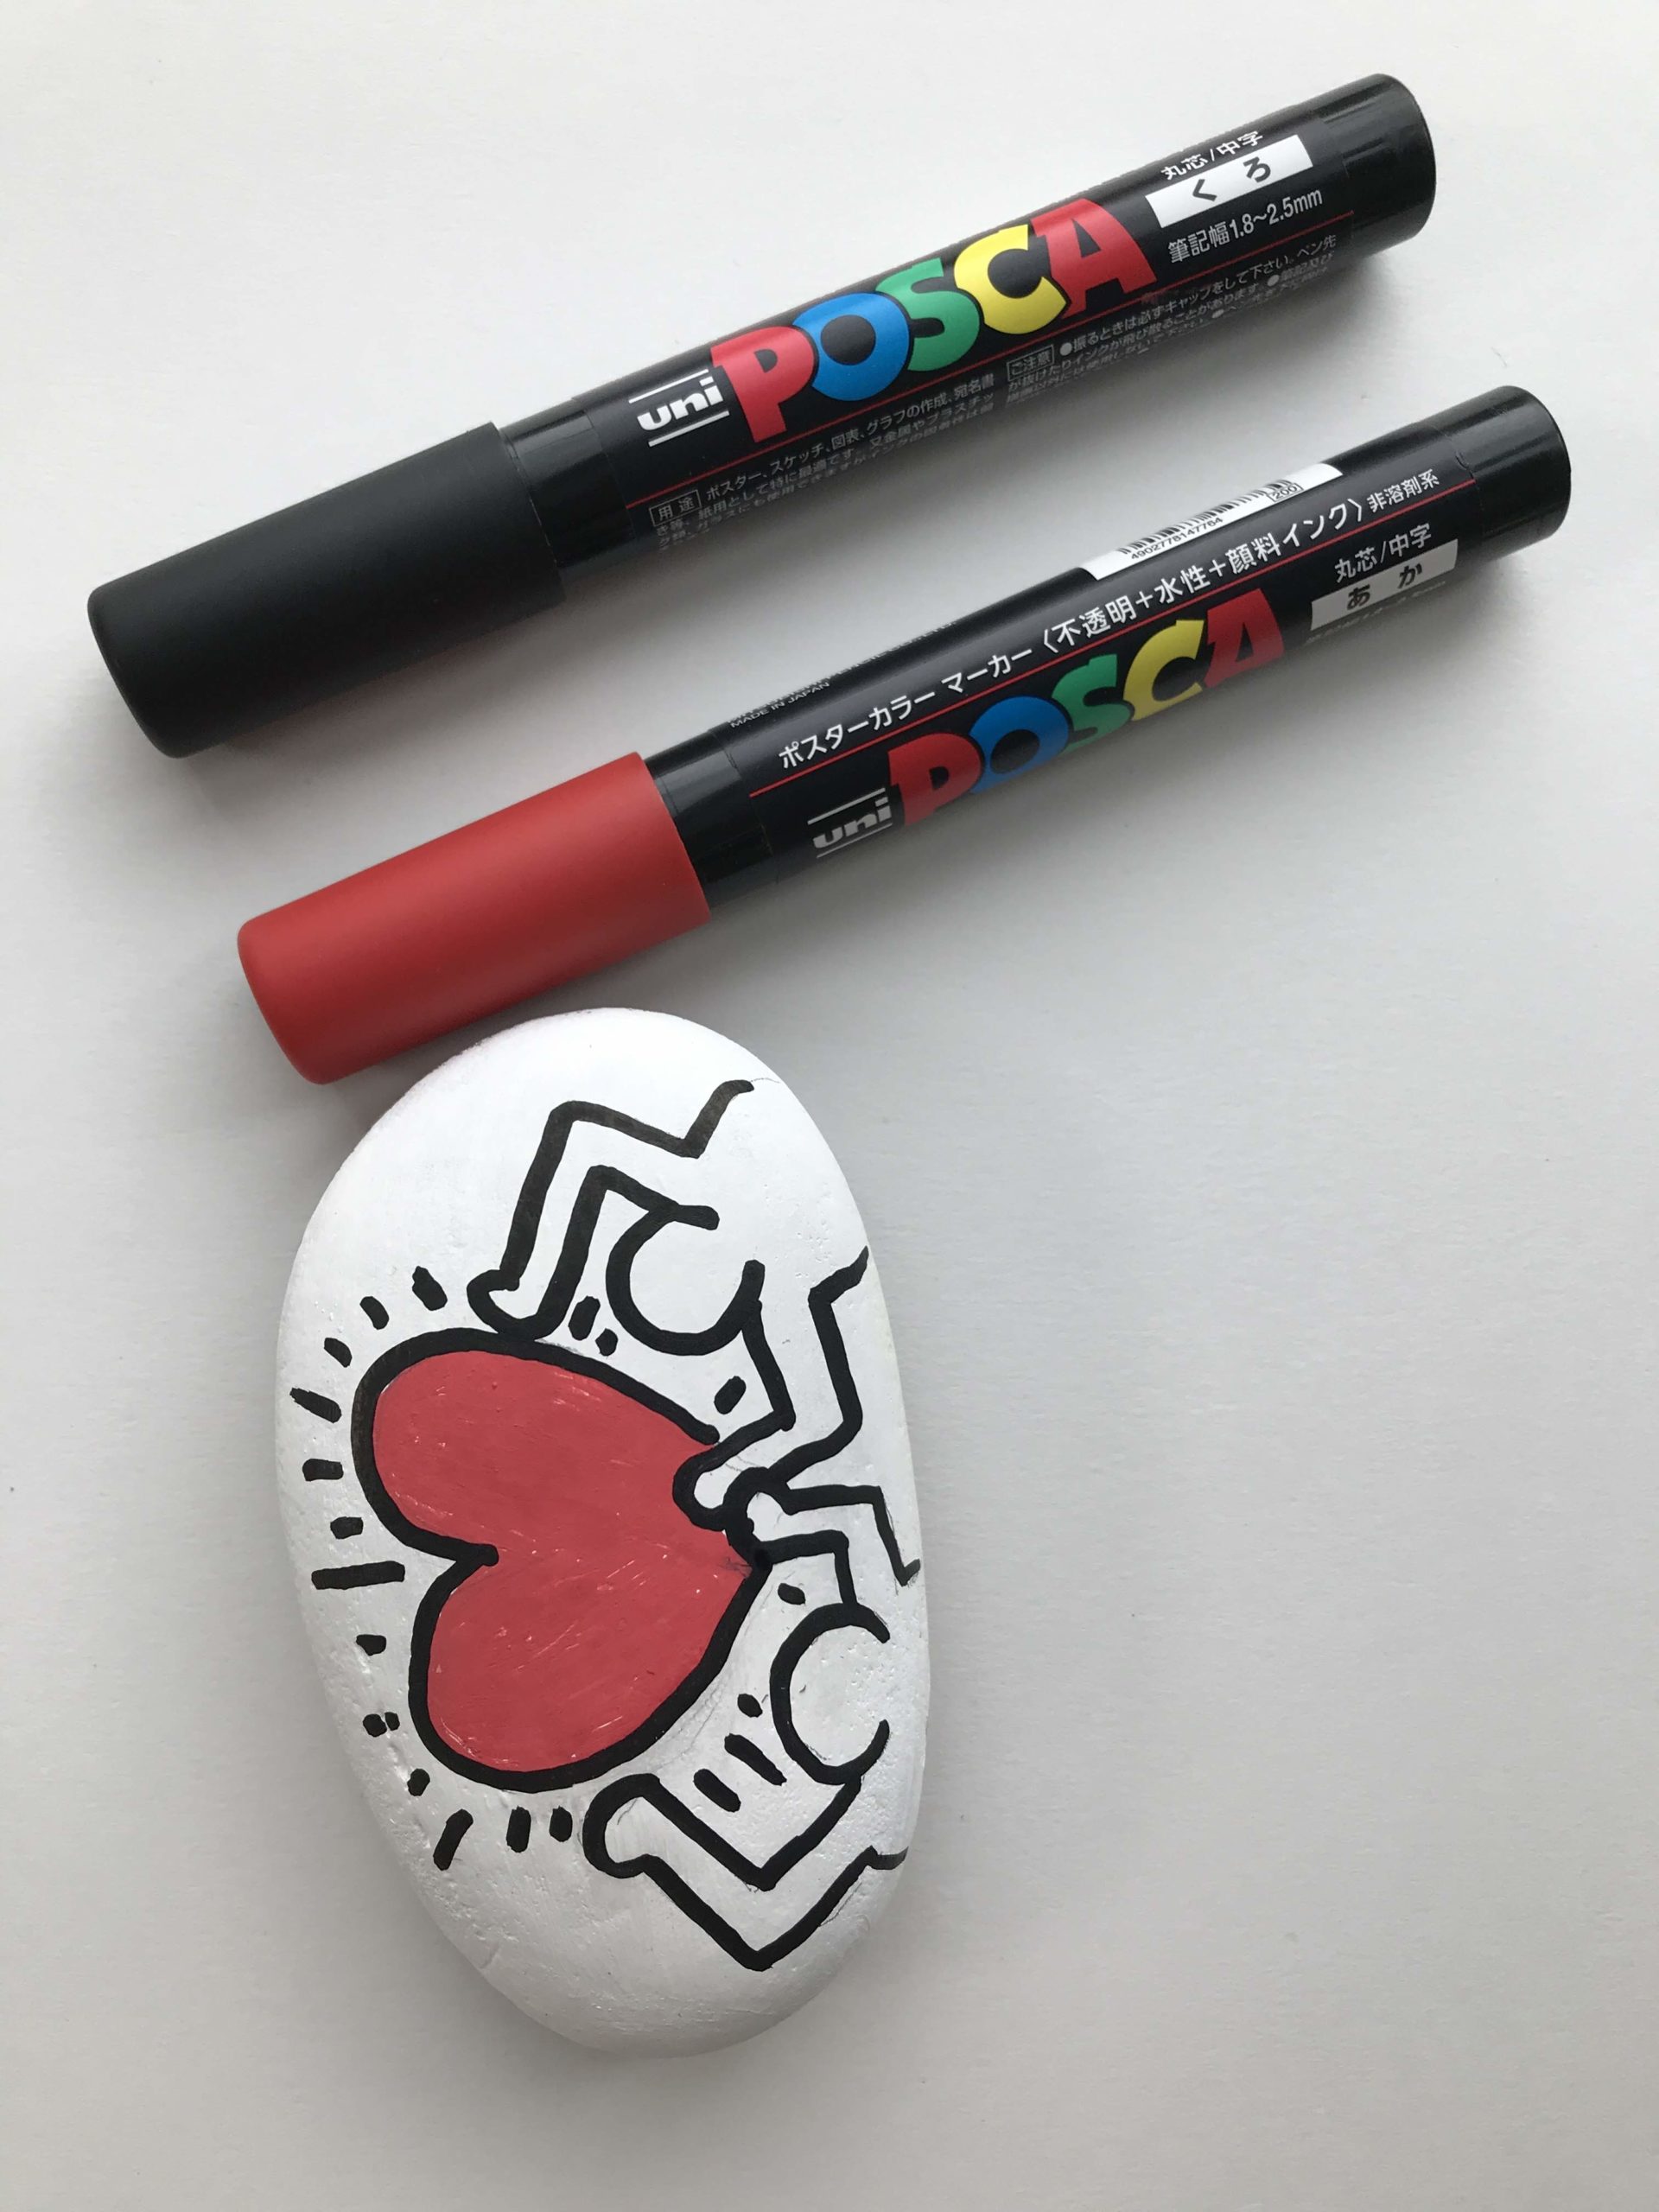
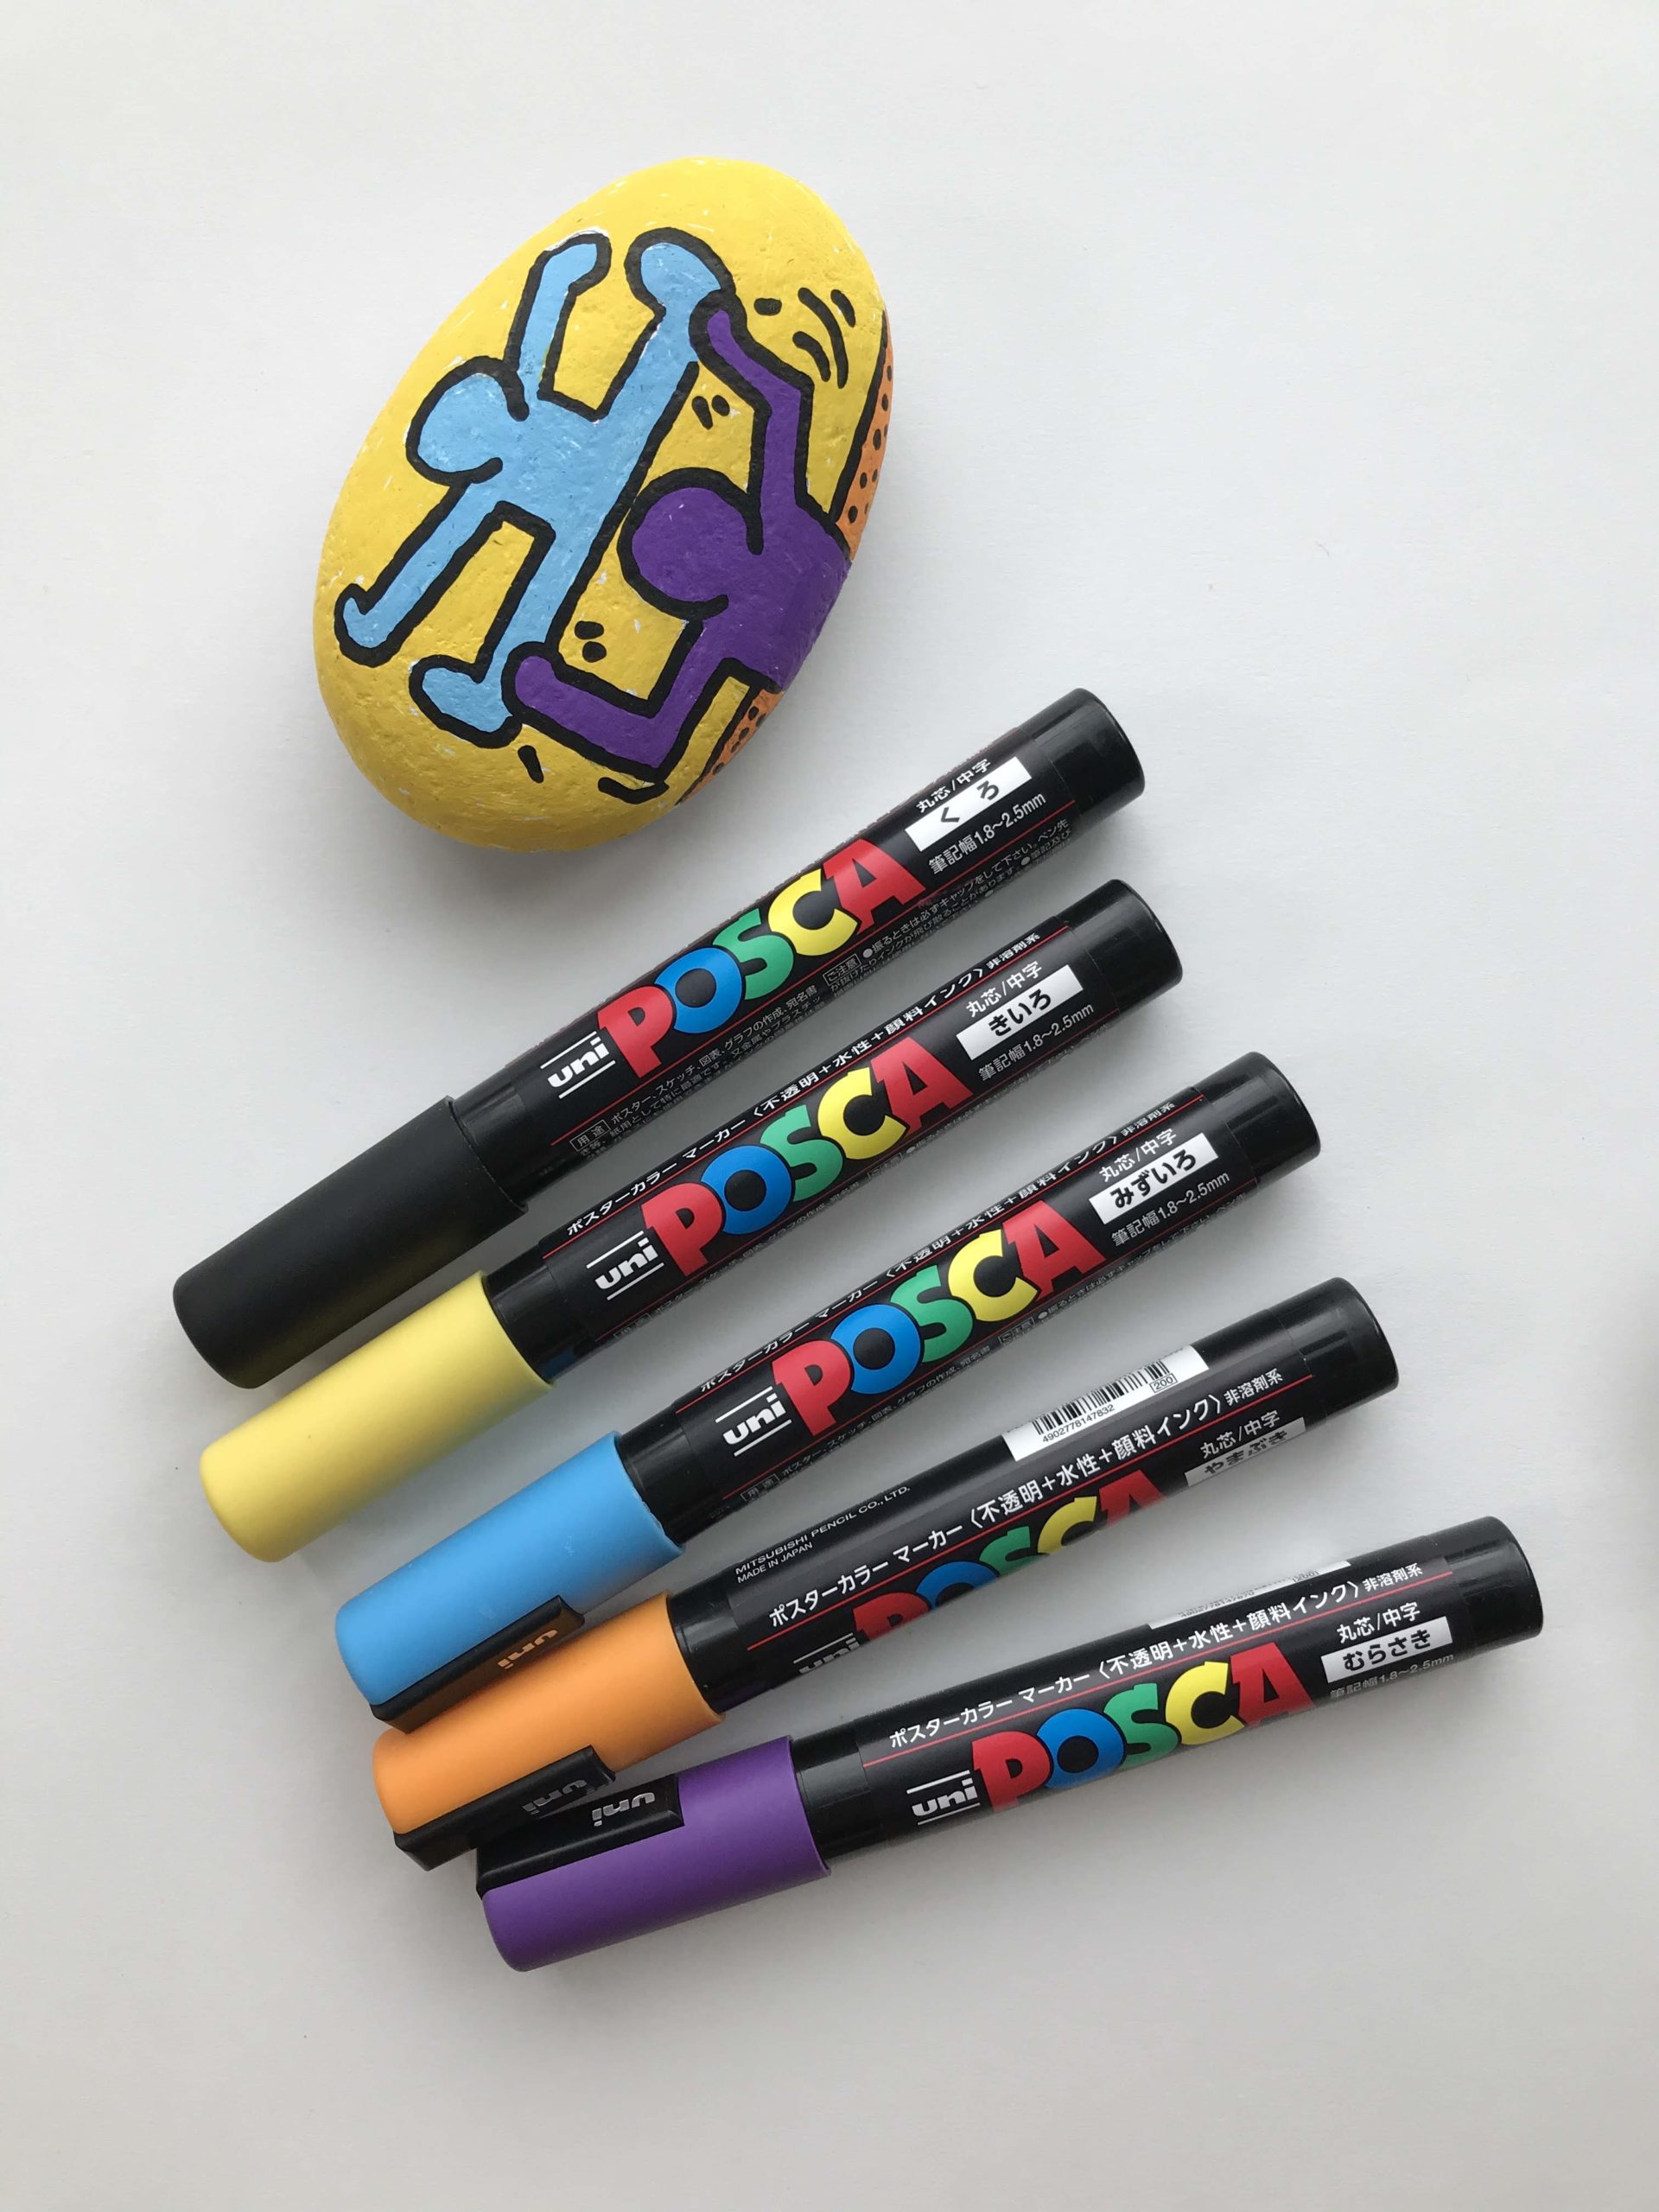
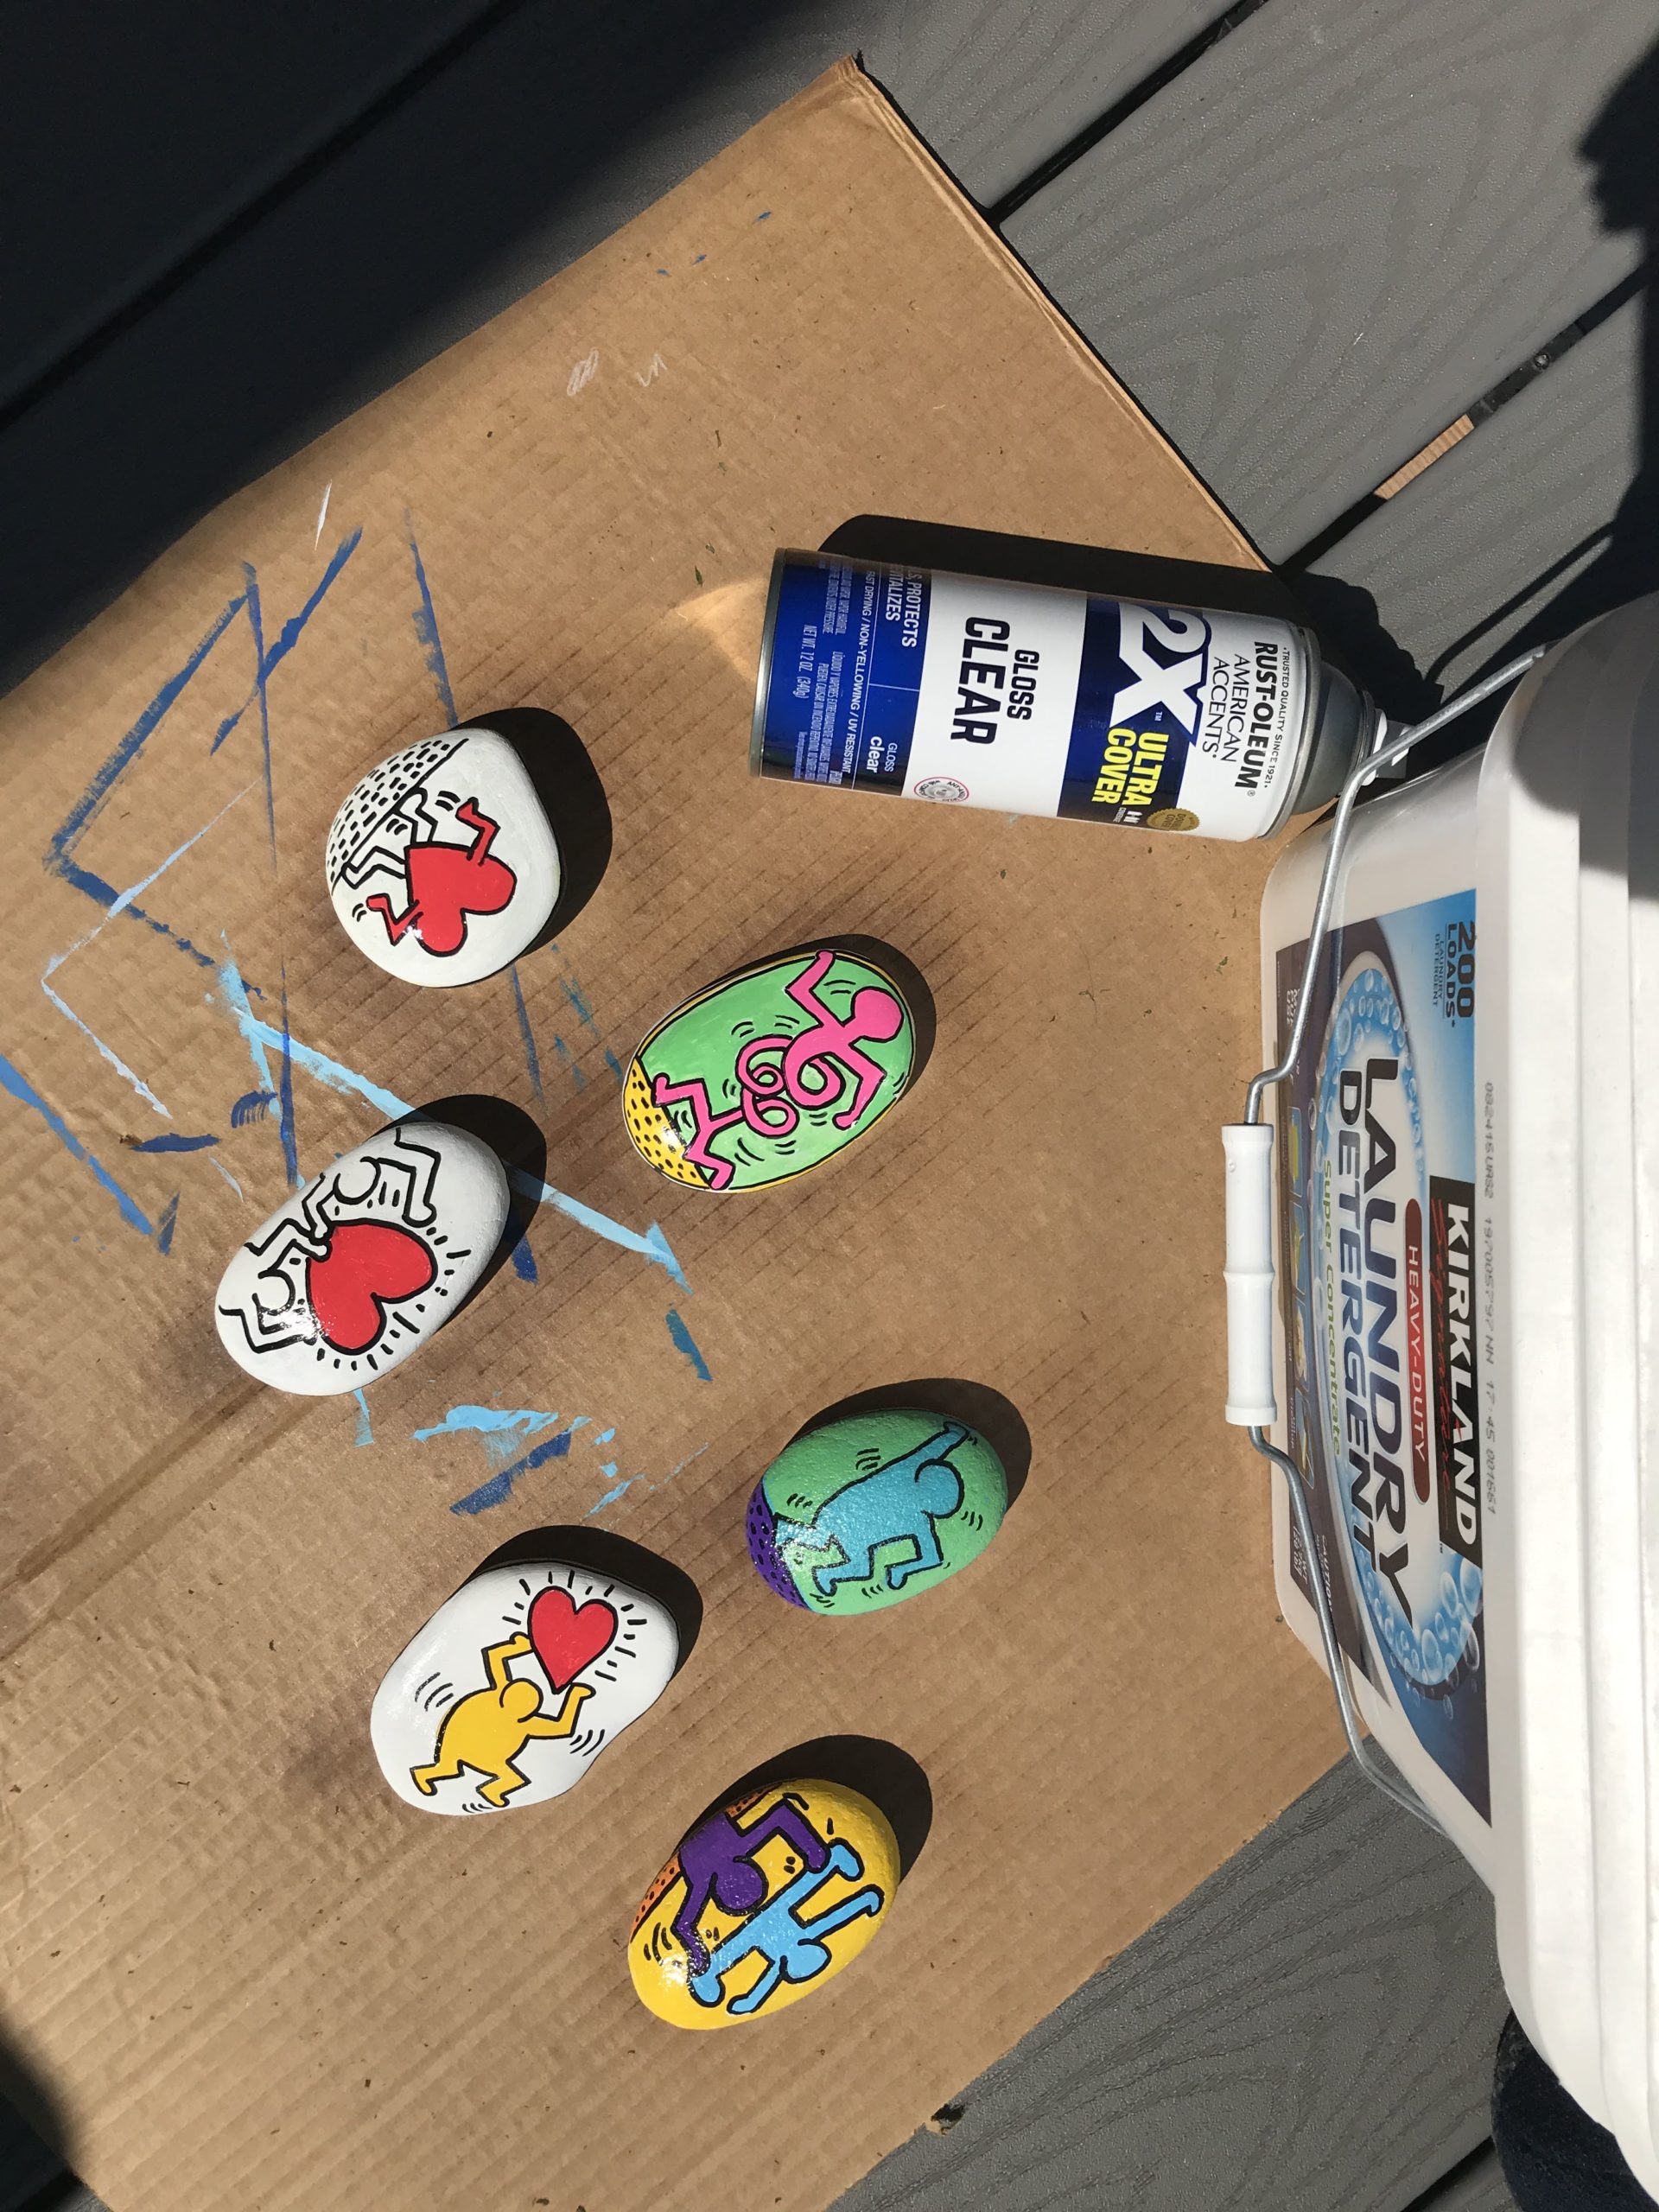
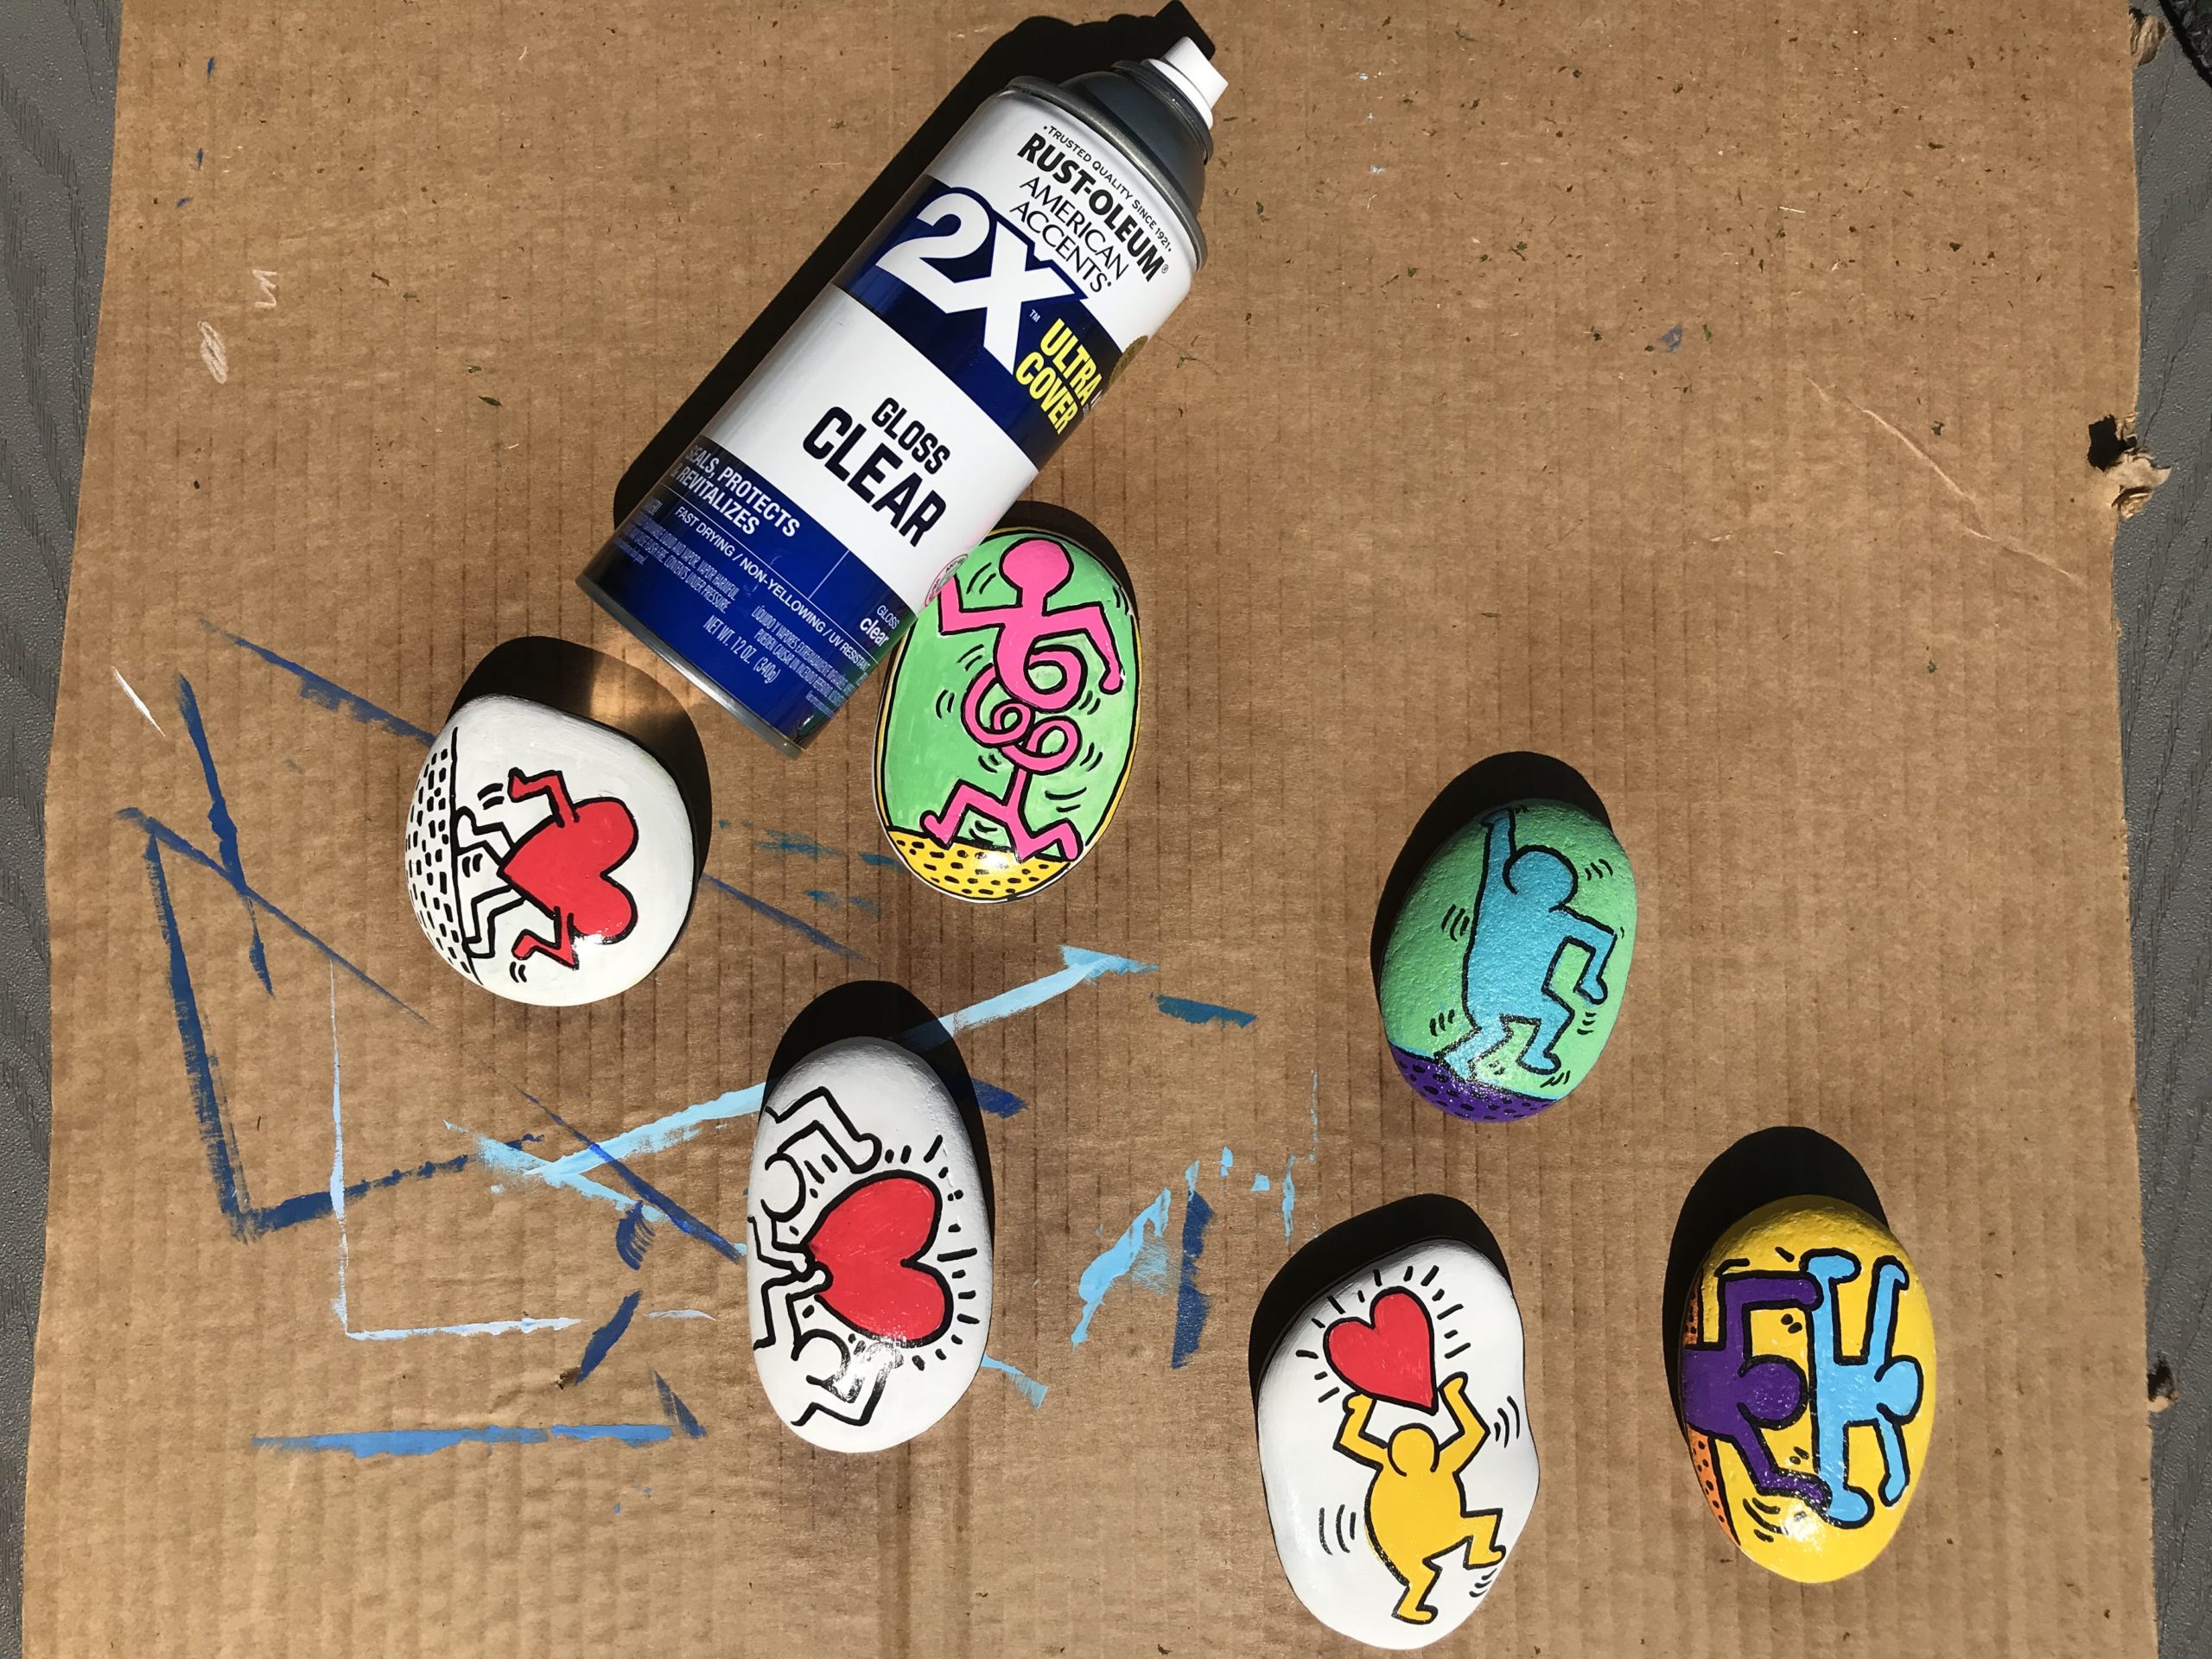
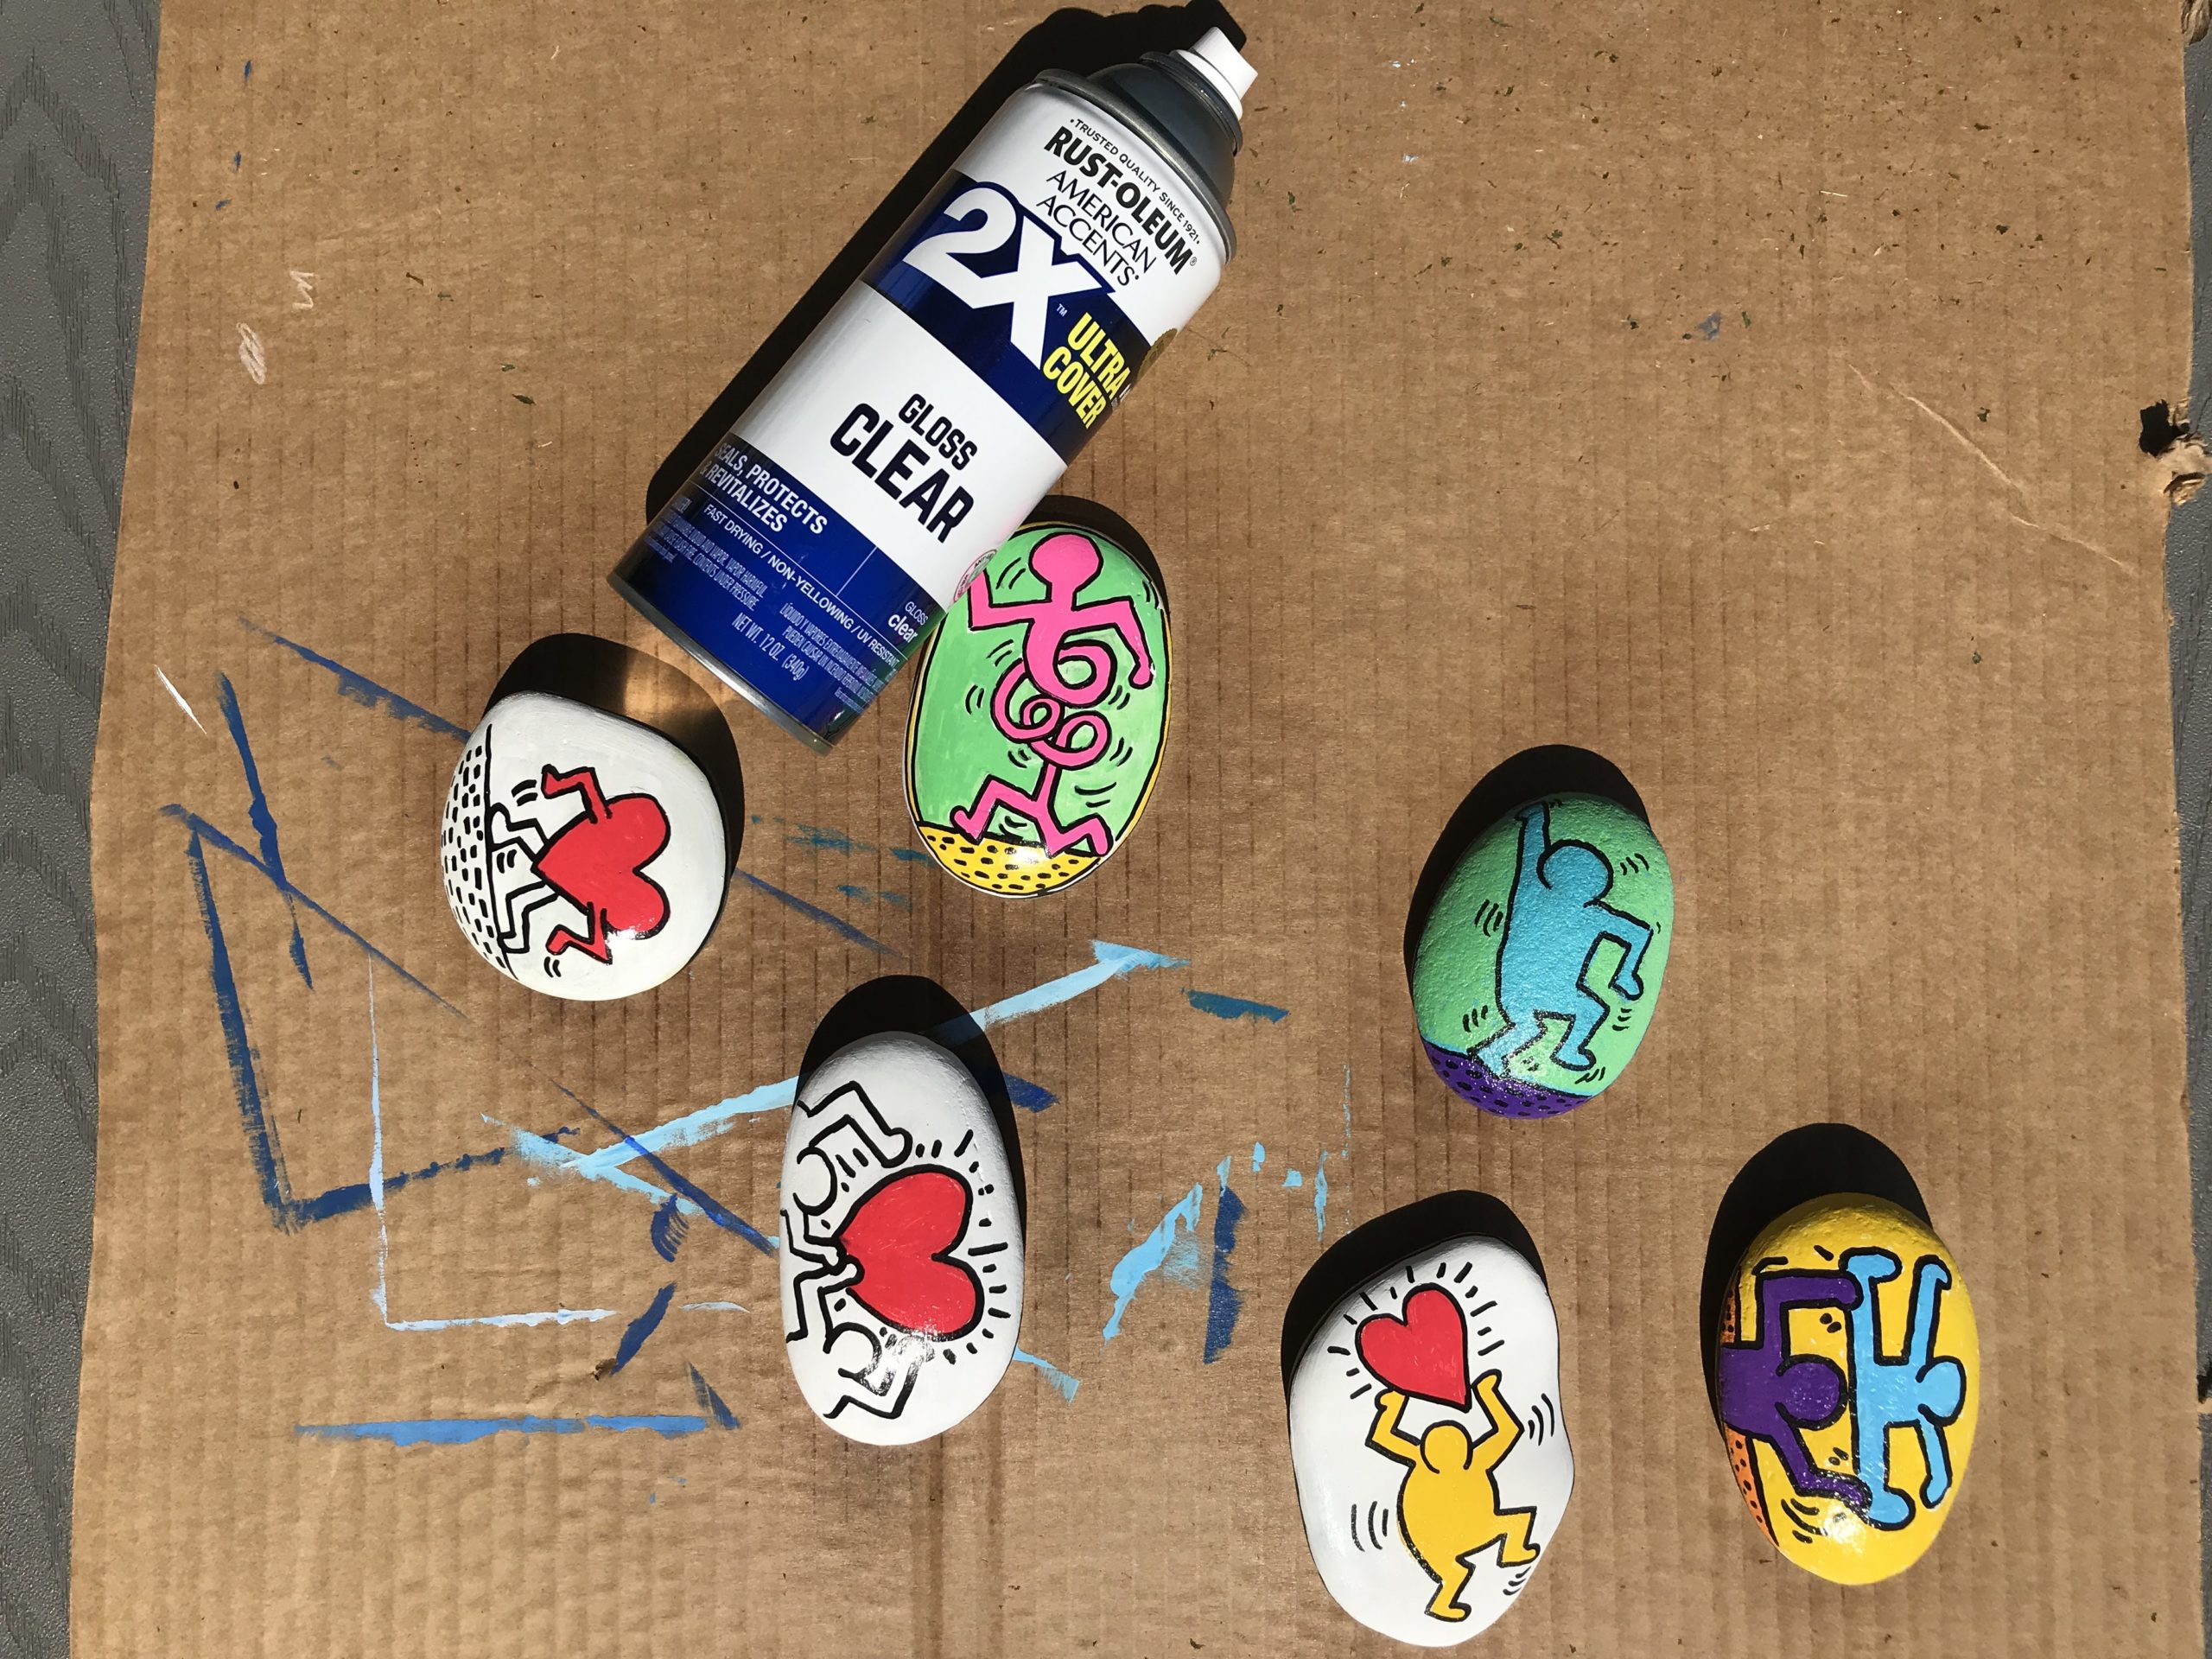
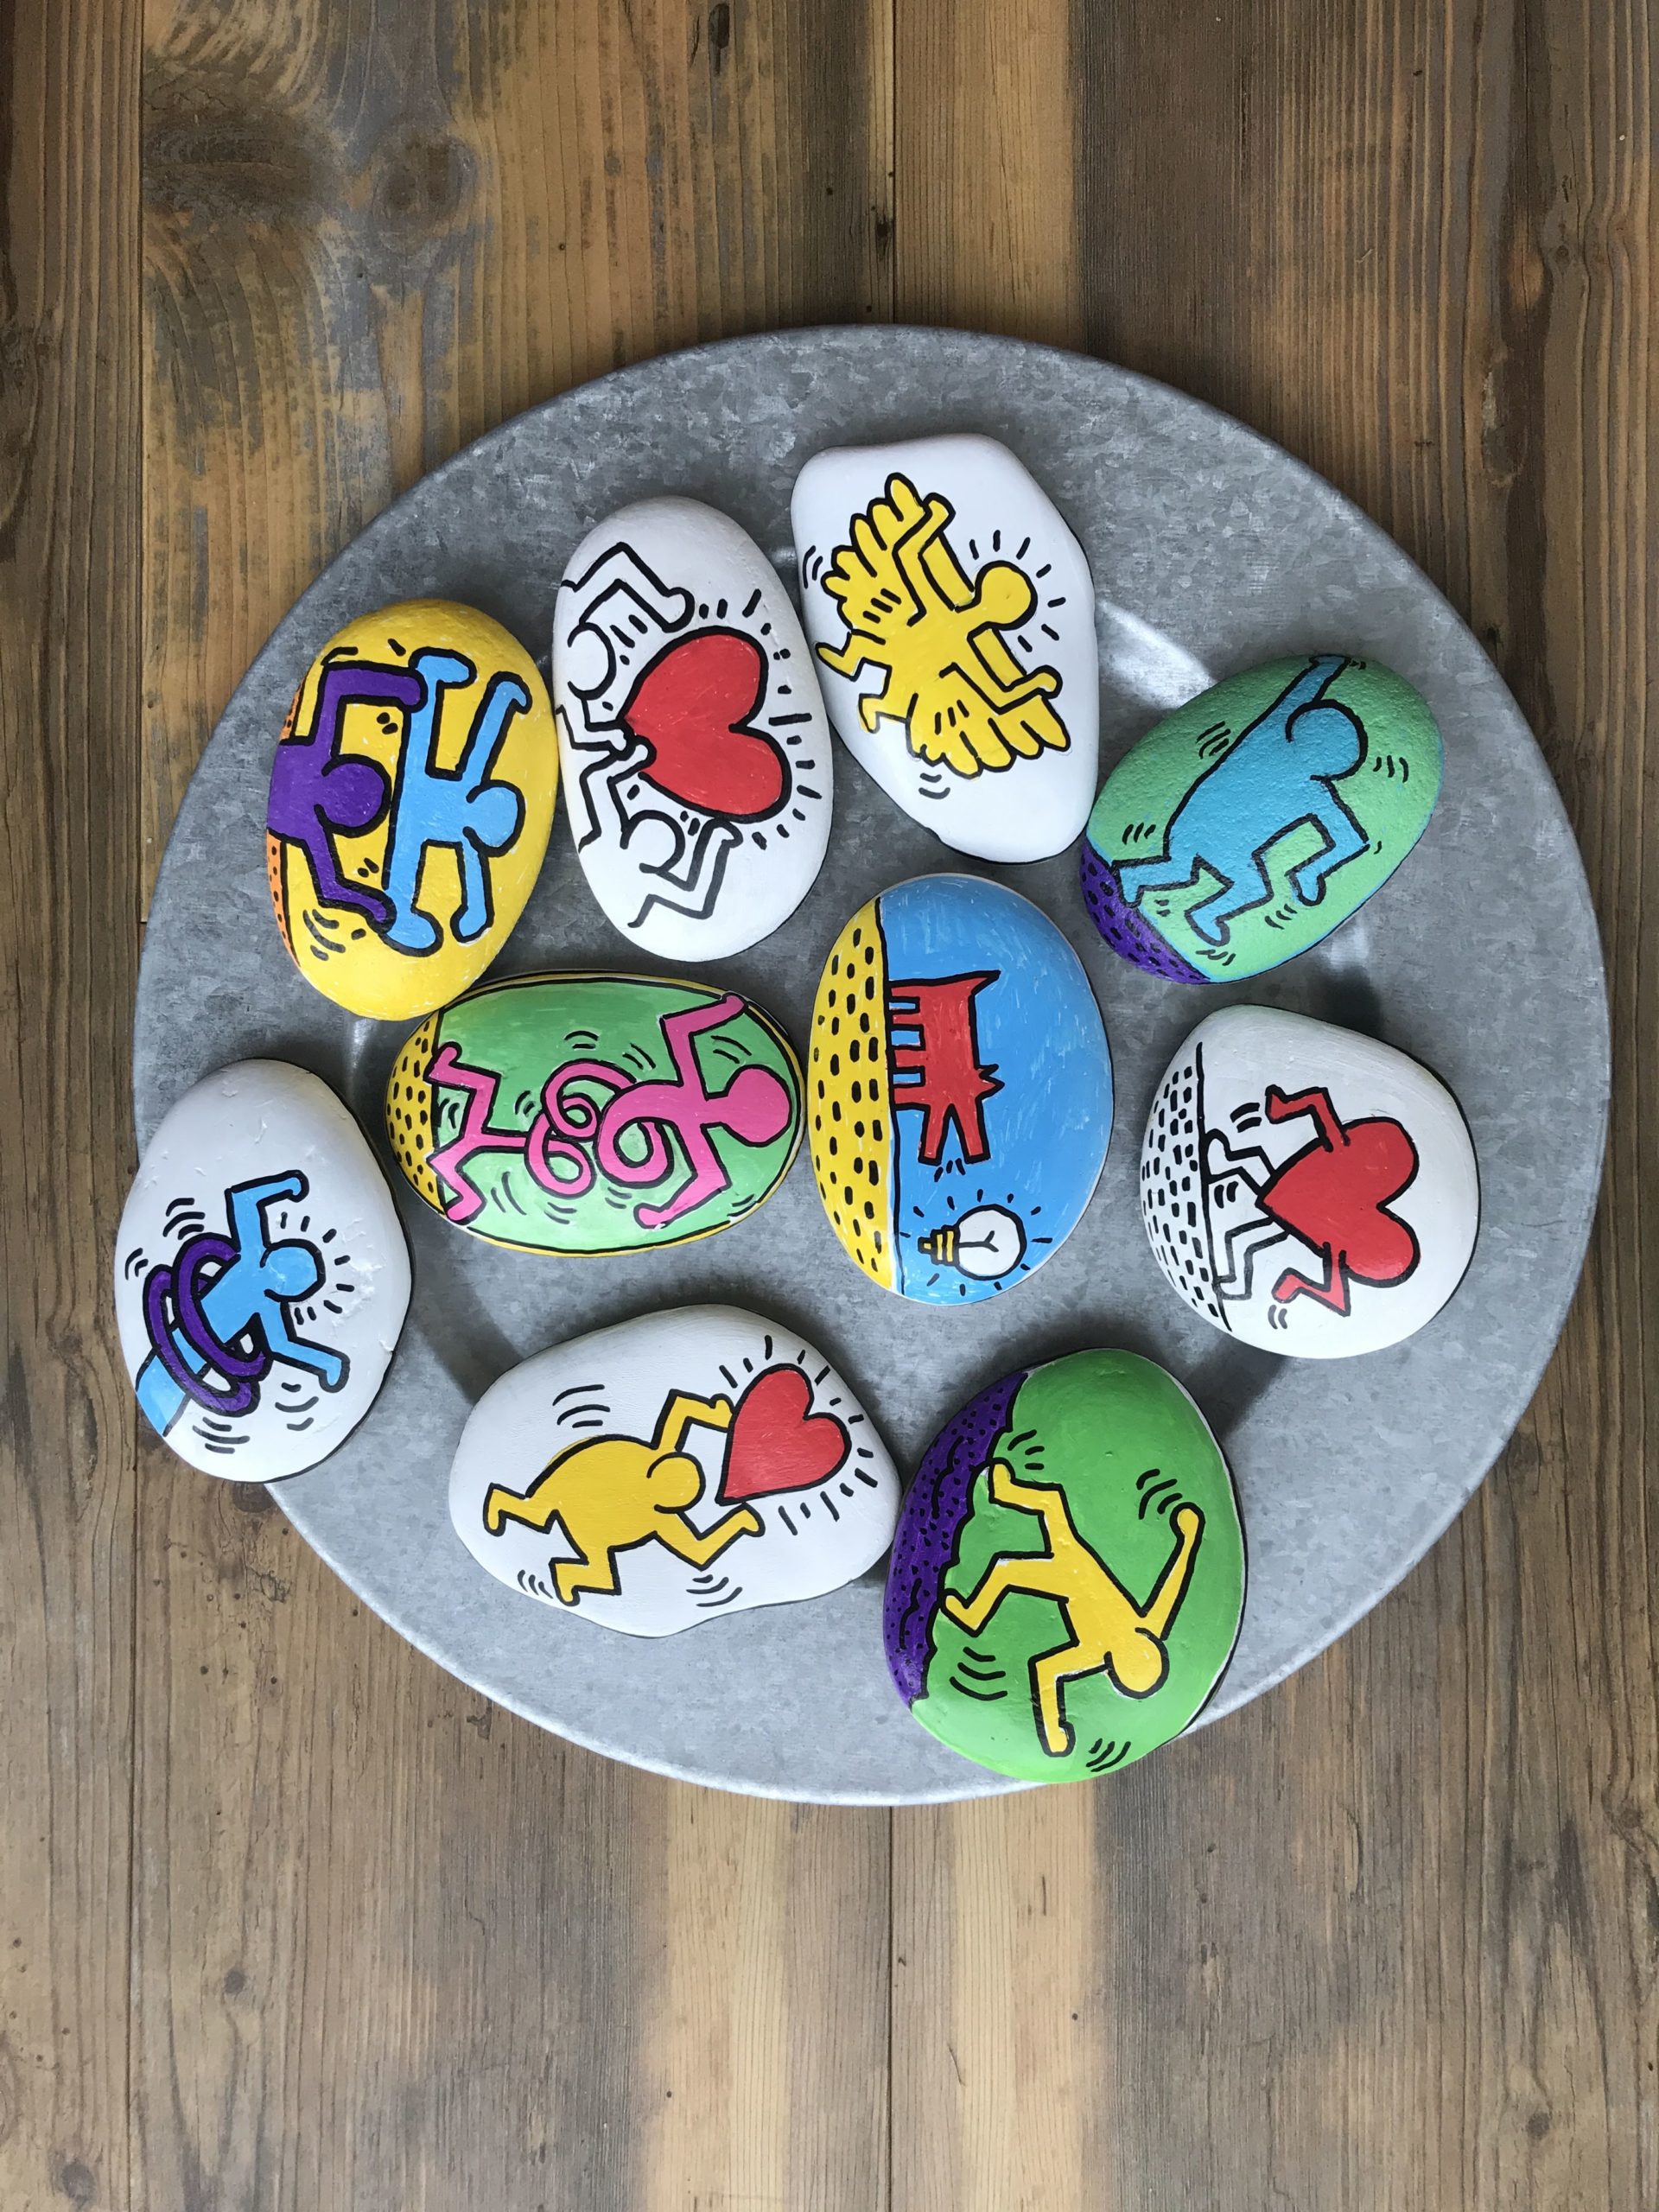
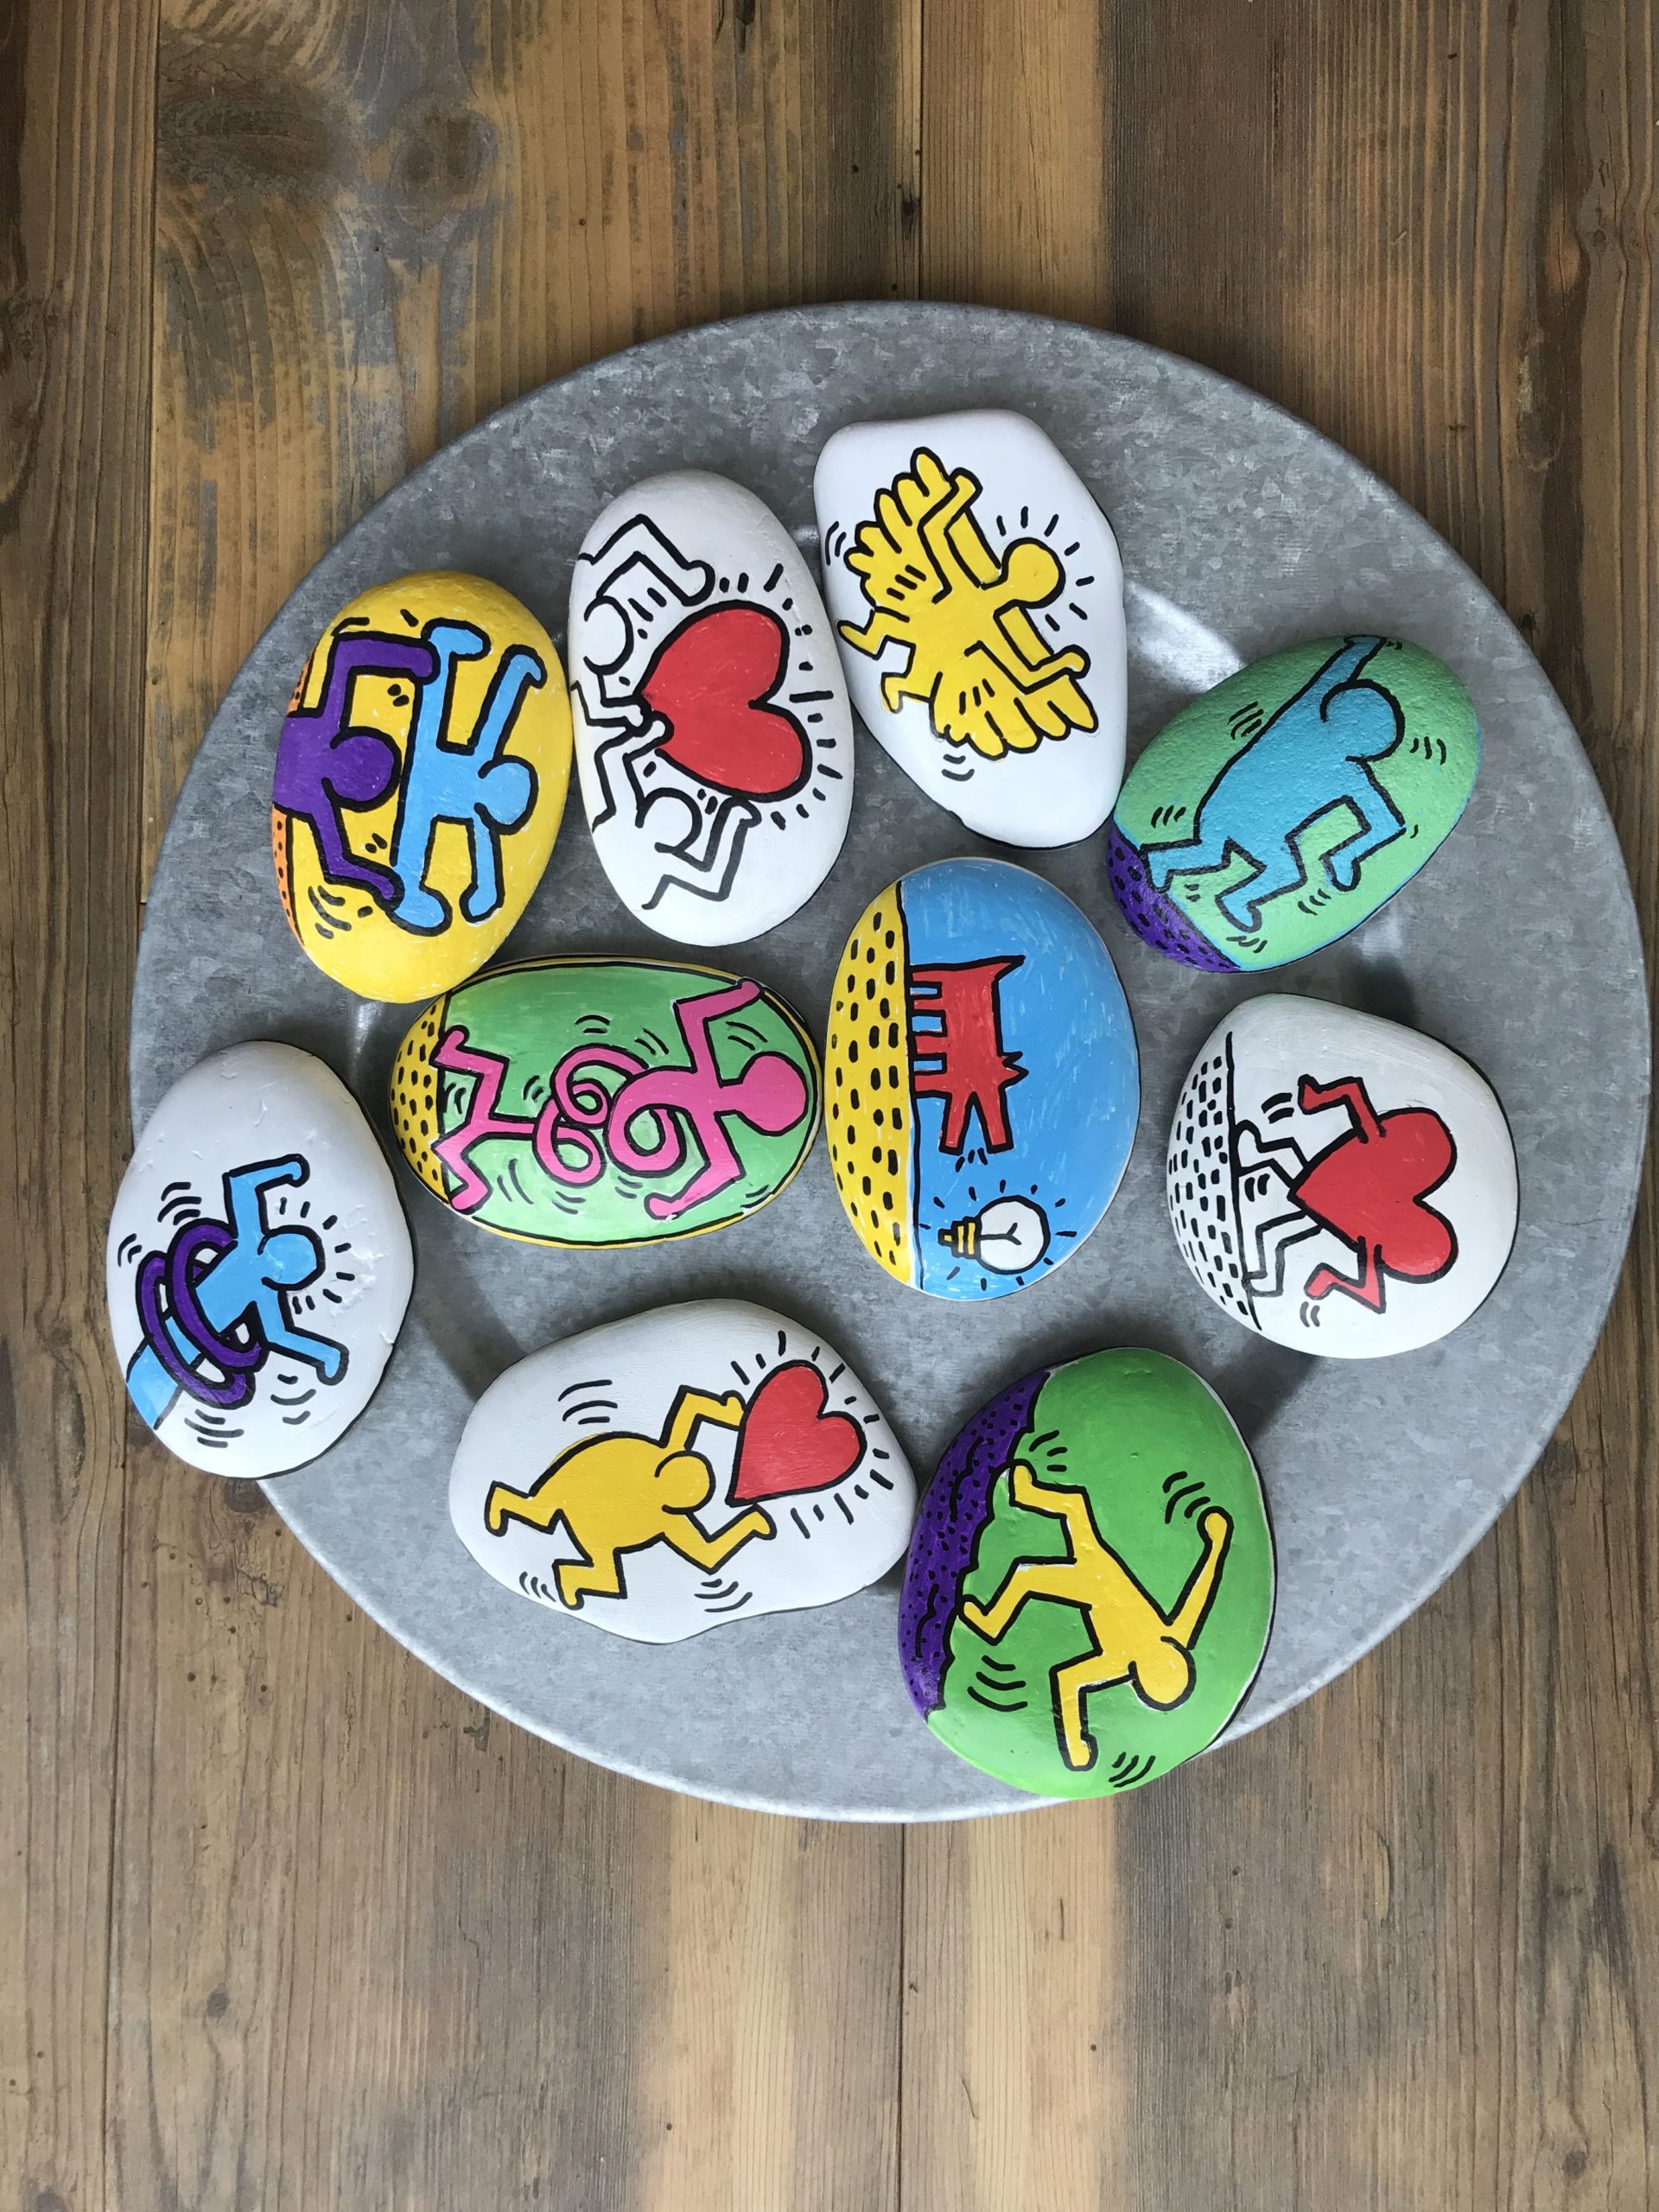
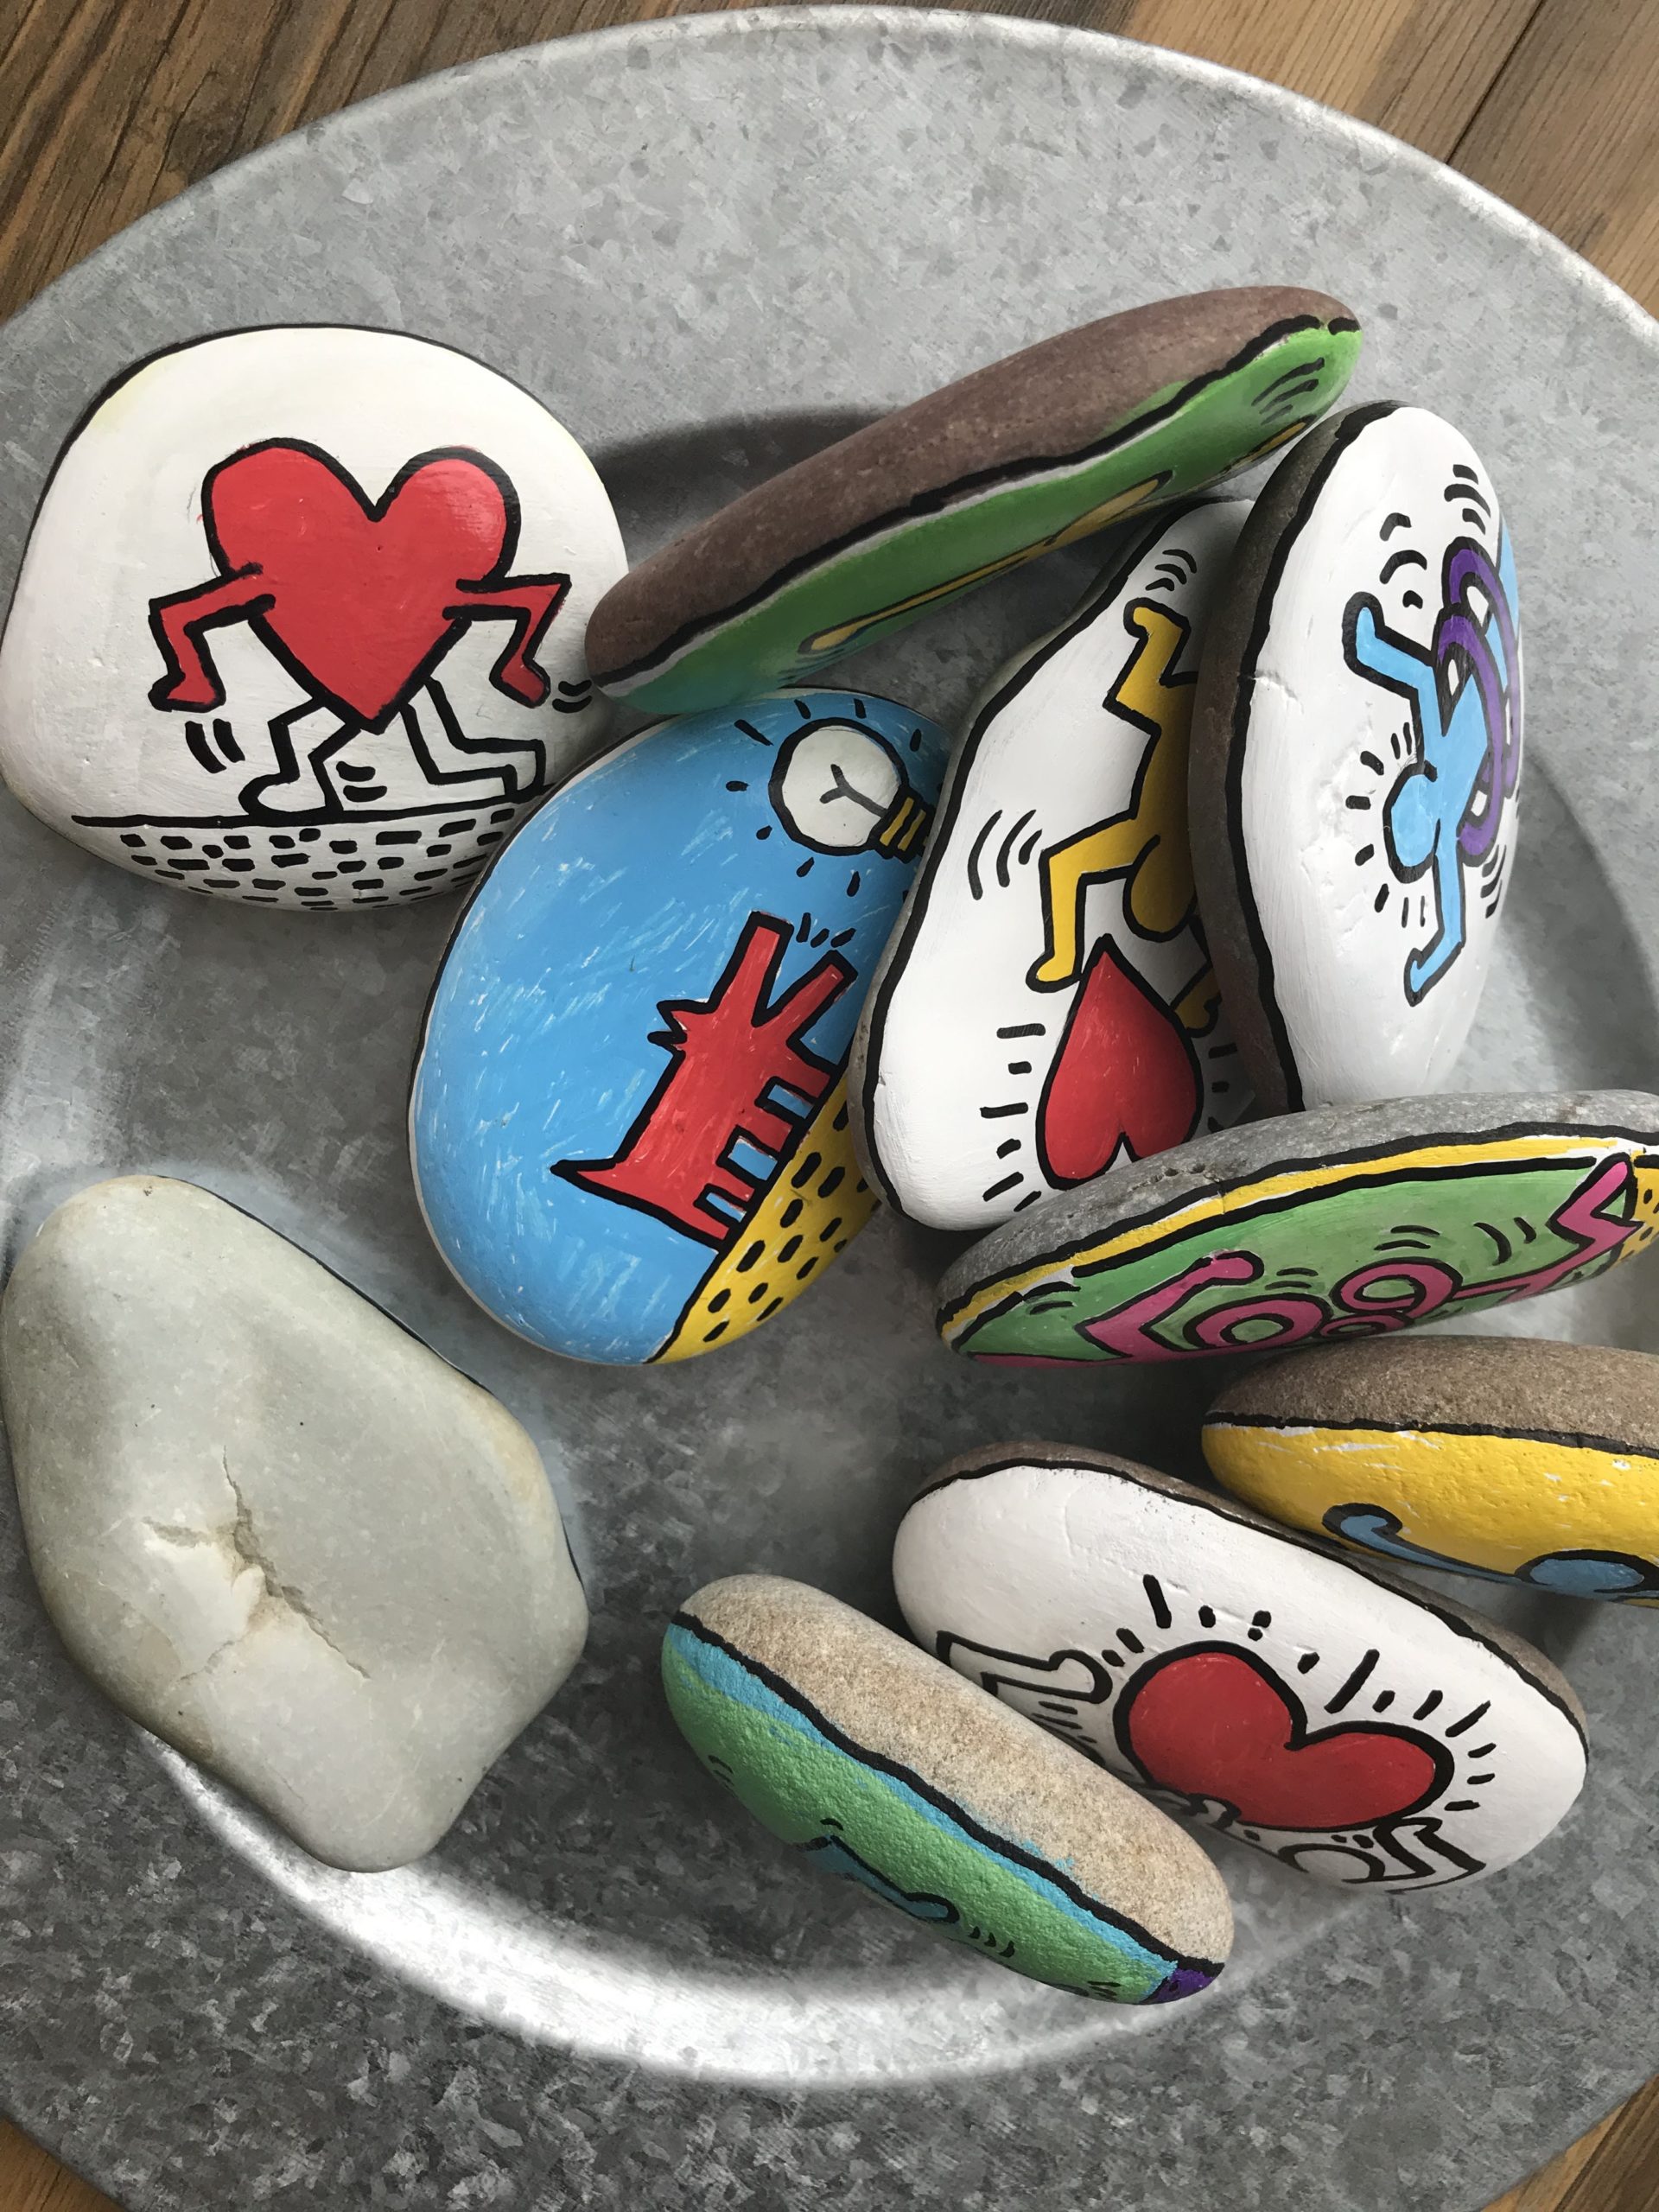
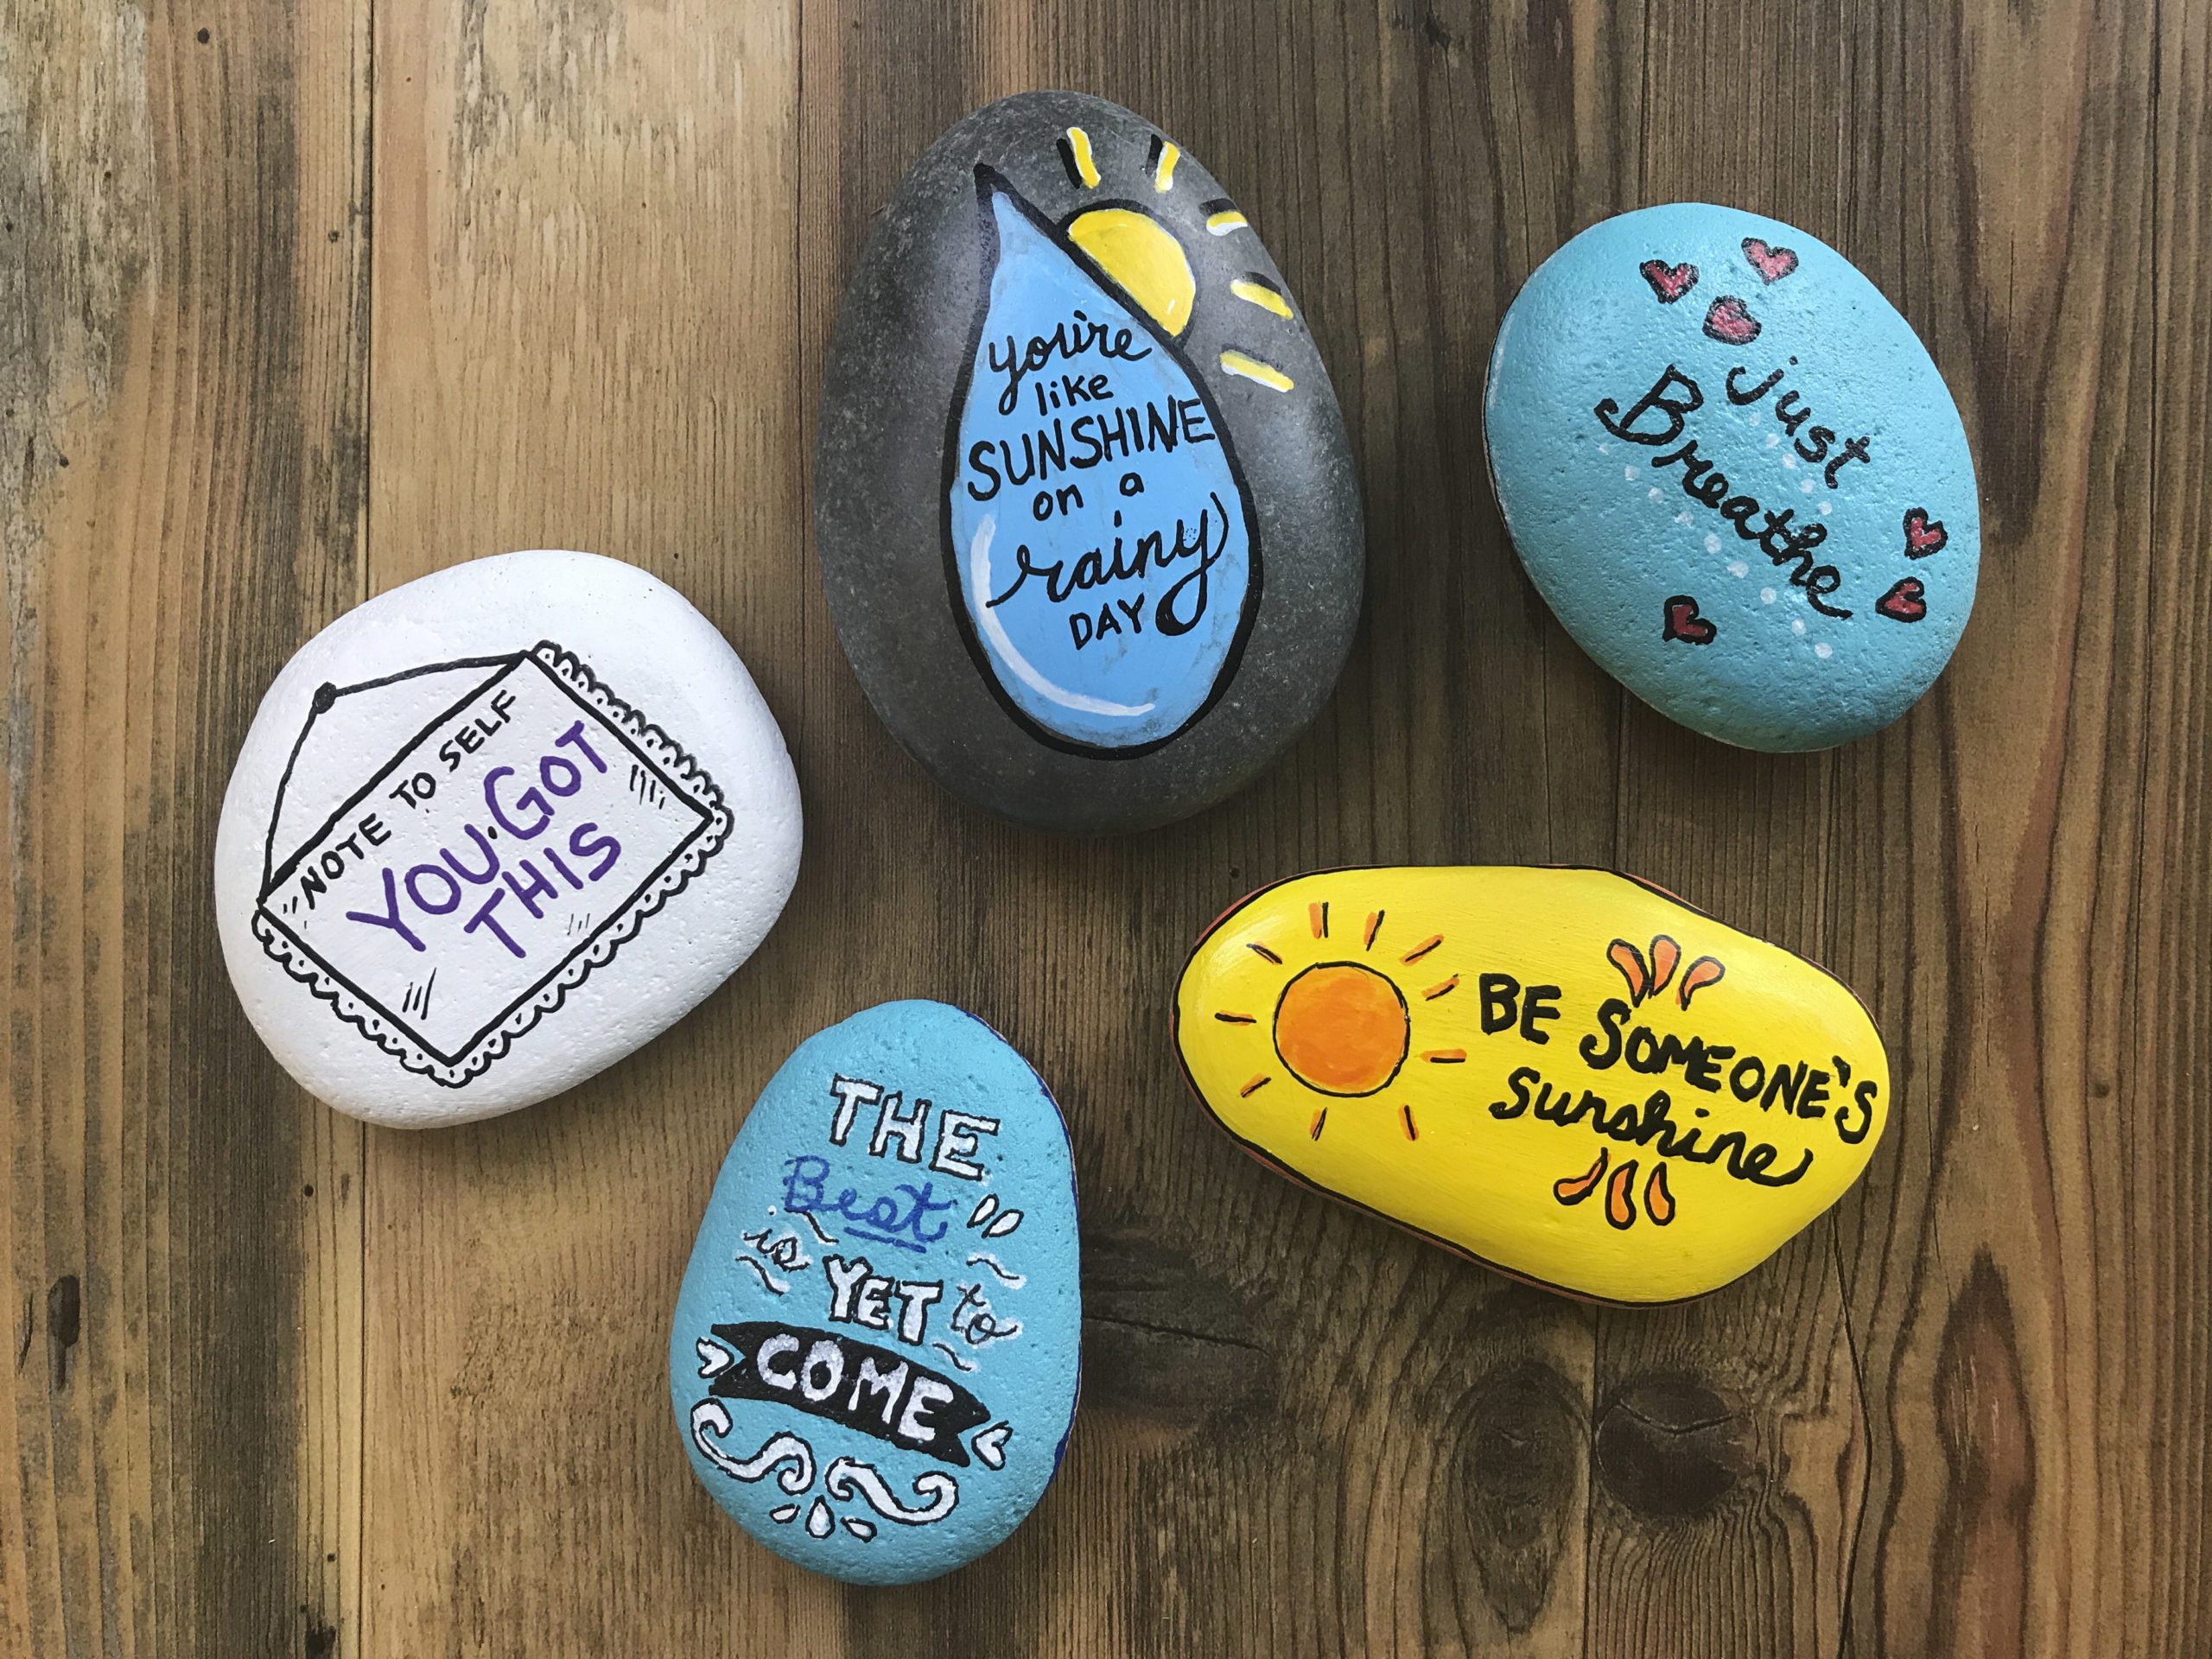
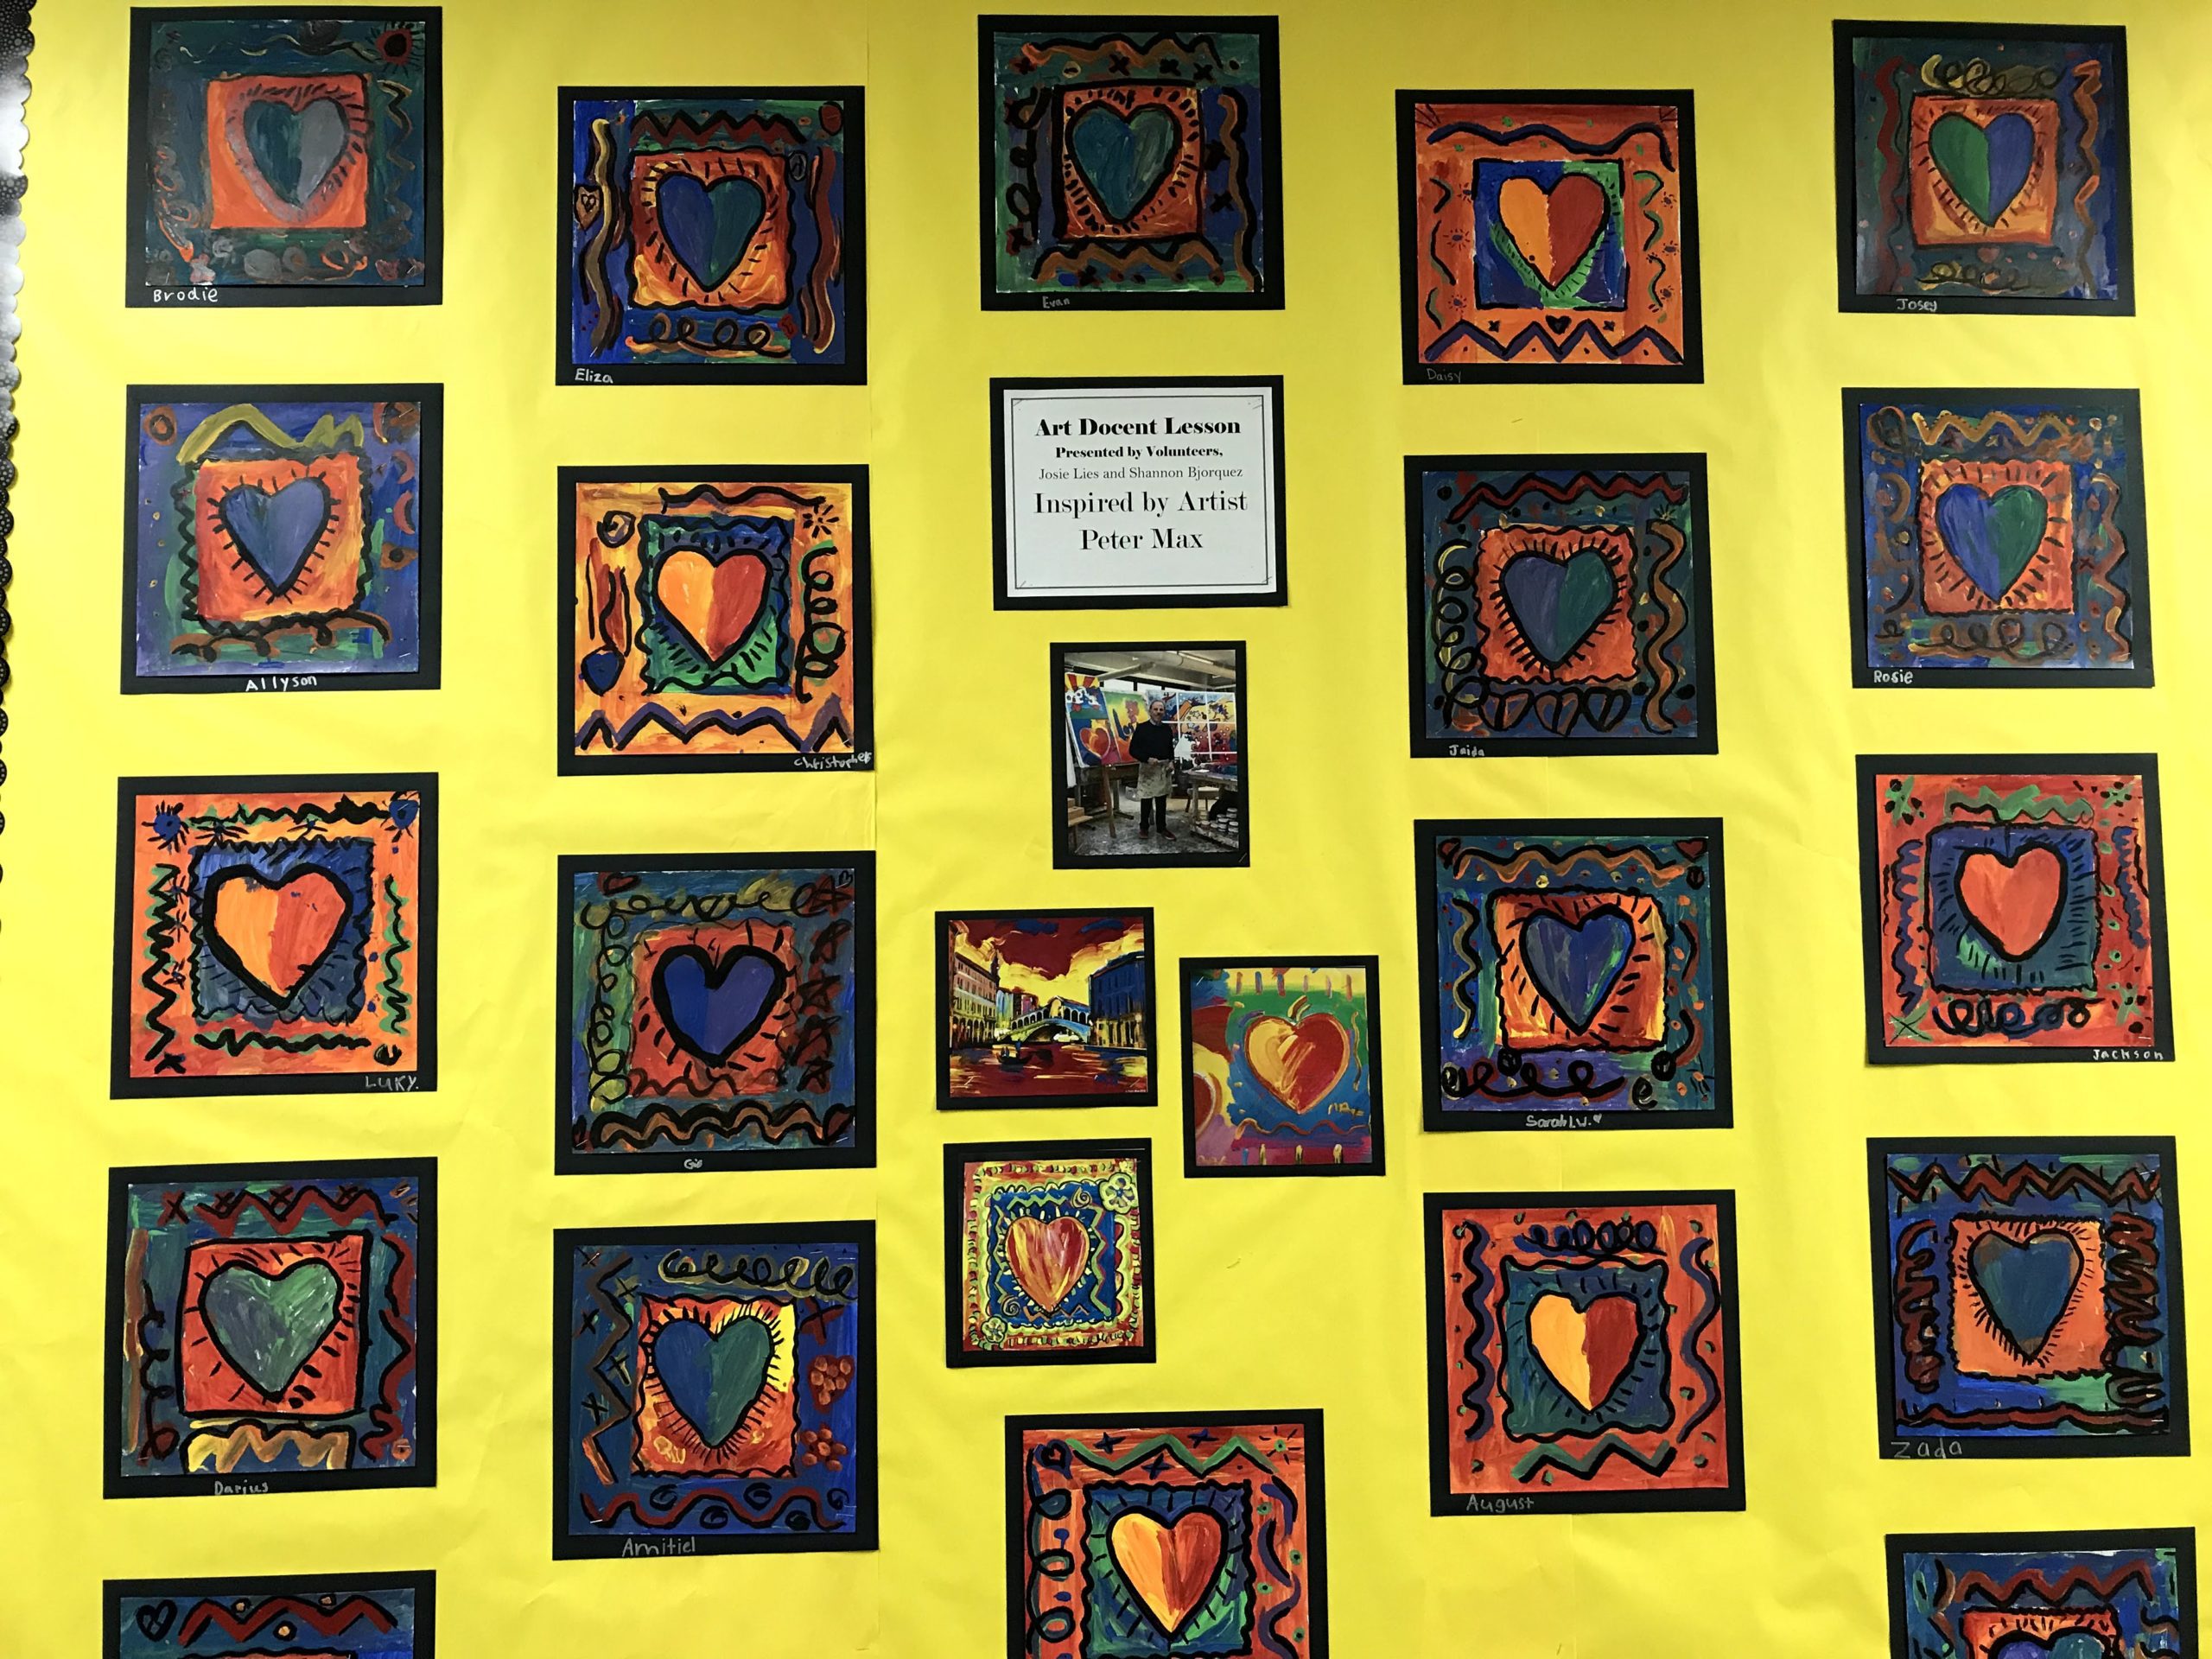
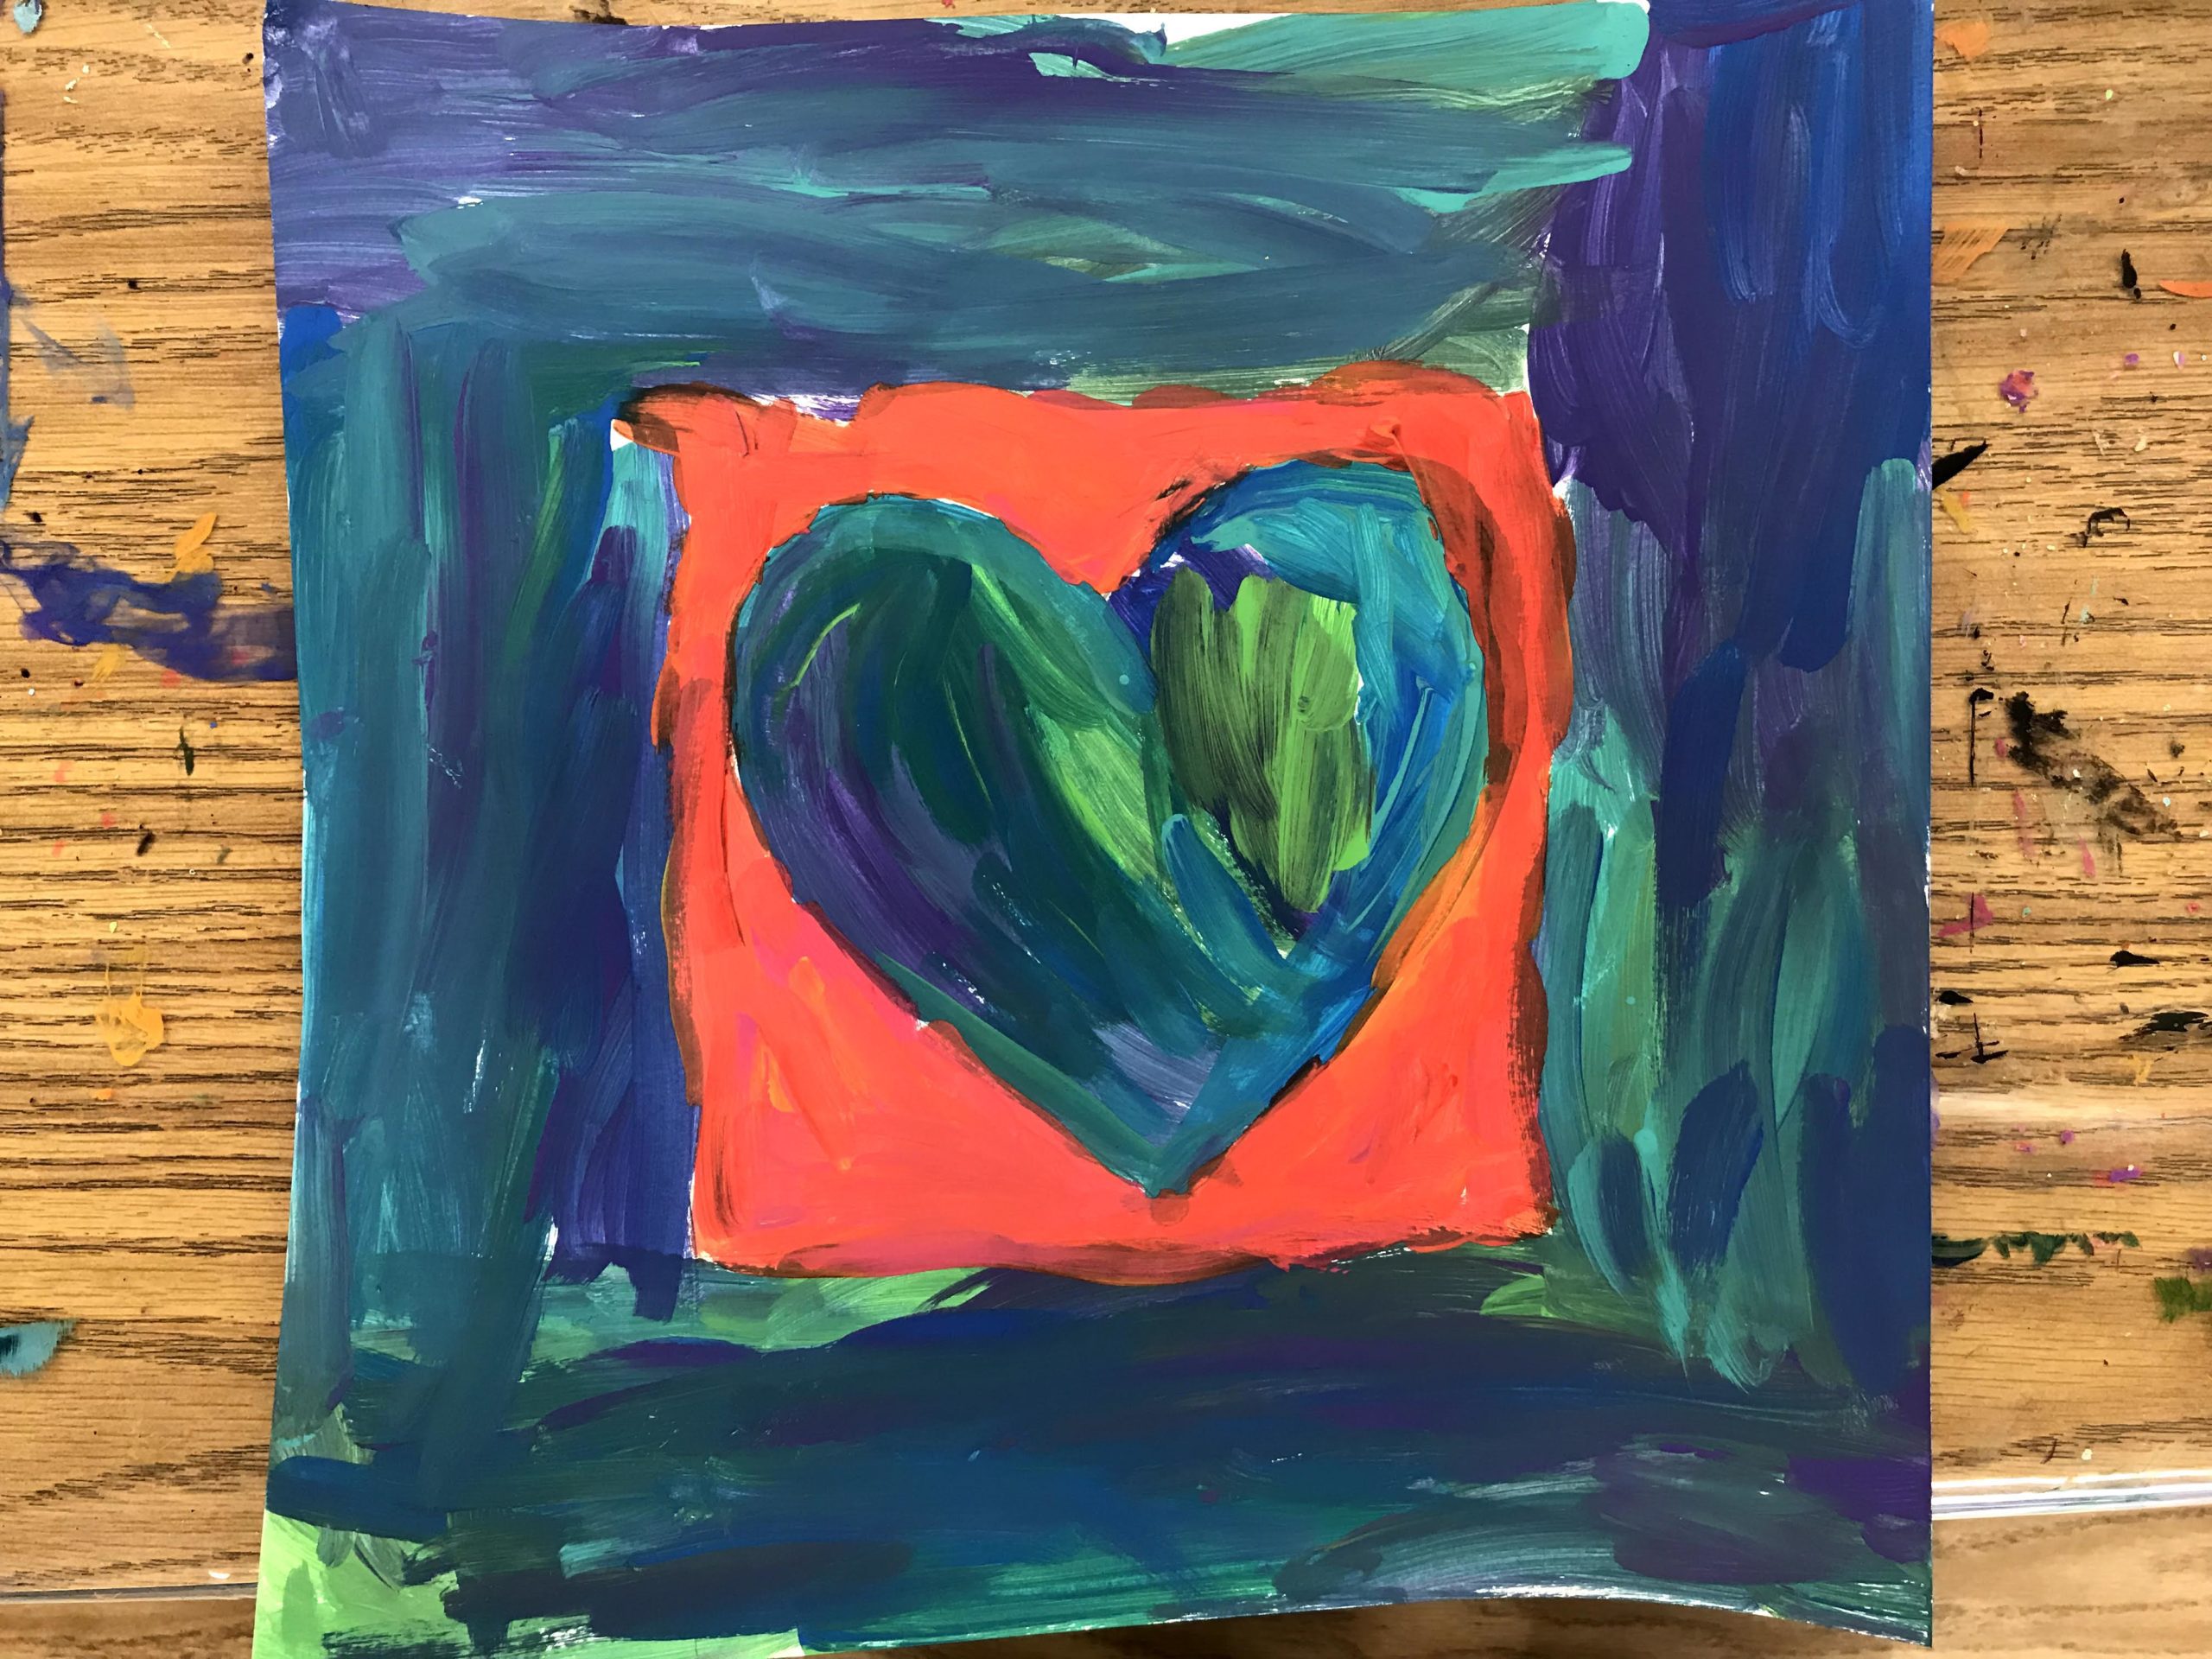
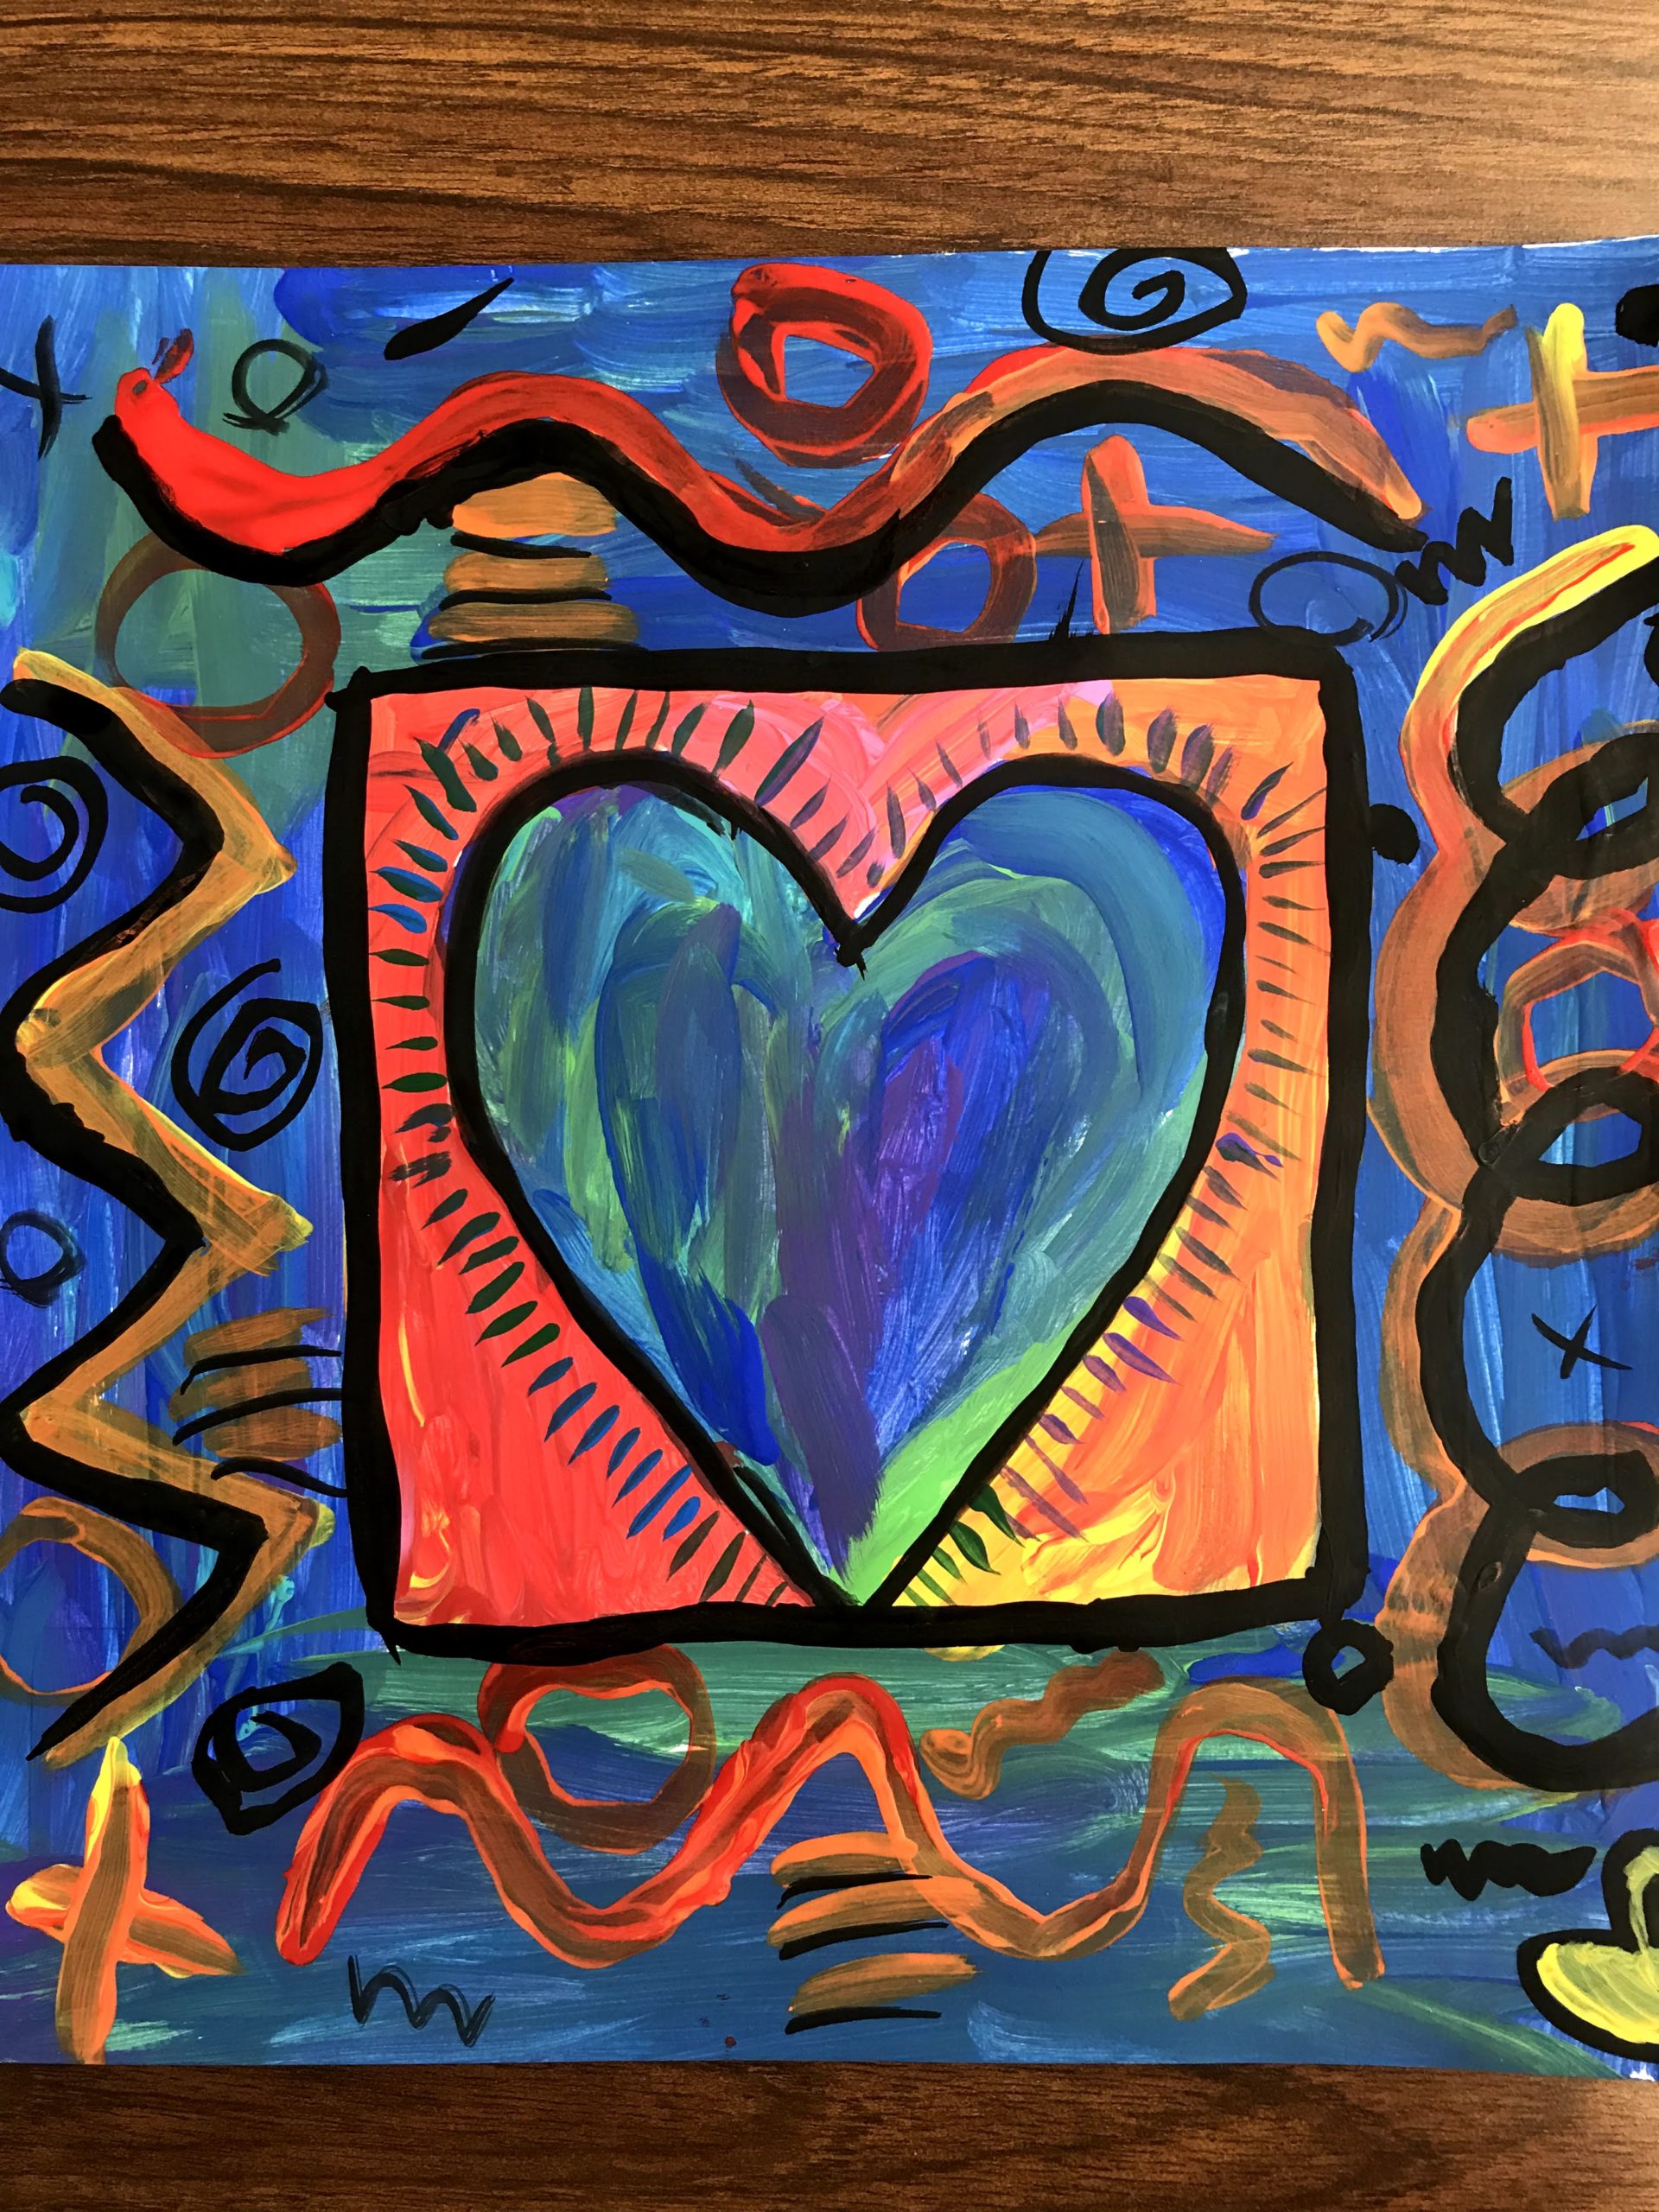
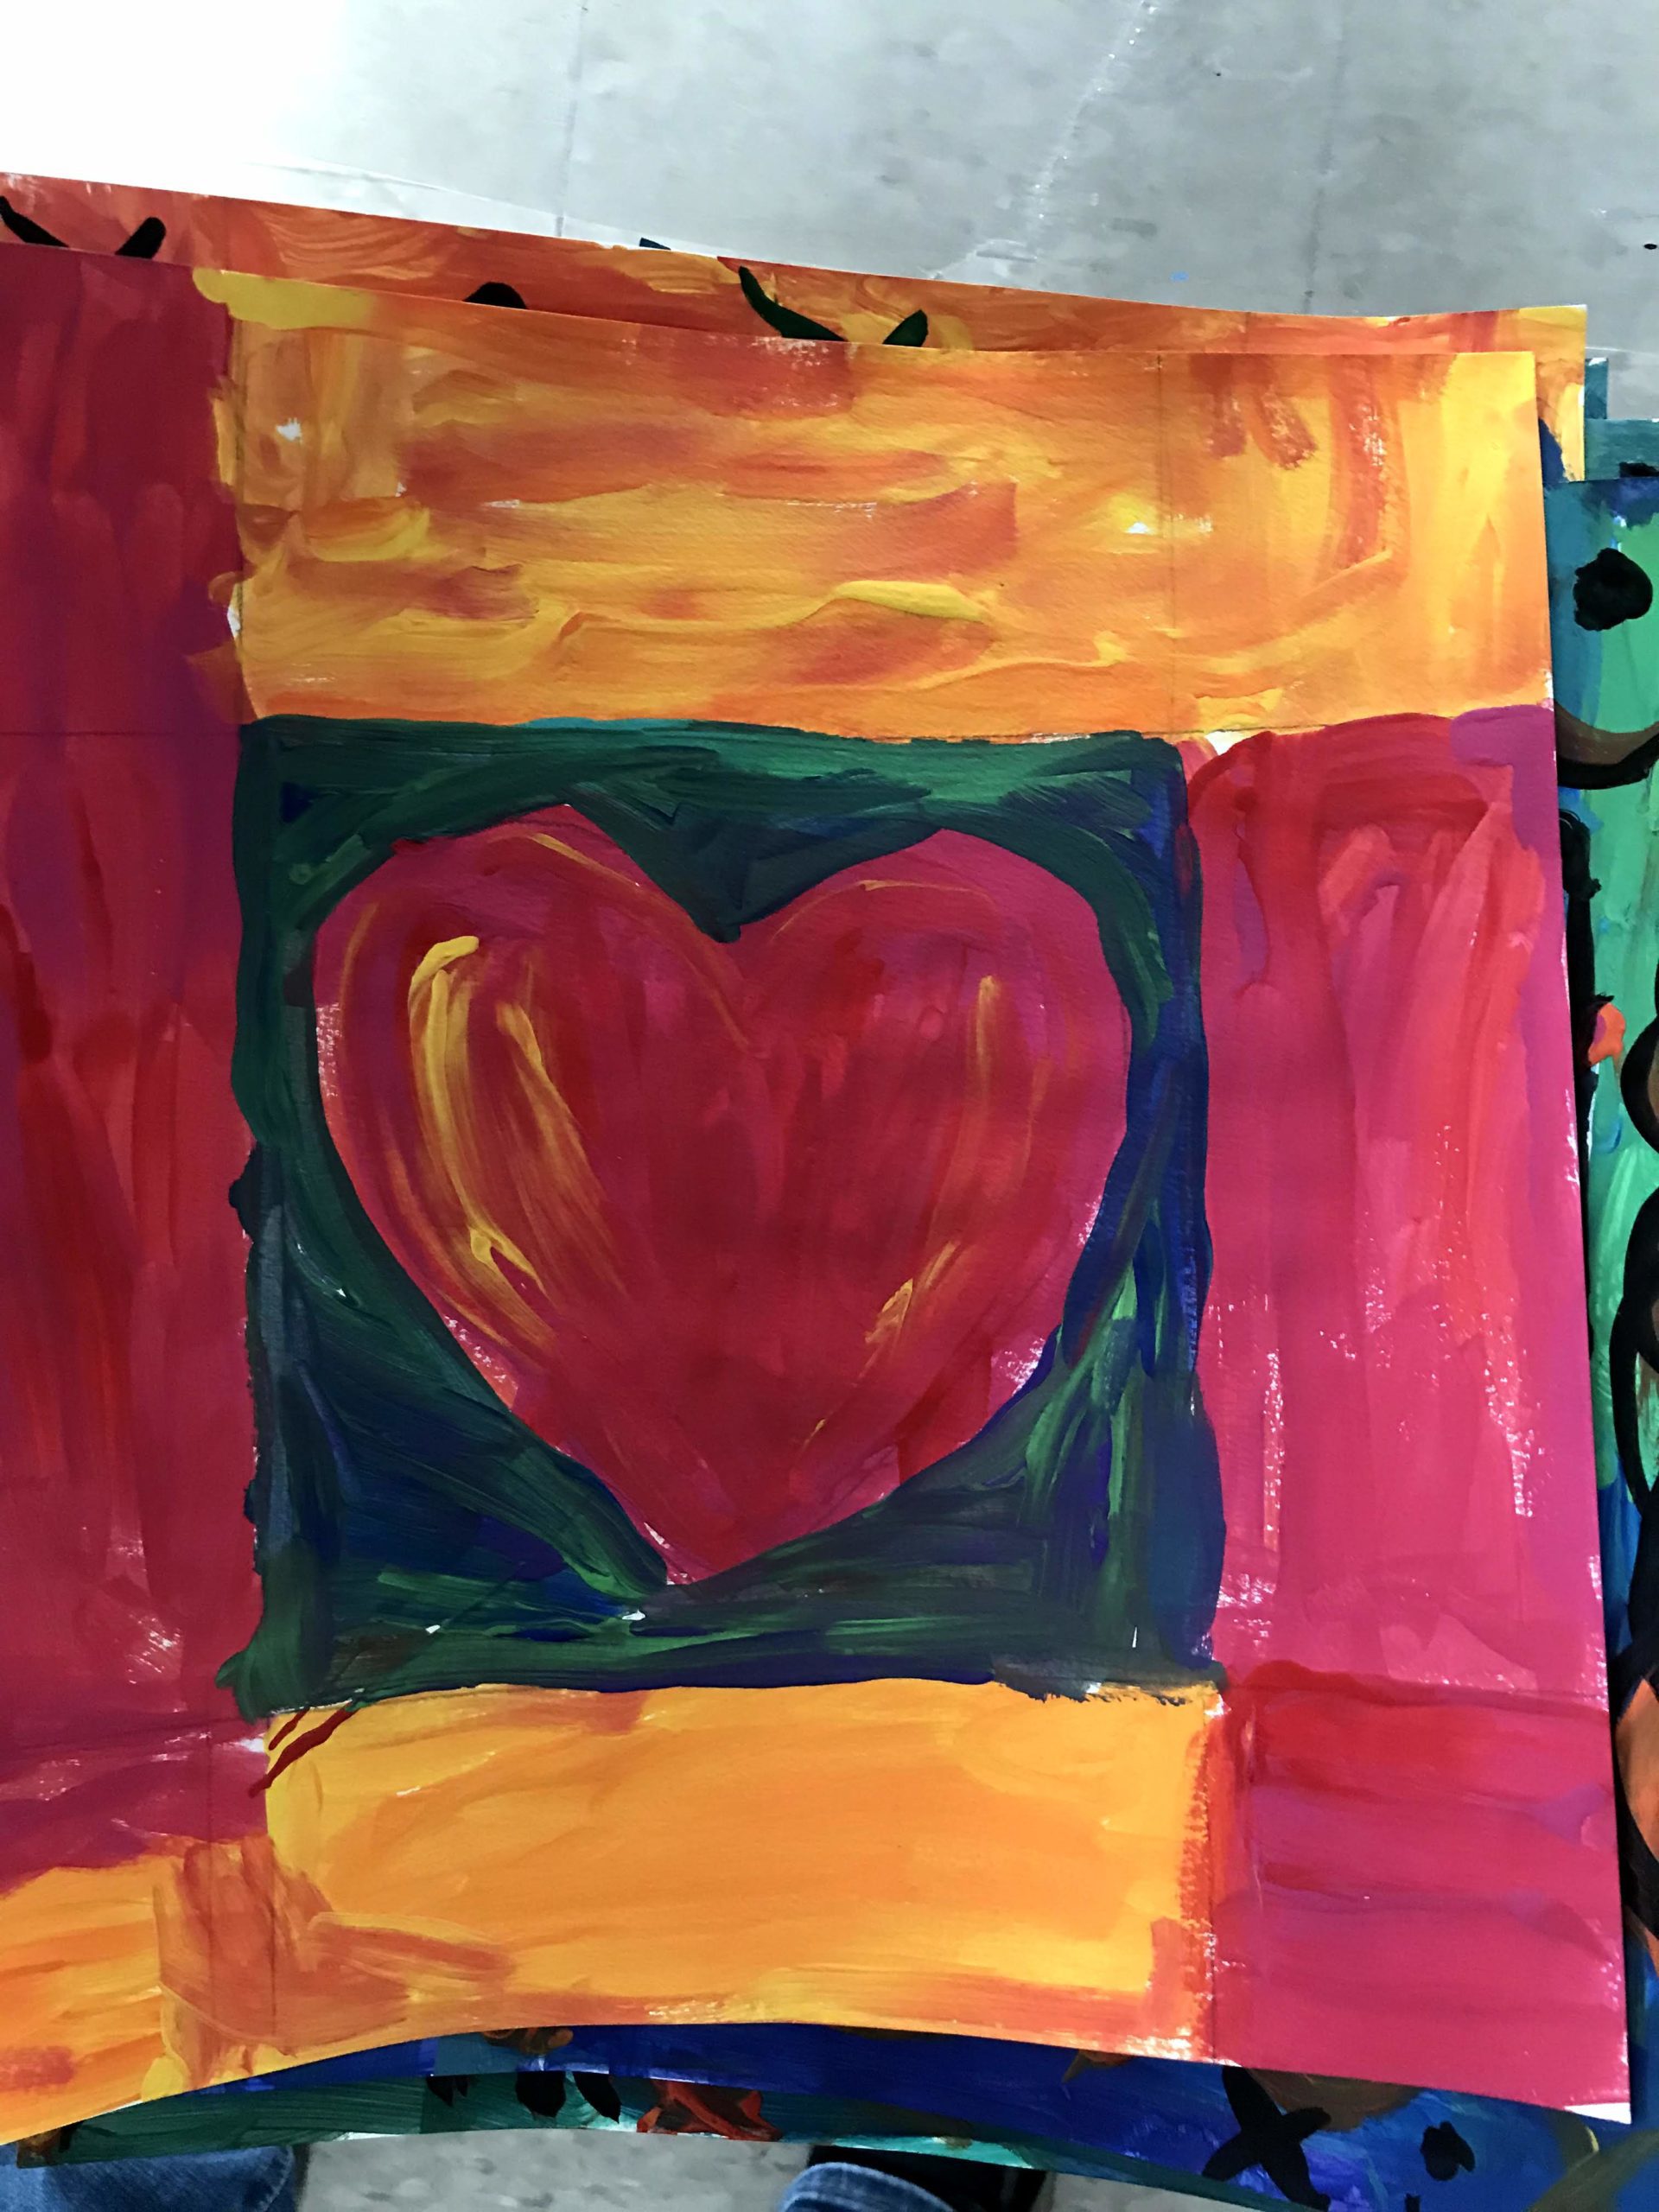
Keith Haring Inspired Art Lesson: Painting Rocks in His Iconic Style


Who is Keith Haring?
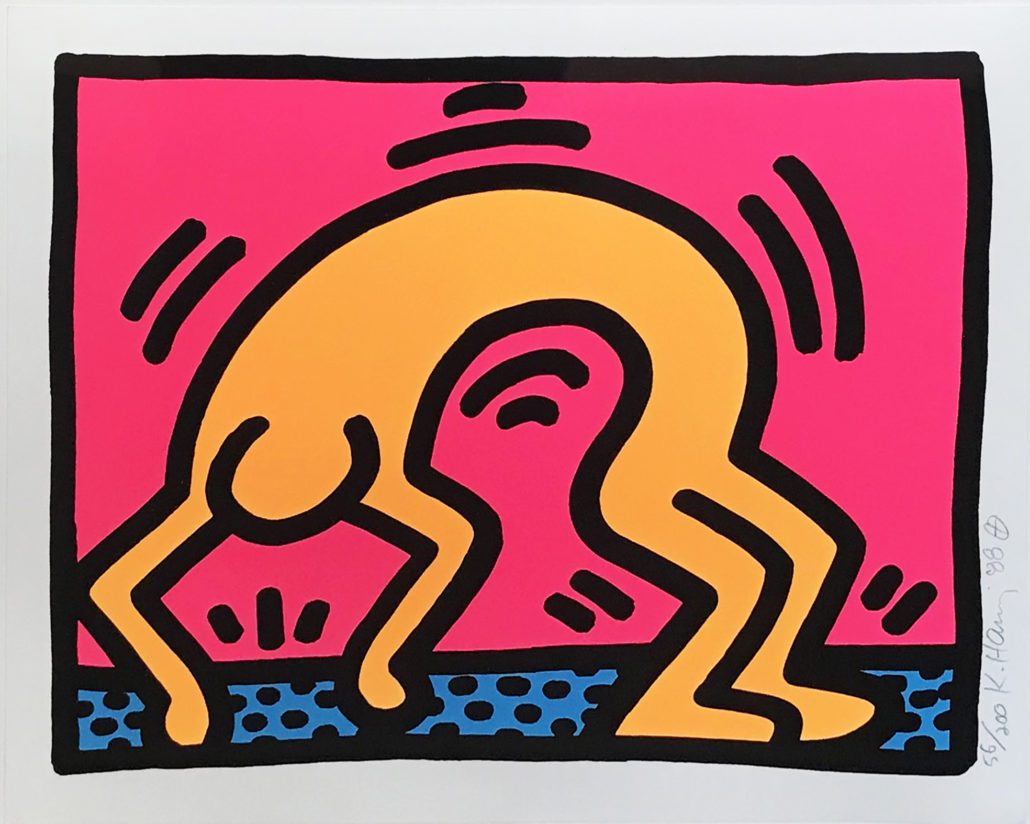
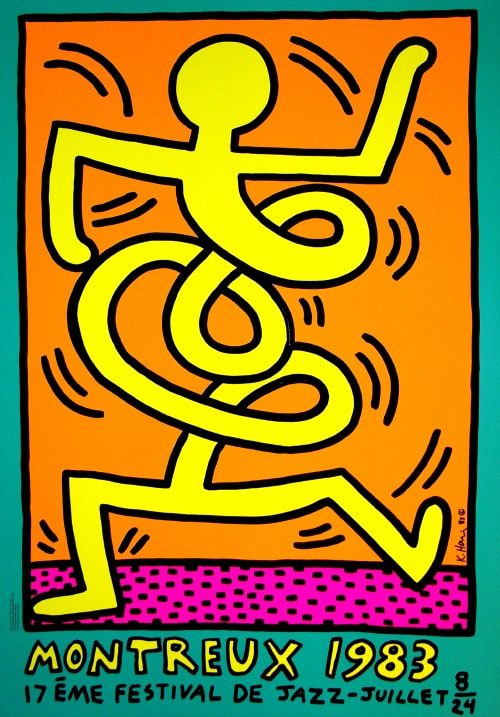
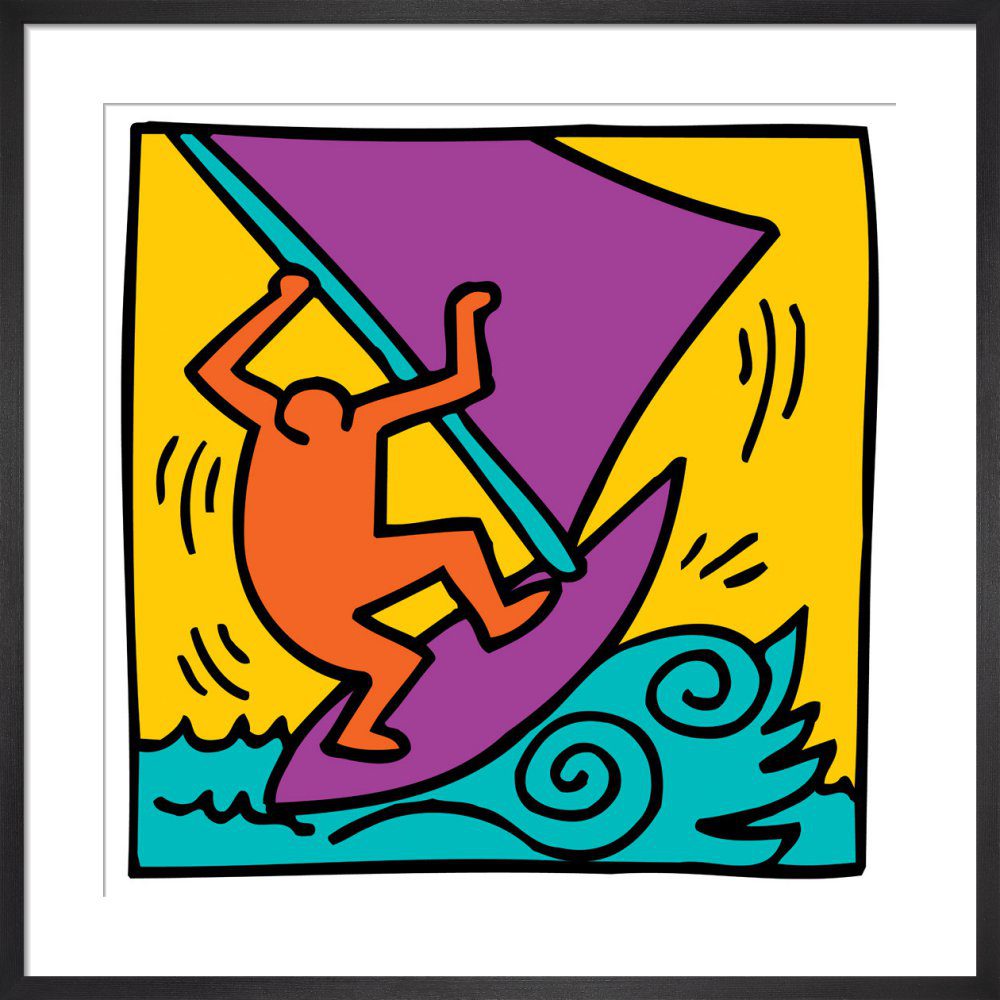
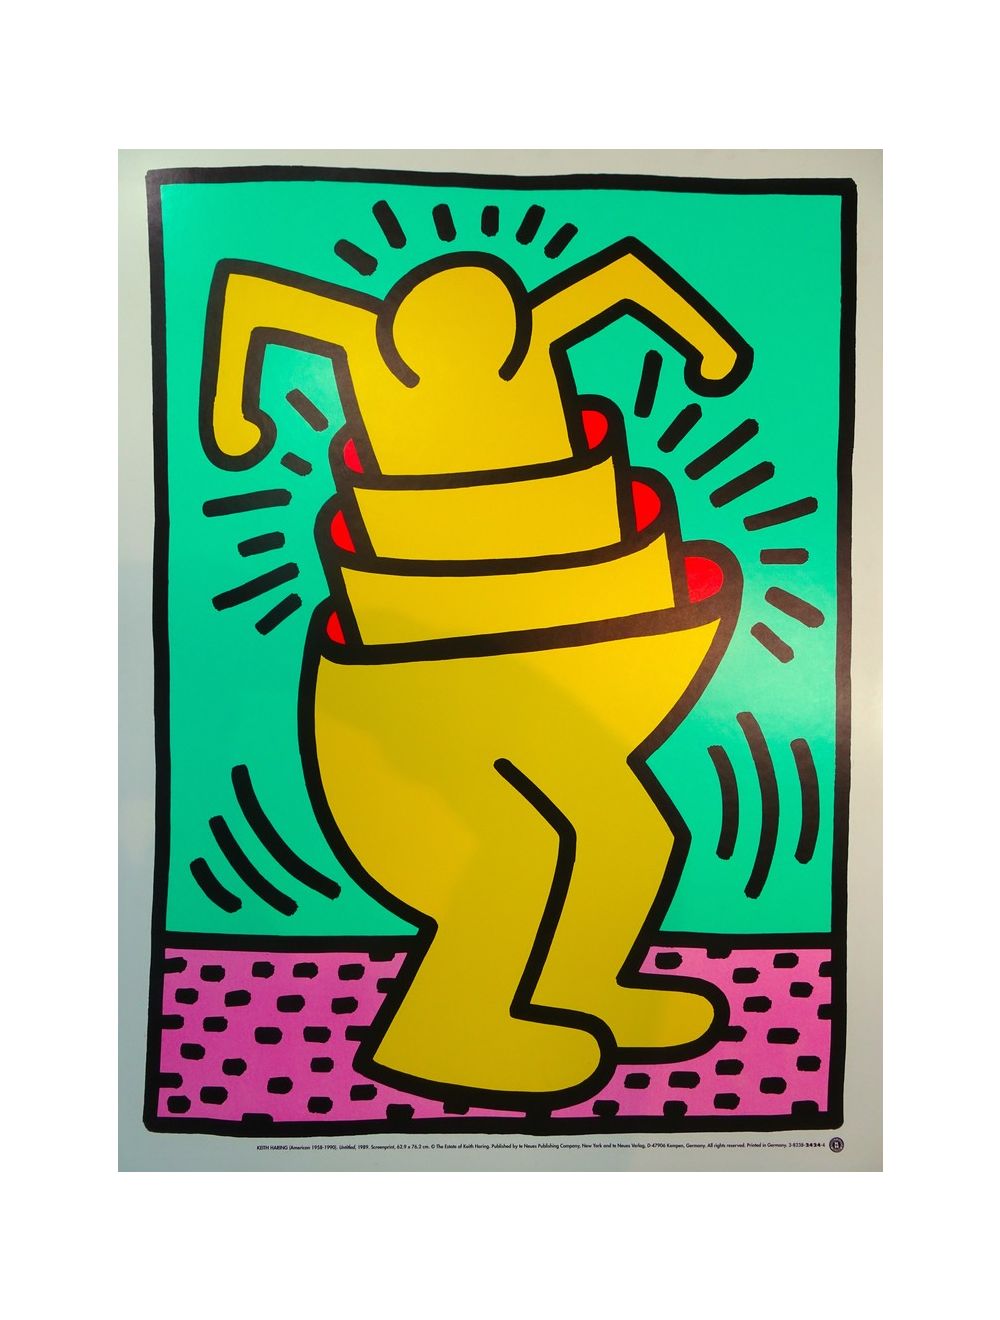
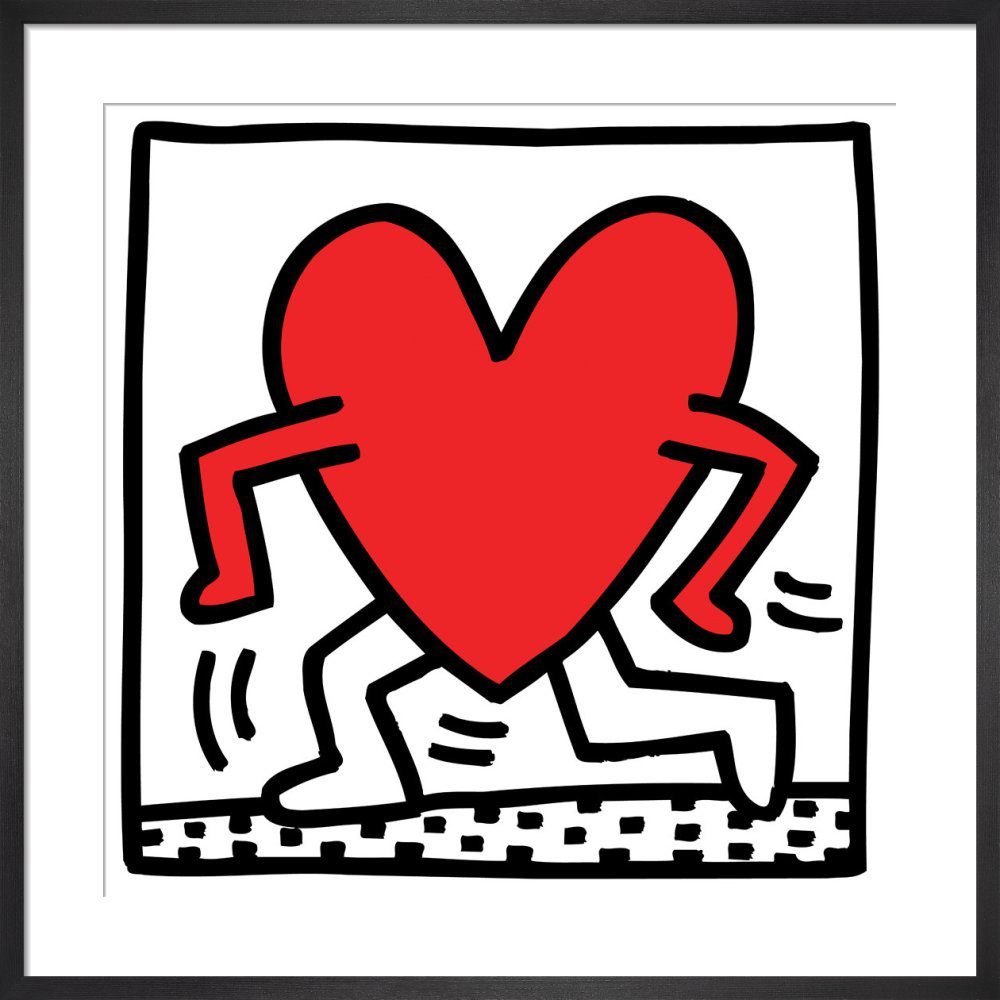
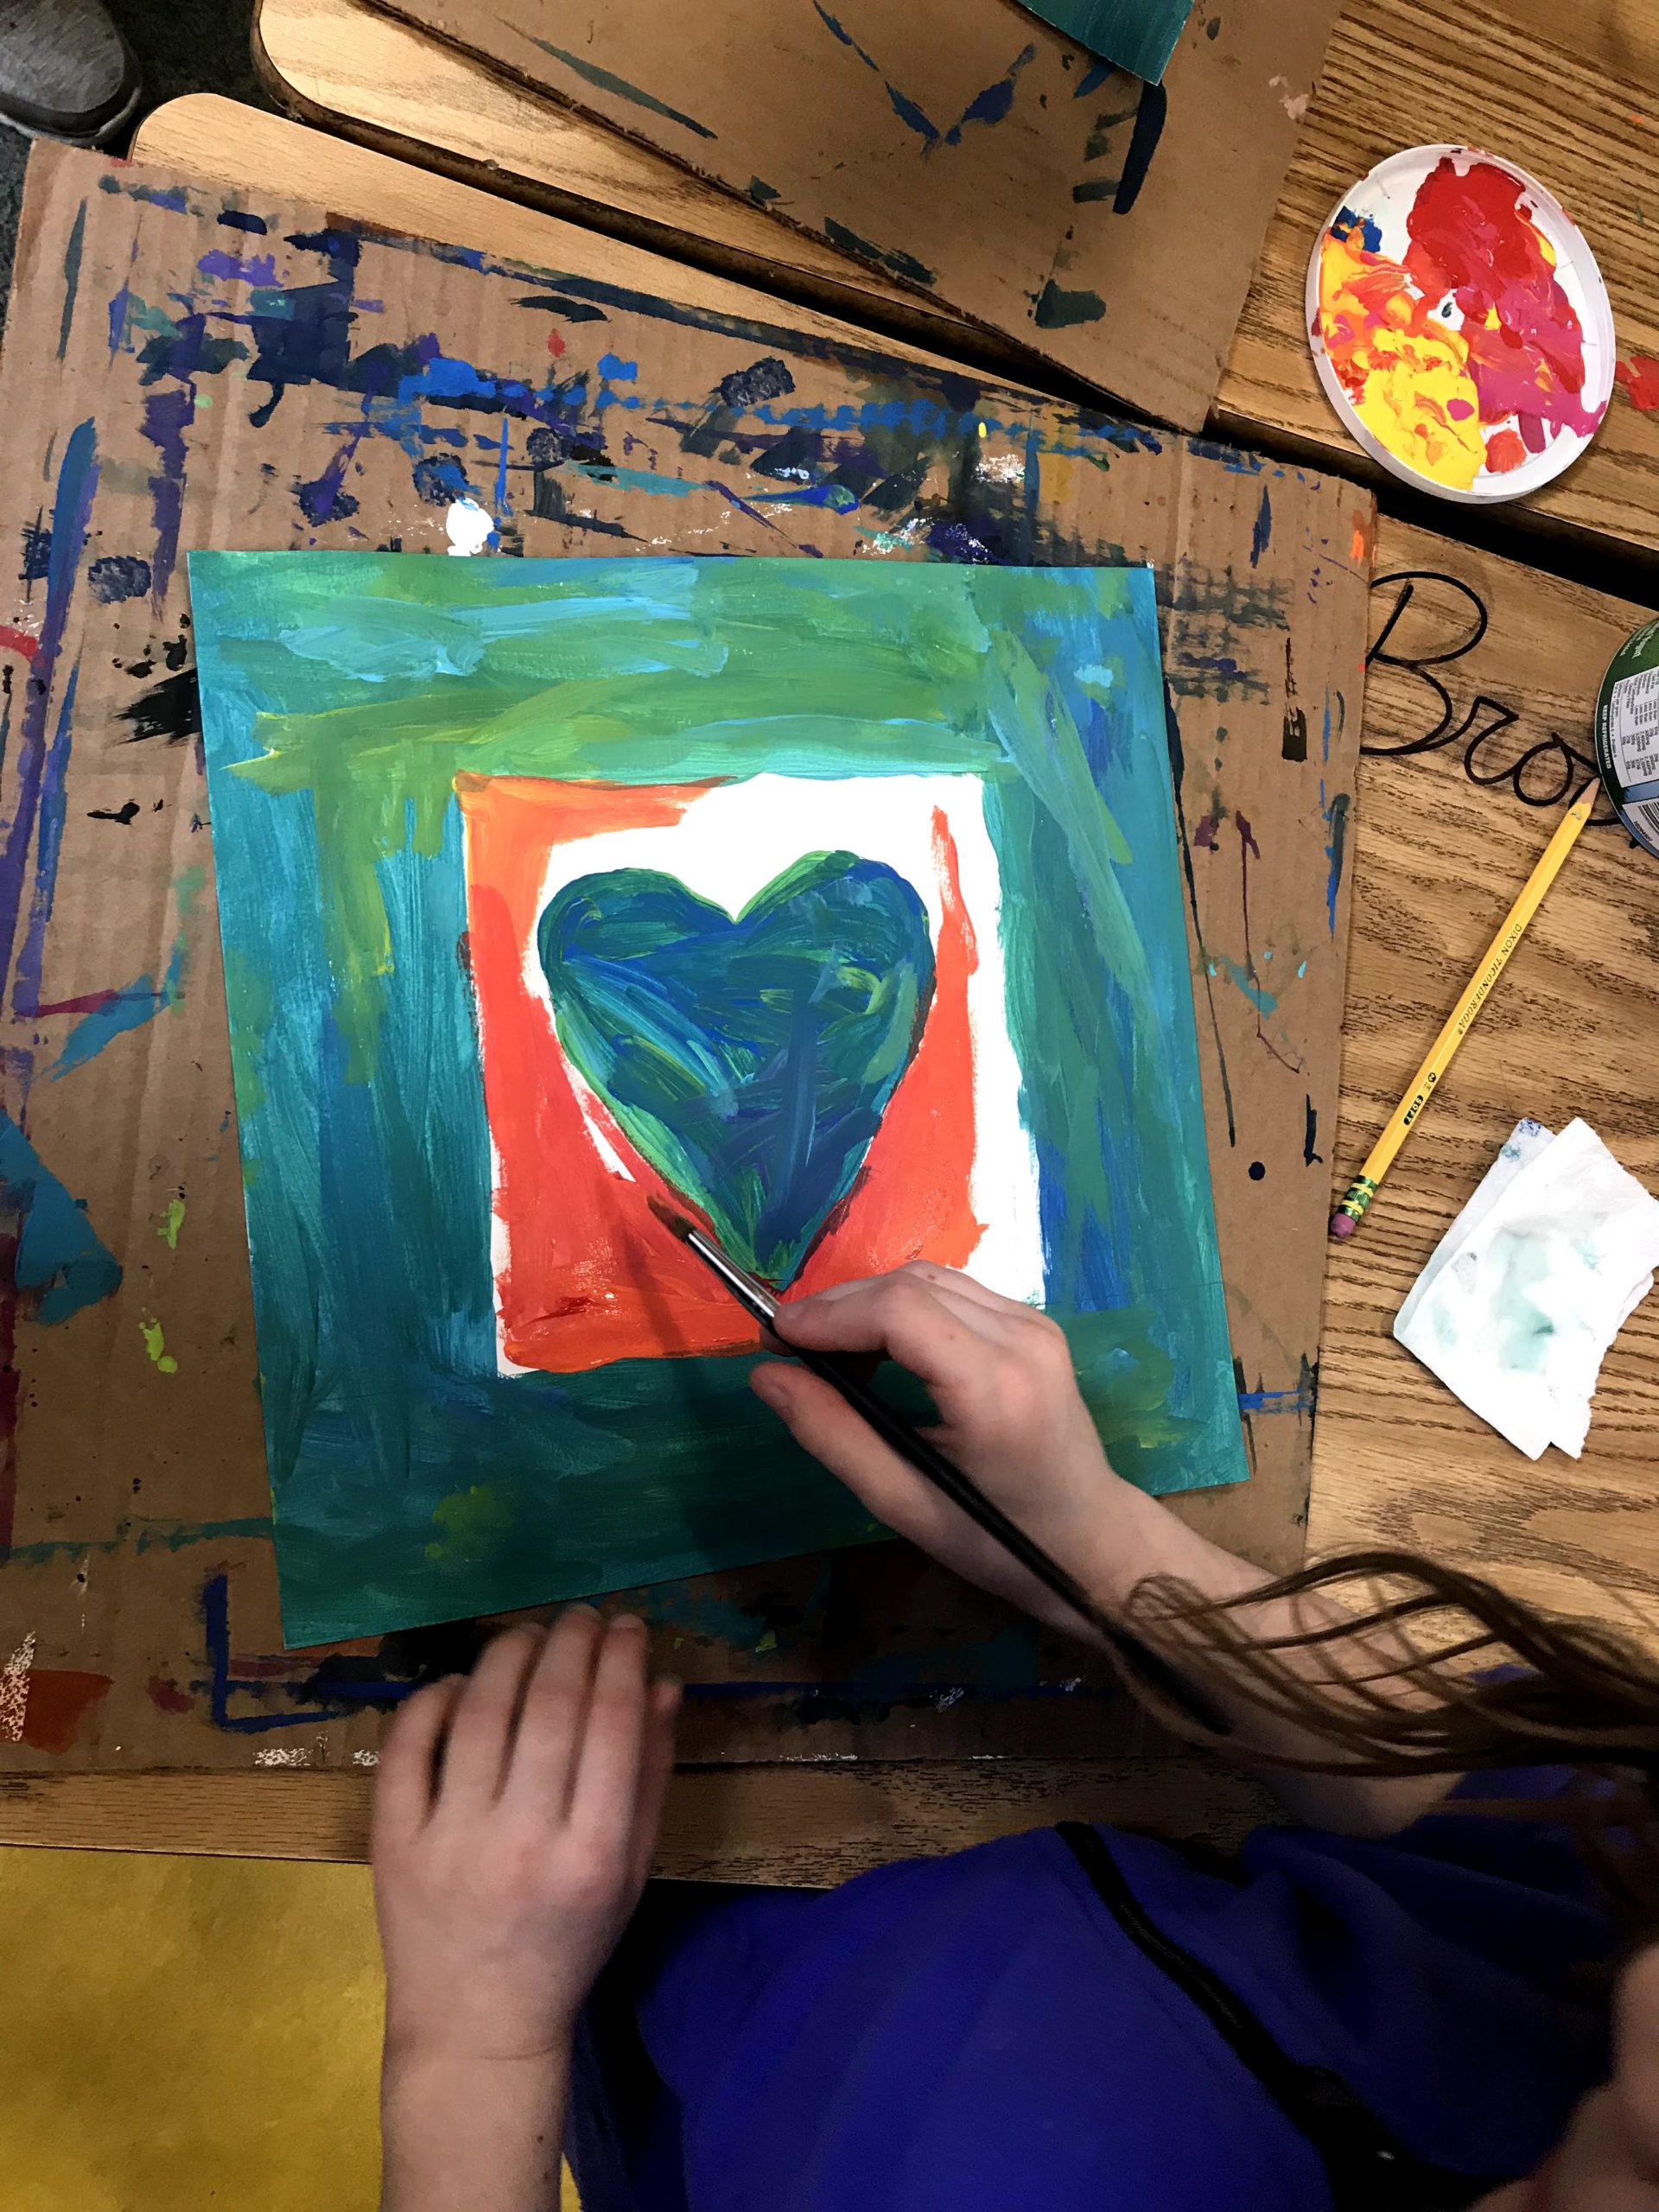
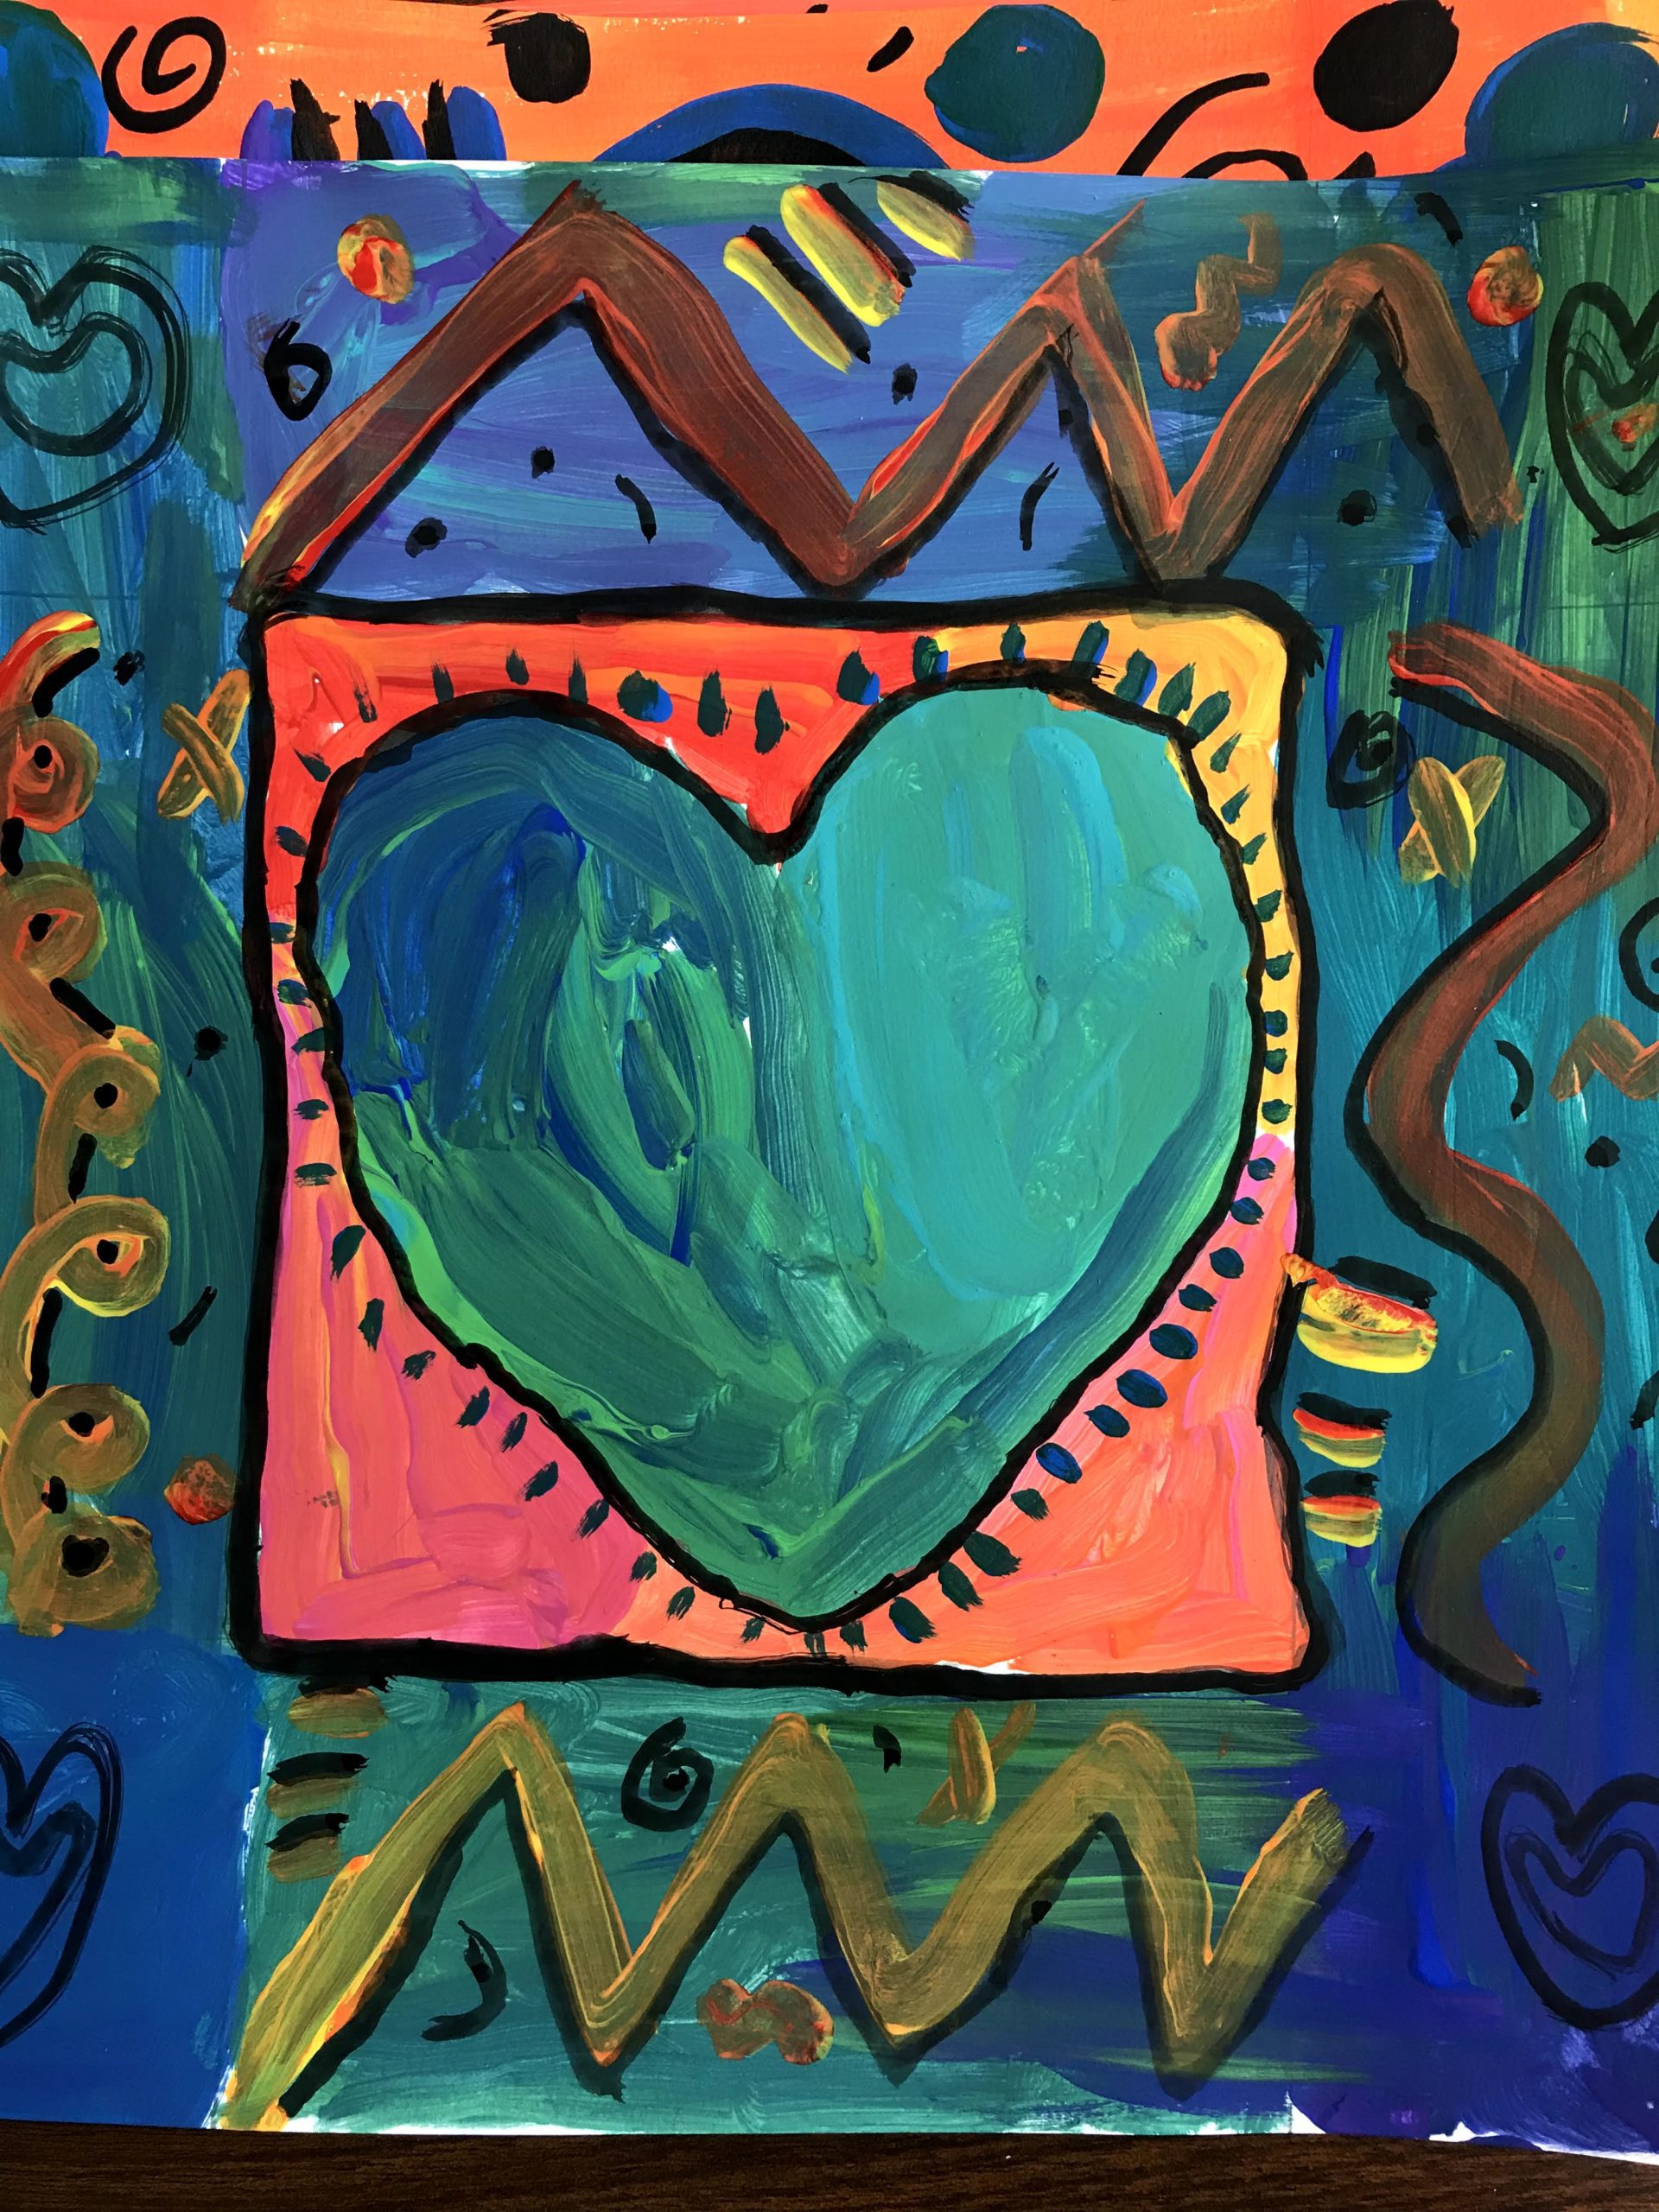
Keith Haring was a famous artist known for his vibrant and bold artwork. He was born in Pennsylvania, USA, and started drawing at a young age. Haring's art often featured simple shapes, dancing figures, and bright colors. He used his art to communicate important messages about love, equality, and social issues. Haring's unique style became popular in the 1980s, and he gained recognition for his public murals and graffiti-inspired artwork. Despite his short life, Haring's art continues to inspire people all over the world, and his legacy lives on through his iconic imagery and powerful messages. Kids can learn from Keith Haring's playful and expressive art style and use it as inspiration for their own creative endeavors.
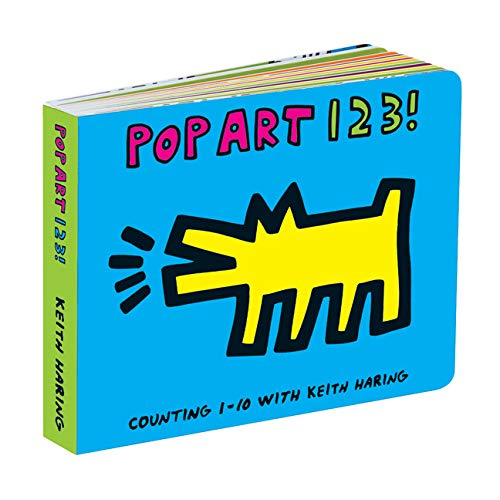
Pop Art 123!
This is a board book for the younger ones.
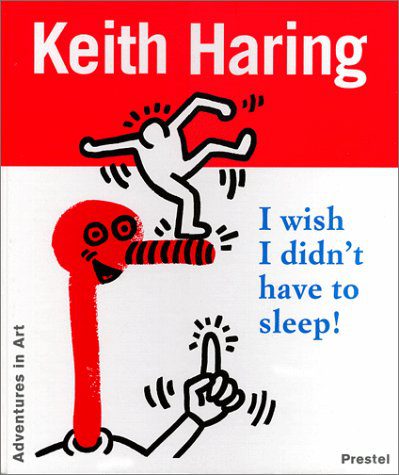
Keith Haring: I wish I didn't have to sleep!
Another great book on his art and famous style. (not for younger elementary kids)
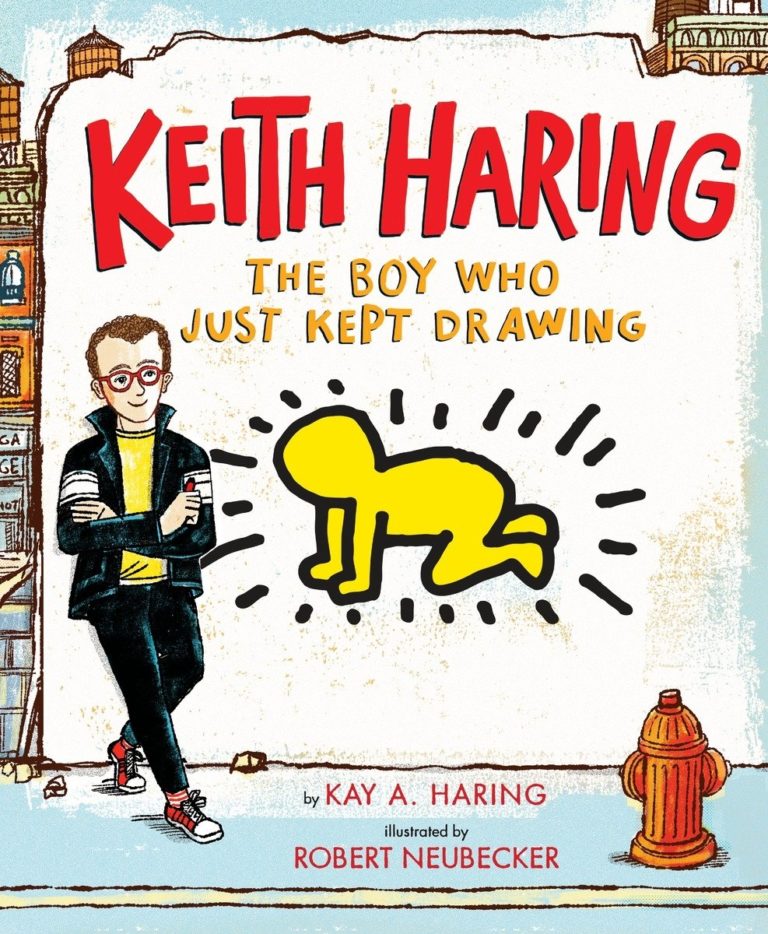
Keith Haring: The Boy Who Just Kept Drawing
This inspiring book was written by Keith’s sister Kay and is a delightful look into his life and art.


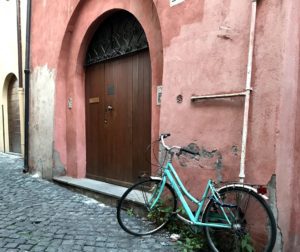
The Doors of Italy
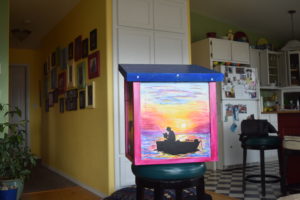
At the end of a 3 week vacation to Europe, I came away with so many pictures of things that captured my interest and the mood of the moment. I couldn’t get enough of all the time worn doors, especially those in Italy.
Making Reading Beautiful!
We painted Free Little Libraries! Does your city have a Little Free Library? These are little free standing libraries that have a “host” who looks after them and can be located in someone’s yard , out in the country, or in front of a business or in a park. You can take a book to read or leave one for someone else to find.

My Beautiful Tuscan Kitchen
This year marks the two year anniversary of our kitchen remodel! My wonderful cabinet maker husband finally got around to making this custom kitchen for our home and I couldn’t be happier!
Keith Haring Inspired Art Lesson: Painting Rocks in His Iconic Style Read More »


