This page contains affiliate links and I may receive a commission for purchases made through these links. Everything on this page I have used and heartily recommend for teaching art.
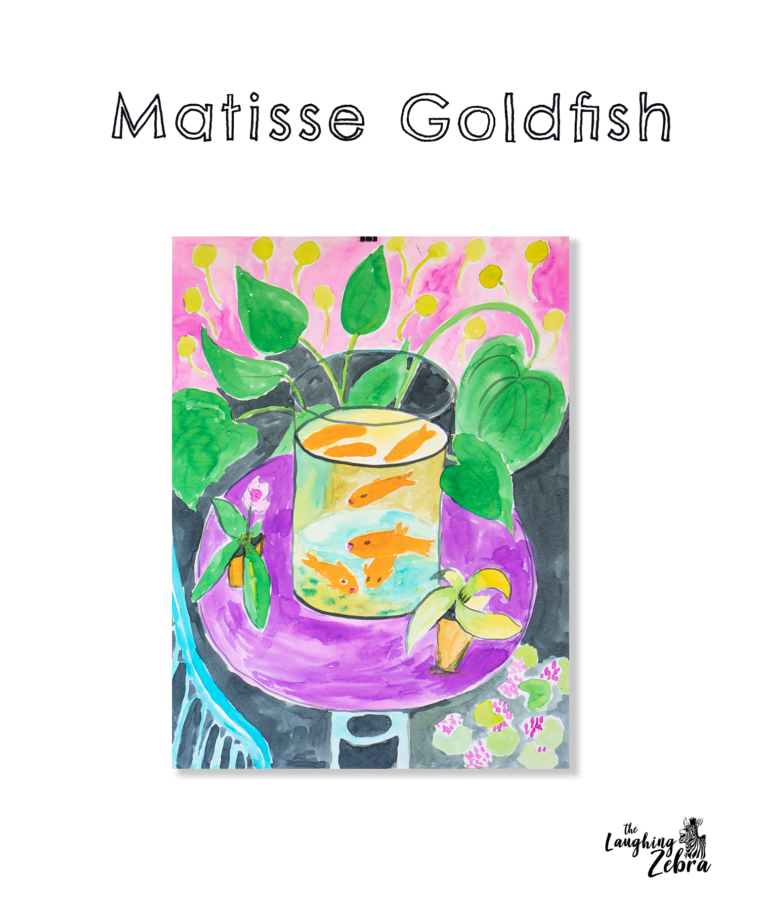
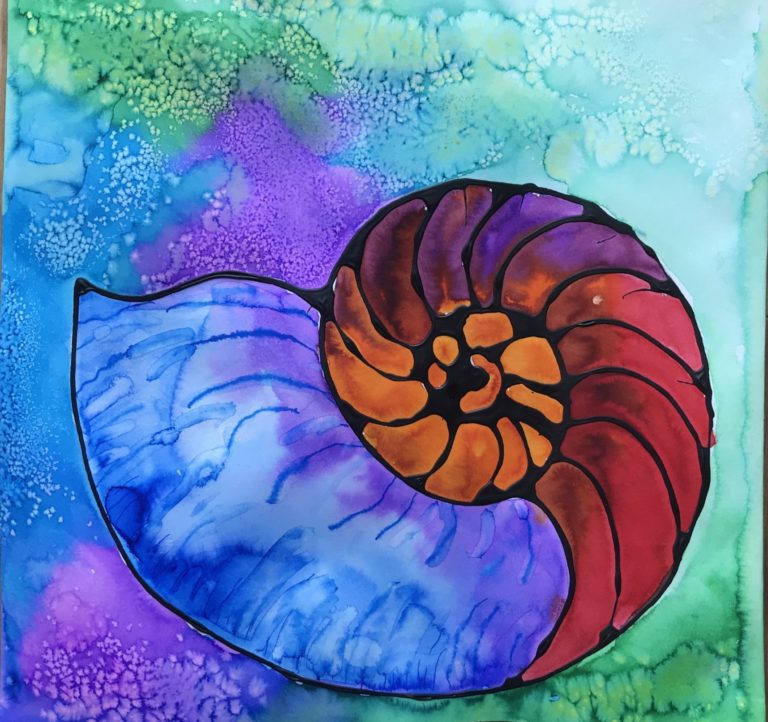
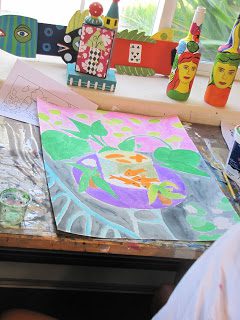
Henri Matisse is one of my favorite artists and so I am always looking for new projects to share him with my students. This is a class I did this summer for kids ages 9 and up. I bought some new watercolor paper to try and it was so fun to work with. (Canson XL Watercolor pads) The sheets are 18×24, and 140 pound paper weight so you can erase a lot and it takes more abuse than a lighter weight paper. We also used Dick Blick liquid watercolors (update: I have since switched to Sargeant brand liquid watercolors, as the Dick Blick ones are now a new thicker formula). The liquid watercolors are so much easier to use for the larger paper format. The kids don’t have to stop and mix more color and so they had more success with their washes. We did a sample drawing first on a smaller sheet of paper, looking at Matisse’s original painting. I also gave them each a coloring sheet picture of the painting. I had them simplify their drawings and leave out some of the background foliage and details. We did the drawing and painting step by step, taking time to talk about proportion and reflections. This was a great lesson and they all ended up with some beautiful paintings.
This page contains affiliate links and I may receive a commission for purchases made through these links. Everything on this page I have used and heartily recommend for teaching art.
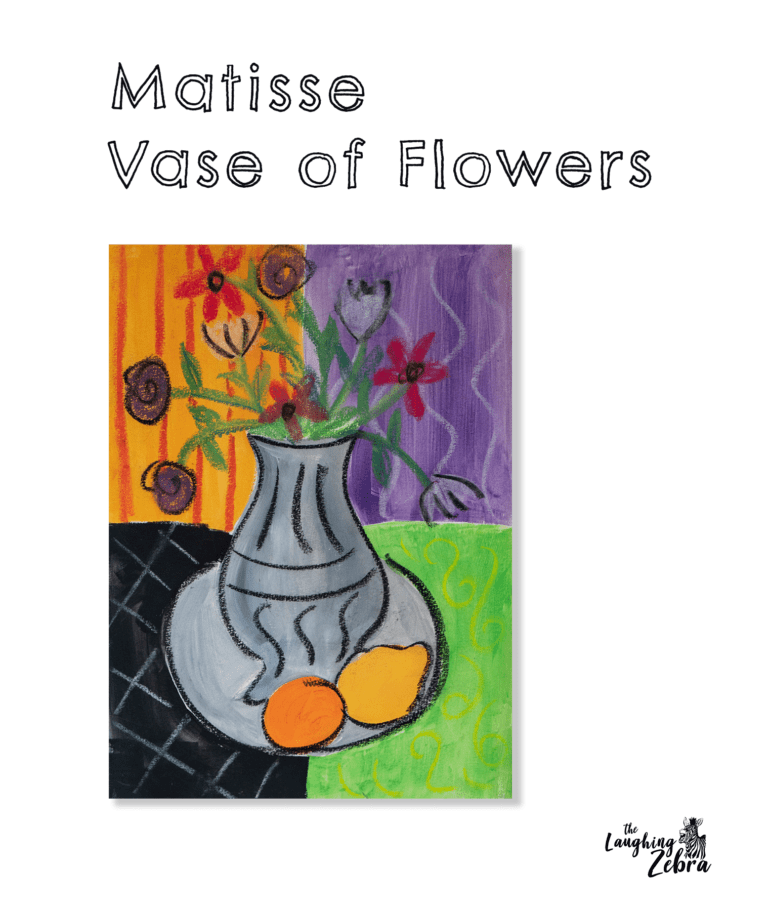
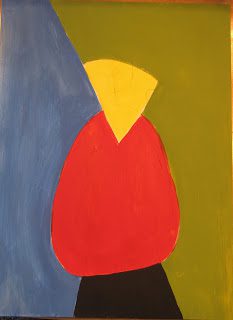
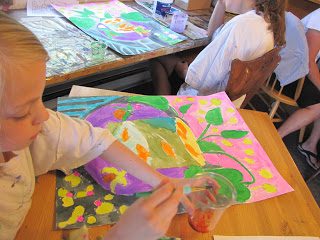
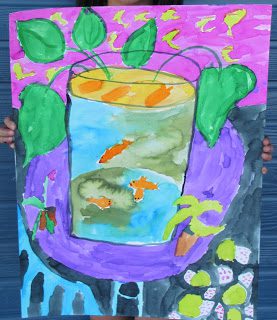
I got this Henri Matisse art lesson idea from Matisse’s “Woman with a Purple Robe” painting, and have altered it to fit different age groups. I love Matisse because of all the bright colors and patterns he used in his work. This is a fun way to introduce mixed media and the different steps keep the interest level high.
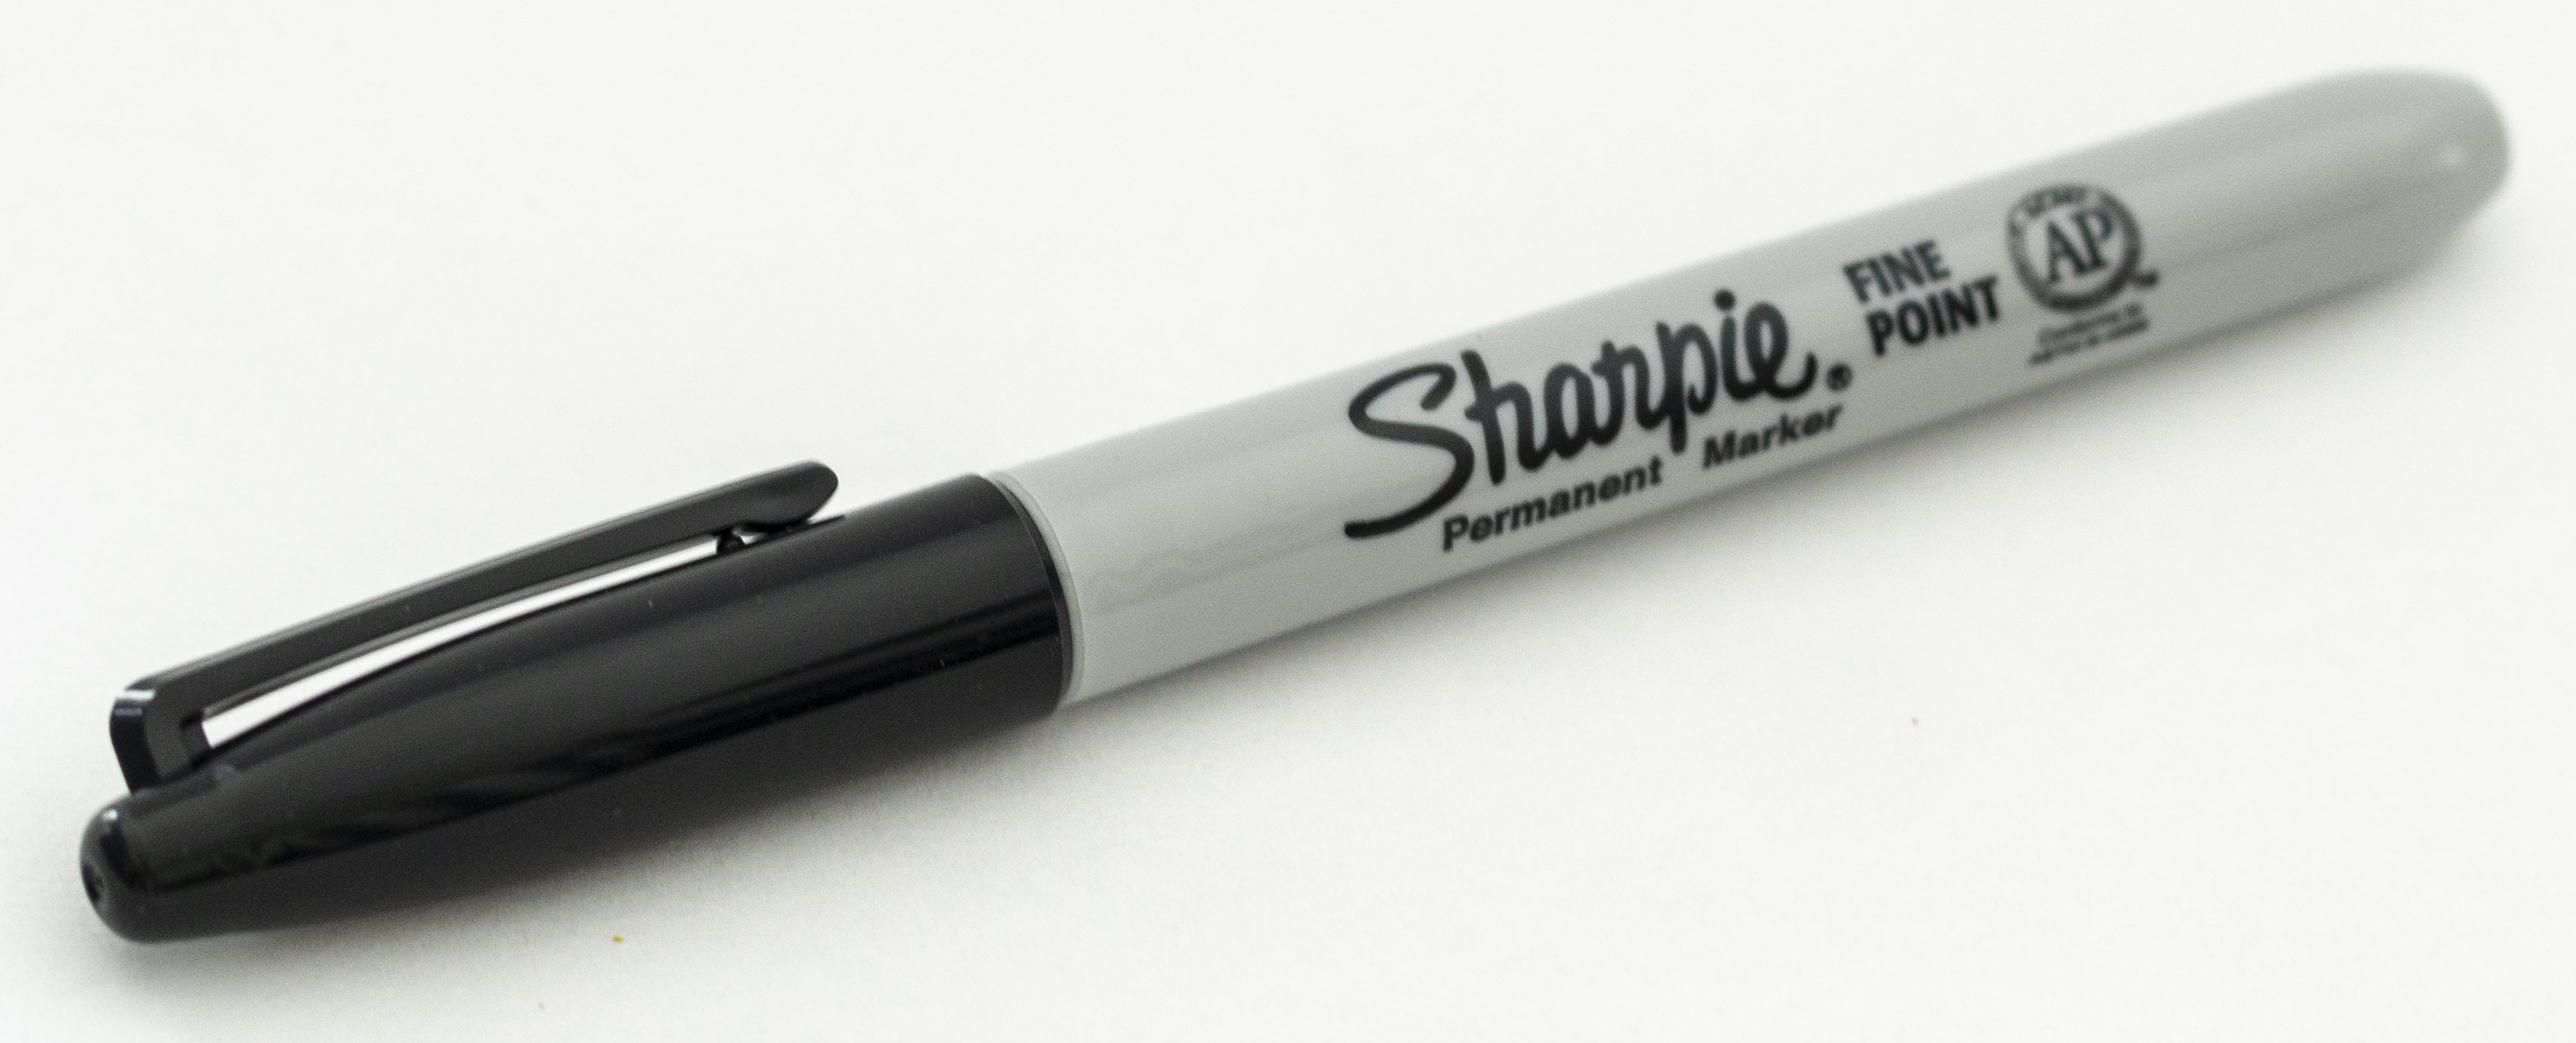
For the first step I have the students draw a vase with flowers in it with pencil, then outline it with Sharpie (I pre-draw this for preschool level). Then I have them paint the vase grey. Next step is to do a different pattern with oil pastels on each piece of colored cardstock (see sample). Then I have them glue the pieces down to the the heavy paper.
Next they color in the flowers with oil pastel and add the black lines on the vase . When the paint is dry they cut out the vase and flowers and glue down over the patterned cardstock.
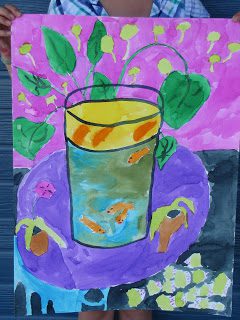
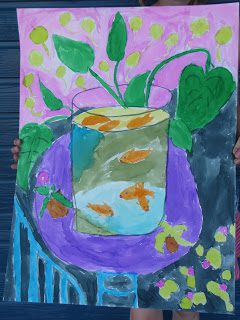
I’ve also done this project with paint instead of the cut paper on a full size sheet of watercolor paper. I add more detail with the painted orange and lemon and plate, and also a wider variety of flowers. The flowers and line work are done with chalk pastel instead of oil pastel. Make sure to spray with fixative when they are finished.
Please refer people back to this site if you use this lesson! 🙂
Facebook
Pinterest
Twitter
Reddit
Email
Print
I'm writing a book!
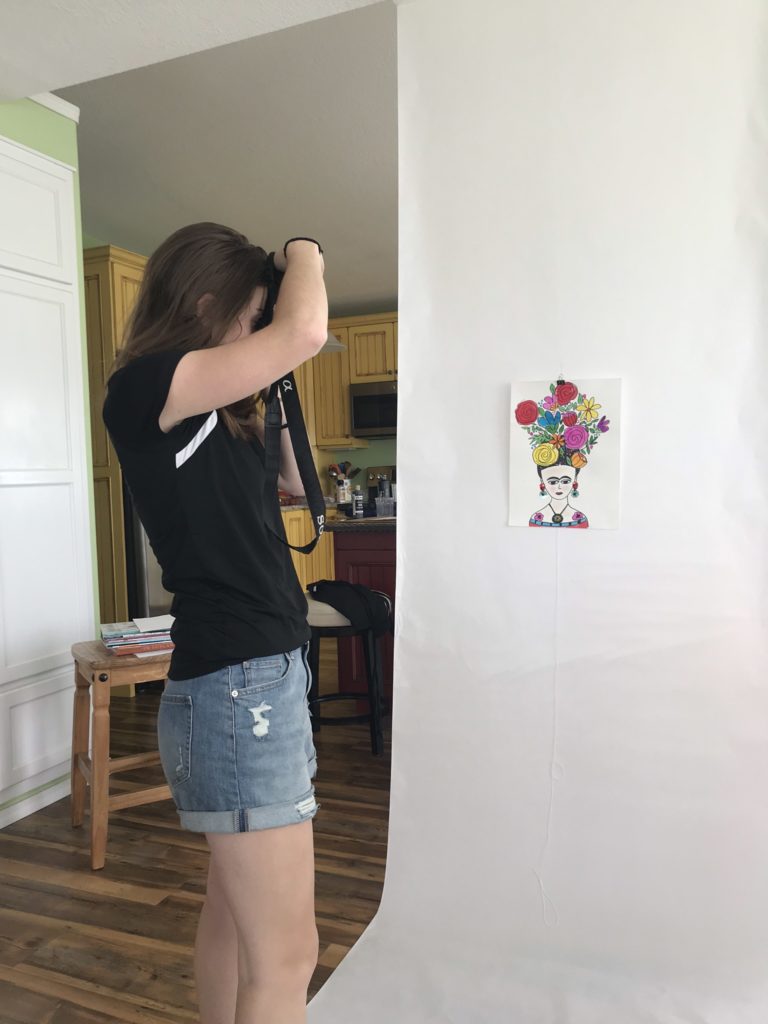
I am excited to announce my latest project! My daughter and I are working on a big, beautiful, creatively designed book on artist related lessons (similar to the ones on this website but with more details, step by step instructions and photos). The book will be for anyone who wants concise, detailed, well laid out lessons that are ready to teach, in a format that is fun to look at as well.
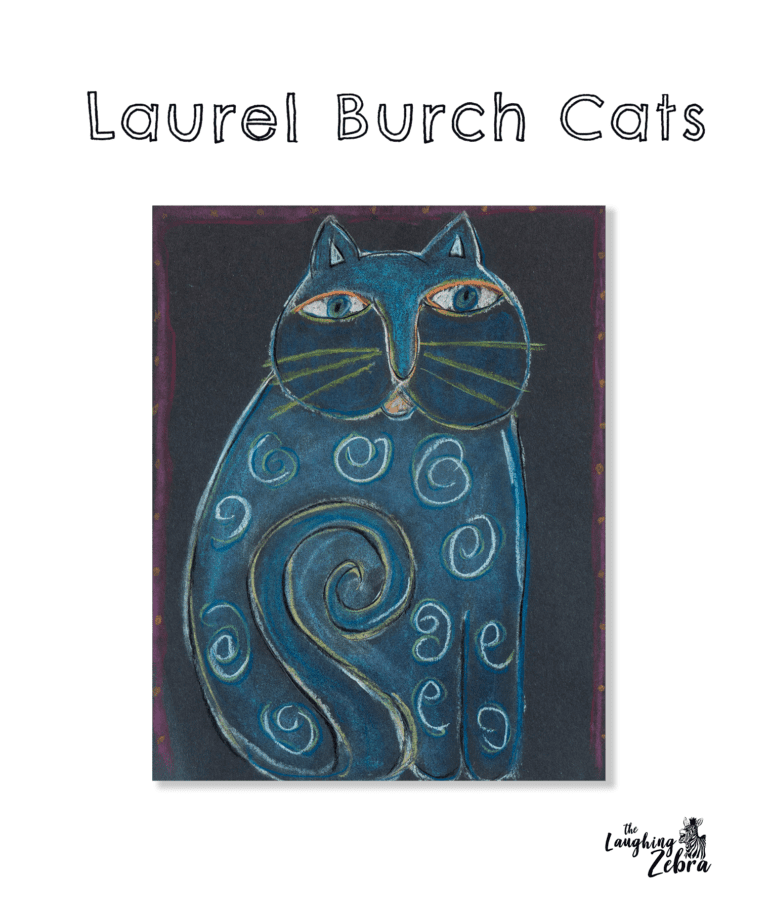
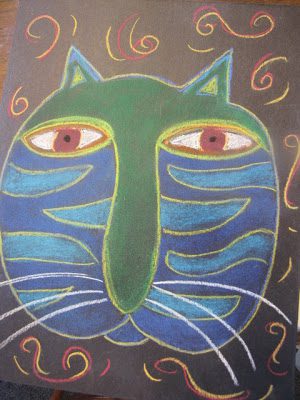
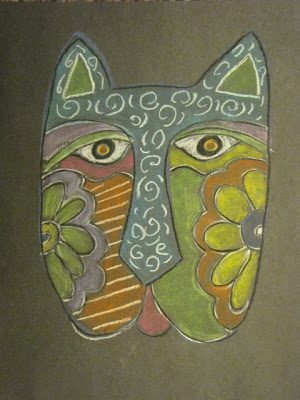
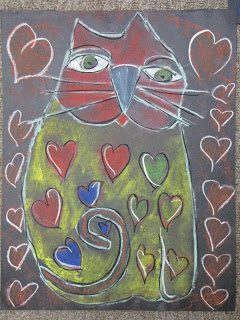
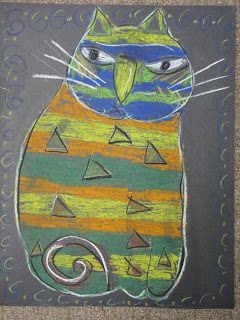
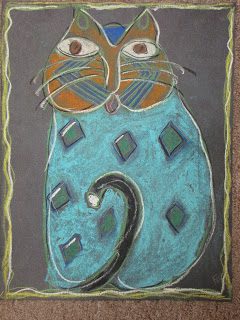
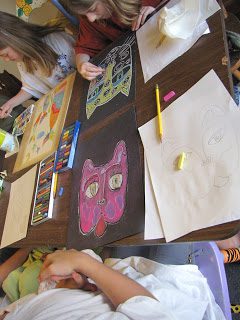
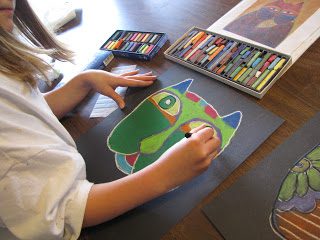
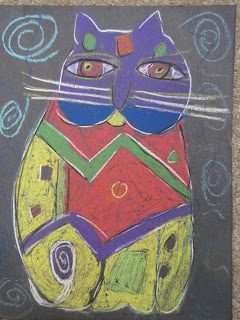
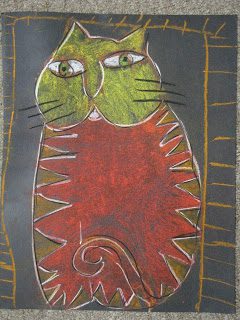
I did this Laurel Burch cats art project for one of my summer classes and have also done it for kindergarten to 6th grade at the school I work at. It is a fun one to do as kids like to do animal projects and this one is doable for any age. There are some great pics on the internet of Laurel Burch cats. I showed a lot of them in class to generate some ideas. I like using the chalk pastel on the black paper-it adds a fun dimension. I got this project idea from another blog-but can’t remember where now. I changed it up a bit.
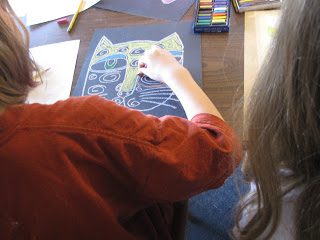
I had the kids practice drawing the body of the cat on a scratch paper first. In my summer class they could choose to do a head or a body. At school the younger kids used a poster board pattern and then I had them come up with their own pattern for inside the cat. I had the kindergarteners trace around just a head template. We talked a lot about Laurel Burch and her use of color and pattern. Also how she did the cat’s eyes (more like a human eye). I showed them samples of her work to begin with. Once they practiced what pattern they were going to use I had them do their final drawing on the black paper. They used the chalk pastels to color them and and Nupastels to outline and accent. I had them either do a pattern in the background or a frame.
Please refer people back to this site if you use this lesson! 🙂
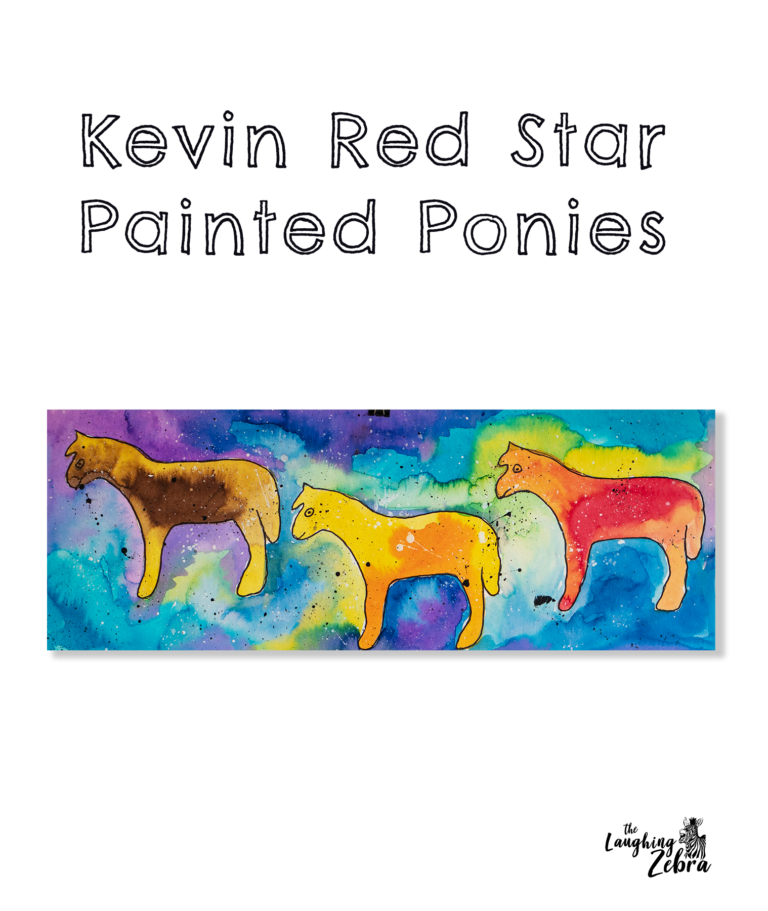
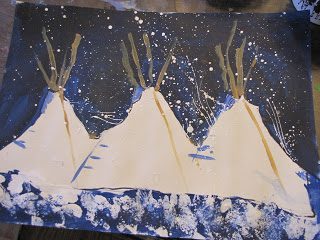
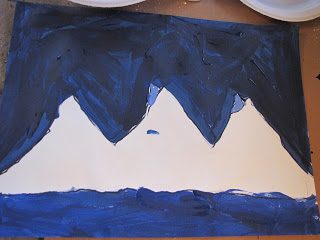
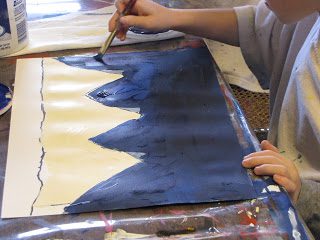
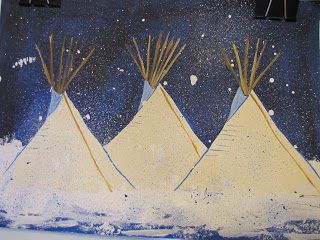
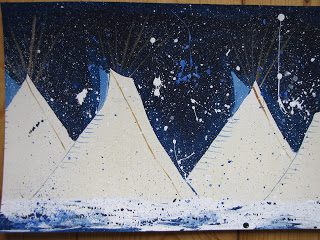
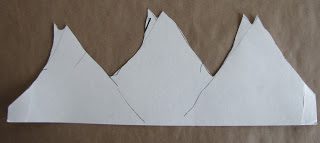
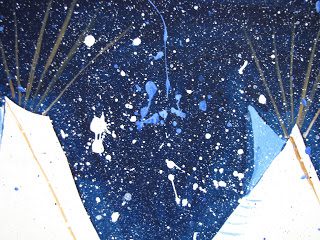
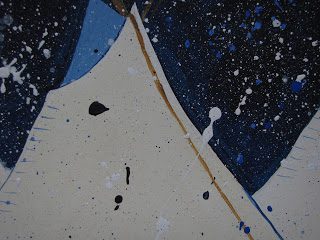
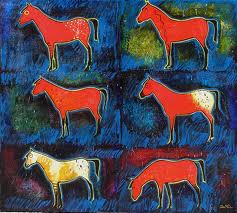
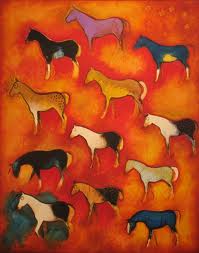
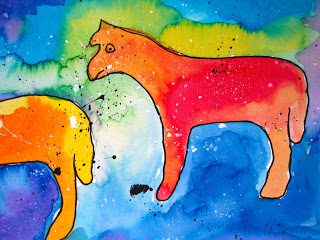
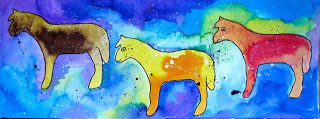
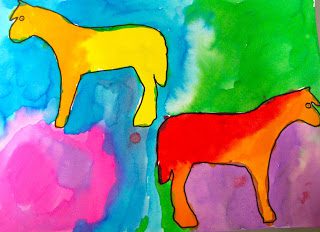
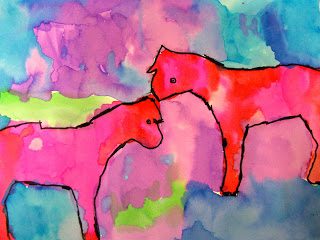
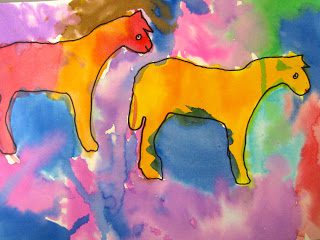
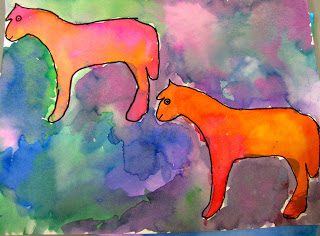
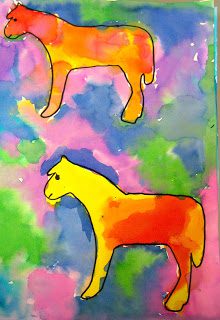
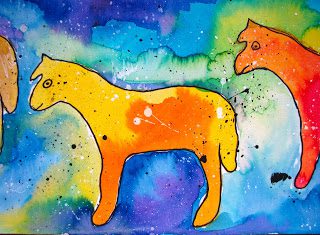
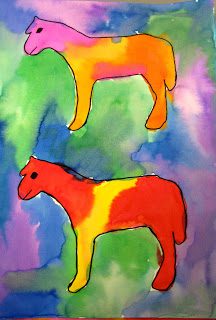
This is another Kevin Red Star project that I just finished with several classes. I love how these turned out with all the bright colors!
*See my step by step instructions, supply list, and more photos for this Kevin Red Star Painted Ponies art lesson in my upcoming book (click here for more information).
Please refer people back to this site if you use this lesson! 🙂
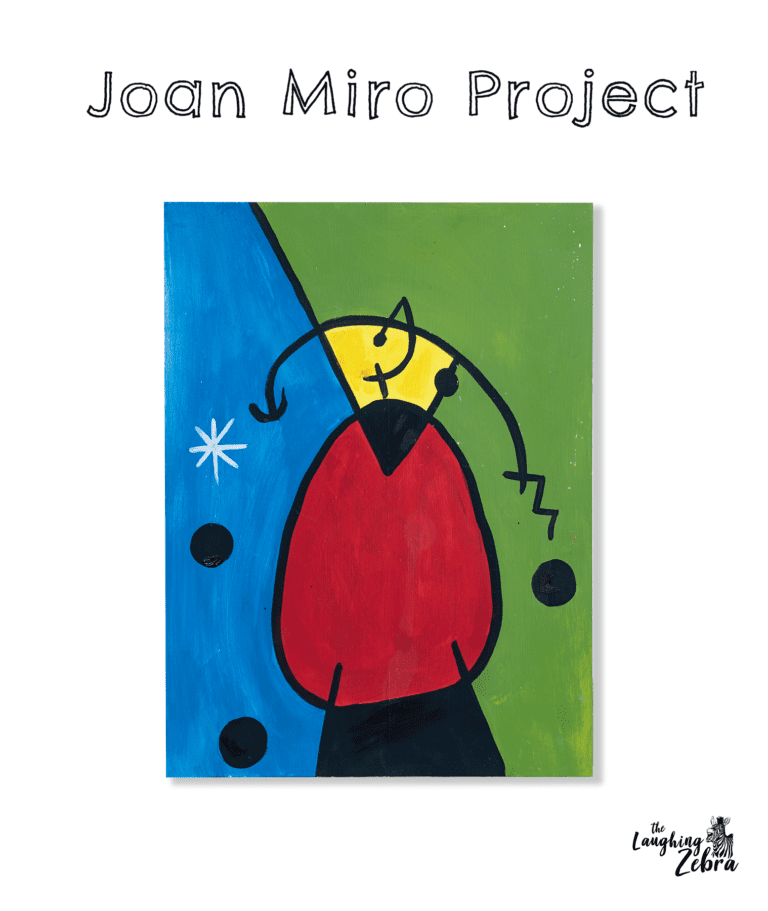
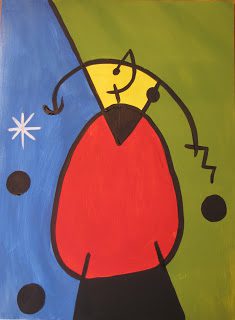
This is a project I just did with my preschool class, but it could be adapted for older ages. Kids love the bright colors, funny shapes and lines Miro uses in his work. I like using abstract art to teach kids that you don’t have to be able to draw something realistically to come up with a great piece of art.
For the preschool class I pre-painted the board white, and pre-drew the large shapes (see sample). If this were a kindergarten class or above I would let them do all the drawing. I had the preschoolers sand down the board. Then I had them draw in the other lines and shapes with a pencil, while I demonstrated it on a whiteboard. We talked about the different kinds of lines and shapes in this piece and how to make them.
They went over all the lines in Sharpie (on my sample I skipped the Sharpie part). Then we started with the lightest color (yellow) and filled in all the shapes-giving the yellow, red, green and blue areas two coats. After everything was dry we went back in with a small round brush with black paint and went over all the lines and filled in the circles.
The results were great and the kids had fun (Unfortunately I didn’t have my camera).
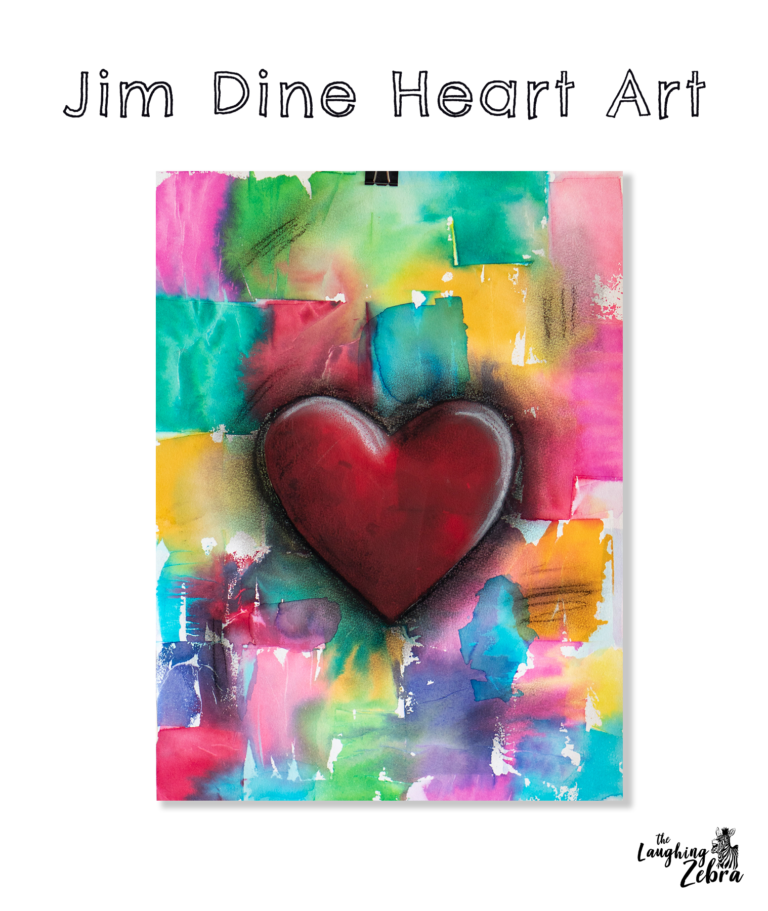
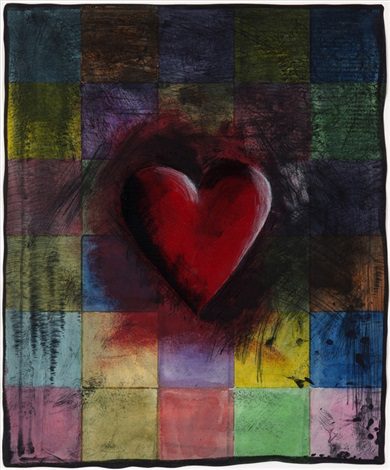
I love this print of Jim Dine’s titled The Handkerchief. I have done several Jim Dine projects over the years, but have never come across this particular print. I decided to experiment with some different art materials to see if I could create a lesson with a similar look and feel.
I have tried this with a preschool class and with K-6th grade students at one of the schools I teach at with great success!
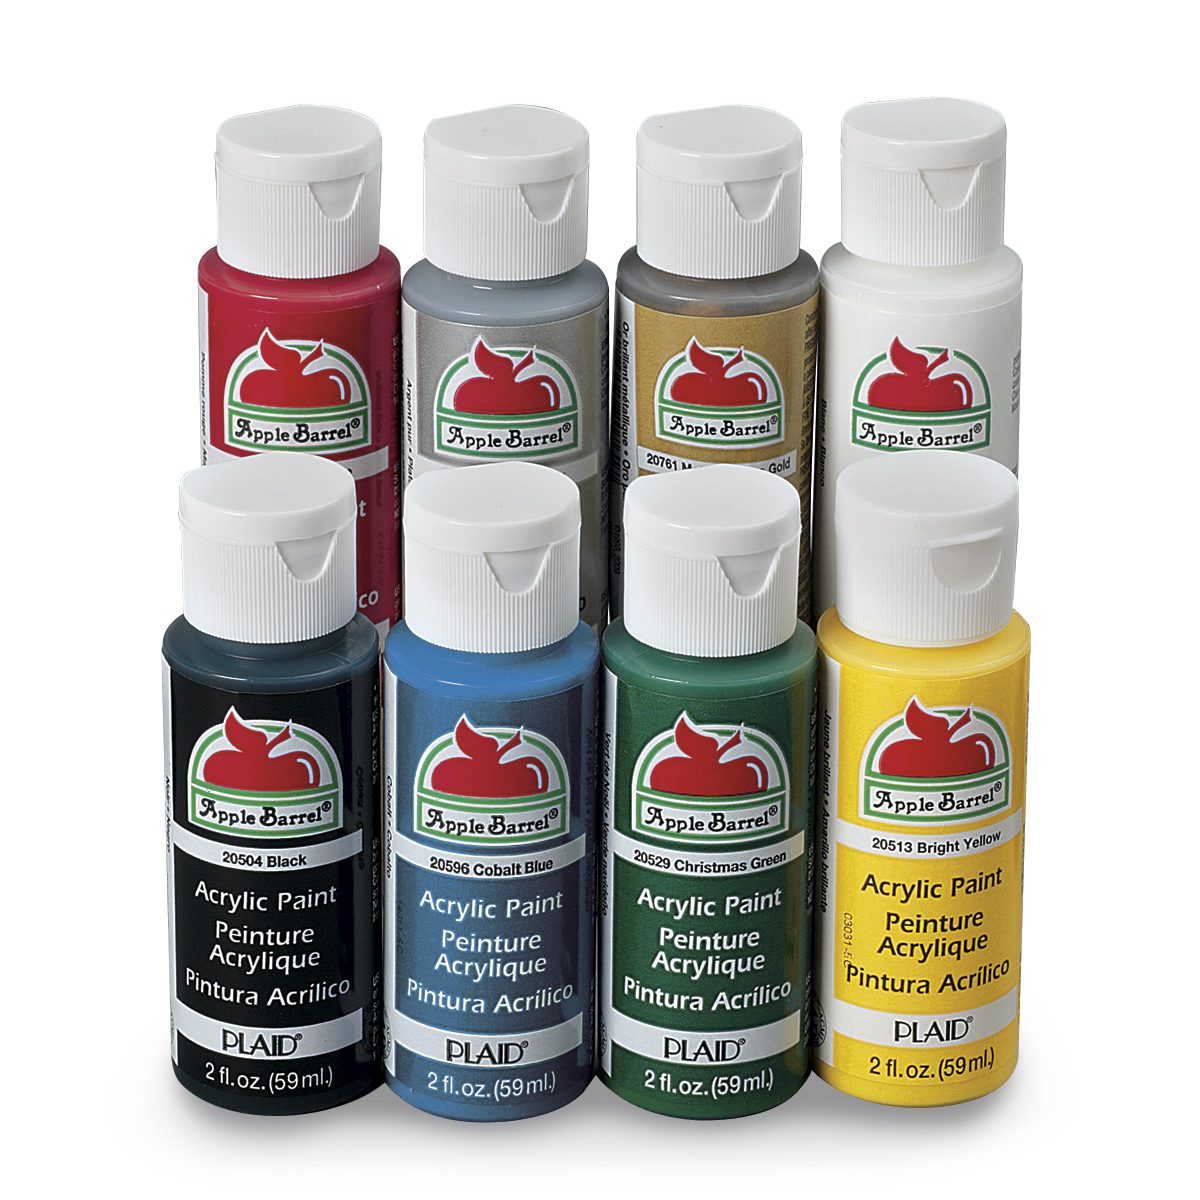
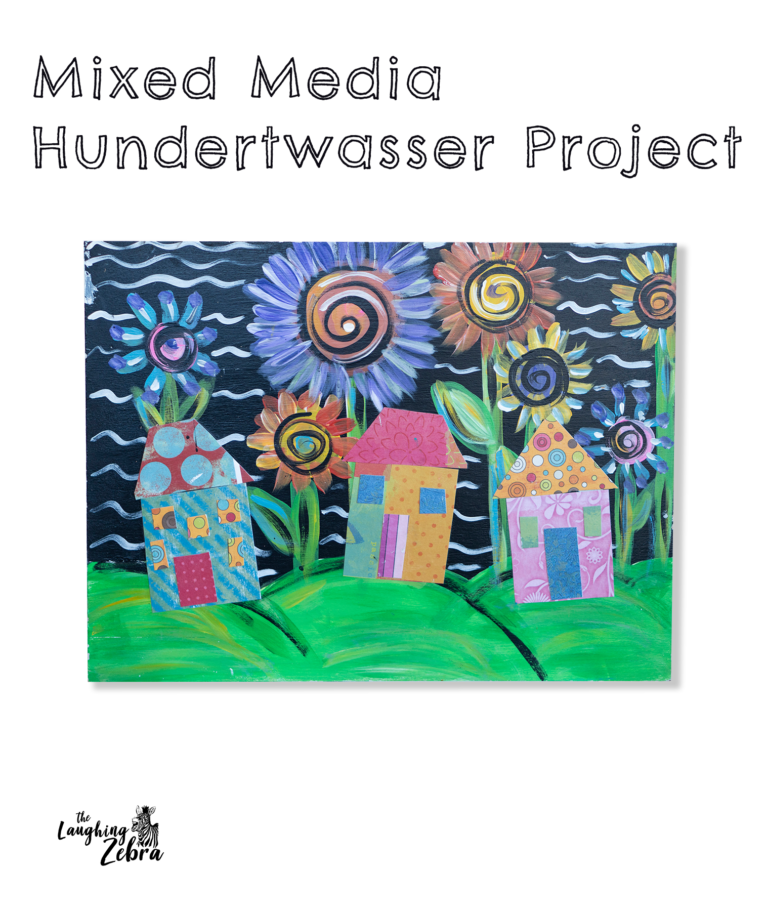
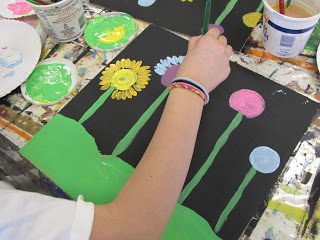
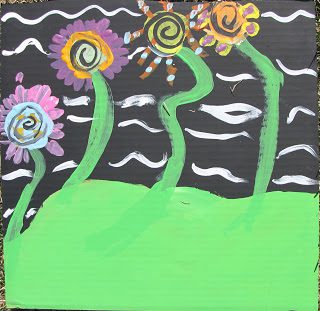
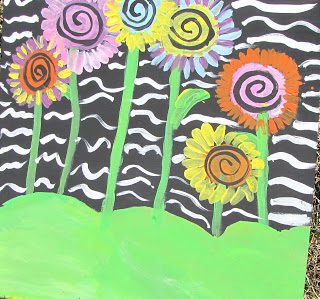
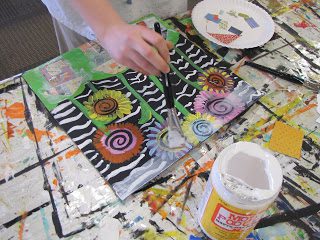
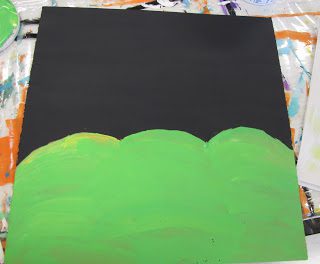
I was inspired by the banner on the art blog Painted Paper Art (great lessons, check this blog out) for this Hundertwasser lesson. I love projects with lots of color and mixed media. I have done this three different ways in the last two weeks. The samples from this 5th-6th grade class that are shown below are done on heavy cardboard, with acrylic paint, and the cut paper houses are decoupaged on. I have also done it on black poster board, with acrylic paint and just gluing the houses on, not using the mod podge. And with my preschoolers, we used chalk pastel on black poster board, and also just glued the houses on.
Hundertwasser is a fun artist to introduce to kids-they really relate to his colorful style and playful ideas. He designed houses, did paintings, created postage stamps and banners, and shared his concern for the environment thru posters. Next week I am going to have my 7th-12th grade students do a poster in his style conveying a message that is important to them.
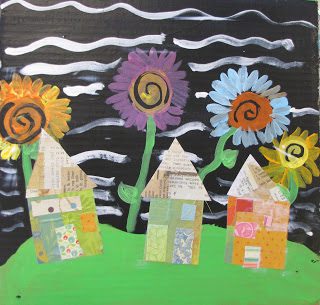
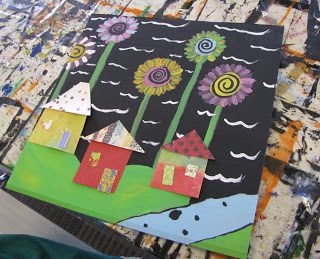
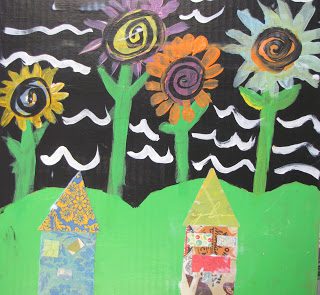
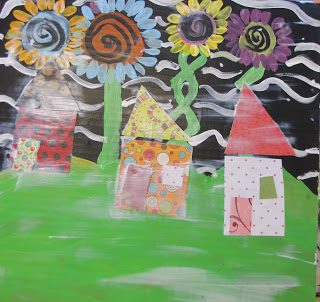
After sharing the book Harvesting Dreams Hundertwasser for Kids with the students I had them draw in some simple hill shapes at the bottom of their cardboard piece. They painted the hills in green and the background in black. Then using a round brush they painted in tall flower stalks and some leaves. Using a small flat brush they topped each stem with a circle in the color of their choice. I showed them how to use the round brush to make beautiful petals for each flower, mixing and matching colors (We added white to all the colors to make them more opaque on the black background). We then did a black spiral in the center of each flower, and white wavy lines in the background using the round brush (Hundertwasser liked to use lines and spirals in his art).
While the paint was drying the kids picked out three different house shapes,roof shapes, and doors and windows (I pre-cut out a variety of different paper to save on time). When the paint was dry they decoupaged the houses on and then covered their whole painting in the mod podge to finish it off. I love how colorful and unique they all turned out.
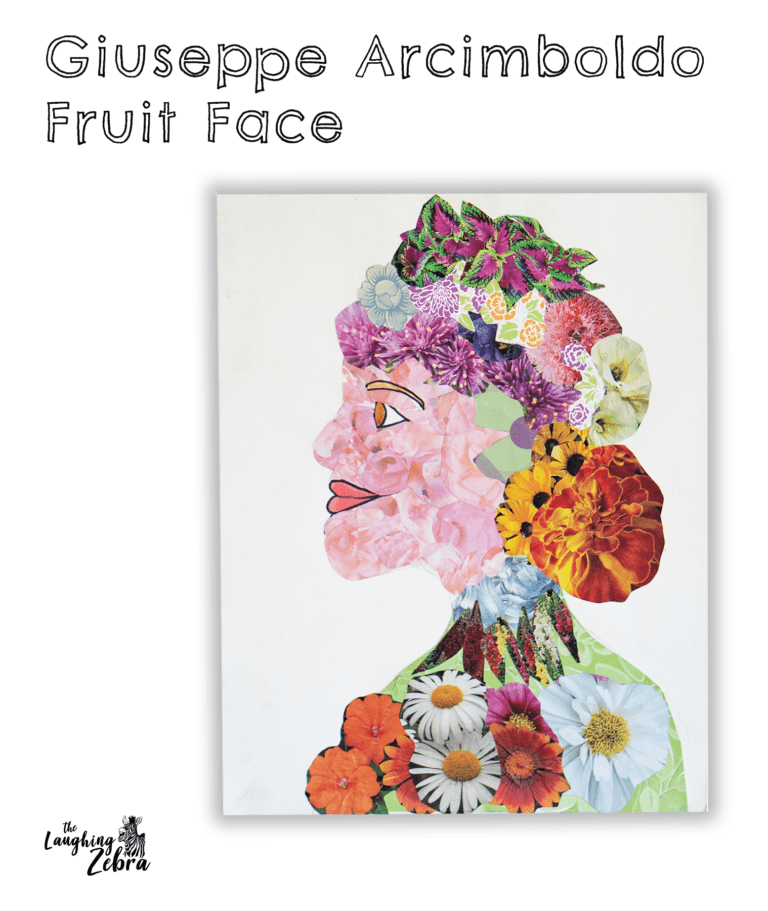
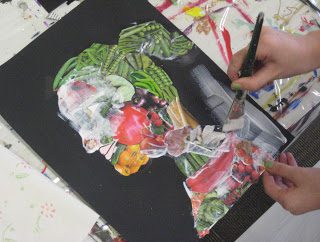
This lesson is based on the amazing art of Giuseppe Arcimboldo. If you have never seen any of his work you need to look him up. I used Arcimboldo by Taschen and Hello Fruit Face! to start off this lesson. There are lots of great photos of his art.
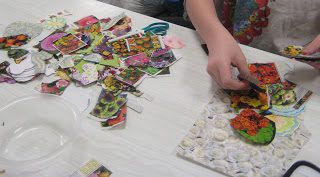
To have the best resources for this project, get your name on the mailing lists for some vegetable/fruit seed catalogs and some flower seed catalogs. You can also use floral scrapbooking paper clip magazine pictures, but you need a lot so I don’t recommend this. Depending on what age you are doing this lesson for you may want to pre-cut some flowers and fruits and vegetables.
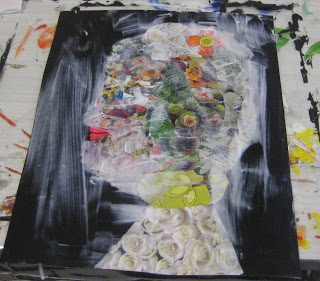
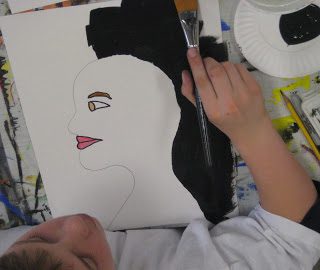
I have the kids trace my pattern piece of the head onto their poster board. Then they draw in the lips, eyebrow, and eye with pencil, and paint these in with watercolors. Then I have them outline the head and facial features with sharpie.Next they paint the space around the heads with black acrylic paint (or leave this white, see last step).
Next step is to decide whether they are doing a man or woman and a fruit/vegetable face or a flower face. Then they need to choose their pictures-getting different sizes and types.
They mod podge them onto the head going around the facial features. You can either leave the heads on the same paper or have the students cut around the heads and glue, using rubber cement on a black piece of poster board.
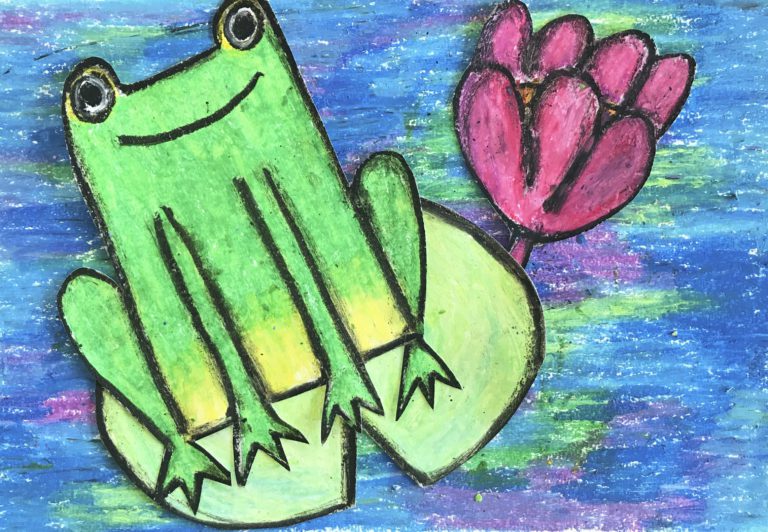
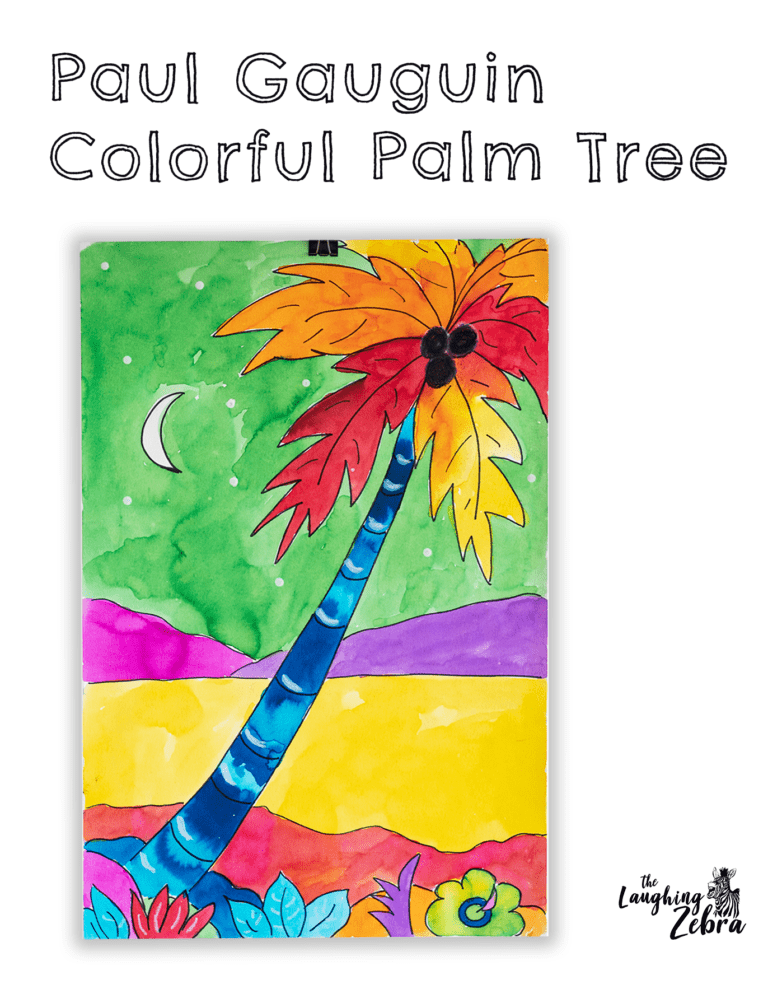
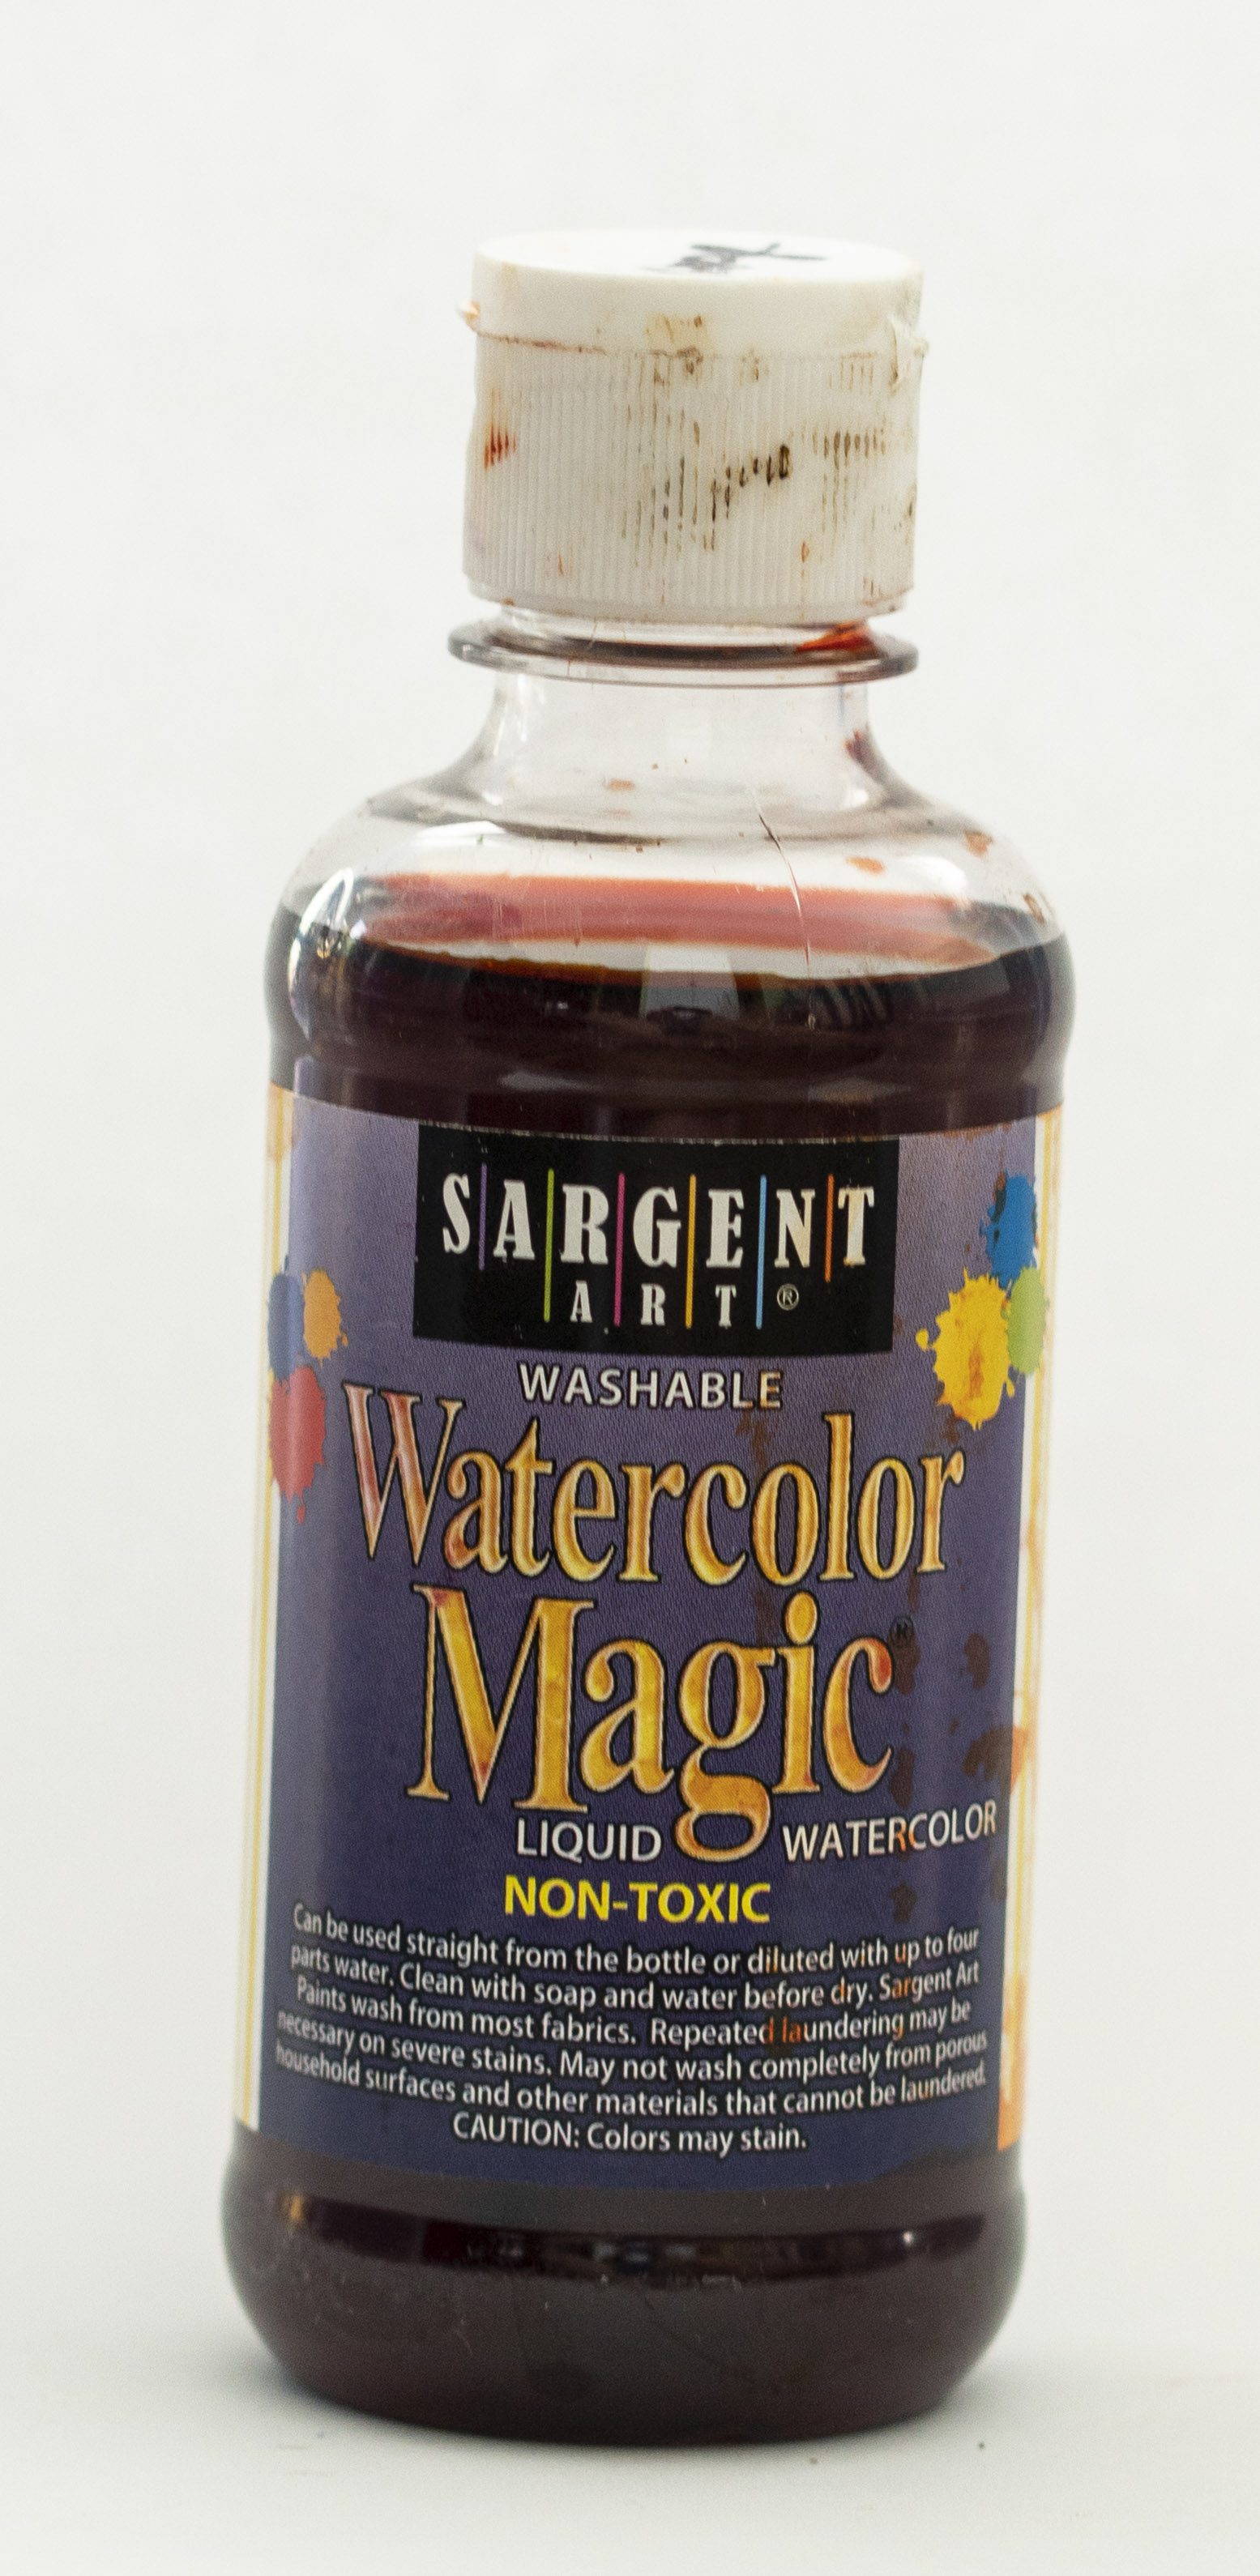
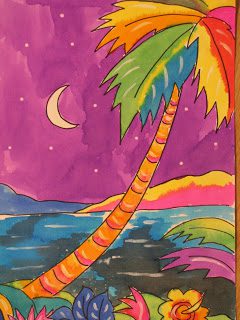
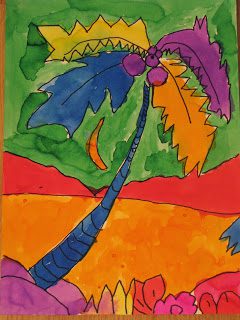
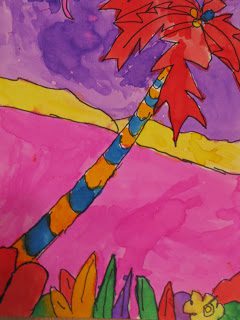
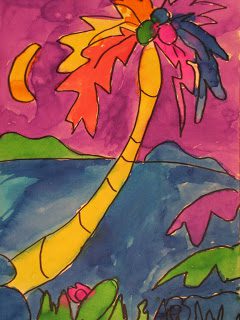
Paul Gauguin used bright flat colors in his tropical artwork and is a favorite artist of mine to teach about. I got the idea for this project from a picture I saw on the art blog Painting With a Twist. It looked like something Gauguin himself would have had fun with and I knew my students would too! First we practiced the palm tree on a scratch piece of paper (since this was the only real difficult part of this whole picture). Once the kids had figured out how to curve the trunk and make the palm fronds we switched to an 11×15 sheet of watercolor paper and redrew the palm tree, then added the background details step by step. I let them fill in the bottom of the picture with their own plants and foliage. Then we outlined everything with Sharpie, and the fun began! The only rule with the paint was to try and paint things as differently from real life as they could. To use their “imagination” like Gauguin did when he painted his pictures. We used vibrant Sargeant brand liquid watercolors. I did this with kindergarten to 6th graders and they all turned out great. With the older kids we added white acrylic paint dots with the end of the paint brush for stars. Below are a few of the kindergarten to 1st grade finished projects. I got busy and didn’t take any pictures of the older kids’ projects.


