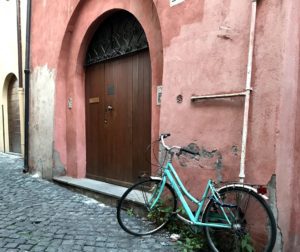
The Laughing Zebra

valentine’s art lesson

Peter Max Heart Art

This page contains affiliate links and I may receive a commission for purchases made through these links. Everything on this page I have used and heartily recommend for teaching art.

Are you looking for a great Valentine’s Day art project? Keep reading to find out about this awesome Peter Max Heart Art project.

I originally found this great lesson on PaintbrushRocket.blogspot.com. I have done it with multiple ages with lots of success. It is a fun one for Valentine’s Day and also to teach the double loading technique.

How To:

  1. Have students draw a frame around the 11×11 paper using the 2/12 inch paper strip as a guide.
  2. Fold the 5×6 inch paper in half the longer way (should be 6 inches long when folded).
  3. Have them draw 1/2 of a heart to fill the side.
  4. Cut out the heart and draw around the heart pattern in the center square of the paper.
  5. Students can choose either warm colors or cool colors to paint the frame and heart. Students paint the heart and frame using the double loading technique (two colors at once on a brush load). Do not blend the colors but rather keep dipping in different combinations to give the finished multi color look. Individual brush strokes and colors should show.
  6. When they are finished painting have them rinse and dry their brushes completely.
  7. Now they will paint the small square background (around the heart) with the opposite color group they chose for the heart and frame. So if they chose the warm colors for the heart and frame, now they will use the cool colors for the small square background, and vice versa.
  8. While all background colors are drying they will sketch out their heart and frame on a practice sheet (do this on the board and have them follow along with you) and decide what kind of Peter Max marks they will use to decorate their picture (demonstrate some squiggles, dashes, x’s, zig zags, wavy lines and hearts on the board).
  9. Once the background paint is dry, they will add their decorative lines with their paint brush using the cool colors on the warm background and the warm colors on the cool background.
  10. The last step is to add some india ink marks and lines (pour this into the small souffle cups for 1-2 students to share). Make sure you shake it up before you pour it. And make sure they don’t overdo the black lines.

Looking for another Valentine’s Day art project? Check out my Jim Dine Heart Art lesson!

Let me know if you have any questions in the comments and please refer people back to this site if you use this lesson! 🙂

I'm writing a book!

I am excited to announce my latest project!  My daughter and I are working on a big, beautiful, creatively designed book on artist related lessons (similar to the ones on this website but with more details, step by step instructions and photos). The book will be for anyone who wants concise, detailed, well laid out lessons that are ready to teach, in a format that is fun to look at as well.

Book Info

Supplies

Other Lessons:

Recent Blog Posts:

door in Italy with turquoise bike by it.

The Doors of Italy

At the end of a 3 week vacation to Europe, I came away with so many pictures of things that captured my interest and the mood of the moment. I couldn’t get enough of all the time worn doors, especially those in Italy.

Read More »

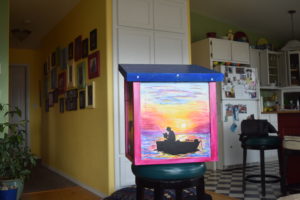
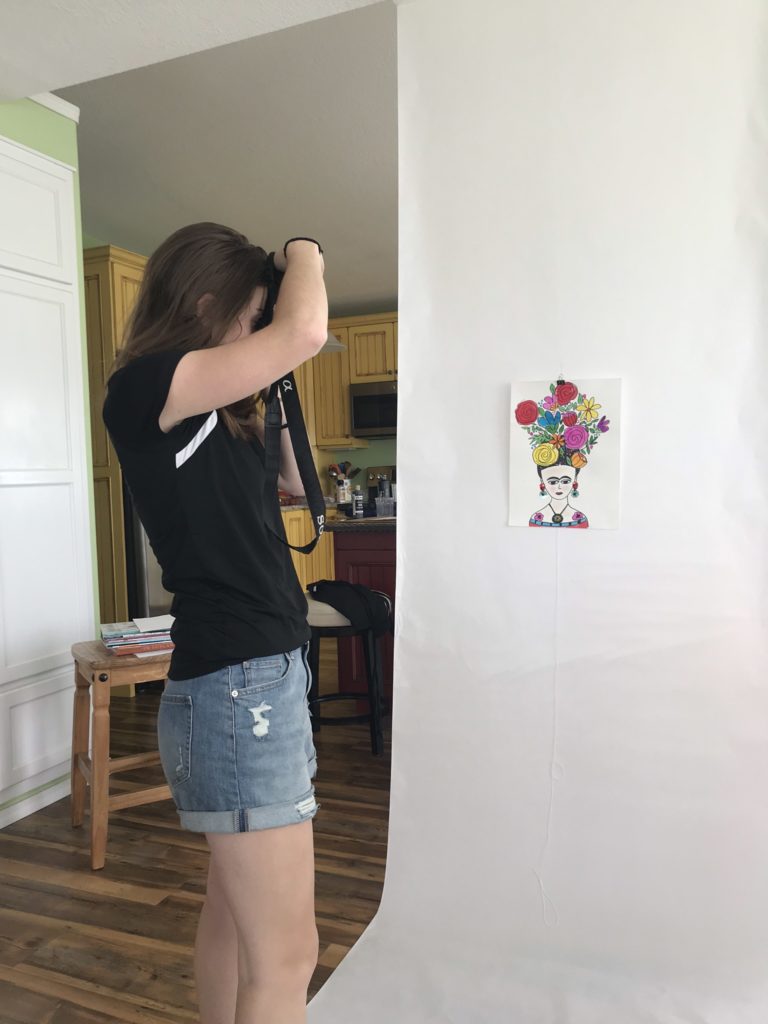
Making Reading Beautiful!

We painted Free Little Libraries! Does your city have a Little Free Library? These are little free standing libraries that have a “host” who looks after them and can be located in someone’s yard , out in the country, or in front of a business or in a park.  You can take a book to read or leave one for someone else to find.

Read More »

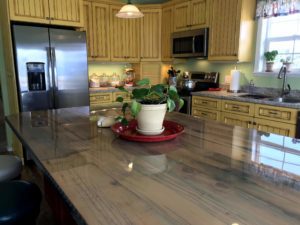
My Beautiful Tuscan Kitchen

This year marks the two year anniversary of our kitchen remodel! My wonderful cabinet maker husband finally got around to making this custom kitchen for our home and I couldn’t be happier!

Read More »

I found this lesson on https://www.instagram.com/p/BmBwCtmH3e7/ when searching around for something besides a heart project to do for Jim Dine. It is a great lesson that kids of all ages seem to love. The charcoal shading is a touch of magic as well as the puddles of color.

Have students trace around the brush they are sharing with the student sitting next to them and free hand in the details (then the other student will do the same).

Continue moving the brushes around the tables until each student has traced 5 different paint brushes (they can lay them out however they want but I would suggest the 2nd grade do them all one direction and no overlapping). After they trace the outside they will free hand in the details (caution them to do this slowly and carefully and to really observe the details on the brushes).

As the students are waiting for a new brush to get to them they can begin carefully going over the brush drawings they already have with Sharpie, being careful to erase lines where the brushes overlap before they Sharpie. Complete with all 5 brushes, then have students erase pencil lines.

Talk to them about the charcoal vines and carefully demonstrate how to hold them and to press gently with them (they are very fragile and will break easily).

Using the charcoal have them slowly draw a thick line touching the right side of each brush, making sure to not draw over the top of a brush. Move around  the computer paper to act as a shield for their fingers as they are doing the charcoal part.

Then have them gently smudge the charcoal pulling the charcoal away from the brush. Have them wipe their fingers often on a paper towel so as not to get charcoal fingerprints all over their paper.

Distribute the liquid watercolors and have them put one color on each brush tip, being careful to keep the paint on the brush bristles only. They should use the watercolor undiluted and put a “puddle” down then add some water if need to spread it. This is done by plopping the paint and patting the brush to the paper to make it look like a blob of paint. They should not “paint” the color on or they will not get the rounded edges of the paint puddle.

After they paint a color on a brush bristle, they will take that same color and add some water to their brush and paint some smaller puddles of paint in 3 or 4 places on their papers.

Repeat this process with all 5 colors.

Then with water on their brush they will add a little paint and very gently tap their brush over the picture to create dots. 2 or 3 taps for each color (make sure they don’t overdue this or there will be a mess).

When paint is completely dry quickly spray a light coating of workable fixative to “set” the charcoal.

*New Jim Dine step by step lessons, supply lists, and  photos in my upcoming book (click here for more information).

Please refer people back to this site if you use this lesson! 🙂