The Laughing Zebra

Montana

Montana Mona Lisa

This page contains affiliate links and I may receive a commission for purchases made through these links. Everything on this page I have used and heartily recommend for teaching art.

This Mona Lisa painting project is one I have done several times and it really helps my Montana students relate to Leonardo Da Vinci’s Mona Lisa painting. It is also a good mixed media project. You could change it up by relating it to your state or area.

How To:

  1. First I have the students paint about a 2 1/2″ border on their cardboard with the brown paint using a large brush and then using a small round brush paint in some lines and knot holes.
  2. While that is drying they work on coloring in the Mona Lisa (lightly) with the colored pencils. They can choose the hair and eye colors and her blouse color.
  3. Then using pattern pieces that I made in advance using poster board scraps they trace out a hat, cloak (from the scrapbook paper) and rectangular background piece (from the magazines). I used a map of Montana in my sample, but any large picture without a bunch of writing would work. (for example: a scenery picture, a herd of cows, a man on a horseback, close-up of a saddle or cowboy boots,etc.)
  4. Then they cut and assemble all the pieces.
  5. Next they find letters or words (mine came from the magazines or scrapbook papers) for the “Montana”, and letters (the ones in the sample came from a bag of random letters I got from Michaels) to spell out “Mona”, and lay them out on the frame.
  6. Now they are ready to Mod Podge all the pieces onto the framed board, being careful to center everything.
  7. Once they are done getting all the papers glued down, they do a final coat of Mod Podge over the whole piece.

Let me know in the comments if you have any questions and please refer people back to this site if you use this lesson! 🙂

I'm writing a book!

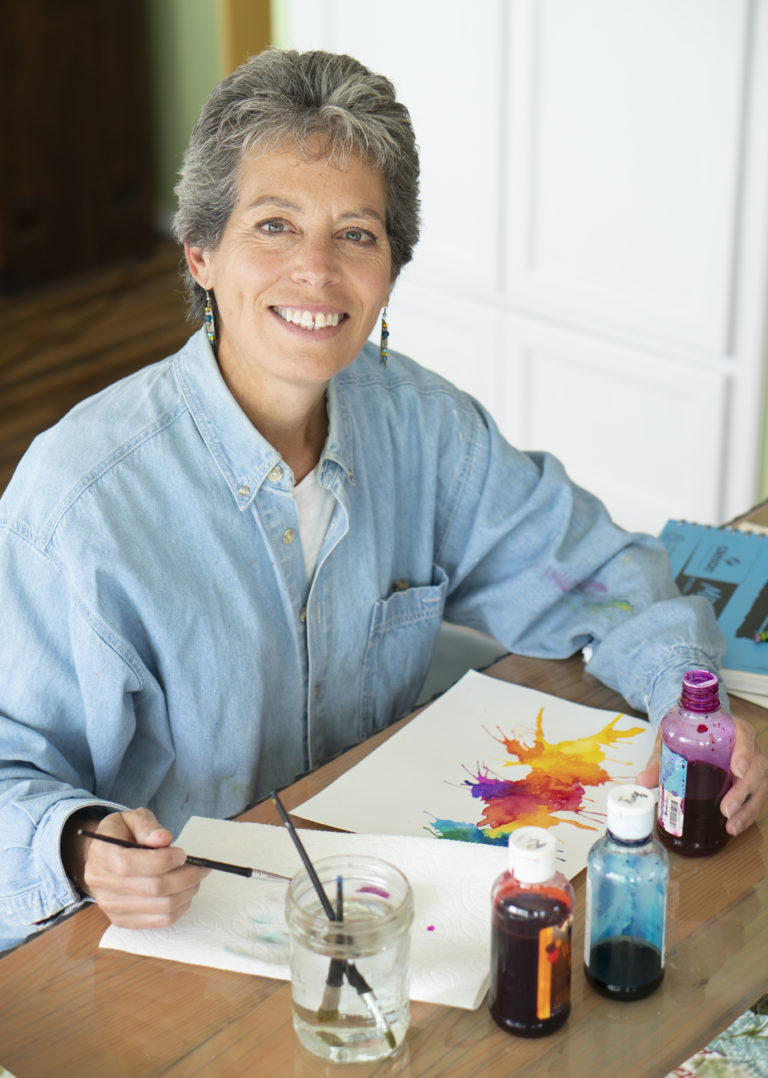
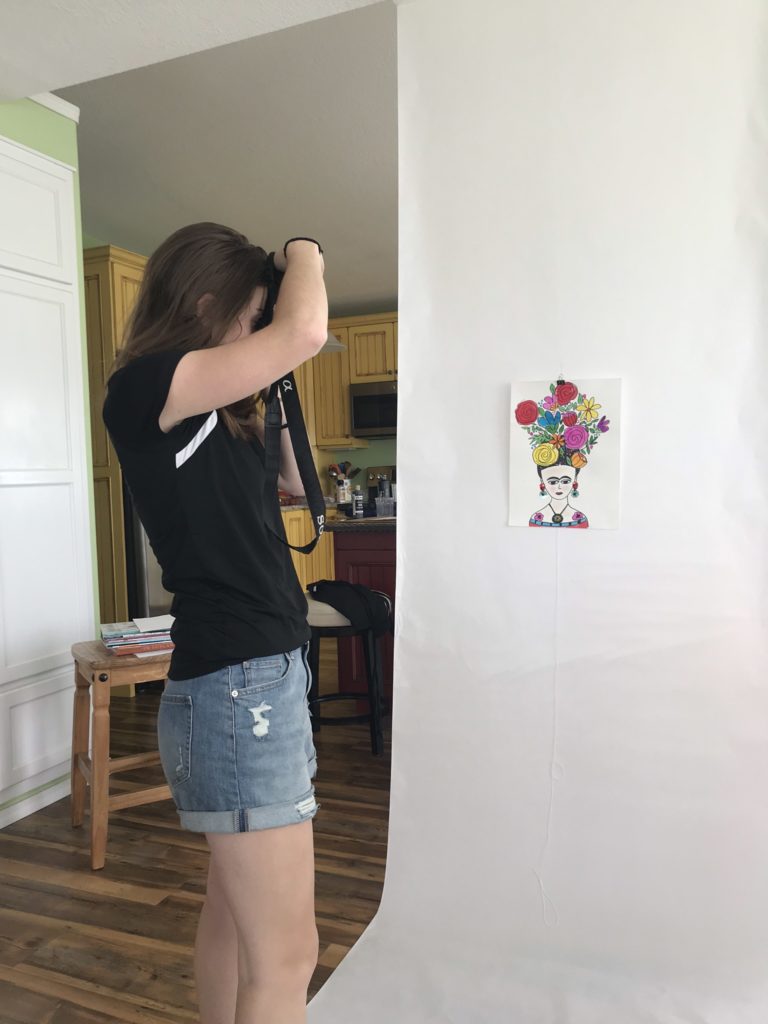
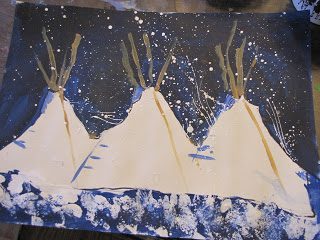
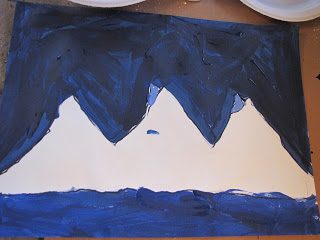
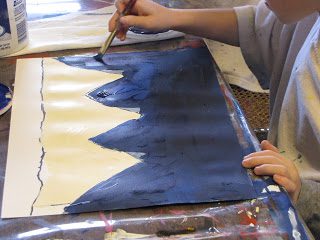
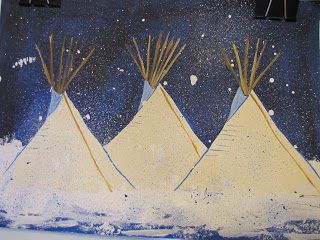
I am excited to announce my latest project!  My daughter and I are working on a big, beautiful, creatively designed book on artist related lessons (similar to the ones on this website but with more details, step by step instructions and photos). The book will be for anyone who wants concise, detailed, well laid out lessons that are ready to teach, in a format that is fun to look at as well.

Book Info

This is the third project I did with my 3rd-6th grade class on Charlie Russell. After watching some youtube videos on Charlie Russell and talking about his life and art, I had the kids illustrate a letter telling someone about him (like he often did when corresponding with friends), using soft watercolors and Western images. They turned out great and the kids really enjoyed this lesson. They decorated the envelopes as well with colored pencils and we mailed them for the final step.

First they did a rough draft on a scratch piece of paper, and then did a final draft on a  piece of watercolor paper cut down to a letter size. They drew in some guidelines in pencil to help keep their writing straight. We used a extra fine line Sharpie for outlining the pictures and the writing.

*See my step by step instructions, supply list, and more photos in my upcoming book (click here for more information).

Please refer people back to this site if you use this lesson! 🙂