This page contains affiliate links and I may receive a commission for purchases made through these links. Everything on this page I have used and heartily recommend for teaching art.
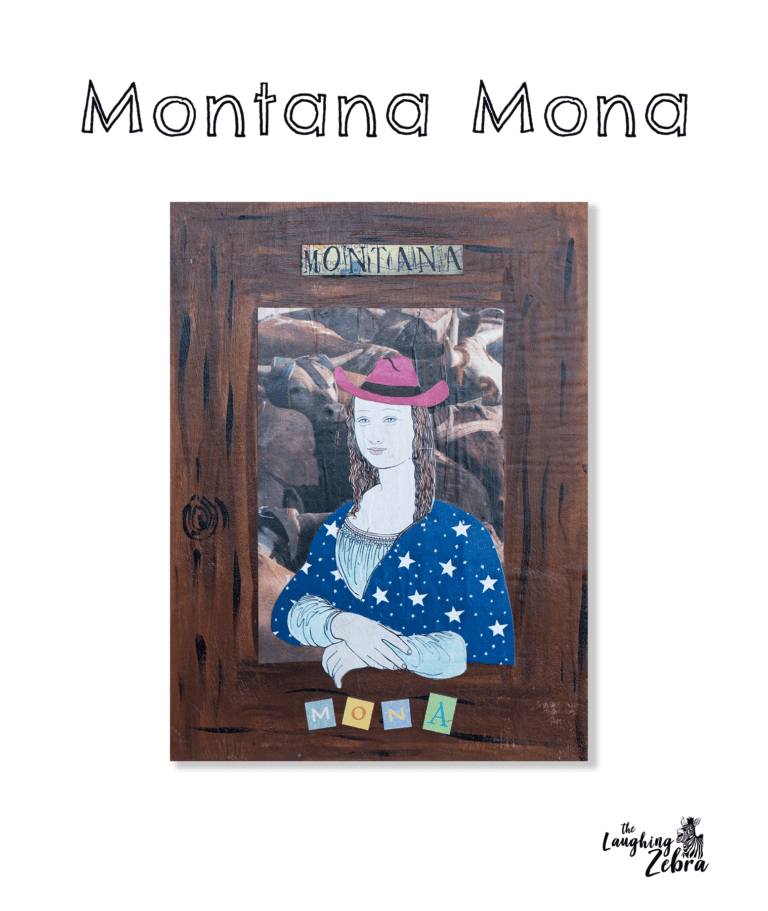
This Mona Lisa painting project is one I have done several times and it really helps my Montana students relate to Leonardo Da Vinci’s Mona Lisa painting. It is also a good mixed media project. You could change it up by relating it to your state or area.
How To:
First I have the students paint about a 2 1/2″ border on their cardboard with the brown paint using a large brush and then using a small round brush paint in some lines and knot holes.
While that is drying they work on coloring in the Mona Lisa (lightly) with the colored pencils. They can choose the hair and eye colors and her blouse color.
Then using pattern pieces that I made in advance using poster board scraps they trace out a hat, cloak (from the scrapbook paper) and rectangular background piece (from the magazines). I used a map of Montana in my sample, but any large picture without a bunch of writing would work. (for example: a scenery picture, a herd of cows, a man on a horseback, close-up of a saddle or cowboy boots,etc.)
Then they cut and assemble all the pieces.
Next they find letters or words (mine came from the magazines or scrapbook papers) for the “Montana”, and letters (the ones in the sample came from a bag of random letters I got from Michaels) to spell out “Mona”, and lay them out on the frame.
Now they are ready to Mod Podge all the pieces onto the framed board, being careful to center everything.
Once they are done getting all the papers glued down, they do a final coat of Mod Podge over the whole piece.
Let me know in the comments if you have any questions and please refer people back to this site if you use this lesson! 🙂
I'm writing a book!
I am excited to announce my latest project! My daughter and I are working on a big, beautiful, creatively designed book on artist related lessons (similar to the ones on this website but with more details, step by step instructions and photos). The book will be for anyone who wants concise, detailed, well laid out lessons that are ready to teach, in a format that is fun to look at as well.
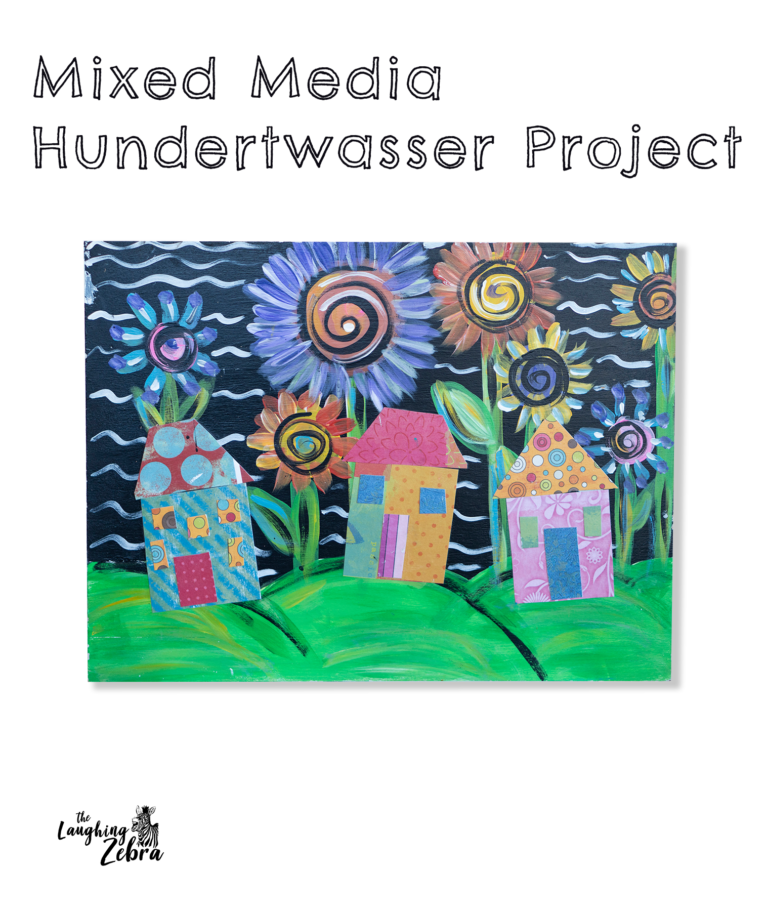
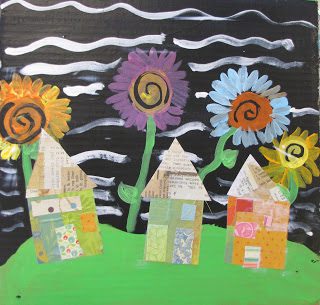
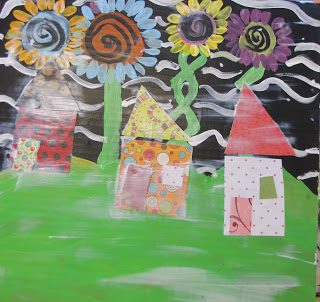
I was inspired by the banner on the art blog Painted Paper Art (great lessons, check this blog out) for this Hundertwasser lesson. I love projects with lots of color and mixed media. I have done this three different ways in the last two weeks. The samples from this 5th-6th grade class that are shown below are done on heavy cardboard, with acrylic paint, and the cut paper houses are decoupaged on. I have also done it on black poster board, with acrylic paint and just gluing the houses on, not using the mod podge. And with my preschoolers, we used chalk pastel on black poster board, and also just glued the houses on.
Hundertwasser is a fun artist to introduce to kids-they really relate to his colorful style and playful ideas. He designed houses, did paintings, created postage stamps and banners, and shared his concern for the environment thru posters. Next week I am going to have my 7th-12th grade students do a poster in his style conveying a message that is important to them.
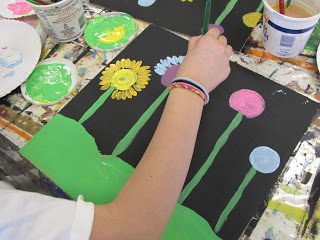
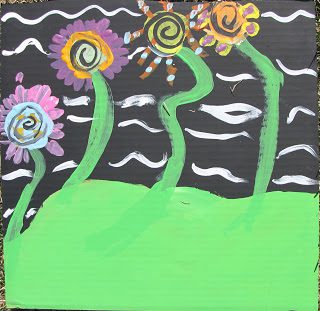
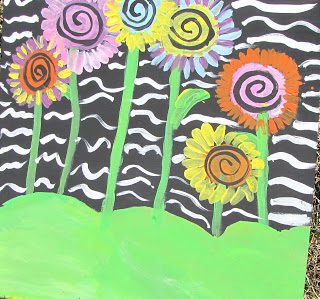
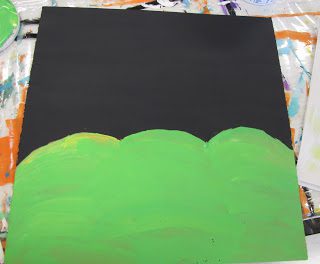
After sharing the book Harvesting Dreams Hundertwasser for Kids with the students I had them draw in some simple hill shapes at the bottom of their cardboard piece. They painted the hills in green and the background in black. Then using a round brush they painted in tall flower stalks and some leaves. Using a small flat brush they topped each stem with a circle in the color of their choice. I showed them how to use the round brush to make beautiful petals for each flower, mixing and matching colors (We added white to all the colors to make them more opaque on the black background). We then did a black spiral in the center of each flower, and white wavy lines in the background using the round brush (Hundertwasser liked to use lines and spirals in his art).
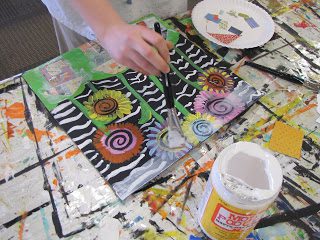
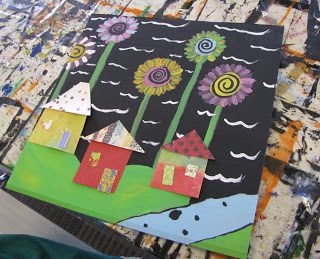
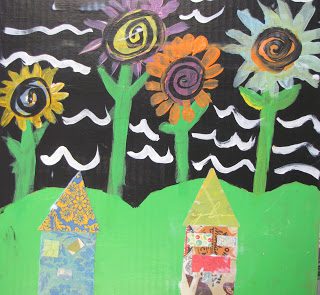
While the paint was drying the kids picked out three different house shapes,roof shapes, and doors and windows (I pre-cut out a variety of different paper to save on time). When the paint was dry they decoupaged the houses on and then covered their whole painting in the mod podge to finish it off. I love how colorful and unique they all turned out.
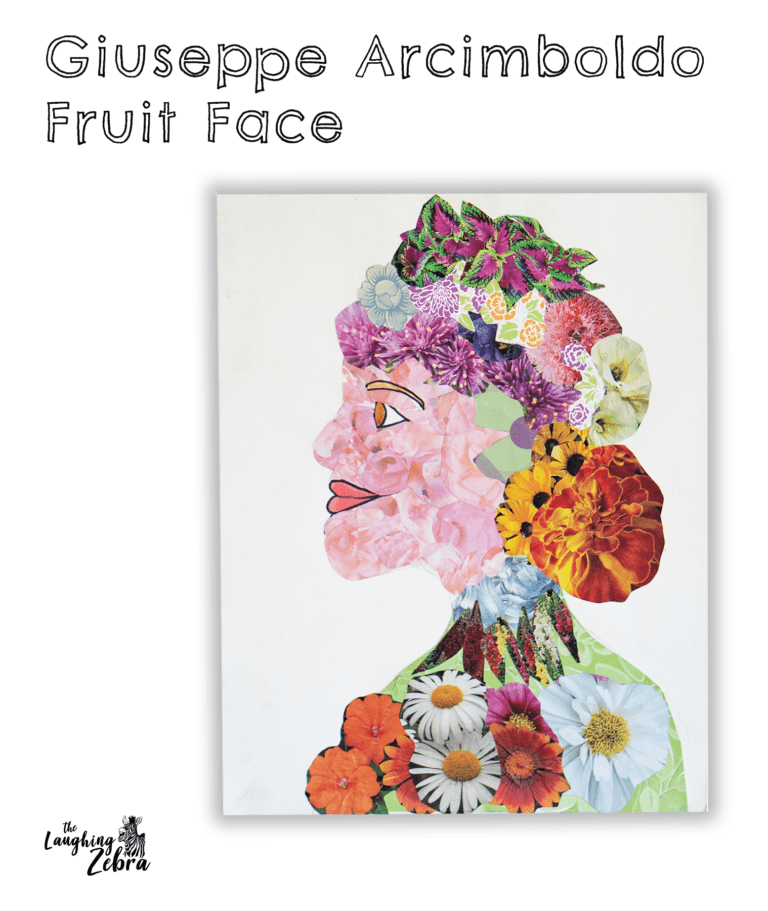
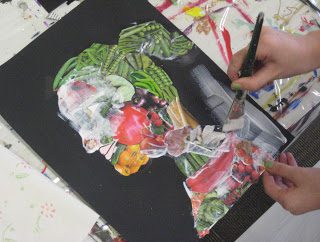
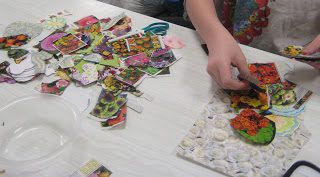
This lesson is based on the amazing art of Giuseppe Arcimboldo. If you have never seen any of his work you need to look him up. I used Arcimboldo by Taschen and Hello Fruit Face! to start off this lesson. There are lots of great photos of his art.
To have the best resources for this project, get your name on the mailing lists for some vegetable/fruit seed catalogs and some flower seed catalogs. You can also use floral scrapbooking paper clip magazine pictures, but you need a lot so I don’t recommend this. Depending on what age you are doing this lesson for you may want to pre-cut some flowers and fruits and vegetables.
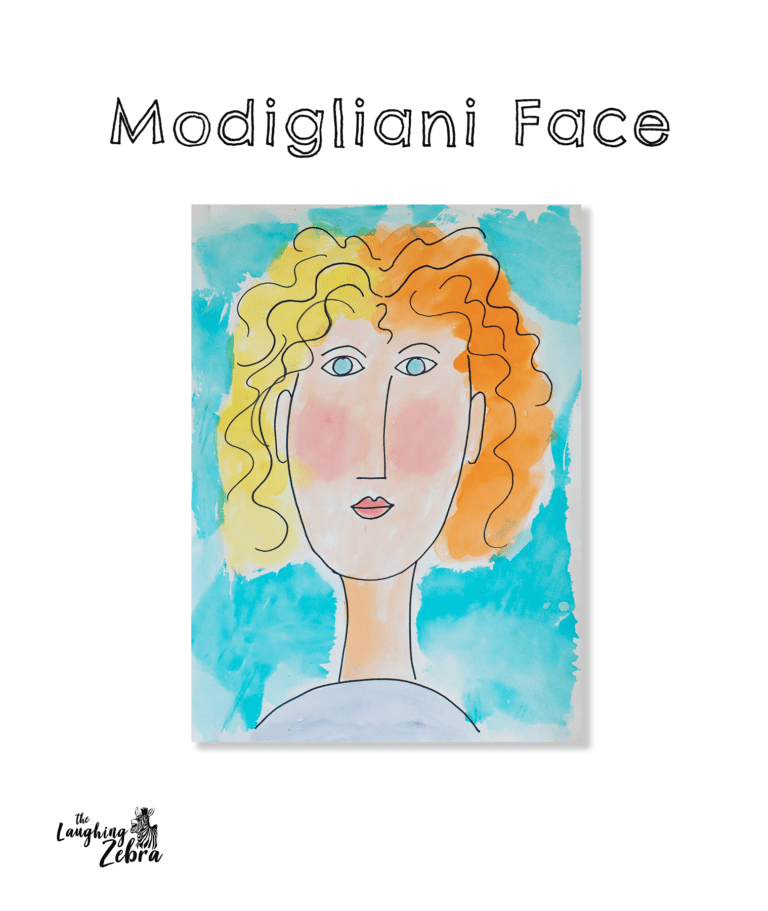
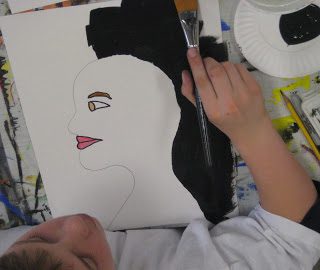
I have the kids trace my pattern piece of the head onto their poster board. Then they draw in the lips, eyebrow, and eye with pencil, and paint these in with watercolors. Then I have them outline the head and facial features with sharpie.Next they paint the space around the heads with black acrylic paint (or leave this white, see last step).
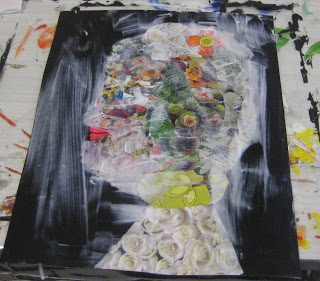
Next step is to decide whether they are doing a man or woman and a fruit/vegetable face or a flower face. Then they need to choose their pictures-getting different sizes and types.
They mod podge them onto the head going around the facial features. You can either leave the heads on the same paper or have the students cut around the heads and glue, using rubber cement on a black piece of poster board.


