This page contains affiliate links and I may receive a commission for purchases made through these links. Everything on this page I have used and heartily recommend for teaching art.
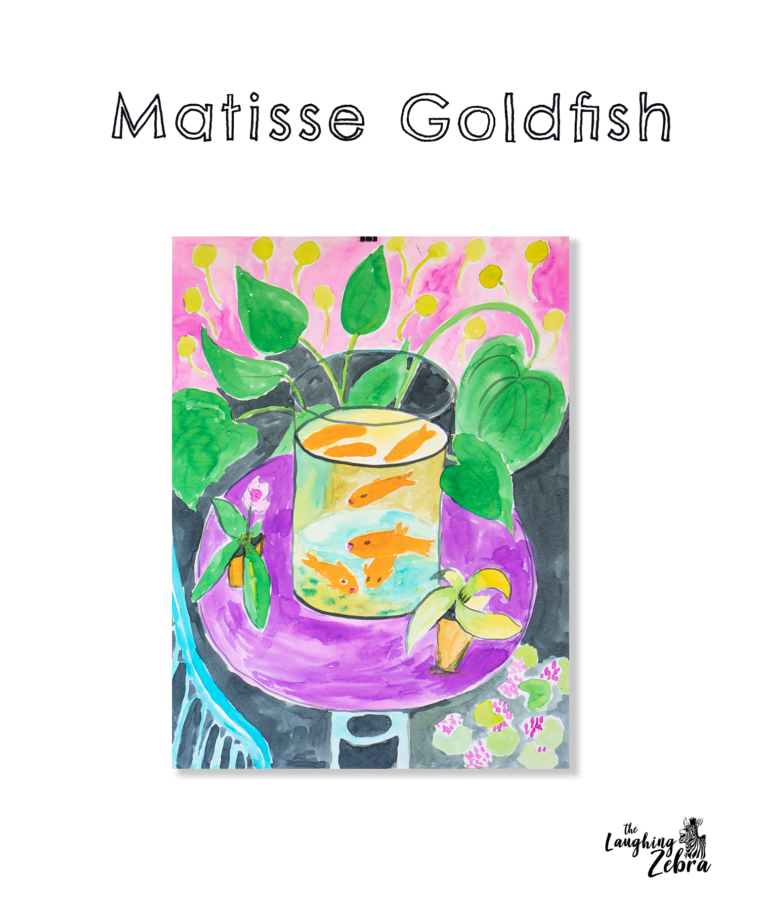
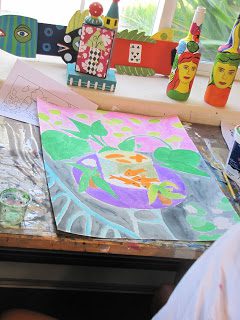
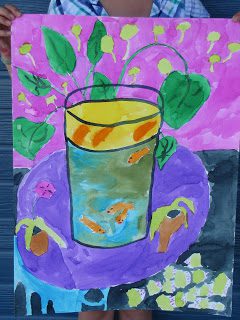
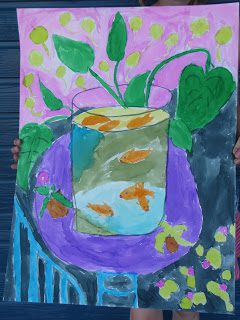
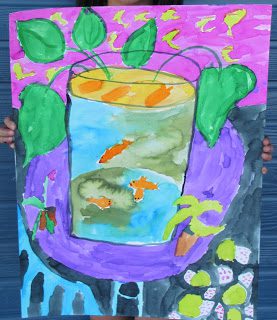
Henri Matisse is one of my favorite artists and so I am always looking for new projects to share him with my students. This is a class I did this summer for kids ages 9 and up. I bought some new watercolor paper to try and it was so fun to work with. (Canson XL Watercolor pads) The sheets are 18×24, and 140 pound paper weight so you can erase a lot and it takes more abuse than a lighter weight paper. We also used Dick Blick liquid watercolors (update: I have since switched to Sargeant brand liquid watercolors, as the Dick Blick ones are now a new thicker formula). The liquid watercolors are so much easier to use for the larger paper format. The kids don’t have to stop and mix more color and so they had more success with their washes. We did a sample drawing first on a smaller sheet of paper, looking at Matisse’s original painting. I also gave them each a coloring sheet picture of the painting. I had them simplify their drawings and leave out some of the background foliage and details. We did the drawing and painting step by step, taking time to talk about proportion and reflections. This was a great lesson and they all ended up with some beautiful paintings.
This page contains affiliate links and I may receive a commission for purchases made through these links. Everything on this page I have used and heartily recommend for teaching art.
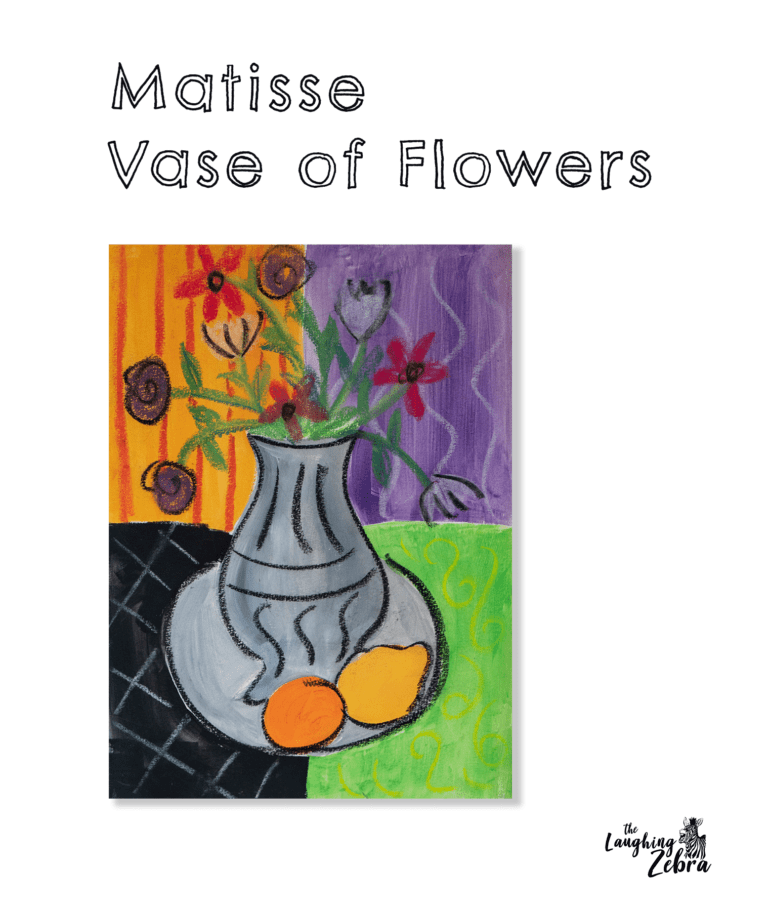
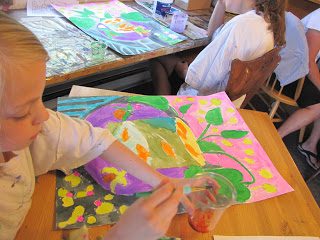
I got this Henri Matisse art lesson idea from Matisse’s “Woman with a Purple Robe” painting, and have altered it to fit different age groups. I love Matisse because of all the bright colors and patterns he used in his work. This is a fun way to introduce mixed media and the different steps keep the interest level high.
For the first step I have the students draw a vase with flowers in it with pencil, then outline it with Sharpie (I pre-draw this for preschool level). Then I have them paint the vase grey. Next step is to do a different pattern with oil pastels on each piece of colored cardstock (see sample). Then I have them glue the pieces down to the the heavy paper.
Next they color in the flowers with oil pastel and add the black lines on the vase . When the paint is dry they cut out the vase and flowers and glue down over the patterned cardstock.
I’ve also done this project with paint instead of the cut paper on a full size sheet of watercolor paper. I add more detail with the painted orange and lemon and plate, and also a wider variety of flowers. The flowers and line work are done with chalk pastel instead of oil pastel. Make sure to spray with fixative when they are finished.
Please refer people back to this site if you use this lesson! 🙂
Facebook
Pinterest
Twitter
Reddit
Email
Print
I'm writing a book!
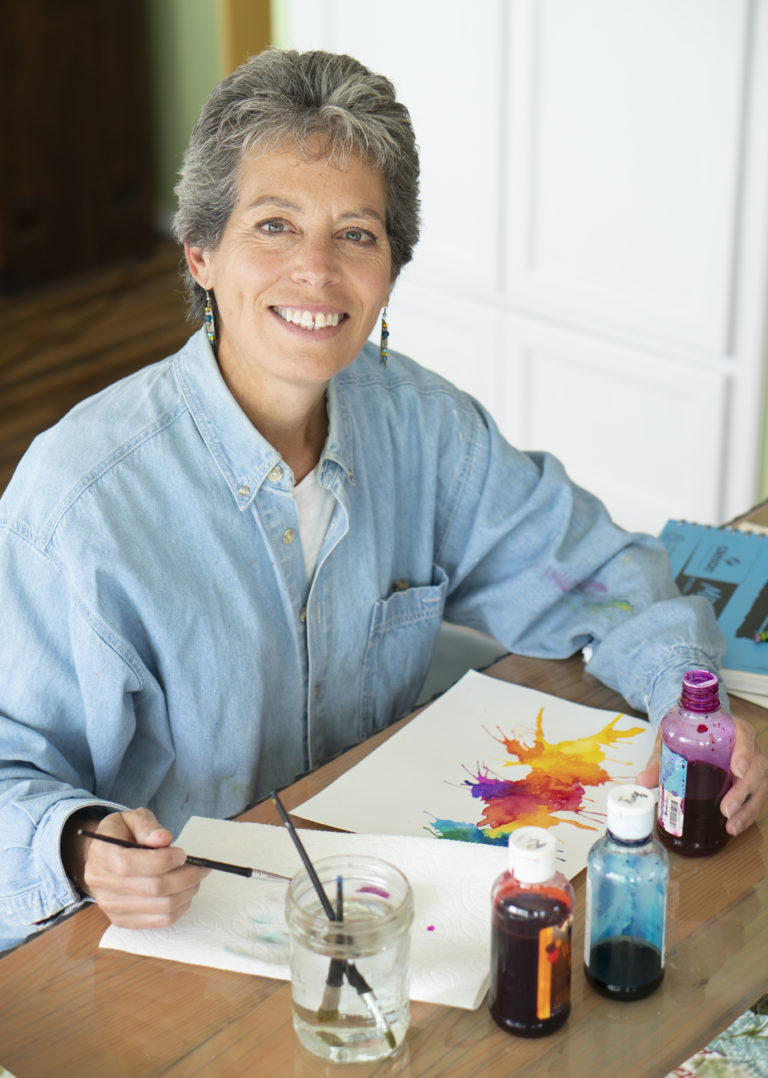
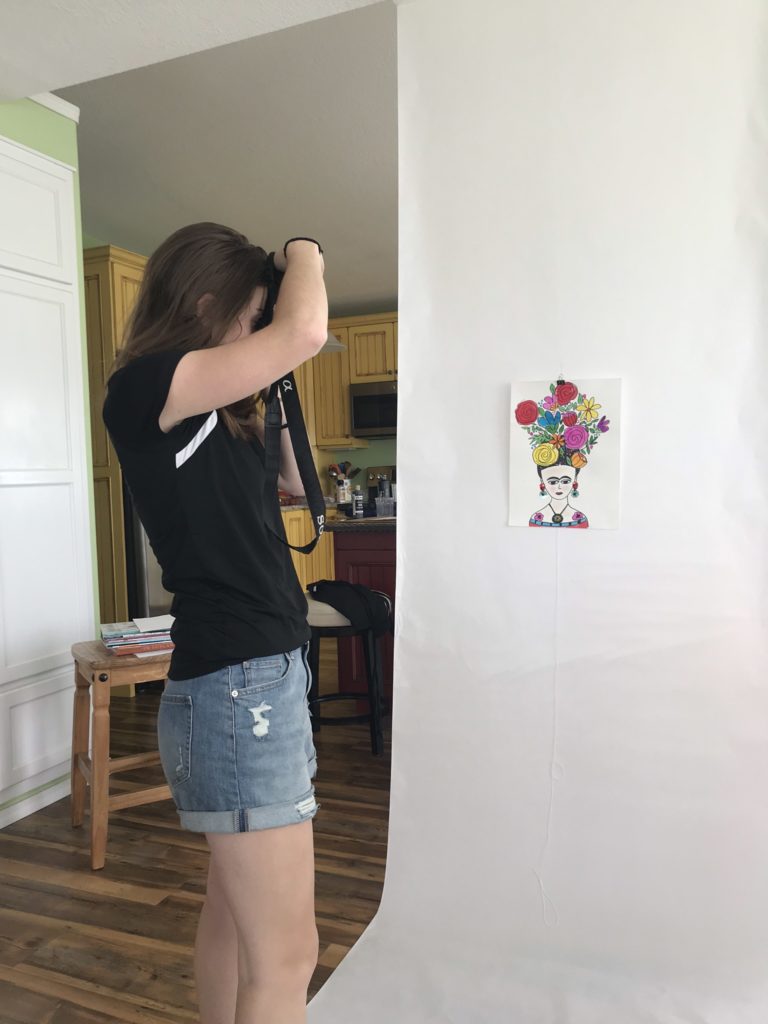
I am excited to announce my latest project! My daughter and I are working on a big, beautiful, creatively designed book on artist related lessons (similar to the ones on this website but with more details, step by step instructions and photos). The book will be for anyone who wants concise, detailed, well laid out lessons that are ready to teach, in a format that is fun to look at as well.


