This page contains affiliate links and I may receive a commission for purchases made through these links. Everything on this page I have used and heartily recommend for teaching art.
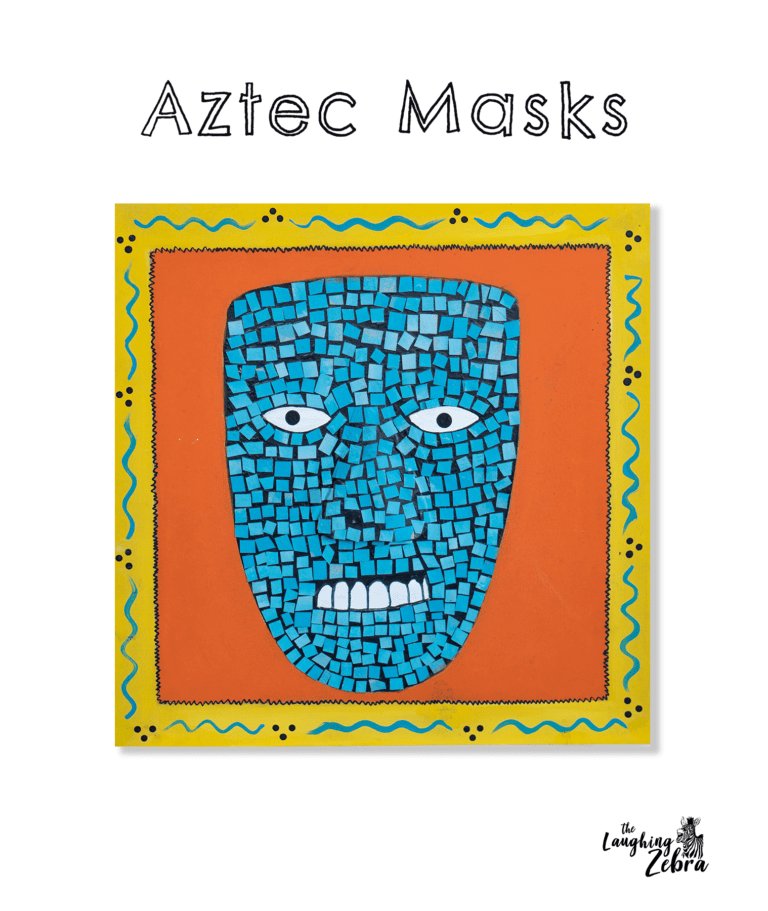
This Aztec Masks art lesson is another project I did with one of my 5th and 6th grade classes this year. I tied it in with their study of the Aztec and Mayan cultures and the early explorers. This took two 2-hour class periods.
How To:
I created a mask template (with eyes cut out) that each student traced around onto their board, then they attached a piece of cardboard we cut for a nose shape using tape. The inside of the mask was base coated black (except for the eyes and mouth), and the outside of the mask was base coated white.
While that was drying, I had the students paint 1/4 sheets of watercolor paper with a medium, dark, and light turquoise color streaking it on the paper instead of blending it in ( to make it look like real turquoise).
When the paint was dry they cut these into small tile pieces.
After the mask board was dry they added a border with a ruler and painted that in yellow, and the background orange.
Next they added the mosaic pieces with some Mod Podge, being careful to leave the black showing thru on all sides of each piece.
After painting the teeth and eyes in they went over the whole mask with the Mod Podge.
They each finished the piece with their own border design, and a Sharpie outline between the background and border.
This was a time consuming process, but produced a very real mosaic look when finished. I forgot my camera that day and so I don’t have any pictures of the student’s Aztec masks art.
Let me know in the comments if you have any questions or if you try out this project and please refer people back to this site if you use this lesson! 🙂
I'm writing a book!
I am excited to announce my latest project! My daughter and I are working on a big, beautiful, creatively designed book on artist related lessons (similar to the ones on this website but with more details, step by step instructions and photos). The book will be for anyone who wants concise, detailed, well laid out lessons that are ready to teach, in a format that is fun to look at as well.
This page contains affiliate links and I may receive a commission for purchases made through these links. Everything on this page I have used and heartily recommend for teaching art.
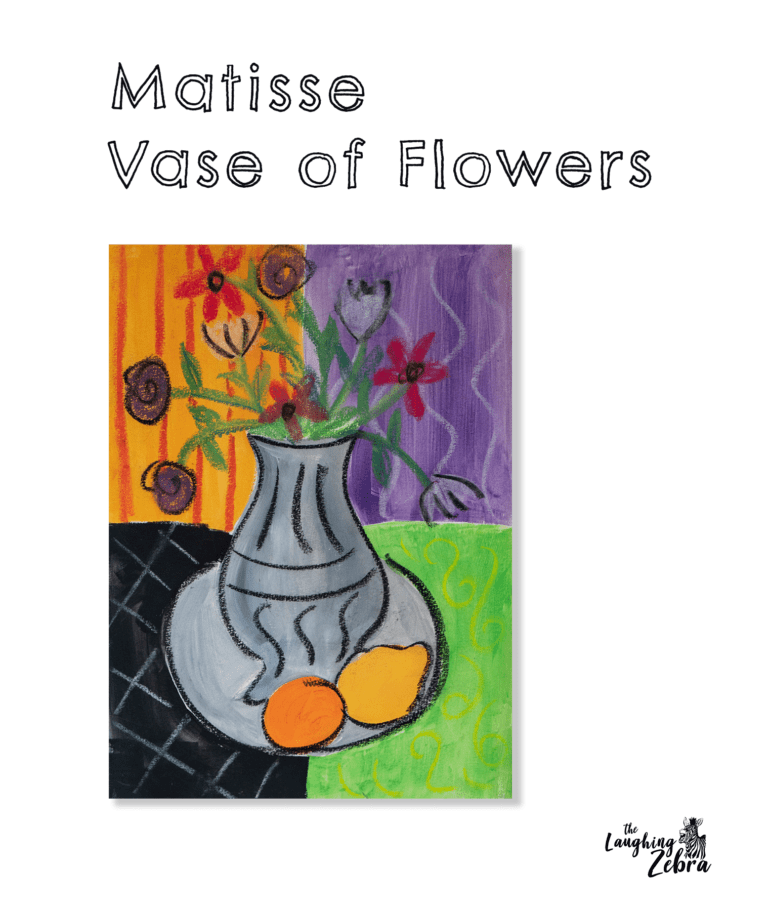
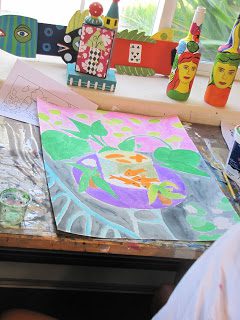
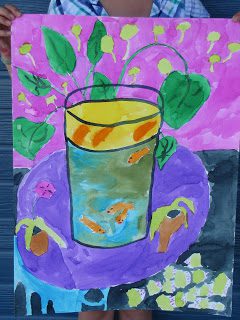
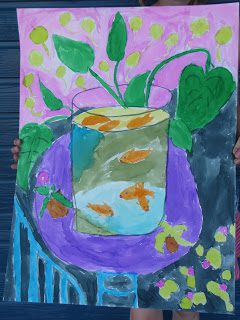
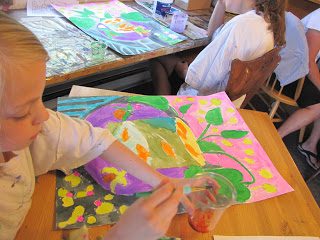
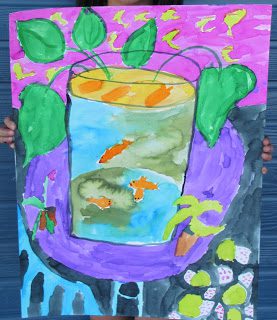
Henri Matisse is one of my favorite artists and so I am always looking for new projects to share him with my students. This is a class I did this summer for kids ages 9 and up. I bought some new watercolor paper to try and it was so fun to work with. (Canson XL Watercolor pads) The sheets are 18×24, and 140 pound paper weight so you can erase a lot and it takes more abuse than a lighter weight paper. We also used Dick Blick liquid watercolors (update: I have since switched to Sargeant brand liquid watercolors, as the Dick Blick ones are now a new thicker formula). The liquid watercolors are so much easier to use for the larger paper format. The kids don’t have to stop and mix more color and so they had more success with their washes. We did a sample drawing first on a smaller sheet of paper, looking at Matisse’s original painting. I also gave them each a coloring sheet picture of the painting. I had them simplify their drawings and leave out some of the background foliage and details. We did the drawing and painting step by step, taking time to talk about proportion and reflections. This was a great lesson and they all ended up with some beautiful paintings.
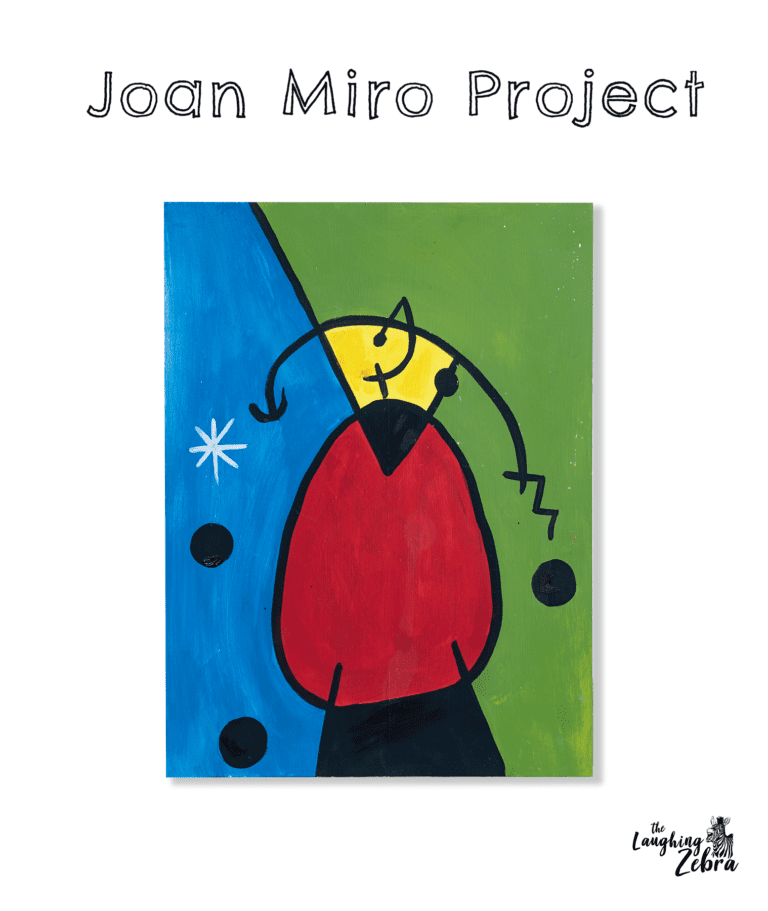
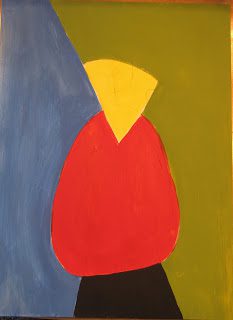
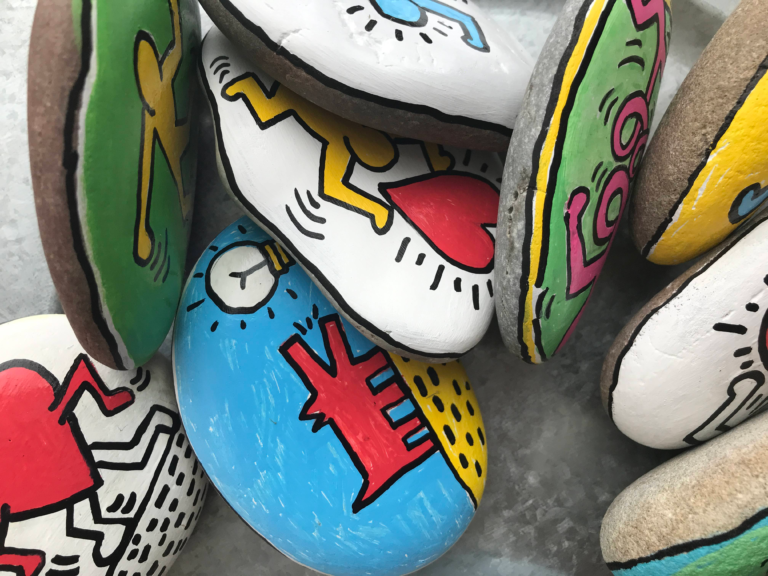
This is a project I just did with my preschool class, but it could be adapted for older ages. Kids love the bright colors, funny shapes and lines Miro uses in his work. I like using abstract art to teach kids that you don’t have to be able to draw something realistically to come up with a great piece of art.
For the preschool class I pre-painted the board white, and pre-drew the large shapes (see sample). If this were a kindergarten class or above I would let them do all the drawing. I had the preschoolers sand down the board. Then I had them draw in the other lines and shapes with a pencil, while I demonstrated it on a whiteboard. We talked about the different kinds of lines and shapes in this piece and how to make them.
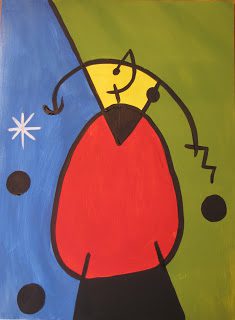
They went over all the lines in Sharpie (on my sample I skipped the Sharpie part). Then we started with the lightest color (yellow) and filled in all the shapes-giving the yellow, red, green and blue areas two coats. After everything was dry we went back in with a small round brush with black paint and went over all the lines and filled in the circles.
The results were great and the kids had fun (Unfortunately I didn’t have my camera).

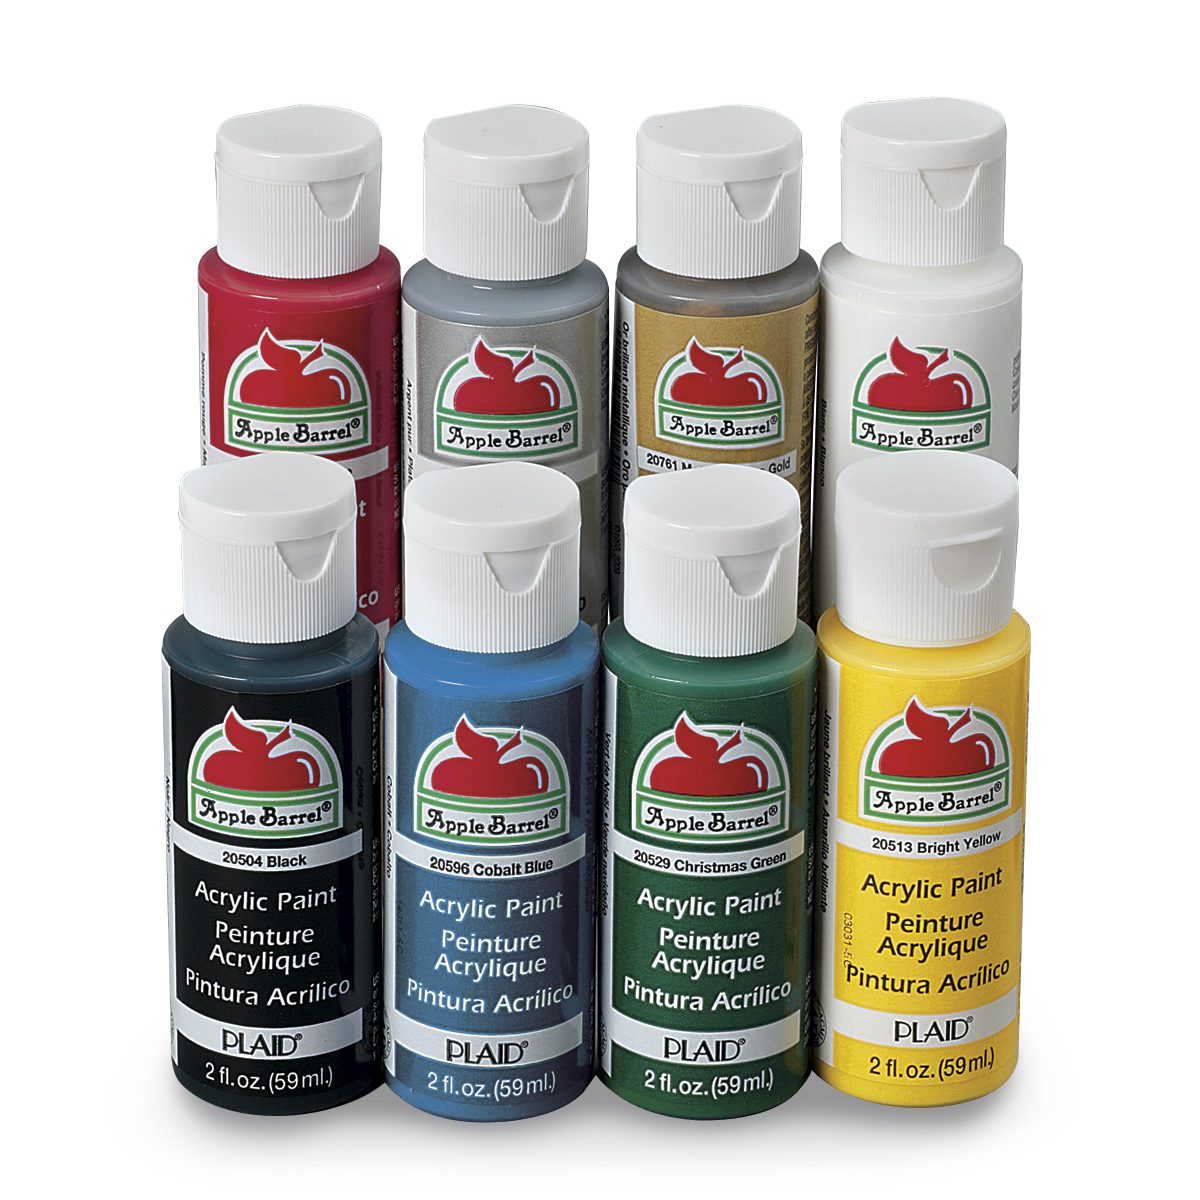
 Acrylic paint in yellow, orange, turquoise, white and black
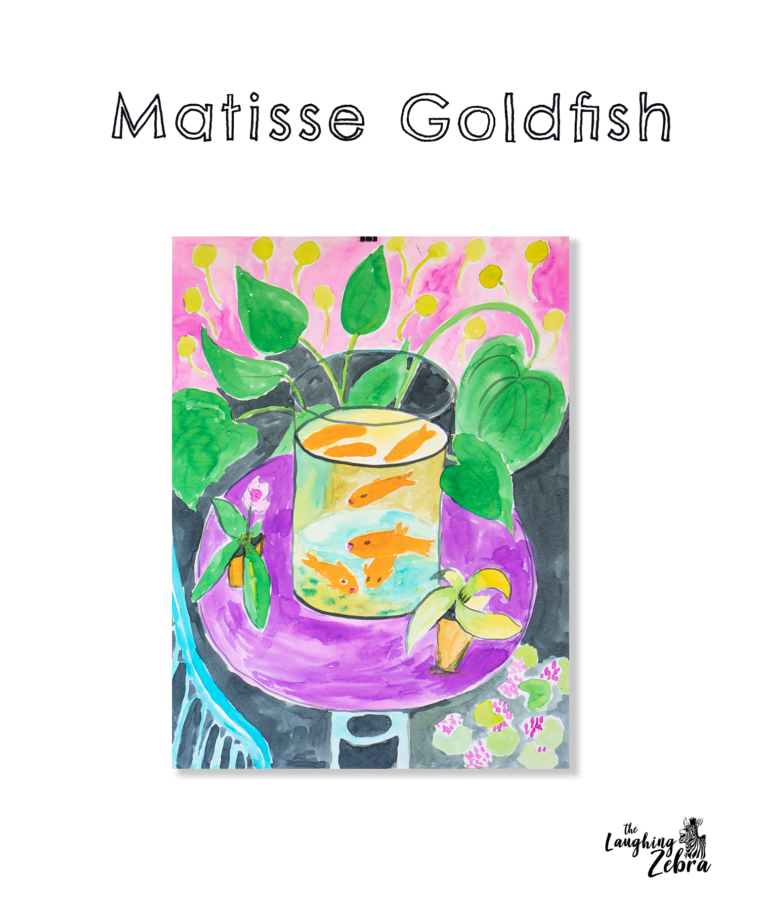


