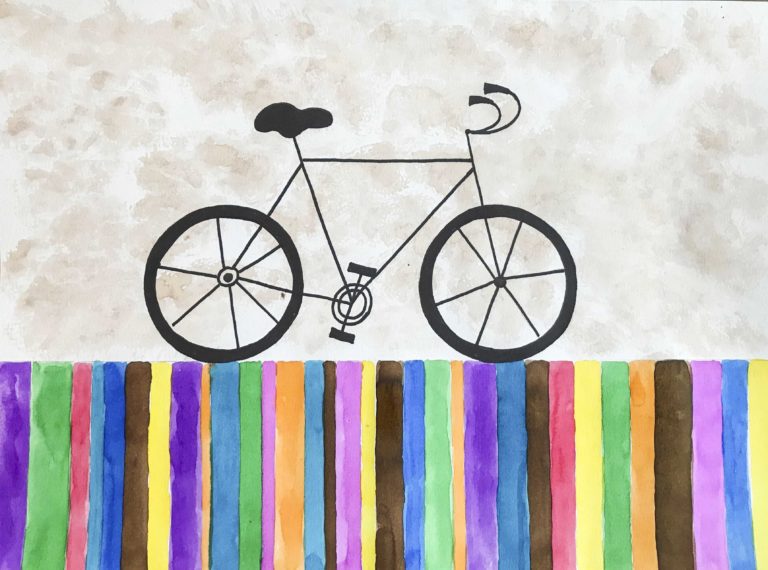
Art Lesson Inspired by Joel Henriques: Painting a Bicycle with Liquid Watercolors
This page contains affiliate links and I may receive a commission for purchases made through these links. Everything on this page I have used and heartily recommend for teaching art.
Welcome to our art lesson inspired by the renowned artist and crafter, Joel Henriques! In this lesson, we will delve into Henriques’ creative style and learn how to paint a bicycle using liquid watercolors in his unique and playful approach. Henriques is known for his innovative use of everyday materials and his emphasis on open-ended play and imagination, making his art projects perfect for both children and adults alike. Get ready to unleash your creativity and create a vibrant and imaginative artwork in the style of Joel Henriques!
Resources for teaching about Joel Henriques
When I teach an art lesson, I like to first tell my students about the artist we are studying before we start the actual art part. I try to find great videos, images, and slideshows that have already been created and are easy to access to help educate my students. Here are a few resources for teaching your kids a little bit more about the artist we are studying in this lesson, Georgia O’Keeffe!
Who is Joel Henriques?
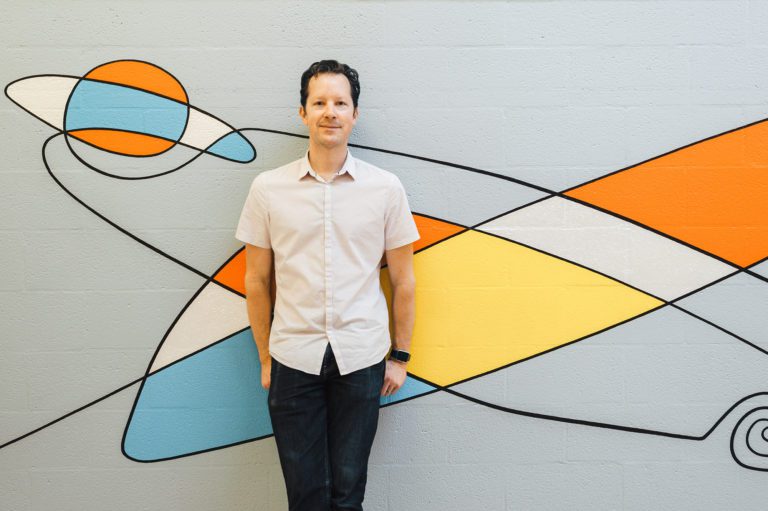
Joel Henriques is an artist and toy designer living in Portland, Oregon. He learned art from his grandma, who showed him famous artists such as Miro and Picasso and taught him about color and design. He has four-year-old twins who inspire him to create art and toys that coincide with their imaginations. He has a blog, Made By Joel, where he documents the toys and crafts and art he makes for kids.
Books
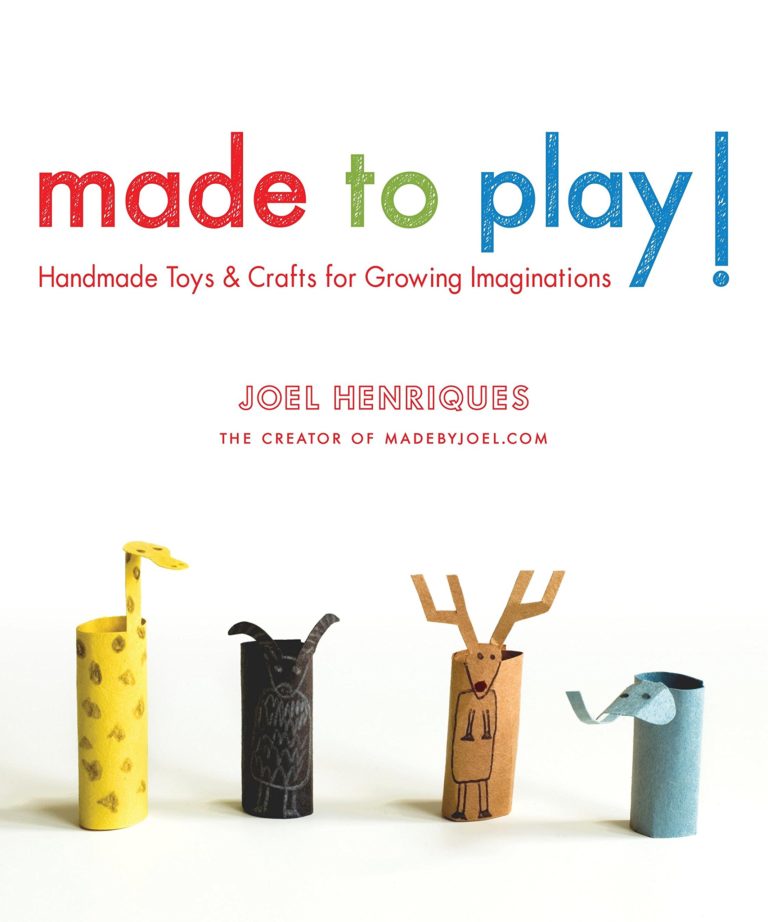
Made to Play
This book is written by Joel himself and has some amazing crafts and toys to make for kids in it.
Videos
Photos of his Artwork
Art Lesson Inspired by Joel Henriques: Painting a Bicycle with Liquid Watercolors
Kids of all ages can have success with this drawing. Help them get the tires and the main bike frame lines right and the rest will fall into place. If everything is not in proportion or exactly where it should be that is ok-it will still look like a bicycle!
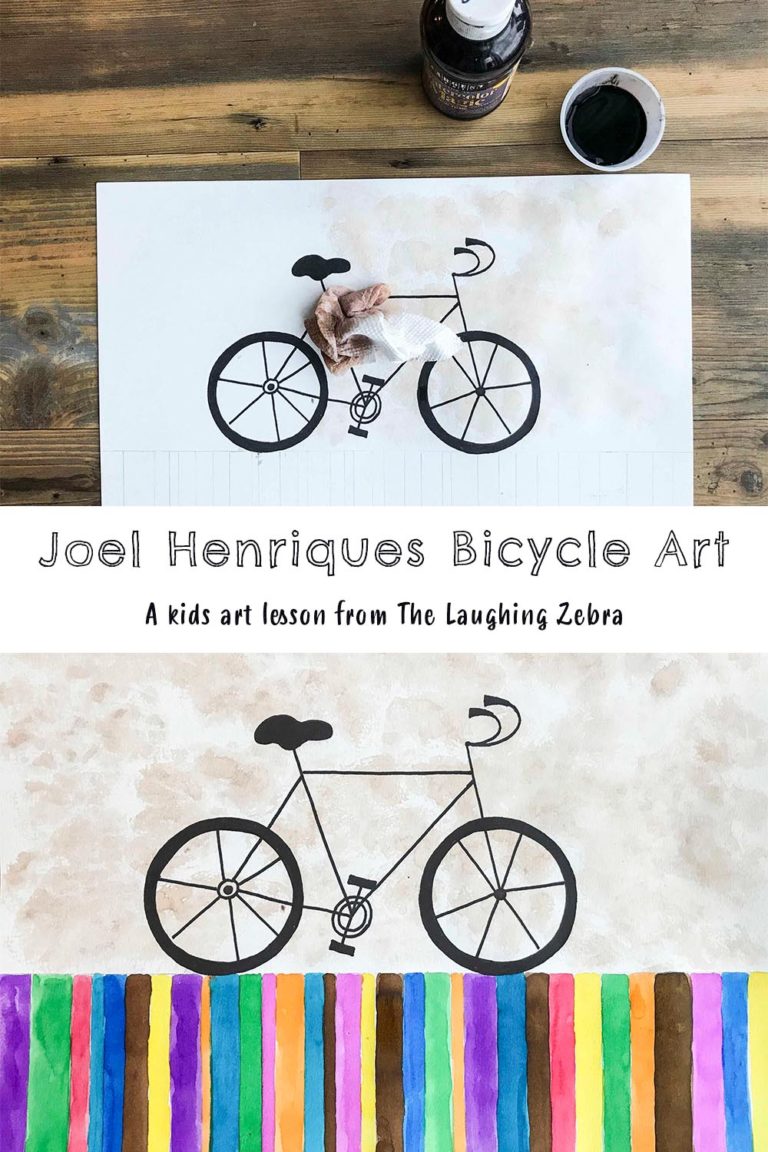
Supplies for Art Lesson Inspired by Joel Henriques: Painting a Bicycle with Liquid Watercolors:
These are the supplies I used (but other products could be substituted):
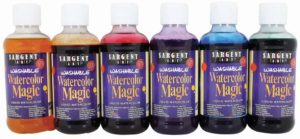
- Sargent art magic liquid watercolors- red, magenta,violet, brown, yellow, orange, turquoise, blue, green,
- Water container
- Paper towels
- Watercolor brush (I use the Crayola taklon #7 watercolor brush)
- Pencil
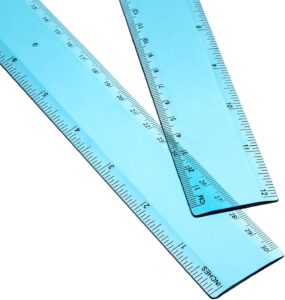
- Ruler
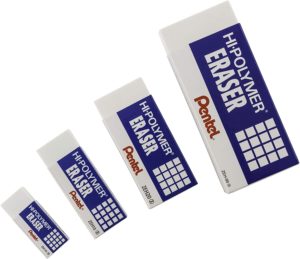
- Eraser
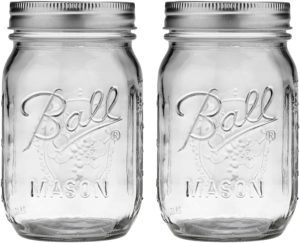
- 2 ½ inch drinking glass, small mouth pint mason jar, or small yogurt container
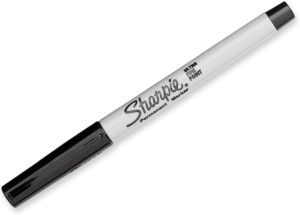
- Fine line black Sharpie
- Small container to mix brown watercolor with water in
- 11×15 Canson Montval Watercolor paper
Step-by-Step for Art Lesson Inspired by Joel Henriques: Painting a Bicycle with Liquid Watercolors:
- With a ruler draw a line 4 inches from the bottom of your paper.
- Using the ruler make about 30 stripes of various widths. (for younger kids just do about 10-15 stripes)
- Mark 5 ½ inches out on your horizontal line. (it can be anywhere)
- Place your glass or jar ¼ inch above the mark and trace a around it to make the tires. (center it over the mark)
- Find the center of both tires and mark it with the pencil.
- Draw a mark 3 ¾ inches above the horizontal line in the center of the tires, and use it as a guide to draw a light horizontal line from tire to tire.
- Add two diagonal lines.
- Finish off the bottom of the bike frame with two triangle shapes (see photo)
- Extend the diagonal lines ½ inch and add the seat and handlebars.
- Add a double circle where the triangles meet between the tires. Add the petals.
- Add circles in the center of the tires and 6 diagonal spoke lines.Sharpie over all the bike pencil lines. Don’t worry if some of your lines get wobbly or the tires get too thick etc. Erase extra pencil lines when you are done.
- Add a few drops of brown liquid watercolor to a small container of water (I use a souffle cup) and with a scrunched up paper towel dip into the container and then pounce on the paper to make a light textured background above the 4 inch horizontal line. Be careful the watered down paint is not too dark, you want just a light color. (add more water if necessary)
- Starting with the yellow fill in 2-4 stripes with each color (for younger kids 1 or 2 for each stripe since they will only have 10-15) .I did 5 stripes of the brown though to break up all the colors. (do lighter colors first) Spread them out and be sure not to fill in a stripe next to a wet one or they will bleed together. This part takes some patience-don’t rush and just use the tip of your brush and a little paint at a time.
Step-by-step photos of Art Lesson Inspired by Joel Henriques: Painting a Bicycle with Liquid Watercolors
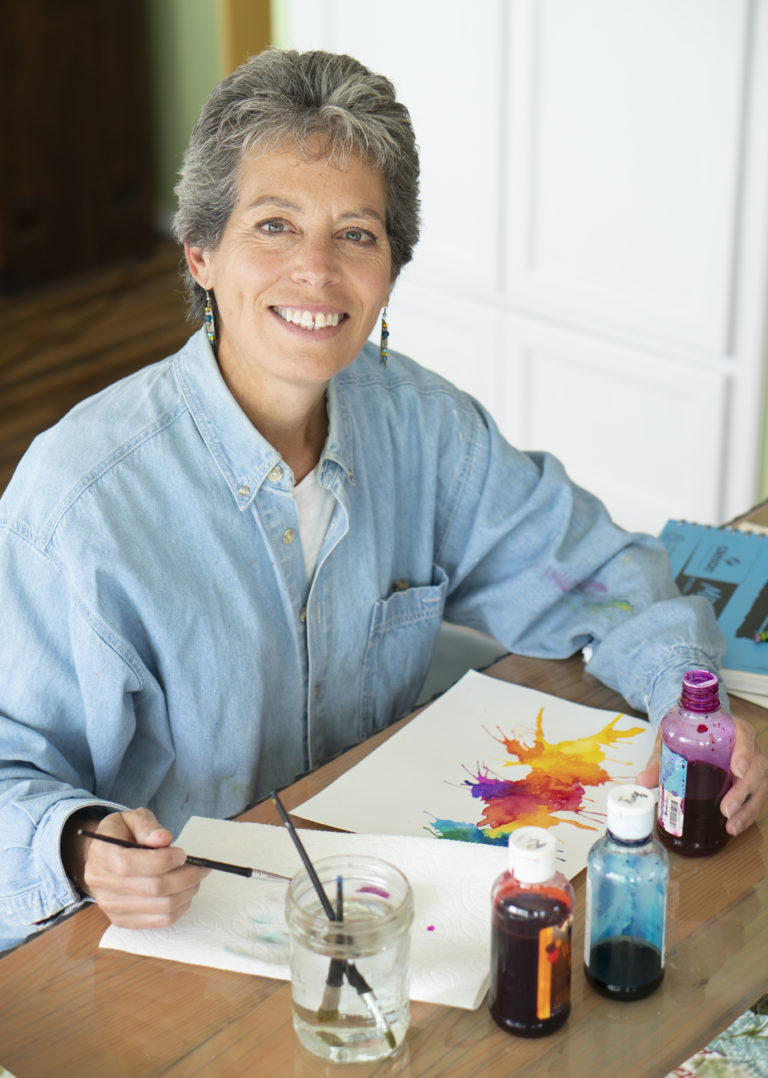
I'm writing a book!
I am excited to announce my latest project! My daughter and I are working on a big, beautiful, creatively designed book on artist related lessons (similar to the ones on this website but with more details, step by step instructions and photos). The book will be for anyone who wants concise, detailed, well laid out lessons that are ready to teach, in a format that is fun to look at as well.
Book InfoSign up here for news about my upcoming art lesson book:
Other Lessons:
Recent Blog Posts:
The Doors of Italy
At the end of a 3 week vacation to Europe, I came away with so many pictures of things that captured my interest and the mood of the moment. I couldn’t get enough of all the time worn doors, especially those in Italy.
Making Reading Beautiful!
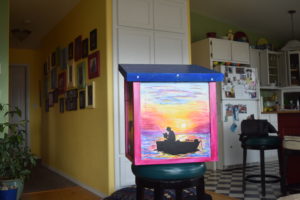
We painted Free Little Libraries! Does your city have a Little Free Library? These are little free standing libraries that have a “host” who looks after them and can be located in someone’s yard , out in the country, or in front of a business or in a park. You can take a book to read or leave one for someone else to find.
My Beautiful Tuscan Kitchen
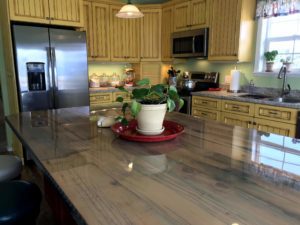
This year marks the two year anniversary of our kitchen remodel! My wonderful cabinet maker husband finally got around to making this custom kitchen for our home and I couldn’t be happier!

