The Laughing Zebra

art lesson

My Top Ten for the Next Ten

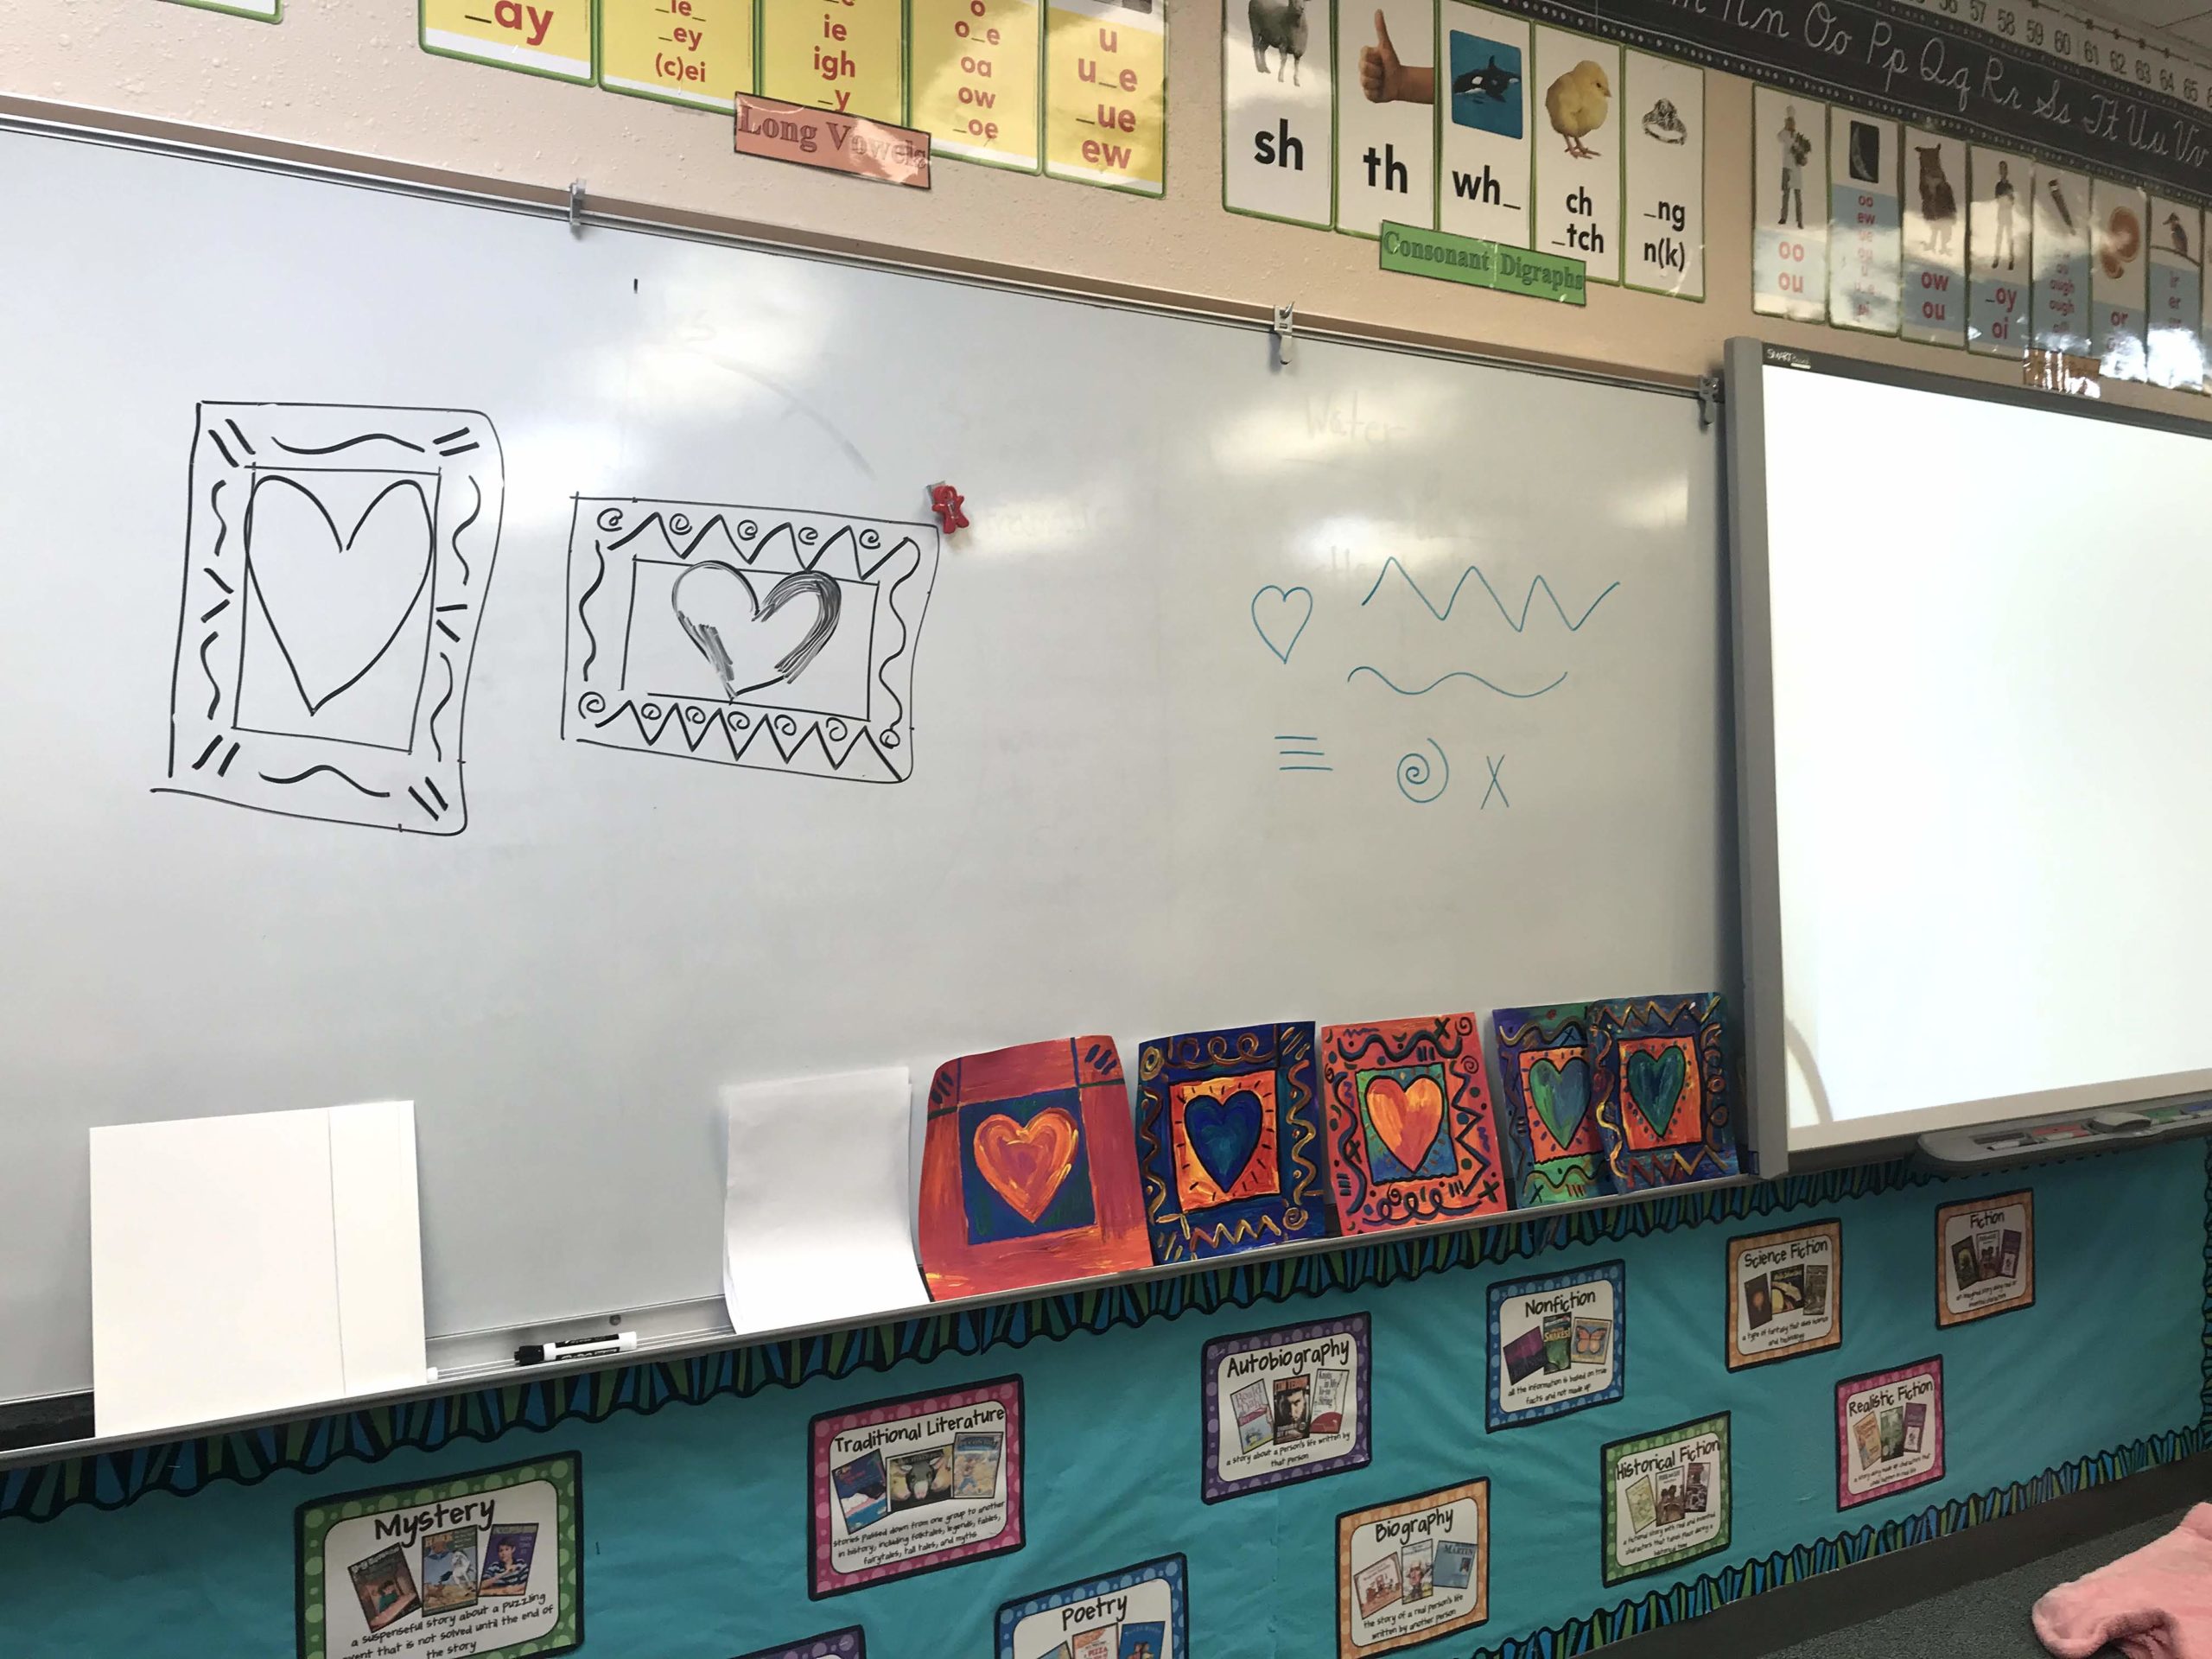
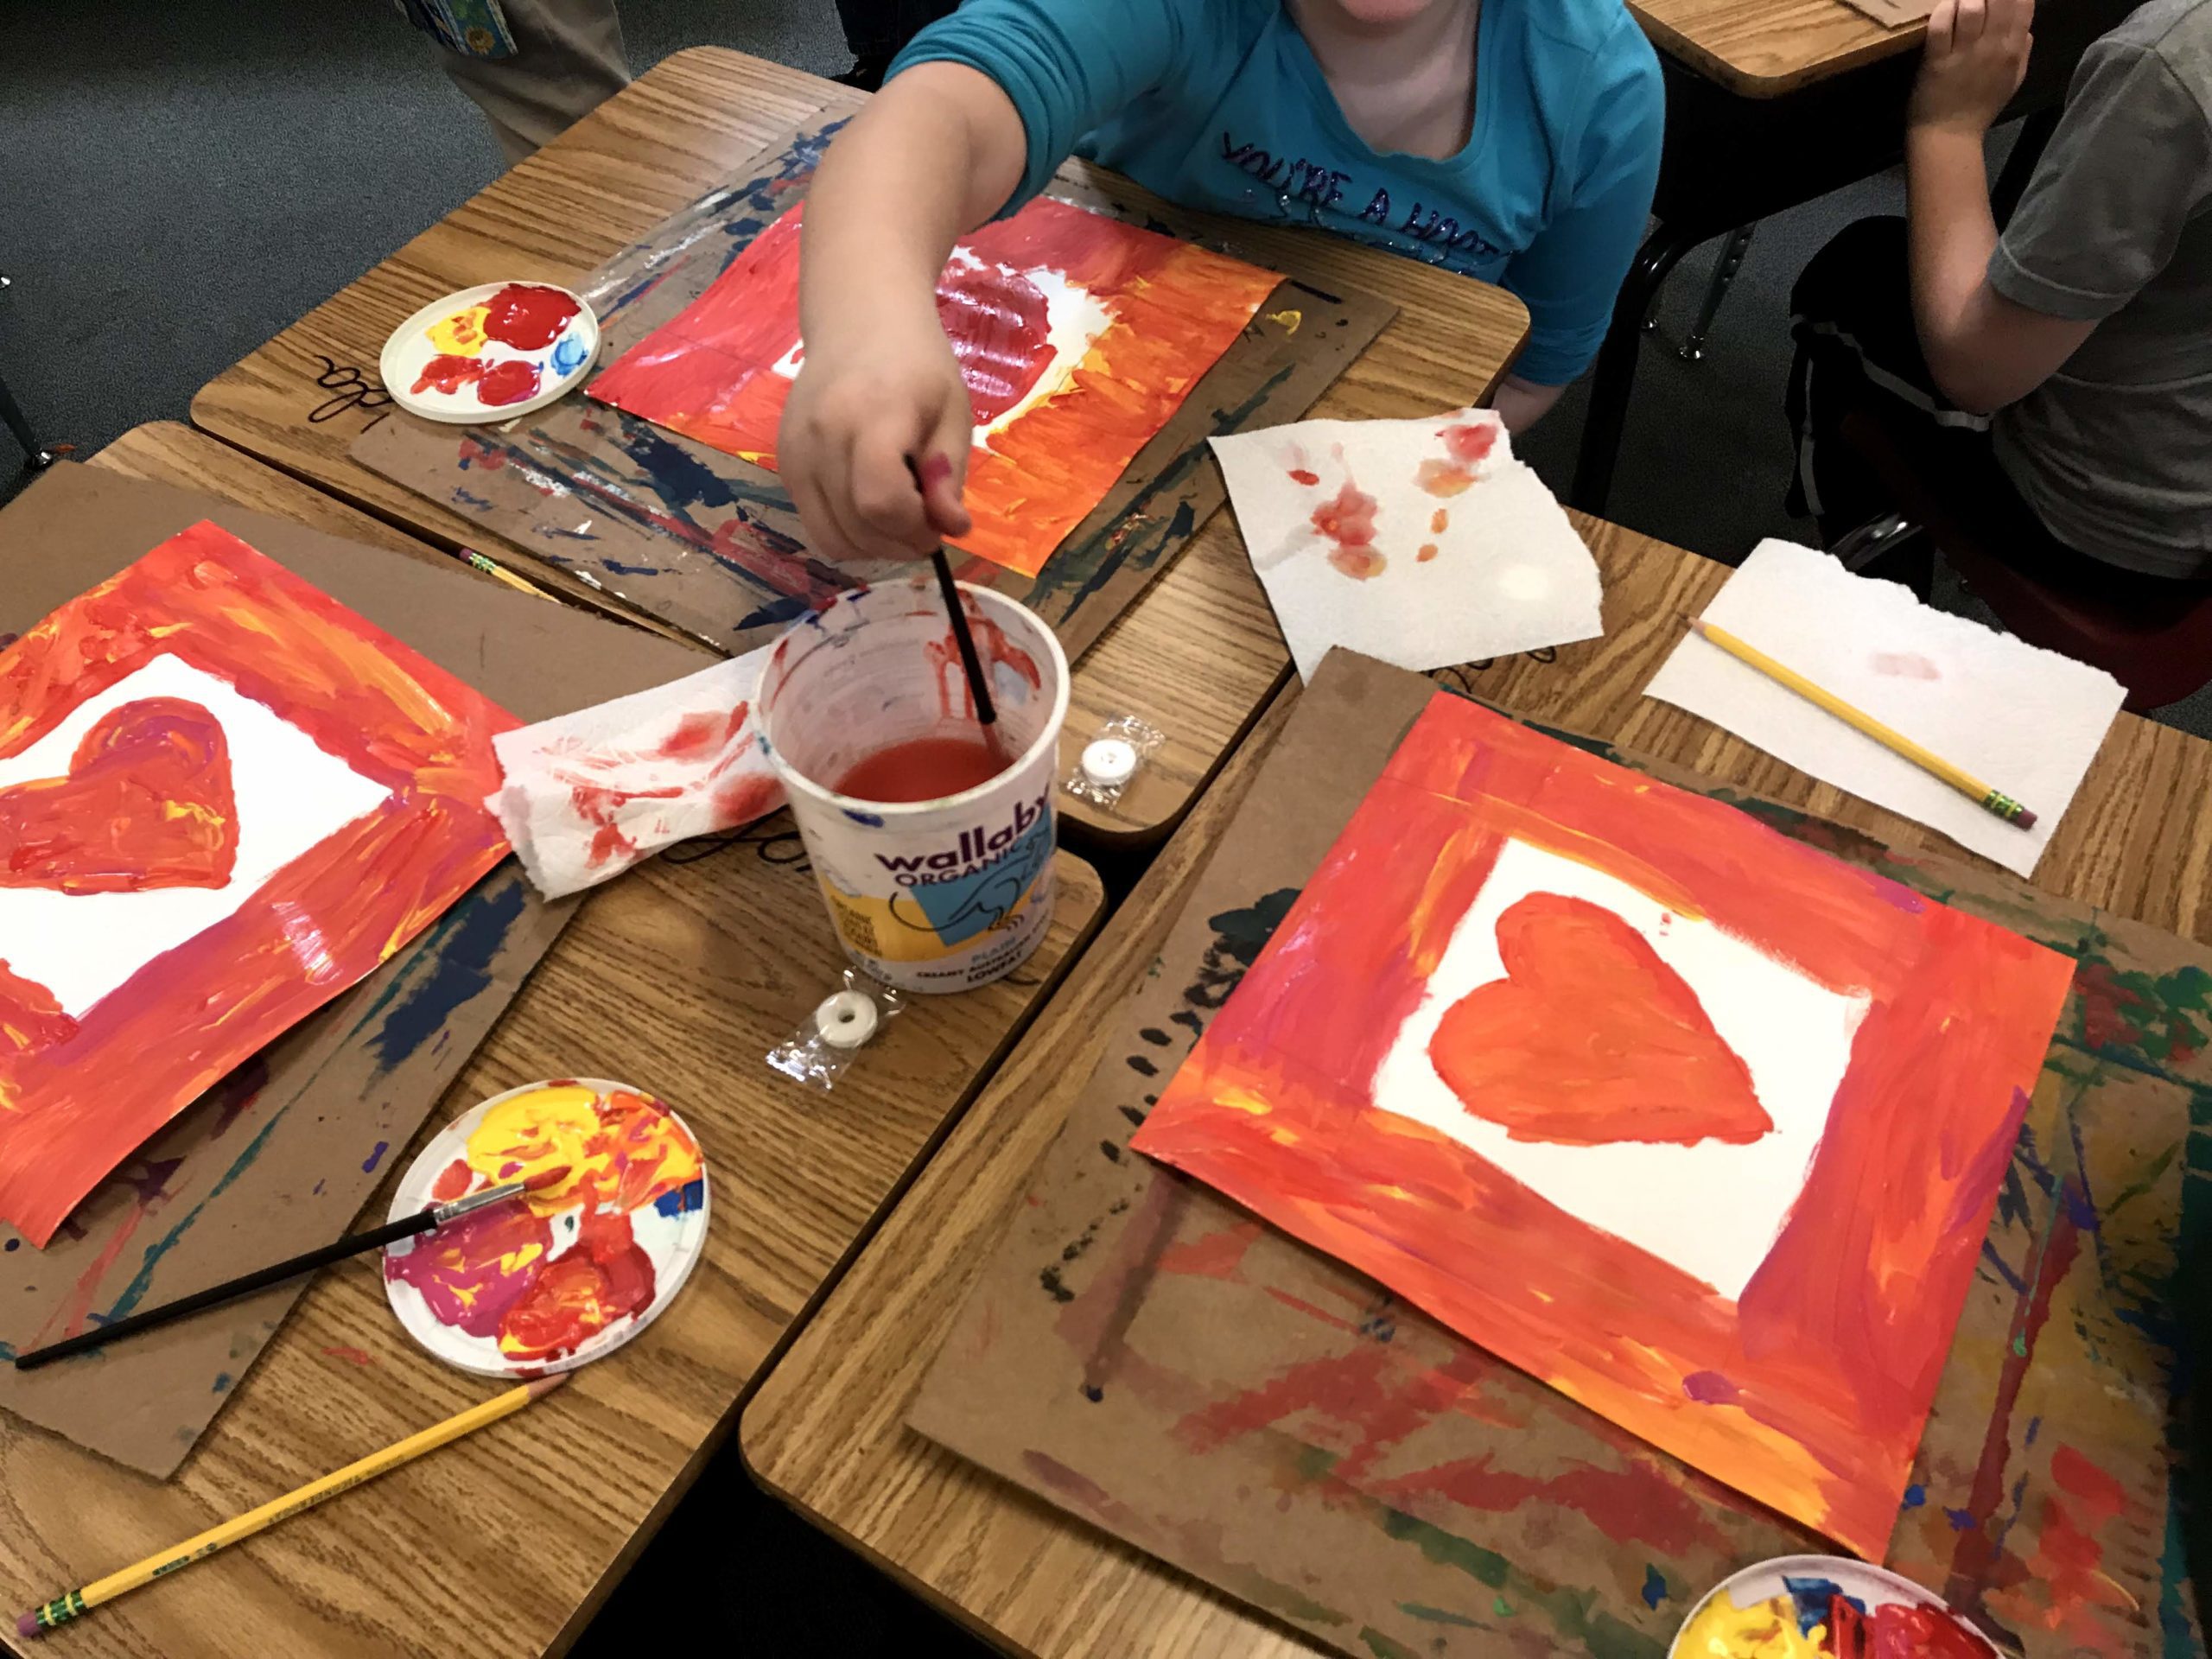
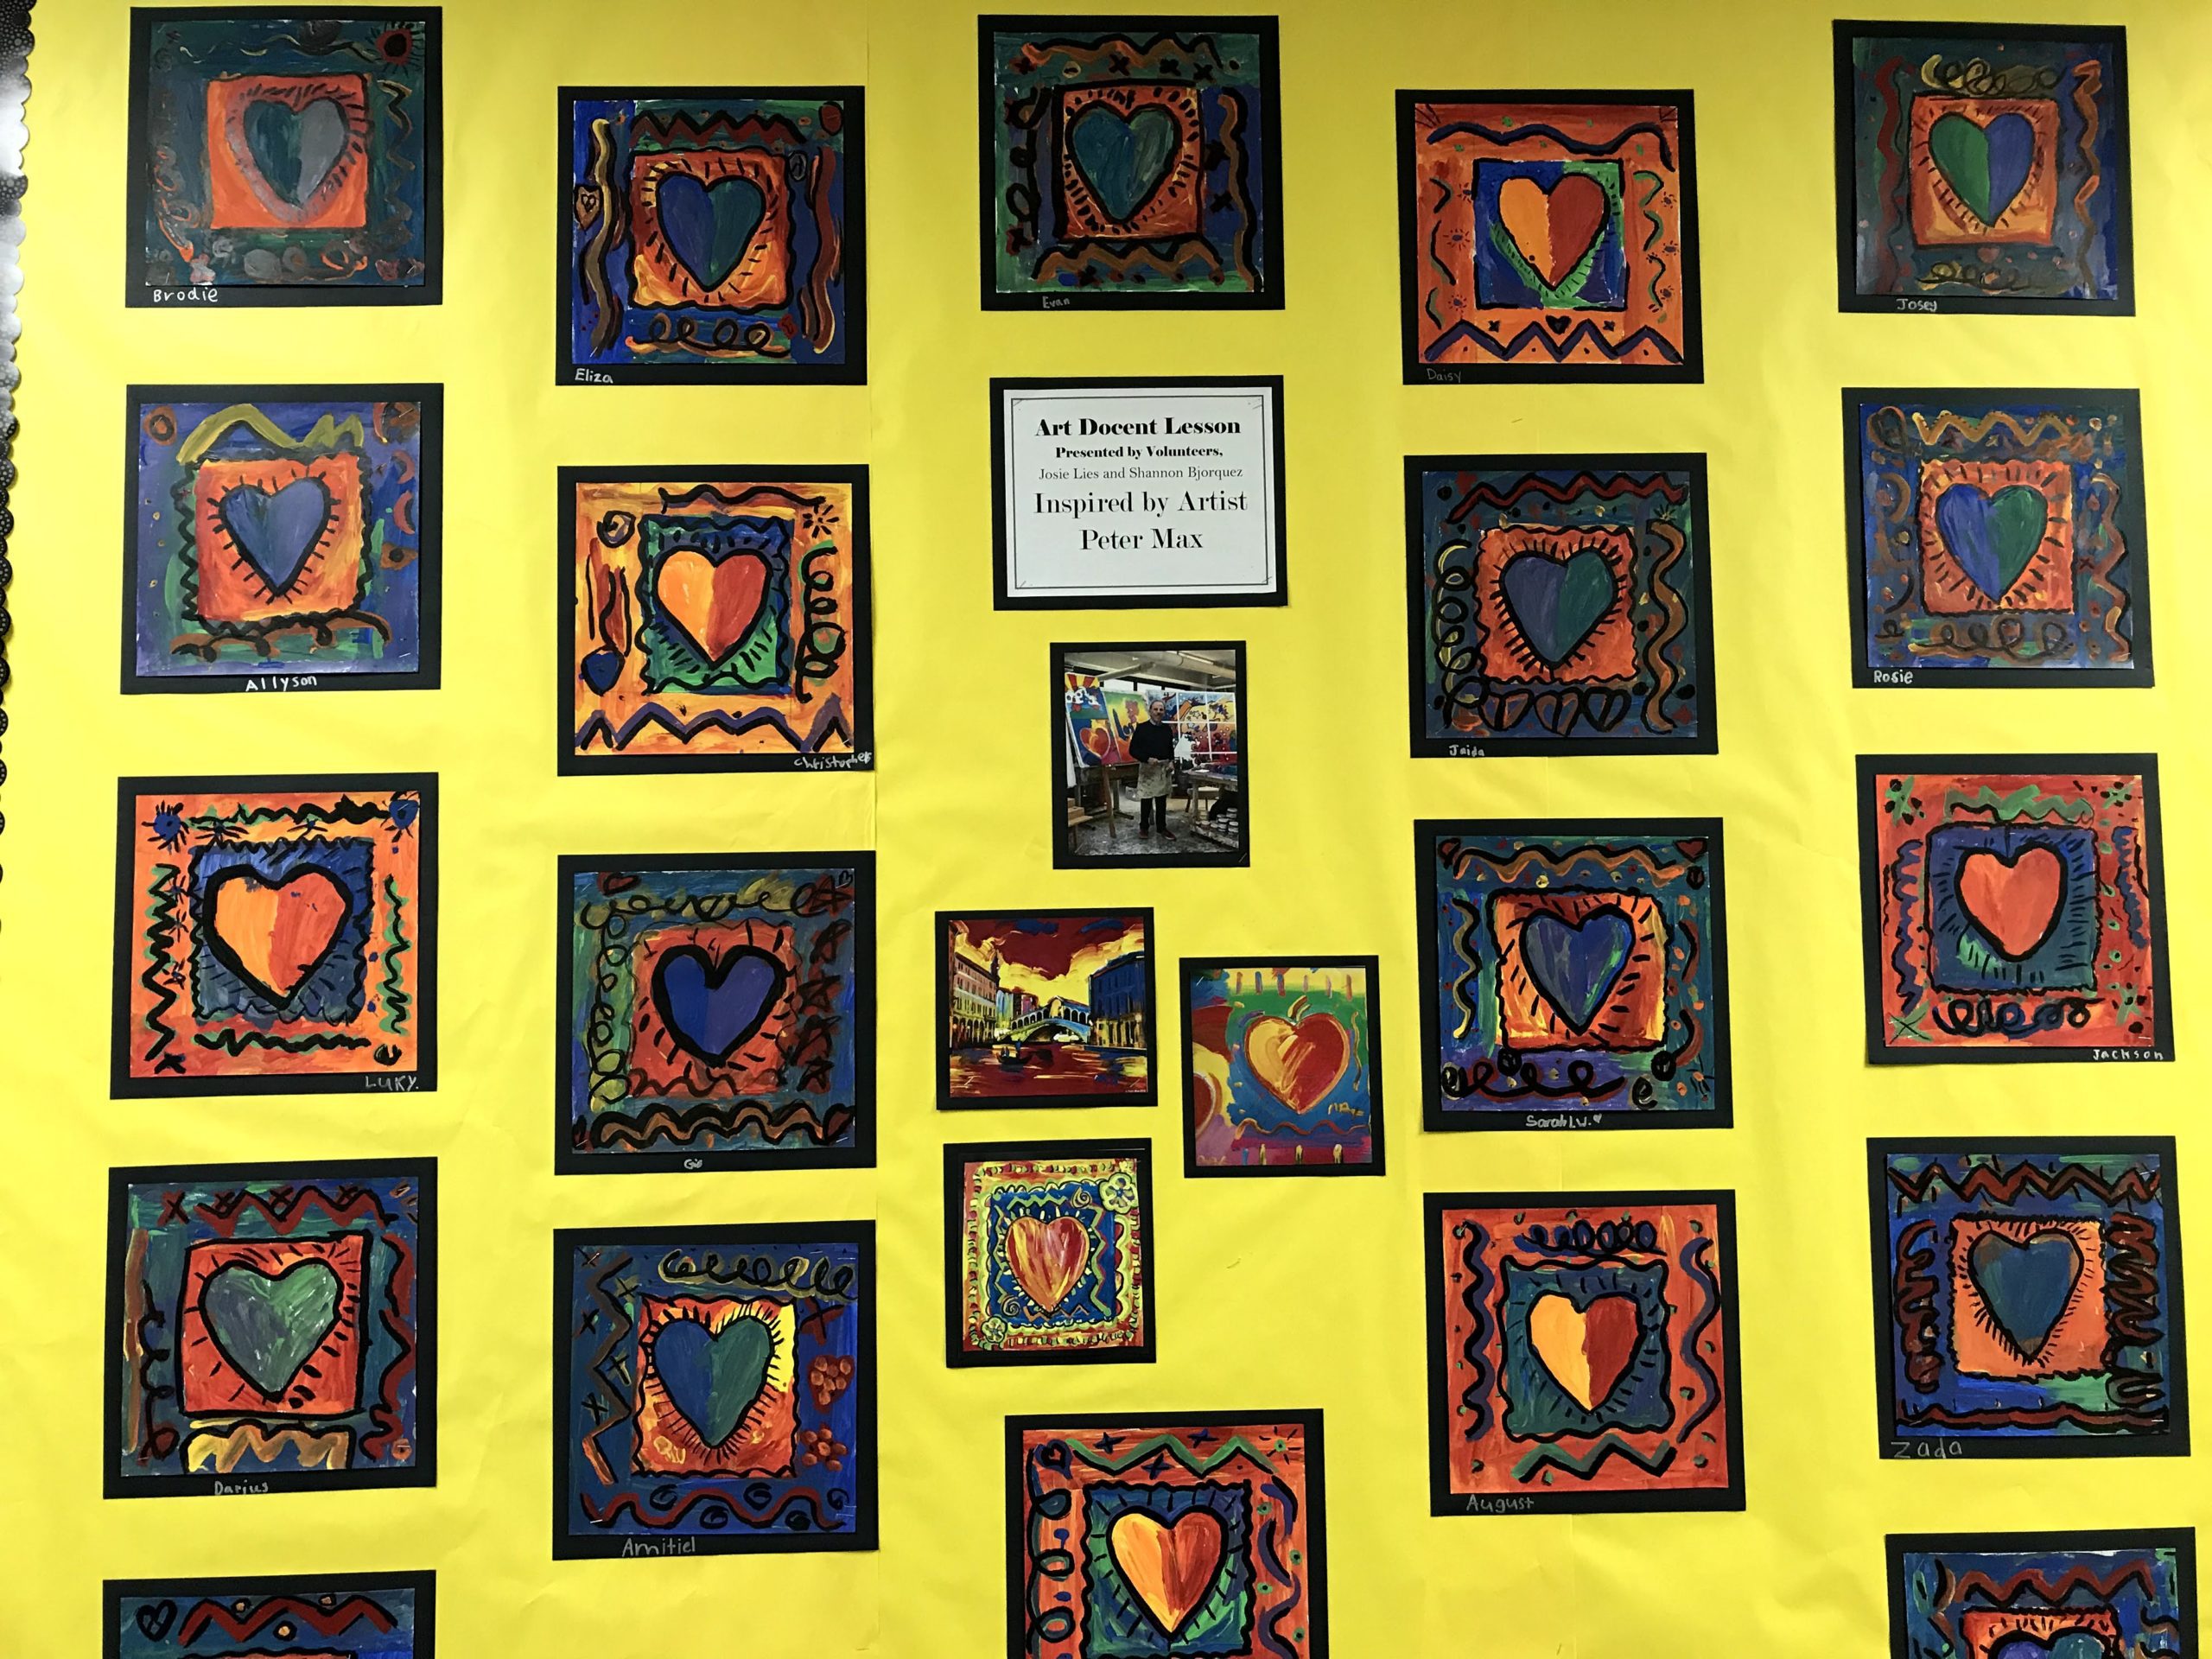
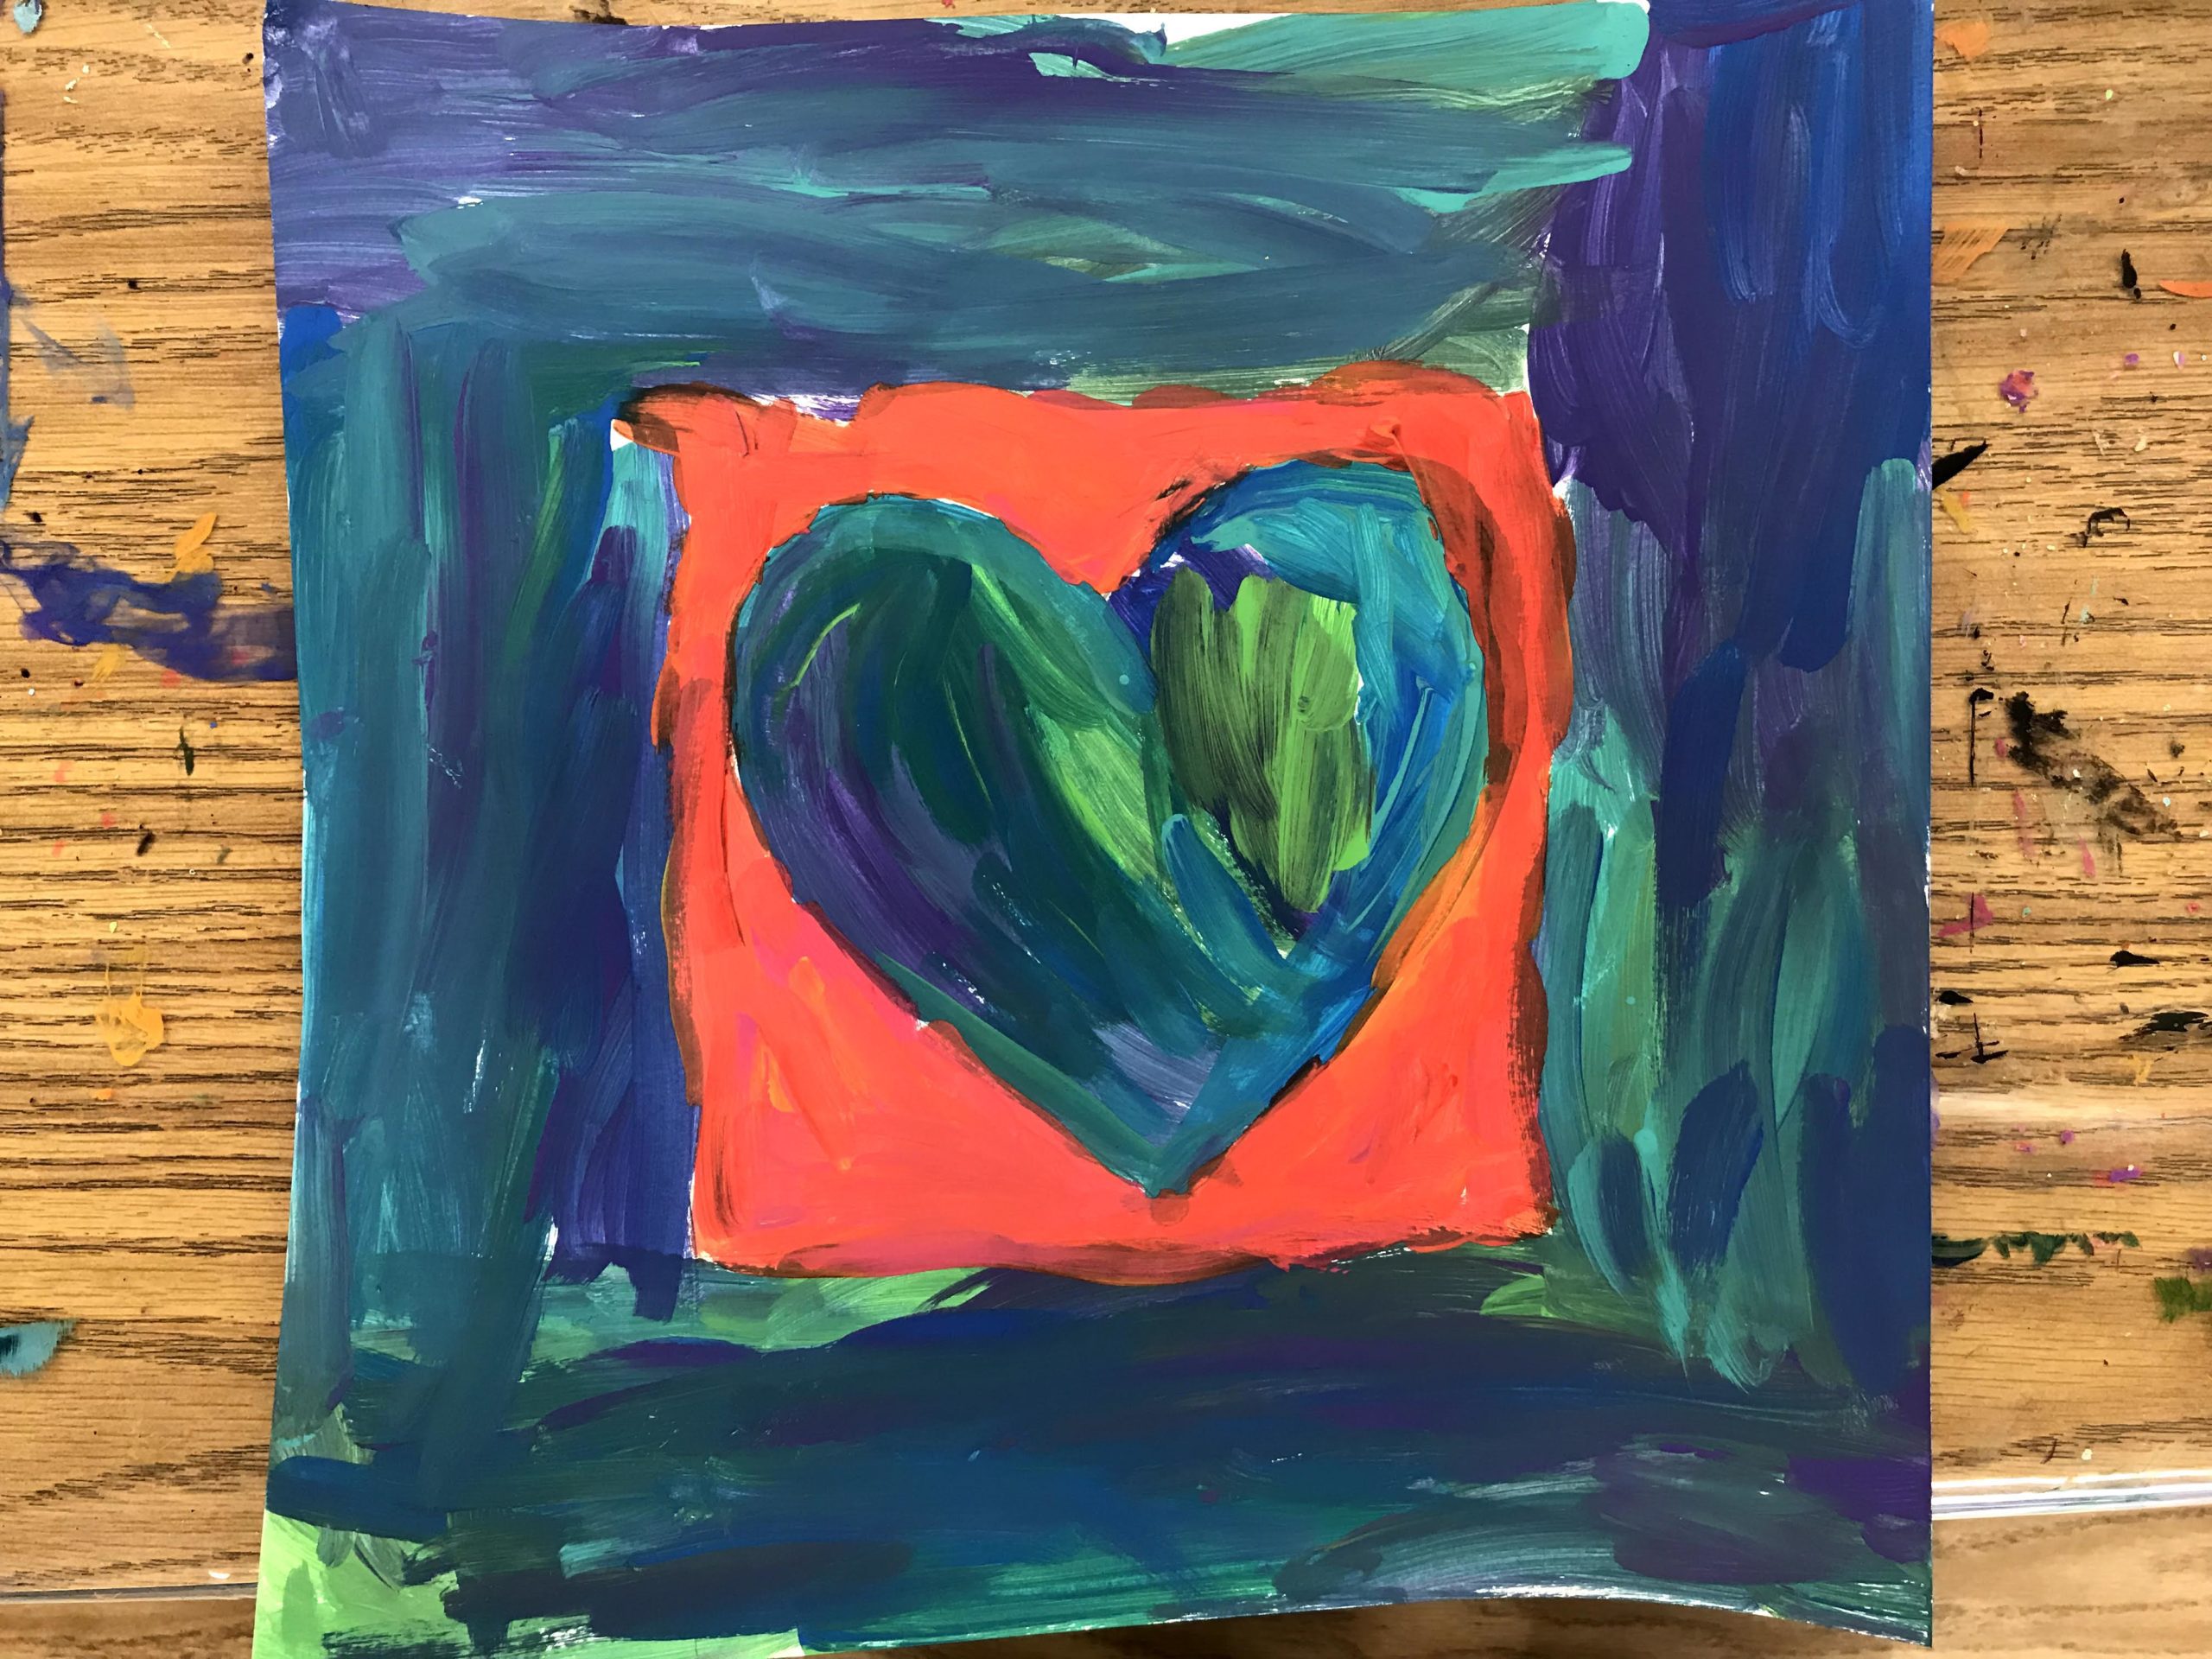
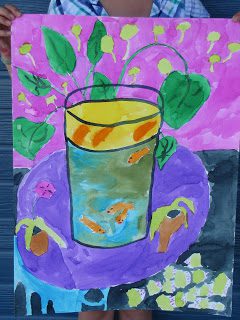
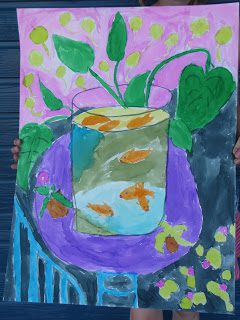
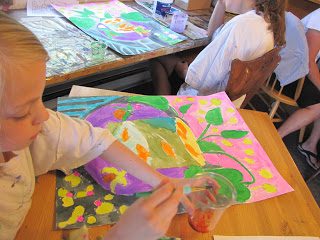
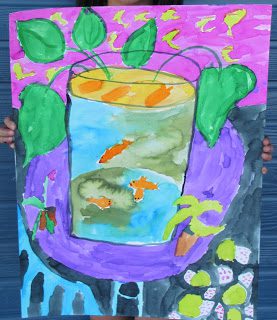
To all you moms and dads at home with the kids…. I know you must be going a bit crazy by now trying to keep your kids occupied and content. As an art teacher and artist I always tended to gravitate toward an art project of some kind when my kids were home during school breaks. I guess it is what I am most comfortable with and art gets the creative juices flowing which tends to be relaxing and engaging at the same time. Plus there are hidden things to learn and skills to master. A win win!  I thought I would throw out some projects/ideas to help you find some fun artistic outlets.

So, in honor of the 10th day off school for us here in Montana I am posting a list a day for the next 10 days of 10 crazy, exciting, unusual, artsy, fun things to keep your kids and you smiling and learning some new things.

Check back tomorrow for my first list (hint: This one will include some great videos and art sites for kids to explore)!

Facebook
Twitter
Reddit
Email
Print

Peter Max Heart Art

This page contains affiliate links and I may receive a commission for purchases made through these links. Everything on this page I have used and heartily recommend for teaching art.

Are you looking for a great Valentine’s Day art project? Keep reading to find out about this awesome Peter Max Heart Art project.

I originally found this great lesson on PaintbrushRocket.blogspot.com. I have done it with multiple ages with lots of success. It is a fun one for Valentine’s Day and also to teach the double loading technique.

How To:

  1. Have students draw a frame around the 11×11 paper using the 2/12 inch paper strip as a guide.
  2. Fold the 5×6 inch paper in half the longer way (should be 6 inches long when folded).
  3. Have them draw 1/2 of a heart to fill the side.
  4. Cut out the heart and draw around the heart pattern in the center square of the paper.
  5. Students can choose either warm colors or cool colors to paint the frame and heart. Students paint the heart and frame using the double loading technique (two colors at once on a brush load). Do not blend the colors but rather keep dipping in different combinations to give the finished multi color look. Individual brush strokes and colors should show.
  6. When they are finished painting have them rinse and dry their brushes completely.
  7. Now they will paint the small square background (around the heart) with the opposite color group they chose for the heart and frame. So if they chose the warm colors for the heart and frame, now they will use the cool colors for the small square background, and vice versa.
  8. While all background colors are drying they will sketch out their heart and frame on a practice sheet (do this on the board and have them follow along with you) and decide what kind of Peter Max marks they will use to decorate their picture (demonstrate some squiggles, dashes, x’s, zig zags, wavy lines and hearts on the board).
  9. Once the background paint is dry, they will add their decorative lines with their paint brush using the cool colors on the warm background and the warm colors on the cool background.
  10. The last step is to add some india ink marks and lines (pour this into the small souffle cups for 1-2 students to share). Make sure you shake it up before you pour it. And make sure they don’t overdo the black lines.

Looking for another Valentine’s Day art project? Check out my Jim Dine Heart Art lesson!

Let me know if you have any questions in the comments and please refer people back to this site if you use this lesson! 🙂

I'm writing a book!

I am excited to announce my latest project!  My daughter and I are working on a big, beautiful, creatively designed book on artist related lessons (similar to the ones on this website but with more details, step by step instructions and photos). The book will be for anyone who wants concise, detailed, well laid out lessons that are ready to teach, in a format that is fun to look at as well.

Book Info

Supplies

Other Lessons:

Recent Blog Posts:

door in Italy with turquoise bike by it.

The Doors of Italy

At the end of a 3 week vacation to Europe, I came away with so many pictures of things that captured my interest and the mood of the moment. I couldn’t get enough of all the time worn doors, especially those in Italy.

Read More »

Making Reading Beautiful!

We painted Free Little Libraries! Does your city have a Little Free Library? These are little free standing libraries that have a “host” who looks after them and can be located in someone’s yard , out in the country, or in front of a business or in a park.  You can take a book to read or leave one for someone else to find.

Read More »

My Beautiful Tuscan Kitchen

This year marks the two year anniversary of our kitchen remodel! My wonderful cabinet maker husband finally got around to making this custom kitchen for our home and I couldn’t be happier!

Read More »

Modigliani Tissue Paper Face Project

This page contains affiliate links and I may receive a commission for purchases made through these links. Everything on this page I have used and heartily recommend for teaching art.

Amedeo Clemente Modigliani (July 12, 1884 – January 24, 1920) was an Italian artist who worked mainly in France. If you are not familiar with this artist he was famous for his paintings of elongated faces with long skinny necks. His drawings were simple and stylized. This is a fun lesson to do with all ages, and I have added the tissue paper background for an extra twist, since the face 

painting can be a fairly quick project to do.

How To:

  1. I begin this lesson by showing some of Modigliani’s portraits. I talk about the long skinny faces and necks, and the almond shaped eyes,simple nose, and small rosebud lips.
  2. Starting with a big skinny U shape, I have the students practice a simple face drawing in this style following my steps as I do it on a whiteboard. For fun I have them do simple curly lines for the hair. If I have already done a portrait lesson with them I point out the difference between a more realistic portrait; the shape and size of the features, and the placement of them compared to Modigliani’s faces.
  3. Next I have them do a large drawing of the face on the watercolor paper, filling up most of the space. After they have done it in pencil, I have them go over all the lines with Sharpie.
  4. Then we watercolor the faces. I let them have some freedom with the hair, making it two-tone if they want, and just painting it loosely around their Sharpie lines.
  5. After they have done the painting part then we use small pieces of tissue paper to fill in the background putting water under and over each piece with a brush and overlapping them.
  6. When the tissue dries we pull that off, and you end up with a textured looking background.

Let me know in the comments if you have any questions and please refer people back to this site if you use this lesson! 🙂

I'm writing a book!

I am excited to announce my latest project!  My daughter and I are working on a big, beautiful, creatively designed book on artist related lessons (similar to the ones on this website but with more details, step by step instructions and photos). The book will be for anyone who wants concise, detailed, well laid out lessons that are ready to teach, in a format that is fun to look at as well.

Book Info

This page contains affiliate links and I may receive a commission for purchases made through these links. Everything on this page I have used and heartily recommend for teaching art.

Henri Matisse is one of my favorite artists and so I am always looking for new projects to share him with my students. This is a class I did this summer for kids ages 9 and up. I bought some new watercolor paper to try and it was so fun to work with. (Canson XL Watercolor pads)  The sheets are 18×24, and 140 pound paper weight so you can erase a lot and it takes more abuse than a lighter weight paper. We also used Dick Blick liquid watercolors (update: I have since switched to Sargeant brand liquid watercolors, as the Dick Blick ones are now a new thicker formula). The liquid watercolors are so much easier to use for the larger paper format. The kids don’t have to stop and mix more color and so they had more success with their washes. We did a sample drawing first on a smaller sheet of paper, looking at Matisse’s original painting. I also gave them each a coloring sheet picture of the painting. I had them simplify their drawings and leave out some of the background foliage and details. We did the drawing and painting step by step, taking time to talk about proportion and reflections. This was a great lesson and they all ended up with some beautiful paintings.

*See my new Henri Matisse art lesson in my upcoming book!  (Click here for more information)

Please refer people back to this site if you use this lesson! 🙂

This is a project I just did with my preschool class, but it could be adapted for older ages. Kids love the bright colors, funny shapes and lines Miro uses in his work. I like using abstract art to teach kids that you don’t have to be able to draw something realistically to come up with a great piece of art.

For the preschool class I pre-painted the board white, and pre-drew the large shapes (see sample). If this were a kindergarten class or above I would let them do all the drawing. I had the preschoolers sand down the board. Then I had them draw in the other lines and shapes with a pencil, while I demonstrated it on a whiteboard. We talked about the different kinds of lines and shapes in this piece and how to make them.

They went over all the lines in Sharpie (on my sample I skipped the Sharpie part). Then we started with the lightest color (yellow) and filled in all the shapes-giving the yellow, red, green and blue areas two coats. After everything was dry we went back in with a small round brush with black paint and went over all the lines and filled in the circles.

The results were great and the kids had fun (Unfortunately I didn’t have my camera).

New step by step Joan Miro lesson in my upcoming book. Click here to see more information on my book and subscribe for book updates!

Please refer people back to this site if you use this lesson! 🙂

I found this lesson on https://www.instagram.com/p/BmBwCtmH3e7/ when searching around for something besides a heart project to do for Jim Dine. It is a great lesson that kids of all ages seem to love. The charcoal shading is a touch of magic as well as the puddles of color.

Have students trace around the brush they are sharing with the student sitting next to them and free hand in the details (then the other student will do the same).

Continue moving the brushes around the tables until each student has traced 5 different paint brushes (they can lay them out however they want but I would suggest the 2nd grade do them all one direction and no overlapping). After they trace the outside they will free hand in the details (caution them to do this slowly and carefully and to really observe the details on the brushes).

As the students are waiting for a new brush to get to them they can begin carefully going over the brush drawings they already have with Sharpie, being careful to erase lines where the brushes overlap before they Sharpie. Complete with all 5 brushes, then have students erase pencil lines.

Talk to them about the charcoal vines and carefully demonstrate how to hold them and to press gently with them (they are very fragile and will break easily).

Using the charcoal have them slowly draw a thick line touching the right side of each brush, making sure to not draw over the top of a brush. Move around  the computer paper to act as a shield for their fingers as they are doing the charcoal part.

Then have them gently smudge the charcoal pulling the charcoal away from the brush. Have them wipe their fingers often on a paper towel so as not to get charcoal fingerprints all over their paper.

Distribute the liquid watercolors and have them put one color on each brush tip, being careful to keep the paint on the brush bristles only. They should use the watercolor undiluted and put a “puddle” down then add some water if need to spread it. This is done by plopping the paint and patting the brush to the paper to make it look like a blob of paint. They should not “paint” the color on or they will not get the rounded edges of the paint puddle.

After they paint a color on a brush bristle, they will take that same color and add some water to their brush and paint some smaller puddles of paint in 3 or 4 places on their papers.

Repeat this process with all 5 colors.

Then with water on their brush they will add a little paint and very gently tap their brush over the picture to create dots. 2 or 3 taps for each color (make sure they don’t overdue this or there will be a mess).

When paint is completely dry quickly spray a light coating of workable fixative to “set” the charcoal.

*New Jim Dine step by step lessons, supply lists, and  photos in my upcoming book (click here for more information).

Please refer people back to this site if you use this lesson! 🙂